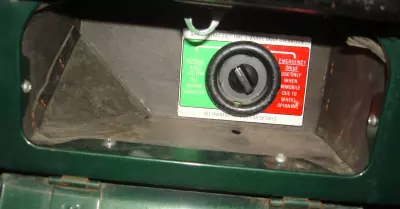
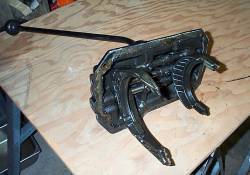
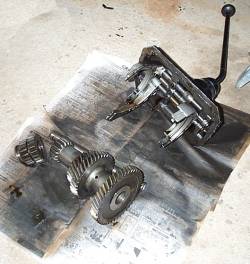
We kick off the project by removing the top of the T-18A exposing all the guts of the beast. Removal of the stick shift is not necessary. Behind the workbench was a table where we could layout all the pieces.

Get personalized content recommendations and answers drawn from our website. Simply type your question or topic of interest, and our AI assistant will help you find relevant articles, tips, and insights. You can also have a natural conversation to explore topics in more depth.

Next we removed the rear shaft bolt and the output gears.

Next we removed the front snap ring and the front bearing using a break tool.

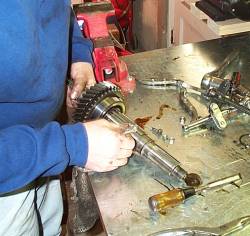
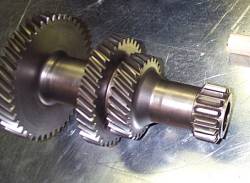
This is one area where two people come in handy. Removing the gear sets. We removed both at the same time pulling them in opposite directions while lifting them where they join together. Roller bearings from between both gear sets dropped all over.


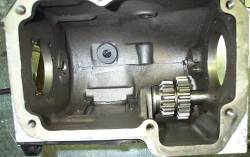
Lower gears were removed by sliding the rectangular plate up out of the slots in the shafts and then driving the shafts out using a 1 inch dowel rod or a brass drift. The larger Countershaft is driven forward. The small reverse idler shaft shaft will clear internal parts when driven inward however it is possible that the small shaft is tapered on some models at the rear of the transmission and should be driven out (rearward) from the inside. We drove it inward towards the front without any issues but to be safe, you should drive it rearward.

Note: The T98 and the T90 are similar in design to the T18 but they have a tapered reverse idler shaft and must be drive out from the inside or you’ll damage the case.
Rear set of gears were disassembled to get to synchronizers. Don’t forget how it came apart. Also be aware of some spring loaded bearings that lock the gear set in place during shifting.

Everything was then cleaned using a combination of carburetor cleaner and Simple Green in a basin of hot water.
Cleaning and inspecting the parts. Everything looked pretty good. Gears were in good shape with very few chips in the leading edge of the 1st gear.