Rocker Guard Fabrication and Roll Bar Frame Mounts

Get personalized content recommendations and answers drawn from our website. Simply type your question or topic of interest, and our AI assistant will help you find relevant articles, tips, and insights. You can also have a natural conversation to explore topics in more depth.
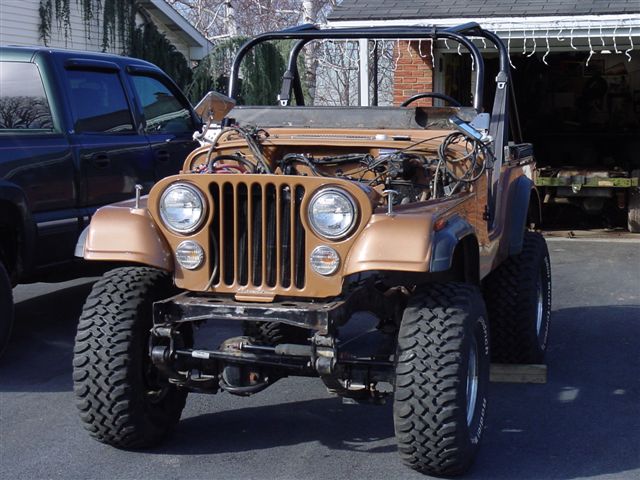
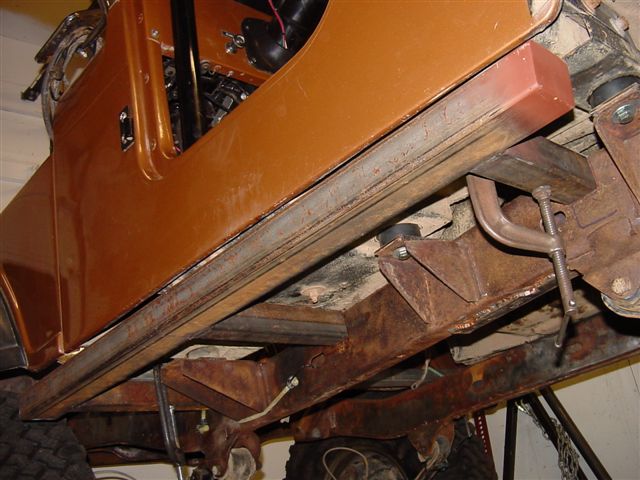
The Jeep originally had round nerf bars. I tried in the past to use rocker guards that attach to the body but the fiberglass is not a very good mounting point for heavy steel. I am forced to make something that attaches to the frame. I used 2X3 square tube with 2X2 mounts to fabricate custom rock guards. I temporarily put the body on and lined it up to ensure the guards would look correct and not be any lower than they needed. After everything was lined up and fitted it was all welded up, cleaned up, and POR-15 applied.
 body on for fitment |
 test fit |
 guard finished |
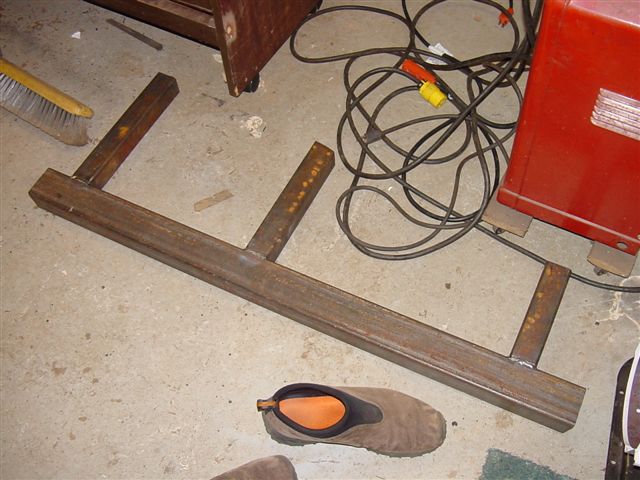
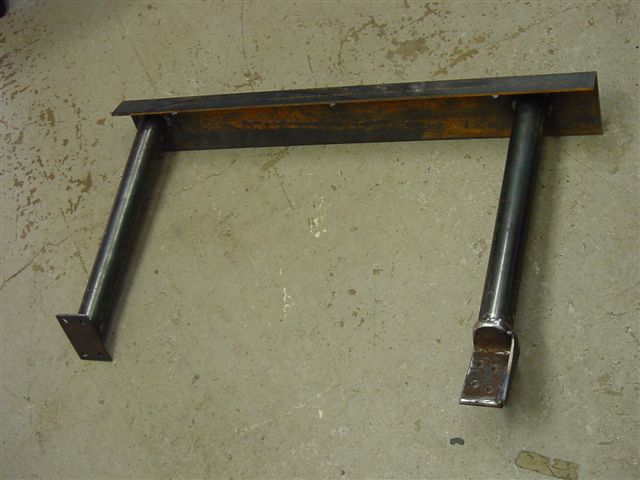
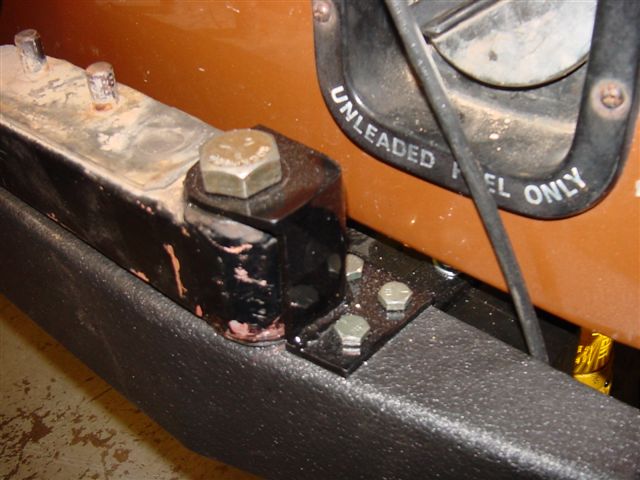
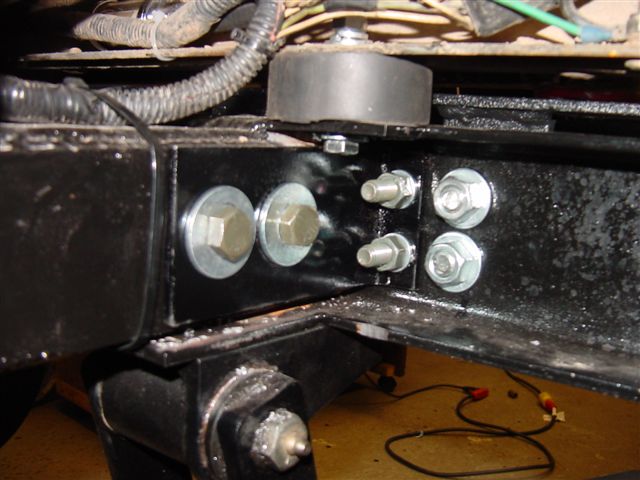
I wanted to attach the roll bar to the frame for some added safety. I used some 1.5″ tubing and some plate and fabricated mounts that bolt to the frame and extend up into the rear fender wells. My Jeep’s roll bar is an earlier style that mounts entirely on top of the rear fenders. I also placed mounts for the front section of the roll bar on top of the center mount on the rocker guards. I left about 1/2 inch above the rear roll bar mount for installation of a polyurethane bushing to absorb some vibration and not put excess stress on the body during flex.
 drivers side mount |
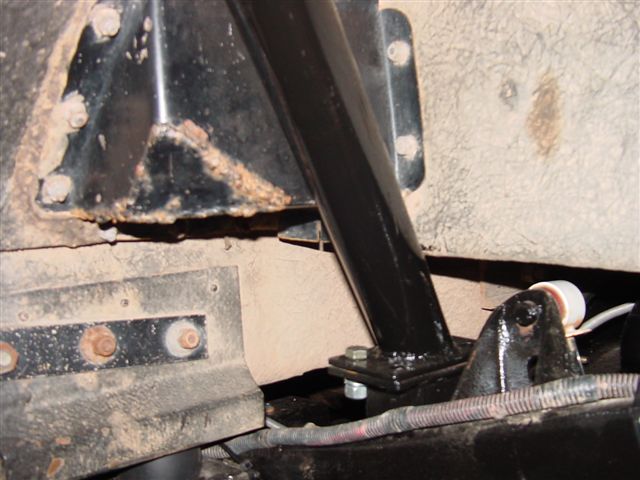 drivers side mount front – installed |
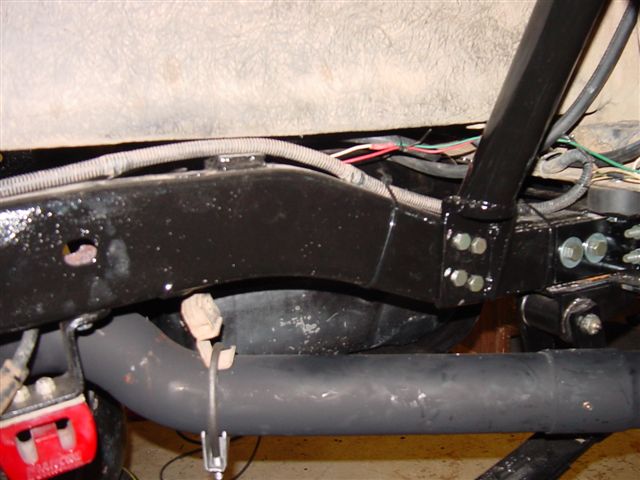 drivers side mount rear – installed |
Reassembly, clean up, painting, new exhaust, and rear bumper
With everything painted and dry I was ready to start re-assembly. I took the opportunity to clean everything up after years of mud. I also gave almost everything a fresh coat of paint too. A new stainless steel brake line kit was installed.
 ready for assembly |
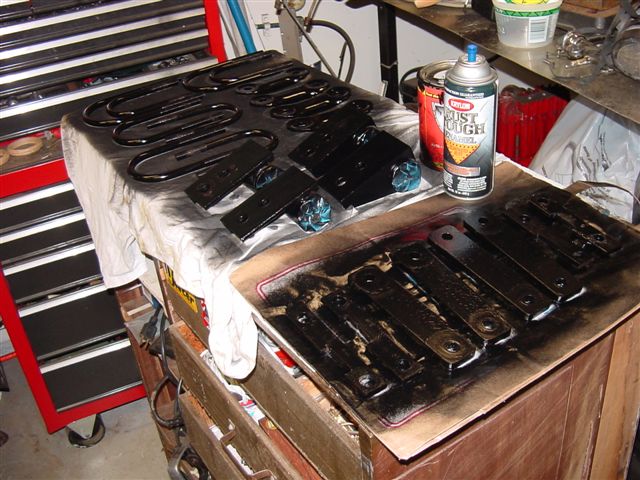 parts cleaned up and painted |
 ready for the body |
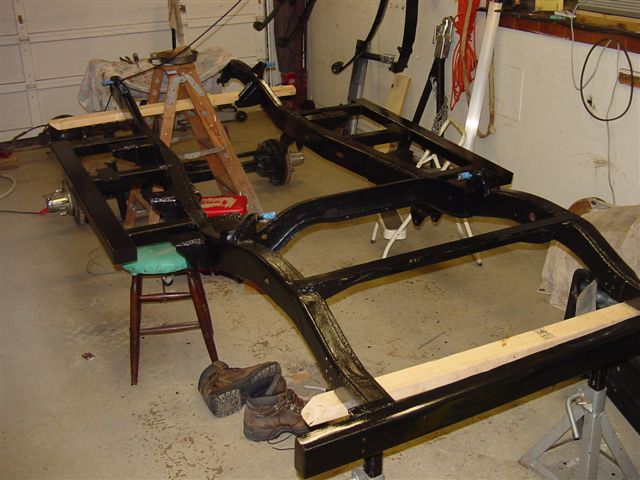
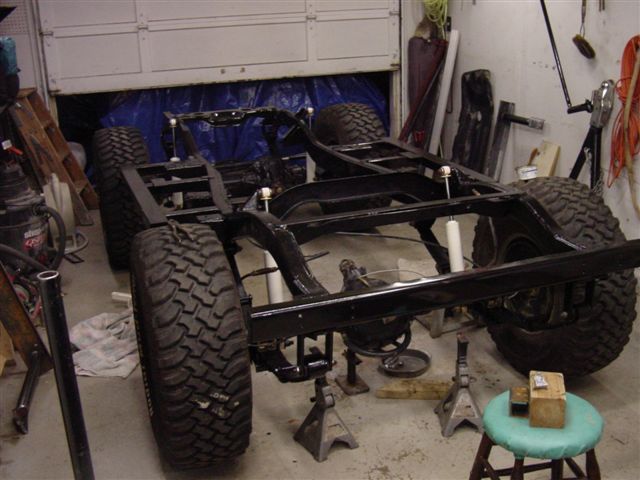 rolling chassis |
After all the areas needing repair, restoration, and fabrication were complete I gave the frame a thorough coating of POR-15. From the POR-15 website “POR-15® is a high-tech, high performance rust-preventive coating designed for application directly on rusted or seasoned metal surfaces. It dries to an incredible rock-hard, non-porous finish that won’t chip, crack, or peel, and it prevents rust from recurring by protecting metal from further exposure to moisture.” This stuff is great – tip: wear gloves
Single Exhaust System
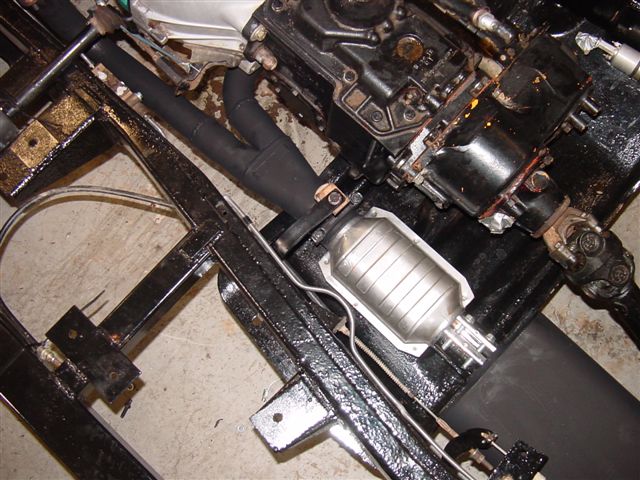
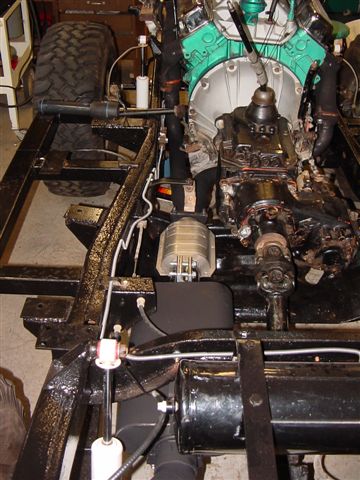
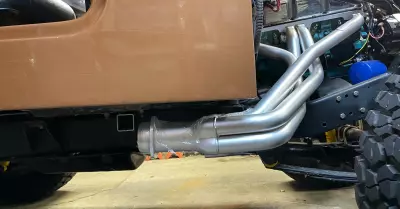
Years earlier I installed Hedman headers, I grew tired of the constant leaking gaskets and the lack of room under the Jeep from the mufflers and pipes. I decided on a single exhaust with the original manifolds. I used 2 inch primaries from the manifolds and ended them in a 2 inch to 3 inch Y collector from Flowmaster. (See above photos) From there there the exhaust is a single 3 inch all the way out. There is a 3 inch performance catalytic converter and a 3 inch Flowmaster muffler. I custom made the entire exhaust using mandrel bends cut apart and re-welded.
|
rear view |
new single exhaust |
Rear Bumper using My Tire Carrier
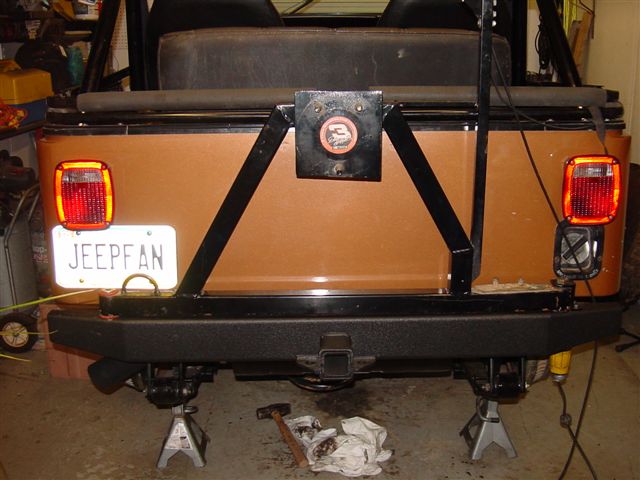
I purchased an Olympic rear Rock Bumper. It mounted to the factory holes on the rear cross member. I reinforced the mounts at the frame to ensure everything stays together in the event I am pulling (or being pulled) from the bumper receiver. I created this tire carrier years ago and I wanted to retain it. It used to mount directly to the rear cross member. I was never completely happy with this so I opted for a change. Click here to see more on the tire carrier. I fabricated a mount that bolts to the top of the bumper to create a hinge for the tire carrier to swing out.
 bumper and carrier |
 rear view |
 hinge |
 frame reinforcement |
Finished pictures
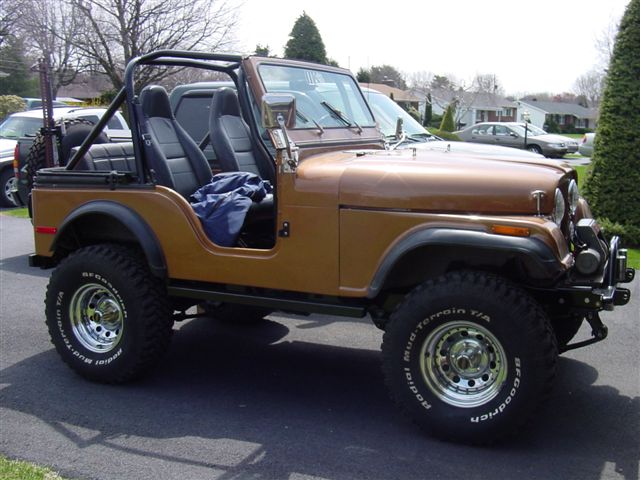 ready to roll! |
rear view |
 3″ exhaust |
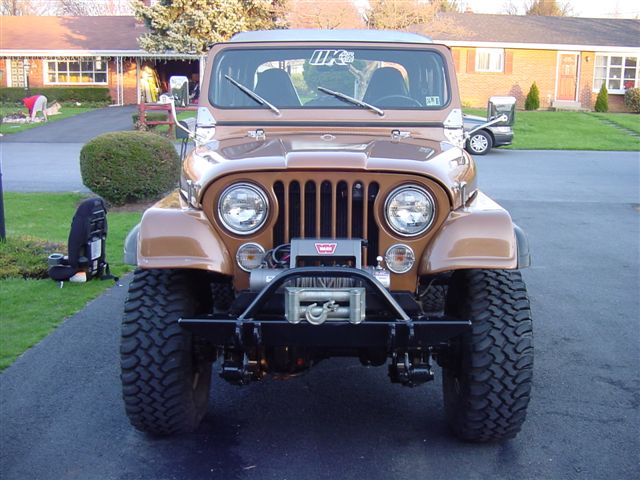 front |


Dude, I can’t believe there are no comments – I’m trying to do the exact same thing you did with an 85 cj7 and I LOVE what you did: it looks cool, it’s rock solid and didn’t cost an arm and a leg. Great job, I hope you have lots of happy trails and tons of fun. Job well done! Thanks for the pics and ideas, it should really help me out.
Dave