Stop the Leaks!
A reader sent in this article to us and we liked it so much we put it here for others to benefit from it too. Many JK owners out there have experienced leaks with from the Freedom Top panels. It seems the best way of preventing leaks is by following a few simple steps to install the panels.
PROCEDURE
- Place the panel on the top of the vehicle.
- Locate the positioning pin on the outside edge of the freedom panel, and position the panel such that this pin sits into its corresponding hole in the over-door rollbar.
- Repeat on driver’s side.
- After placing each panel, LIFT each panel straight up and gently lower back into place. ENSURE that you DO NOT SLIDE the panel into place but LOWER the panel into place so that the gasket is not crimped or wrinkled.
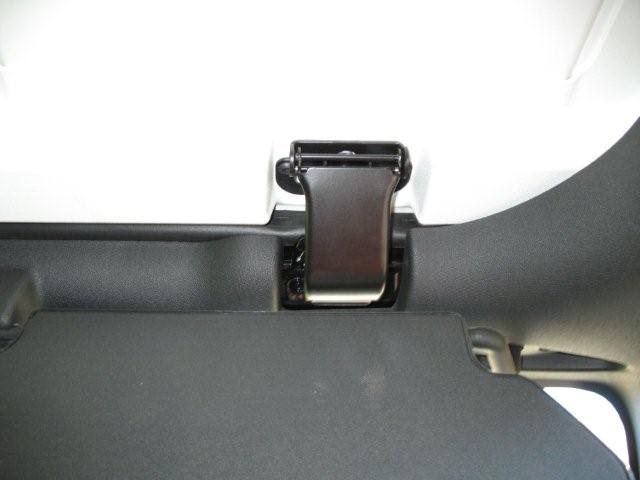
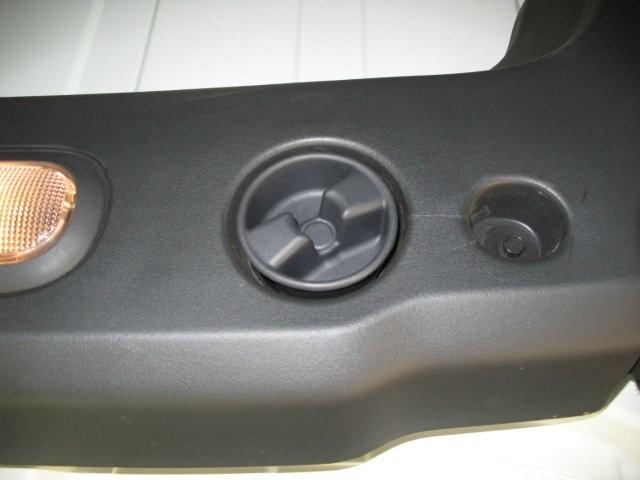
- Once both the driver and passenger panels are in place, rotate all the retaining levers to the locked position.
- Flip the retaining clip over the windshield into place
- Start threading the freedom panel screws into the rear of the panel, through the holes in the soundbar.
- Once you actually get the screws through the soundbar, rollbar, and into the top tighten it down…well…tight enough. YOU’RE NOT DONE YET!
- Drive the Jeep for a period of time and check the screws. Retighten to snug them back up.
- Periodically check the screws to ensure they are still tight.
We have followed this procedure on the jeepfan.com JK with great success. Thanks for writing!
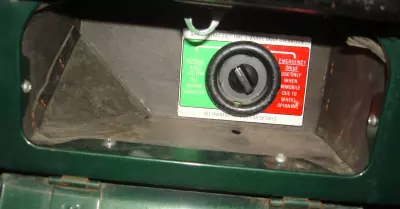
center front latch
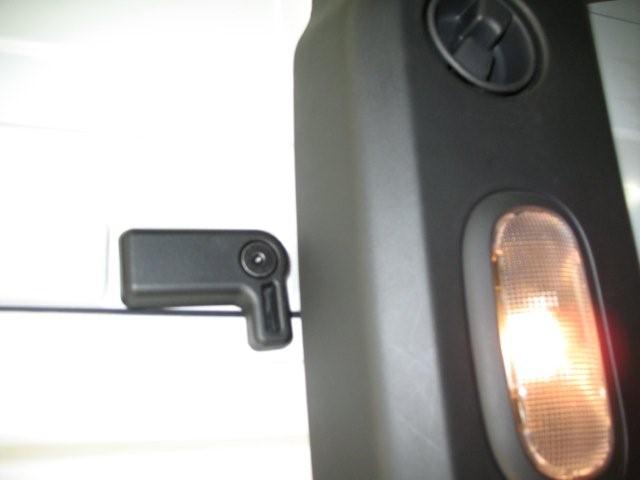
center rear latch
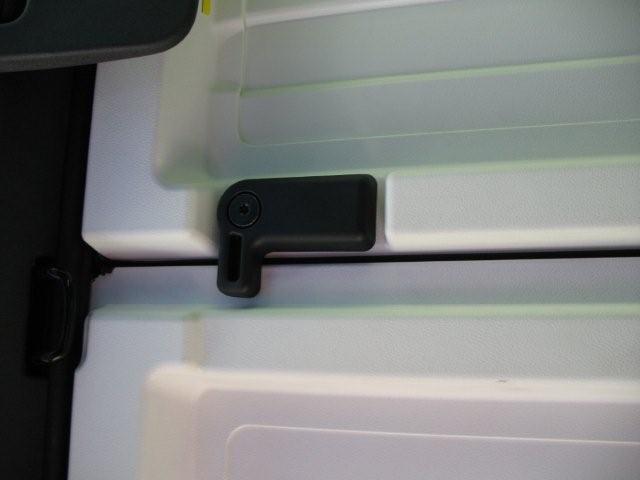
front side clamp
screw

panels installed