• Skip to main content
  • Skip to header right navigation
  • Skip to after header navigation
  • Skip to site footer
Jeepfan.com

Jeepfan.com

serving the Jeep community since 1997

  • Projects & Installs
  • Offroading & Events
  • Technical & Info
  • Readers Jeeps
  • Jeep Racing
  • Products
  • Ask
  • jeepfan.com 2022 4xe
  • jeepfan.com 2018 JL
  • jeepfan.com 2004 TJ Unlimited
  • jeepfan.com 1978 CJ-5
Home » Projects & Installs » Wrangler JL Mopar Tailgate Tire Carrier Spacer Install

Wrangler JL Mopar Tailgate Tire Carrier Spacer Install

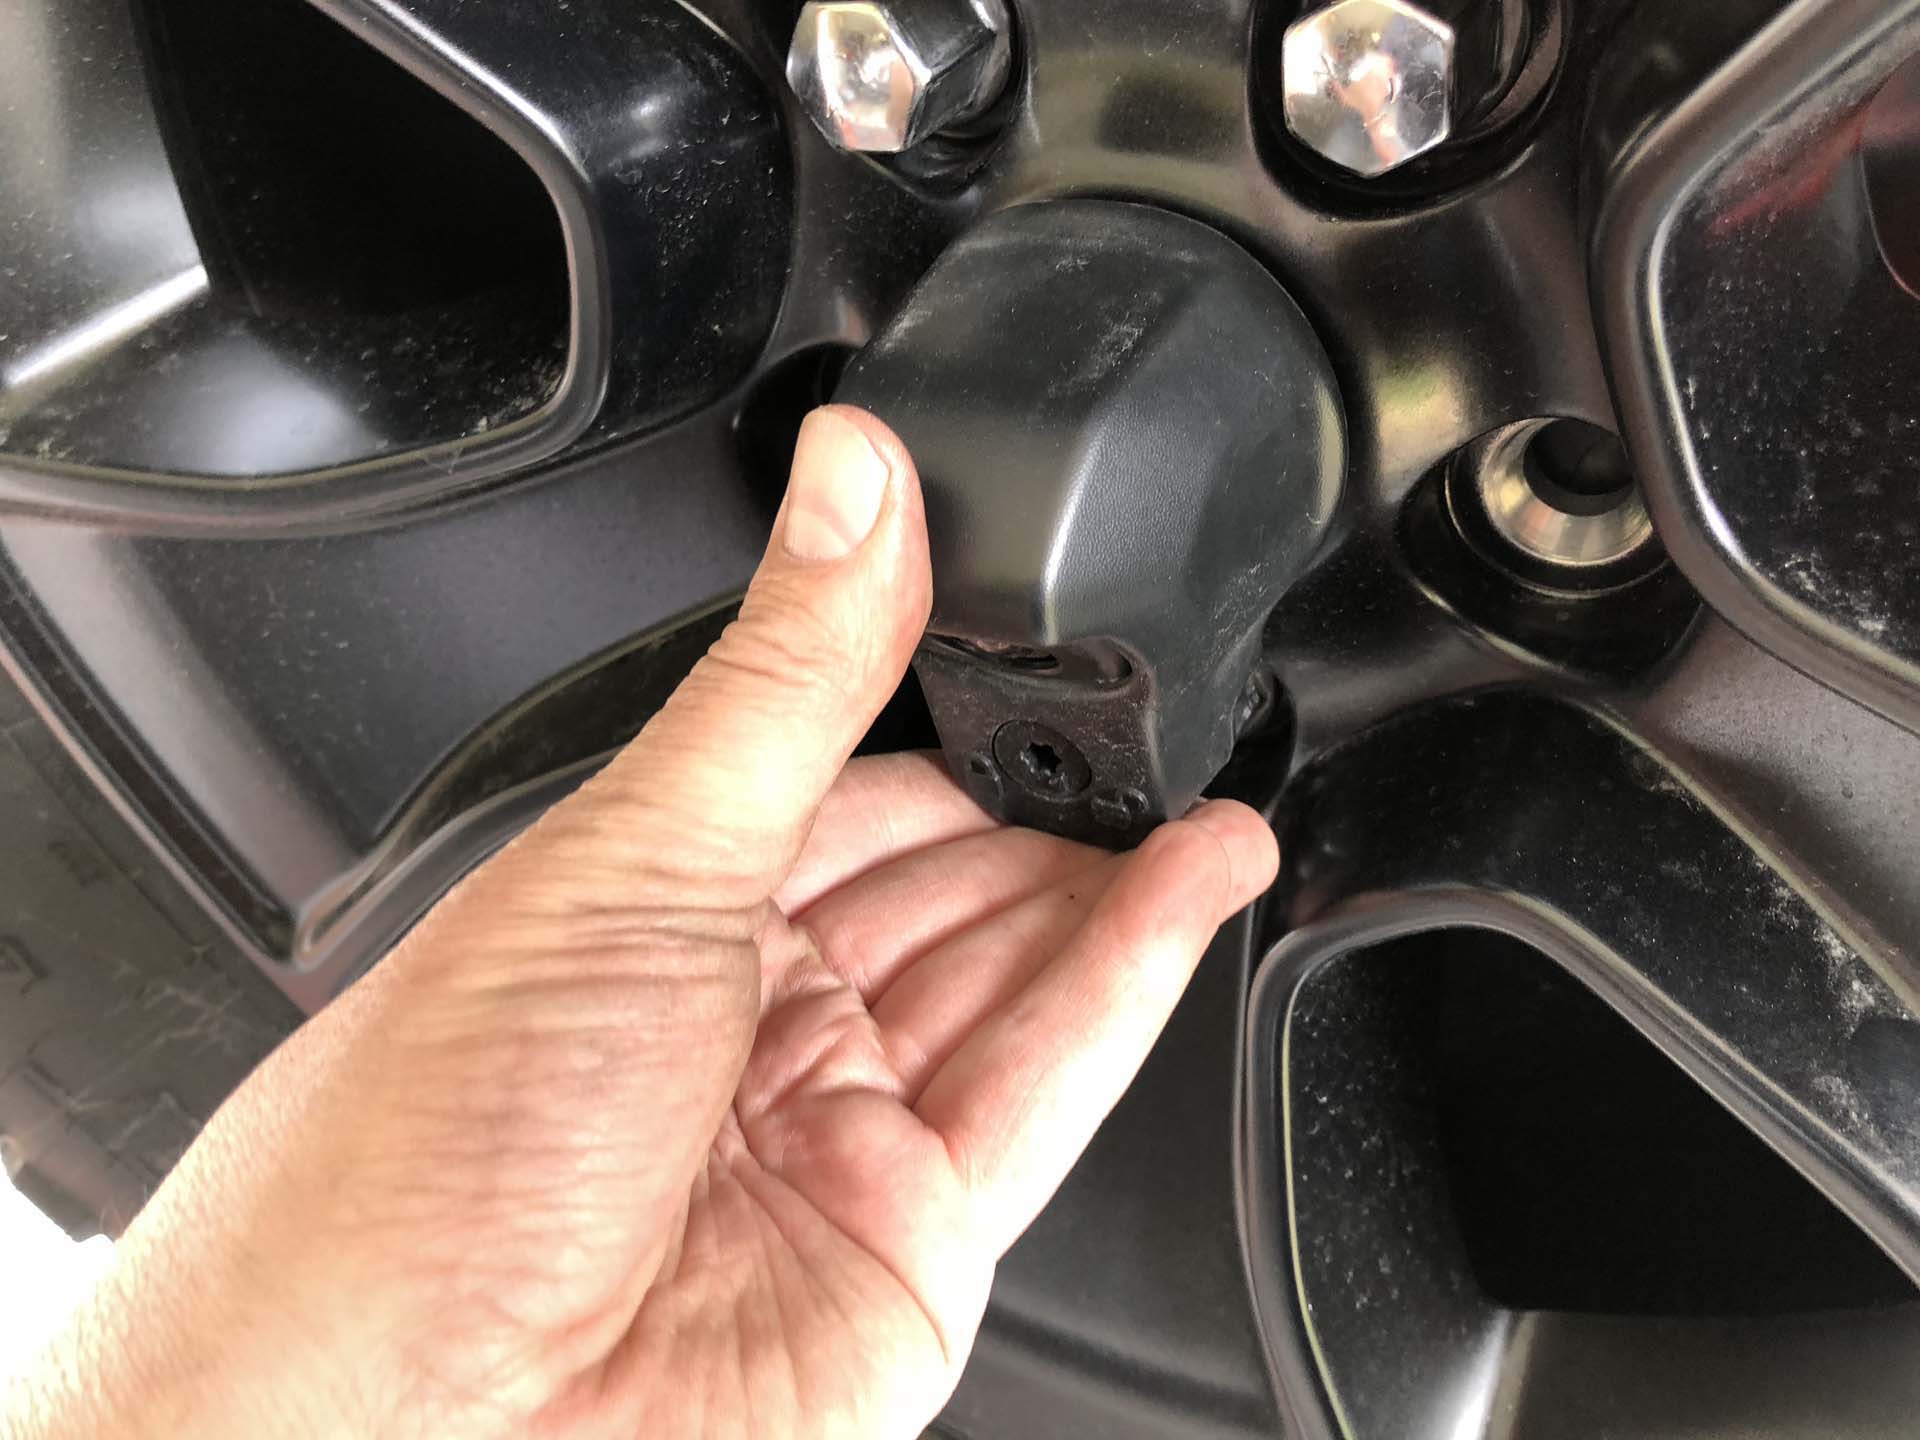
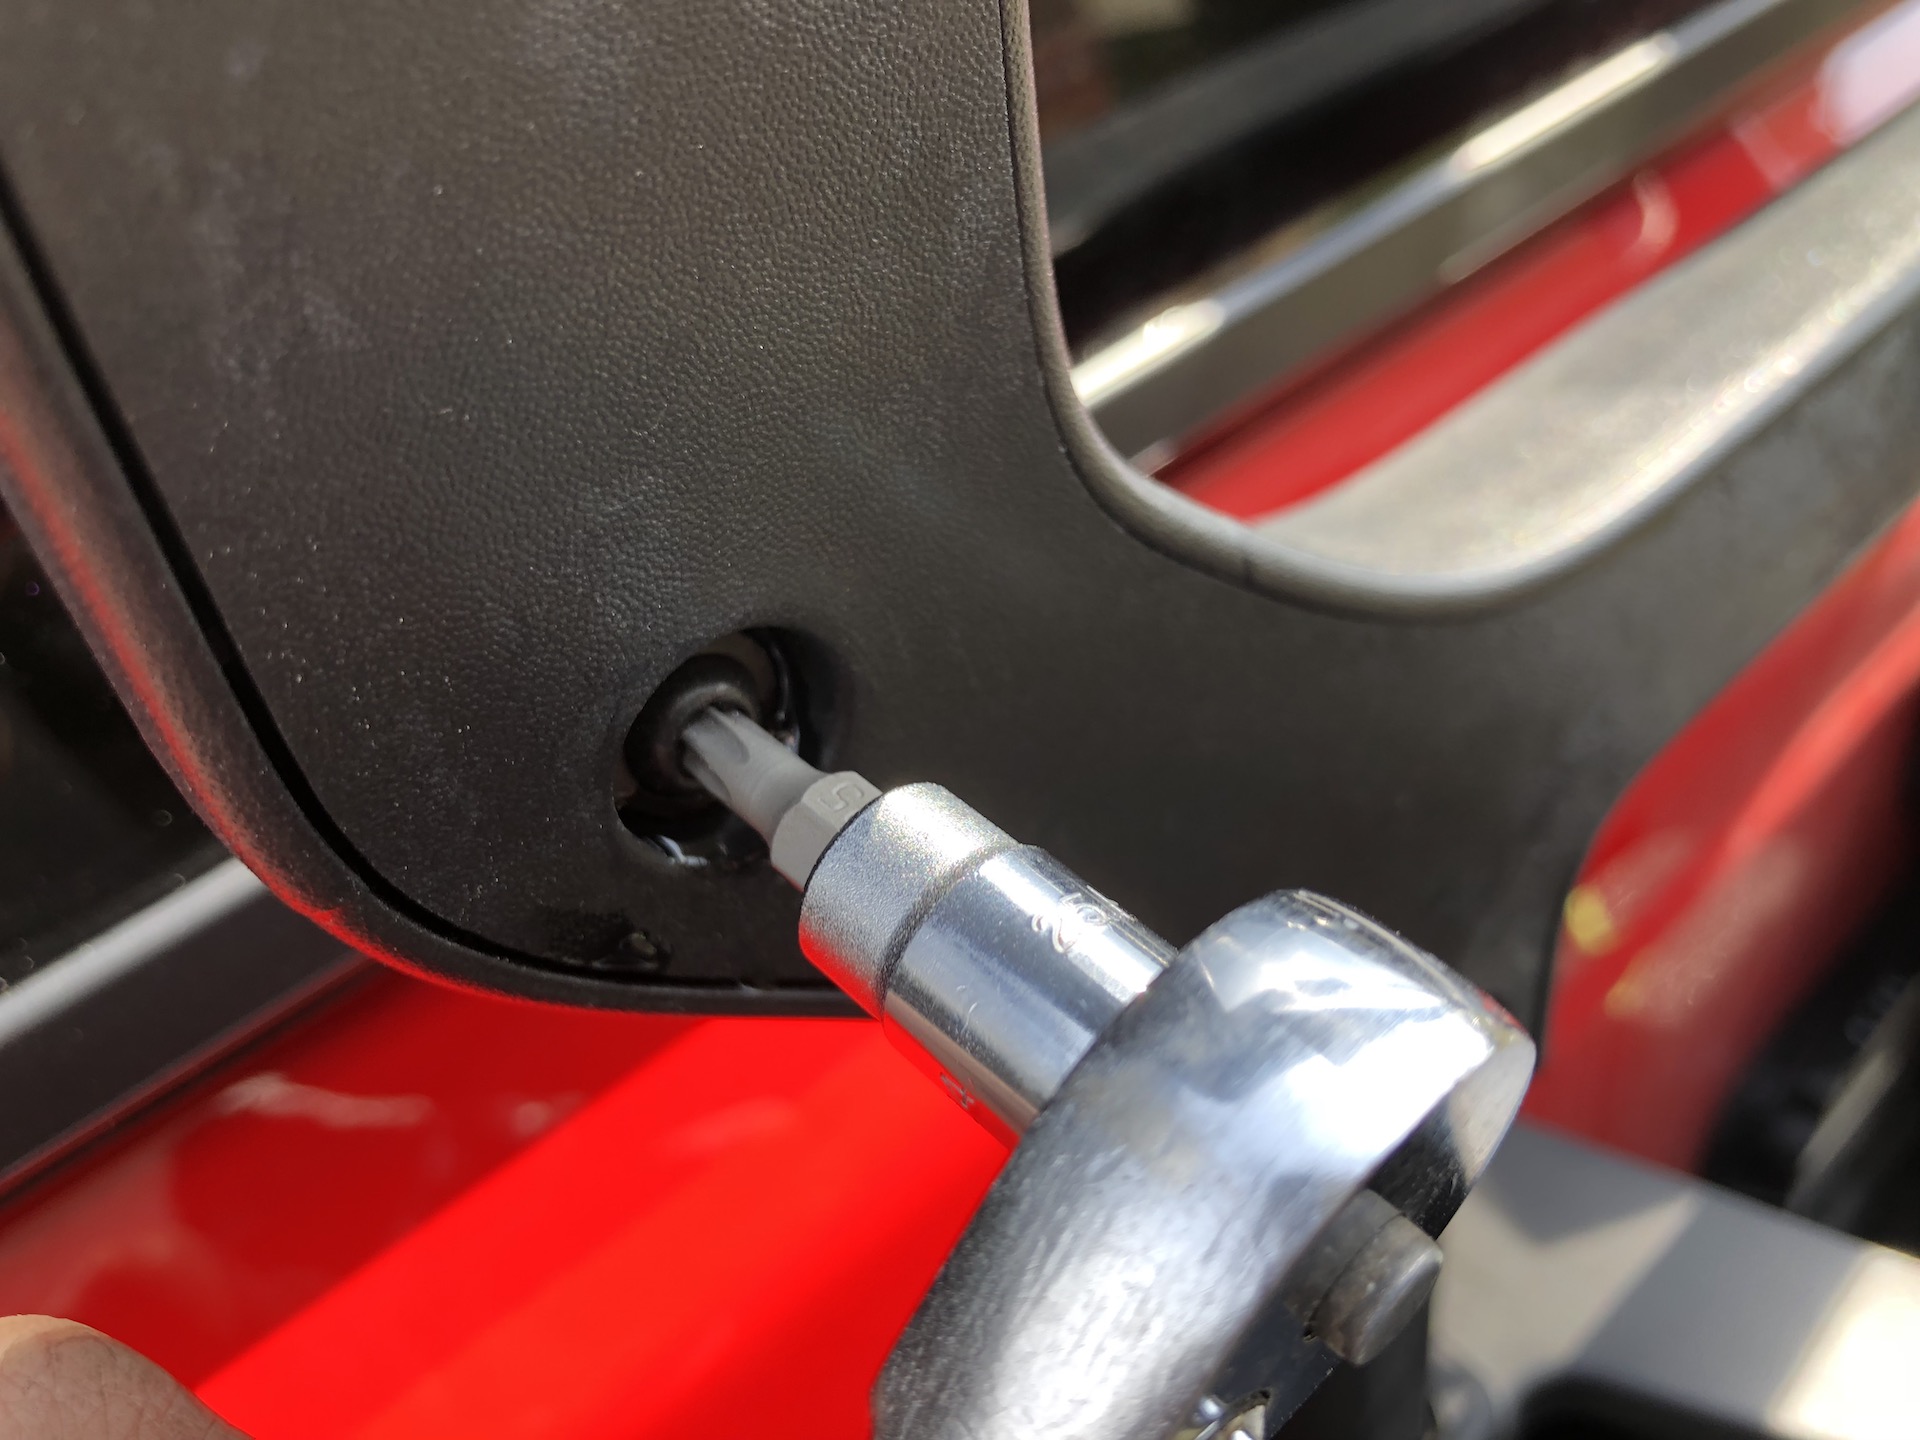
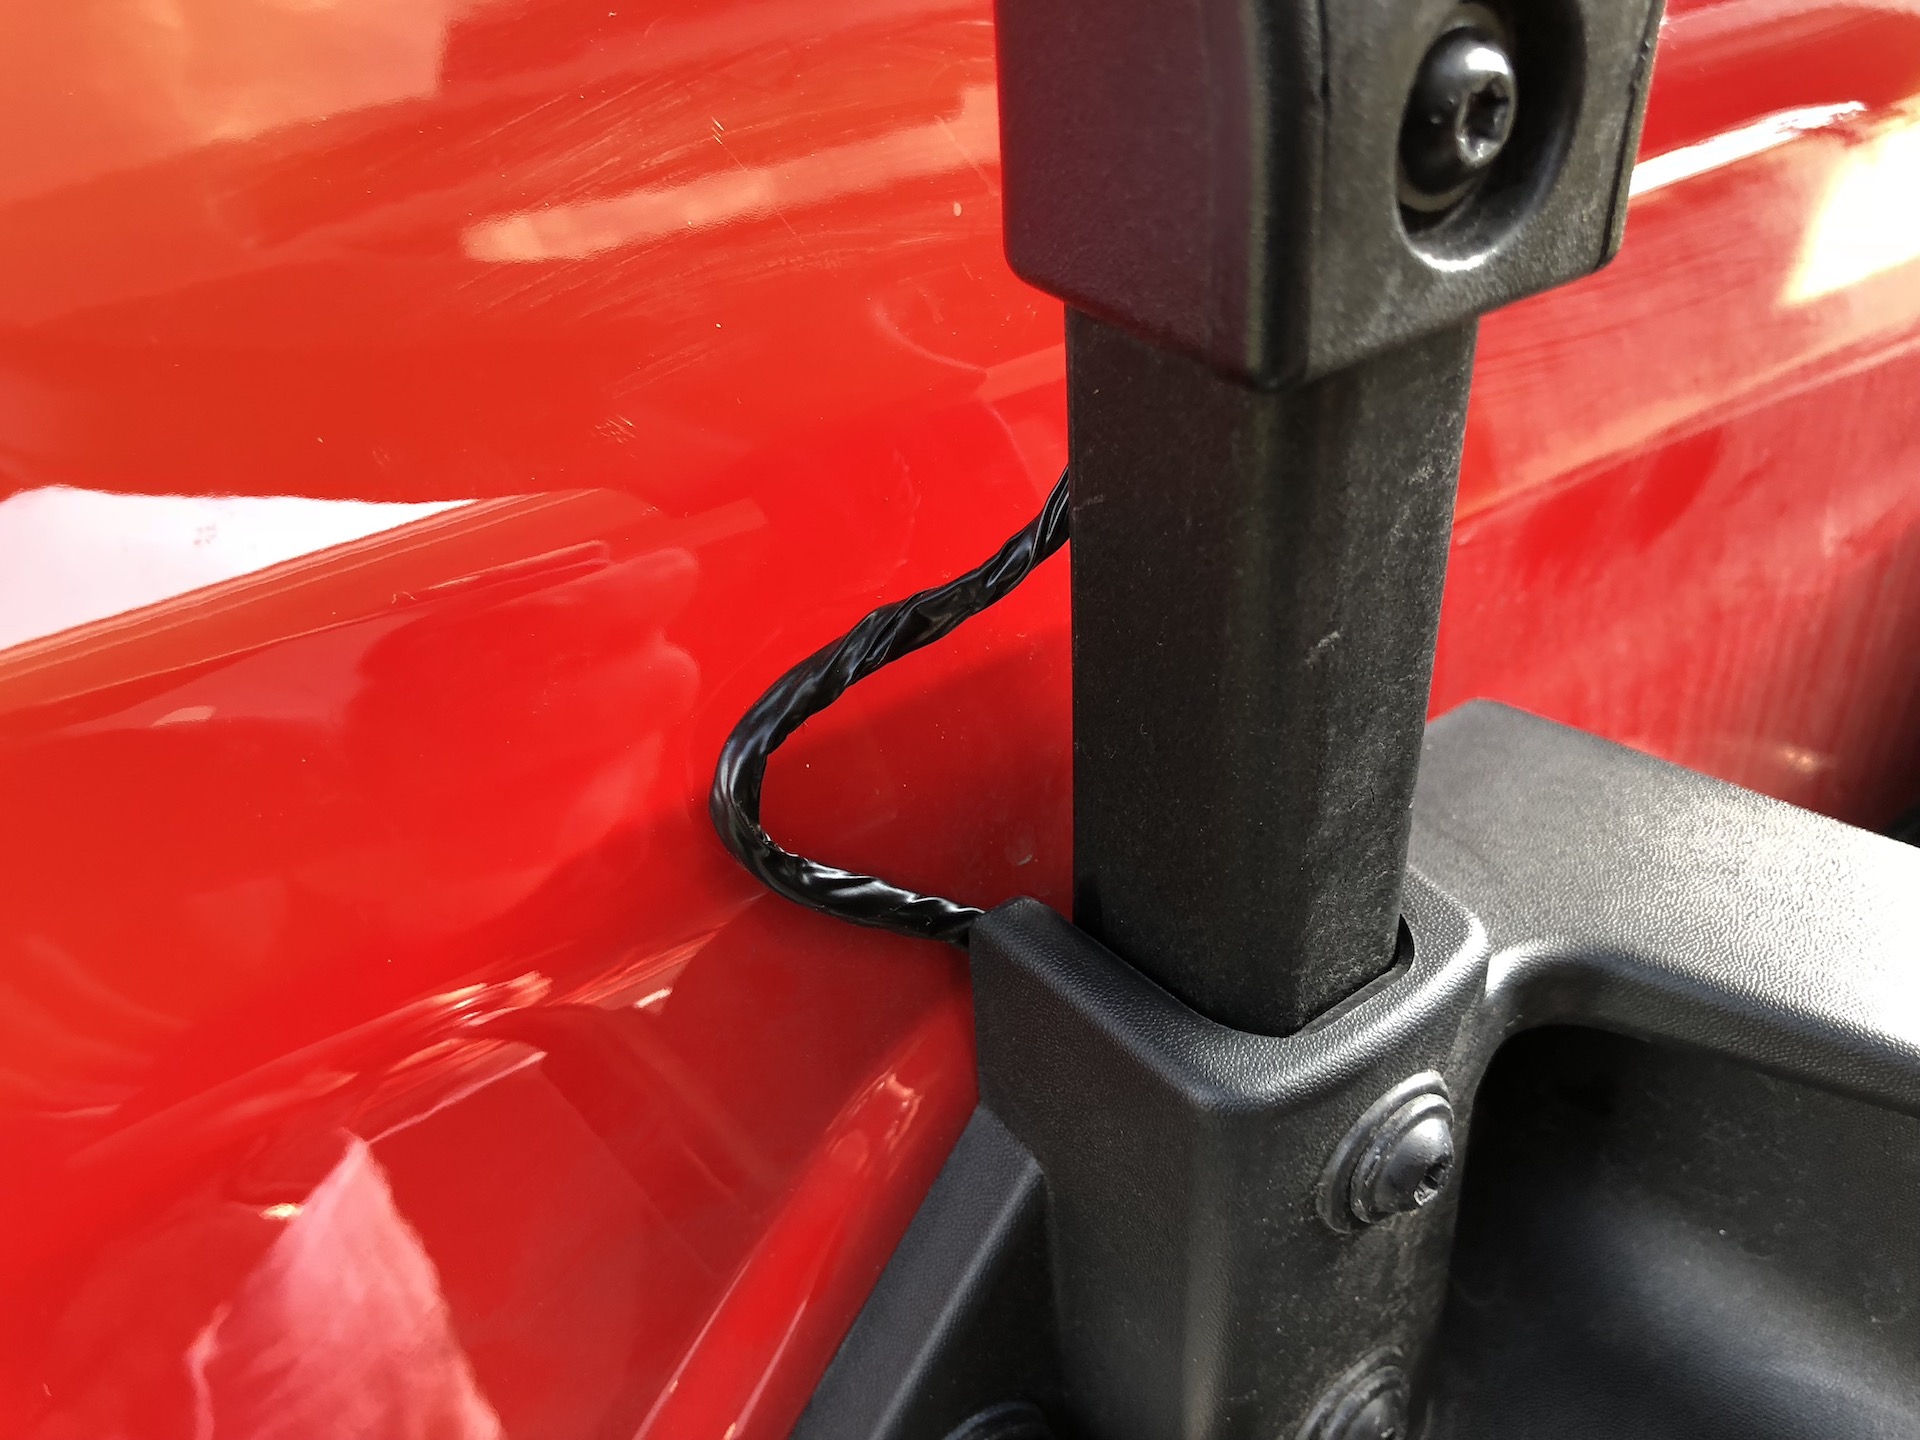
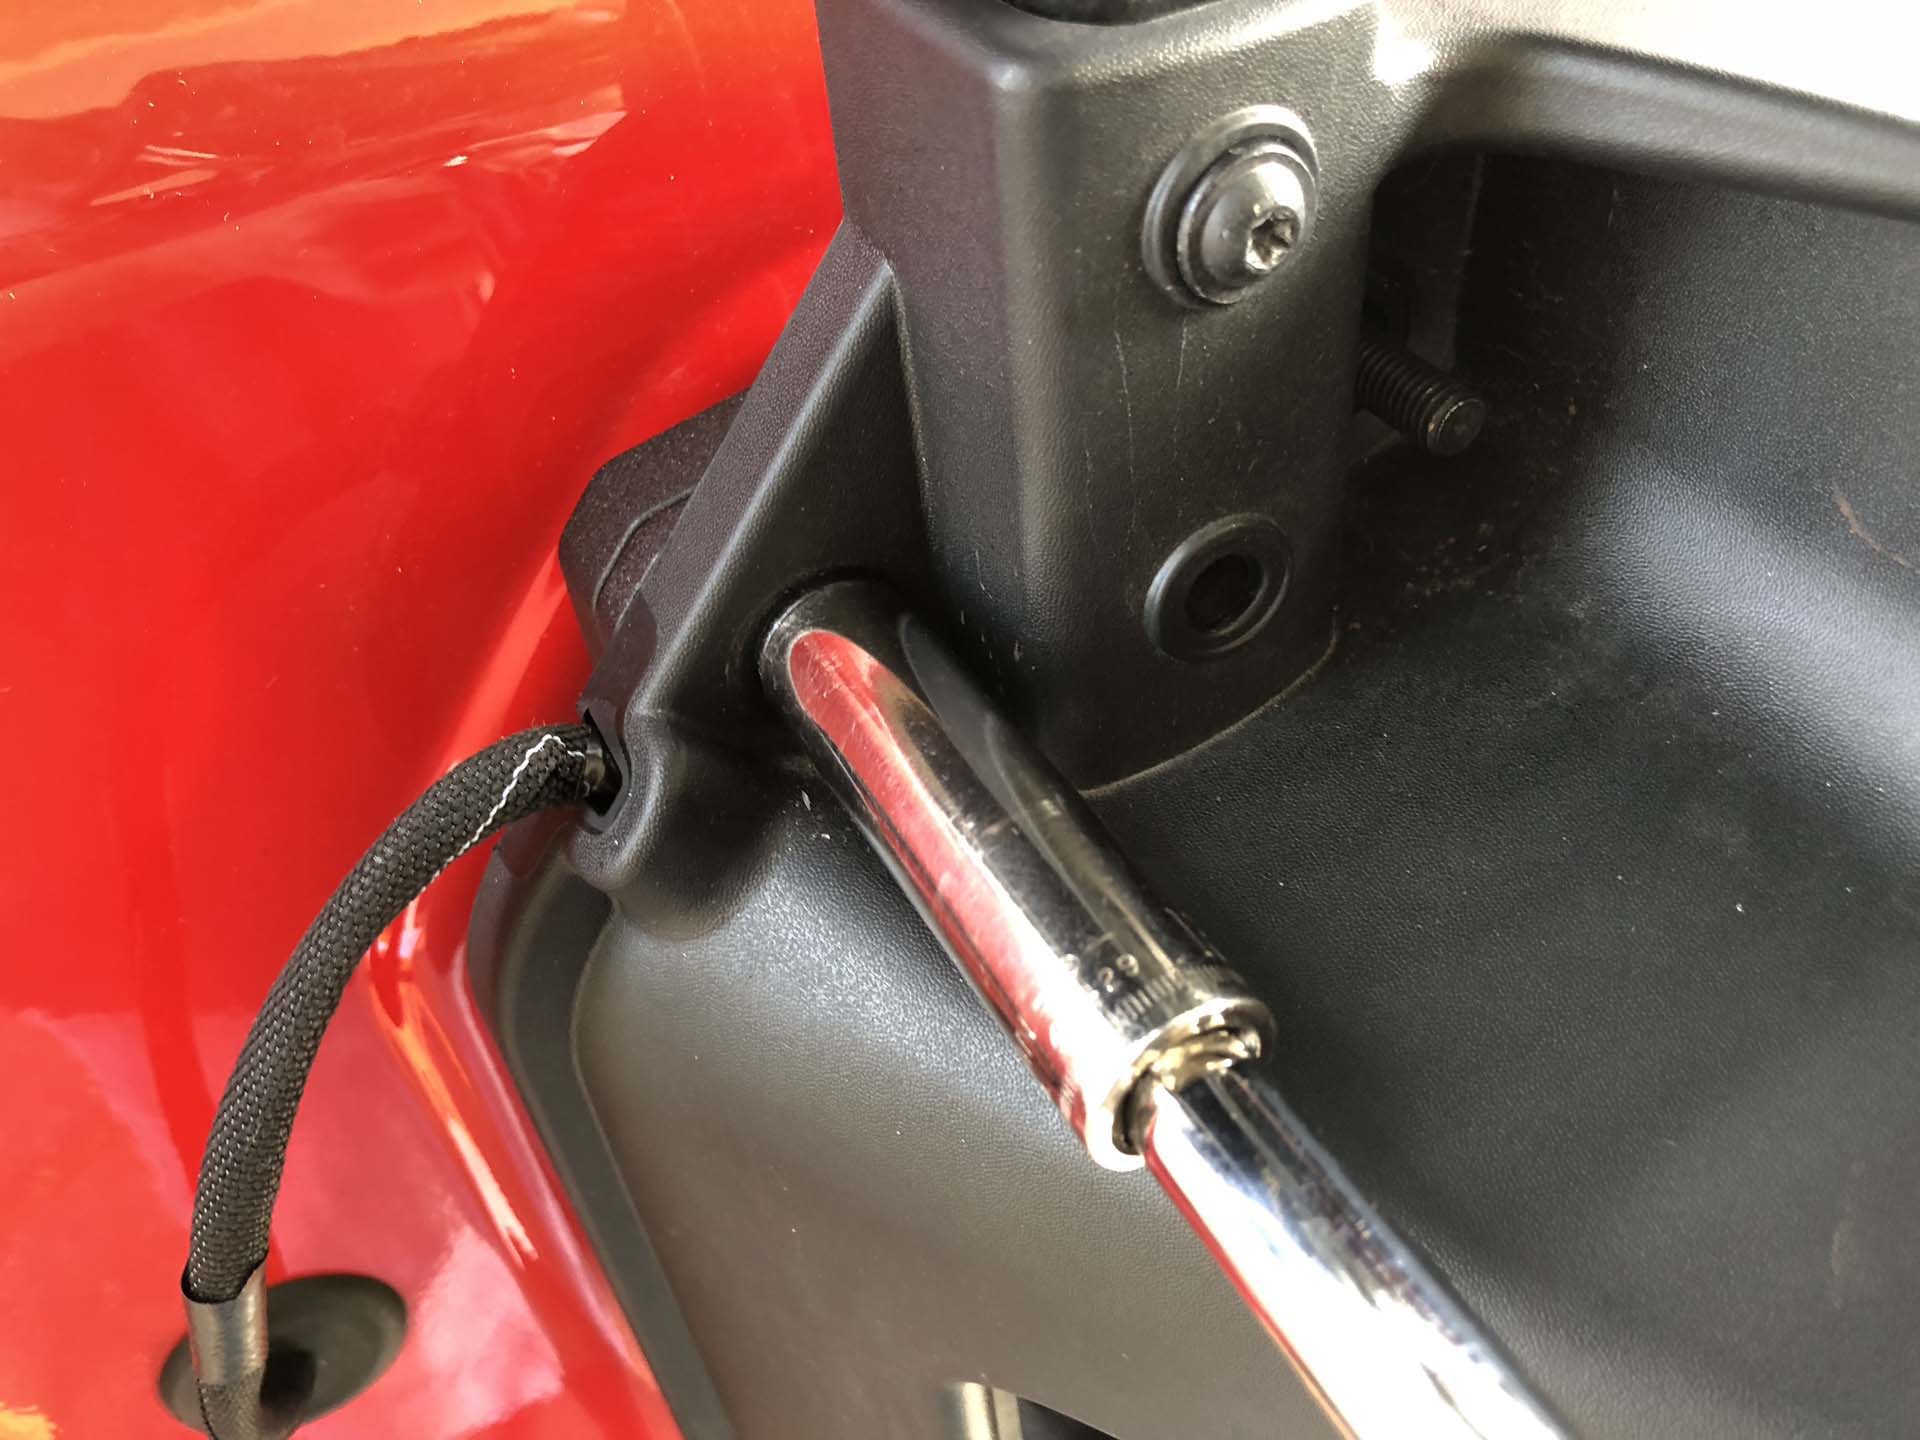
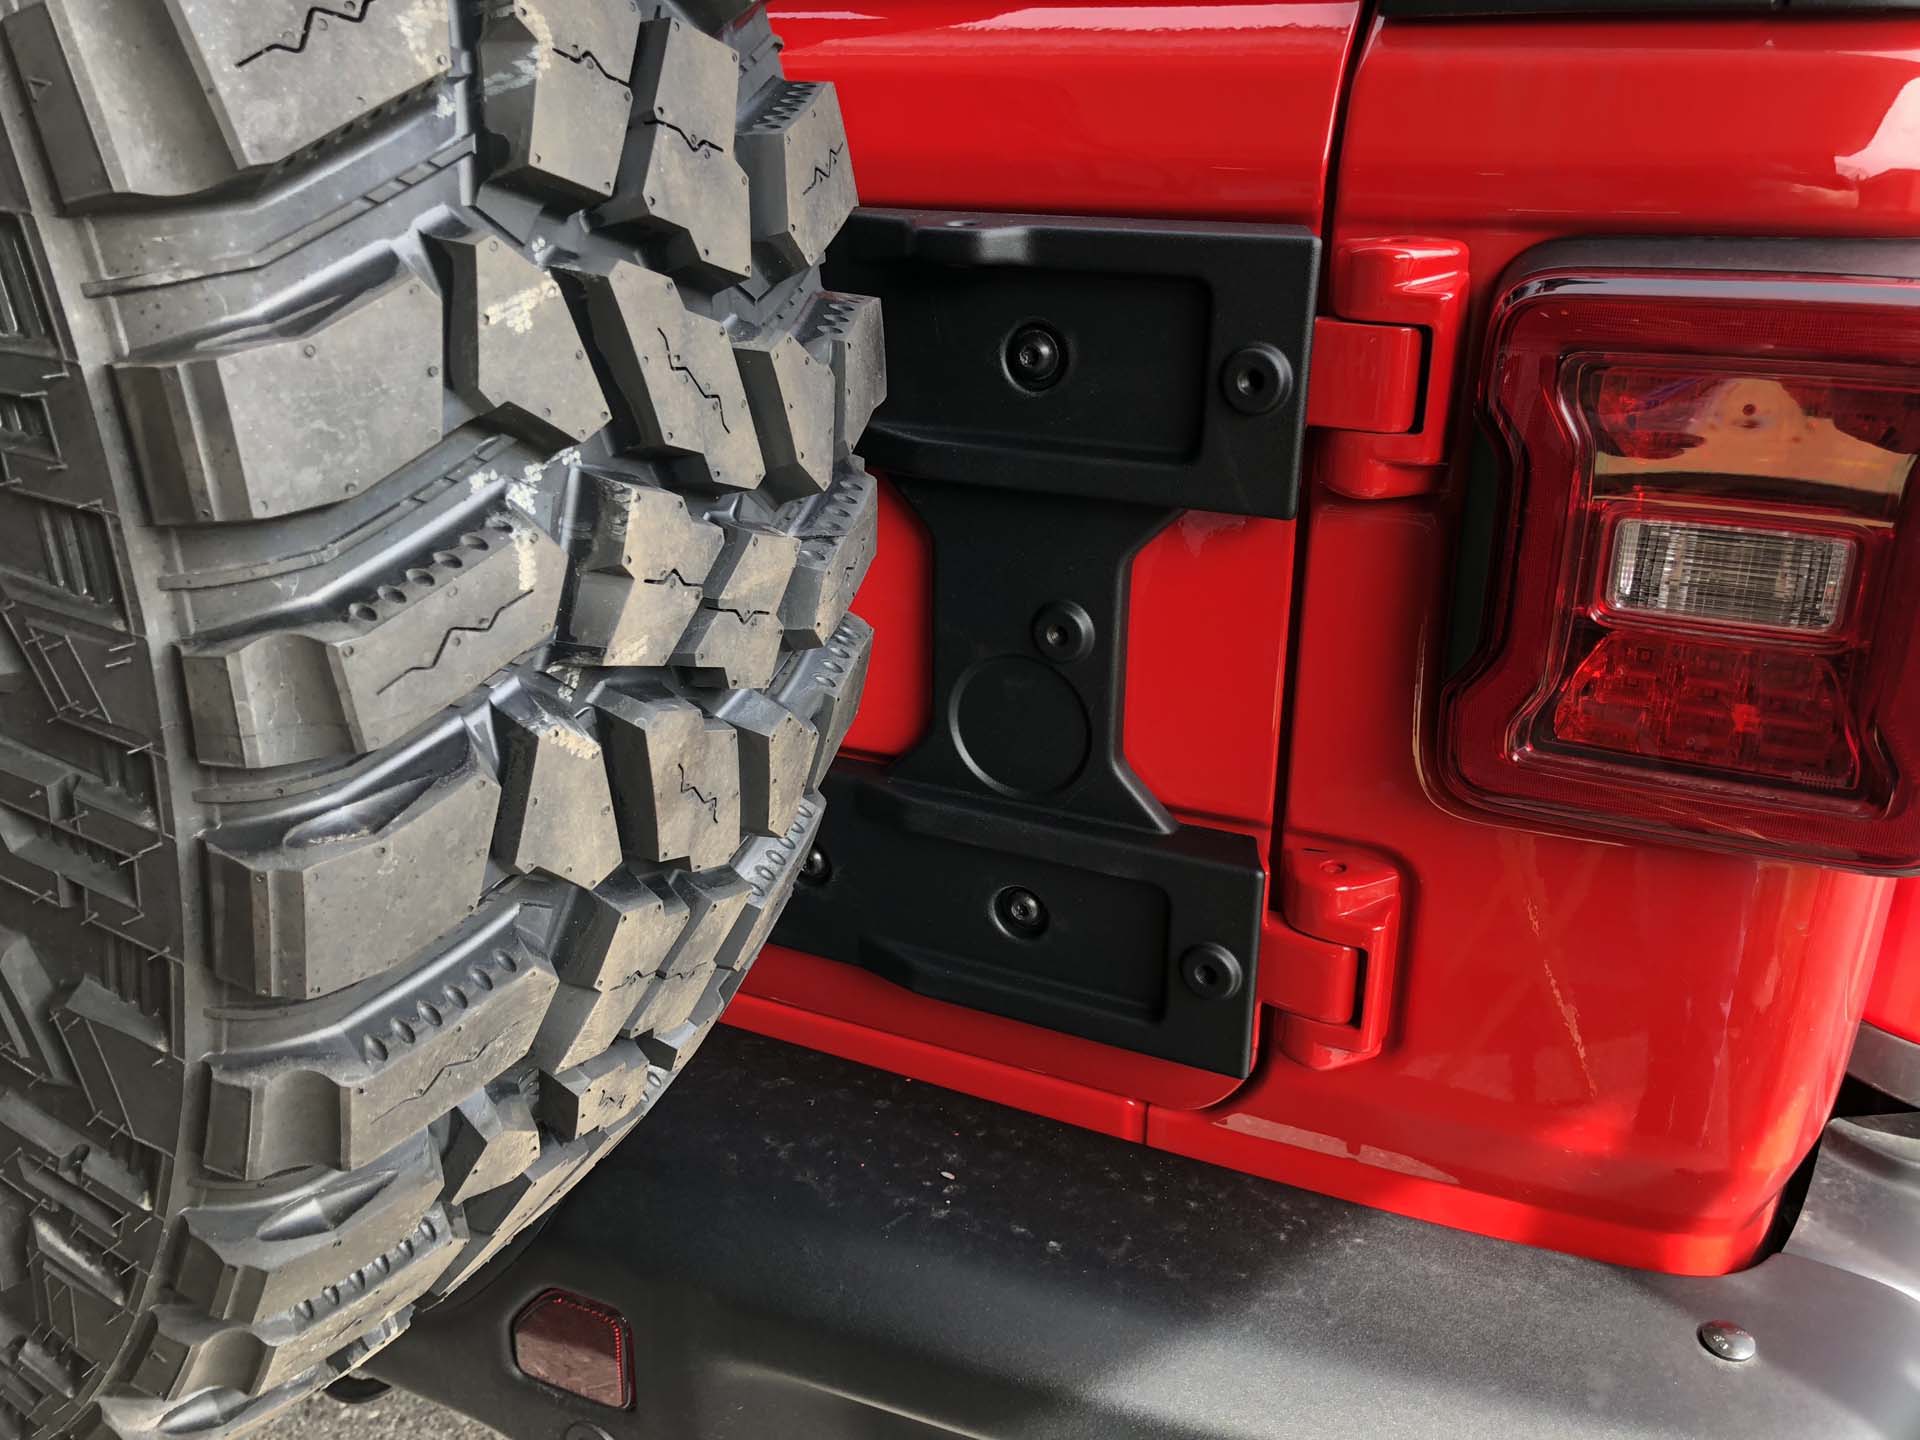
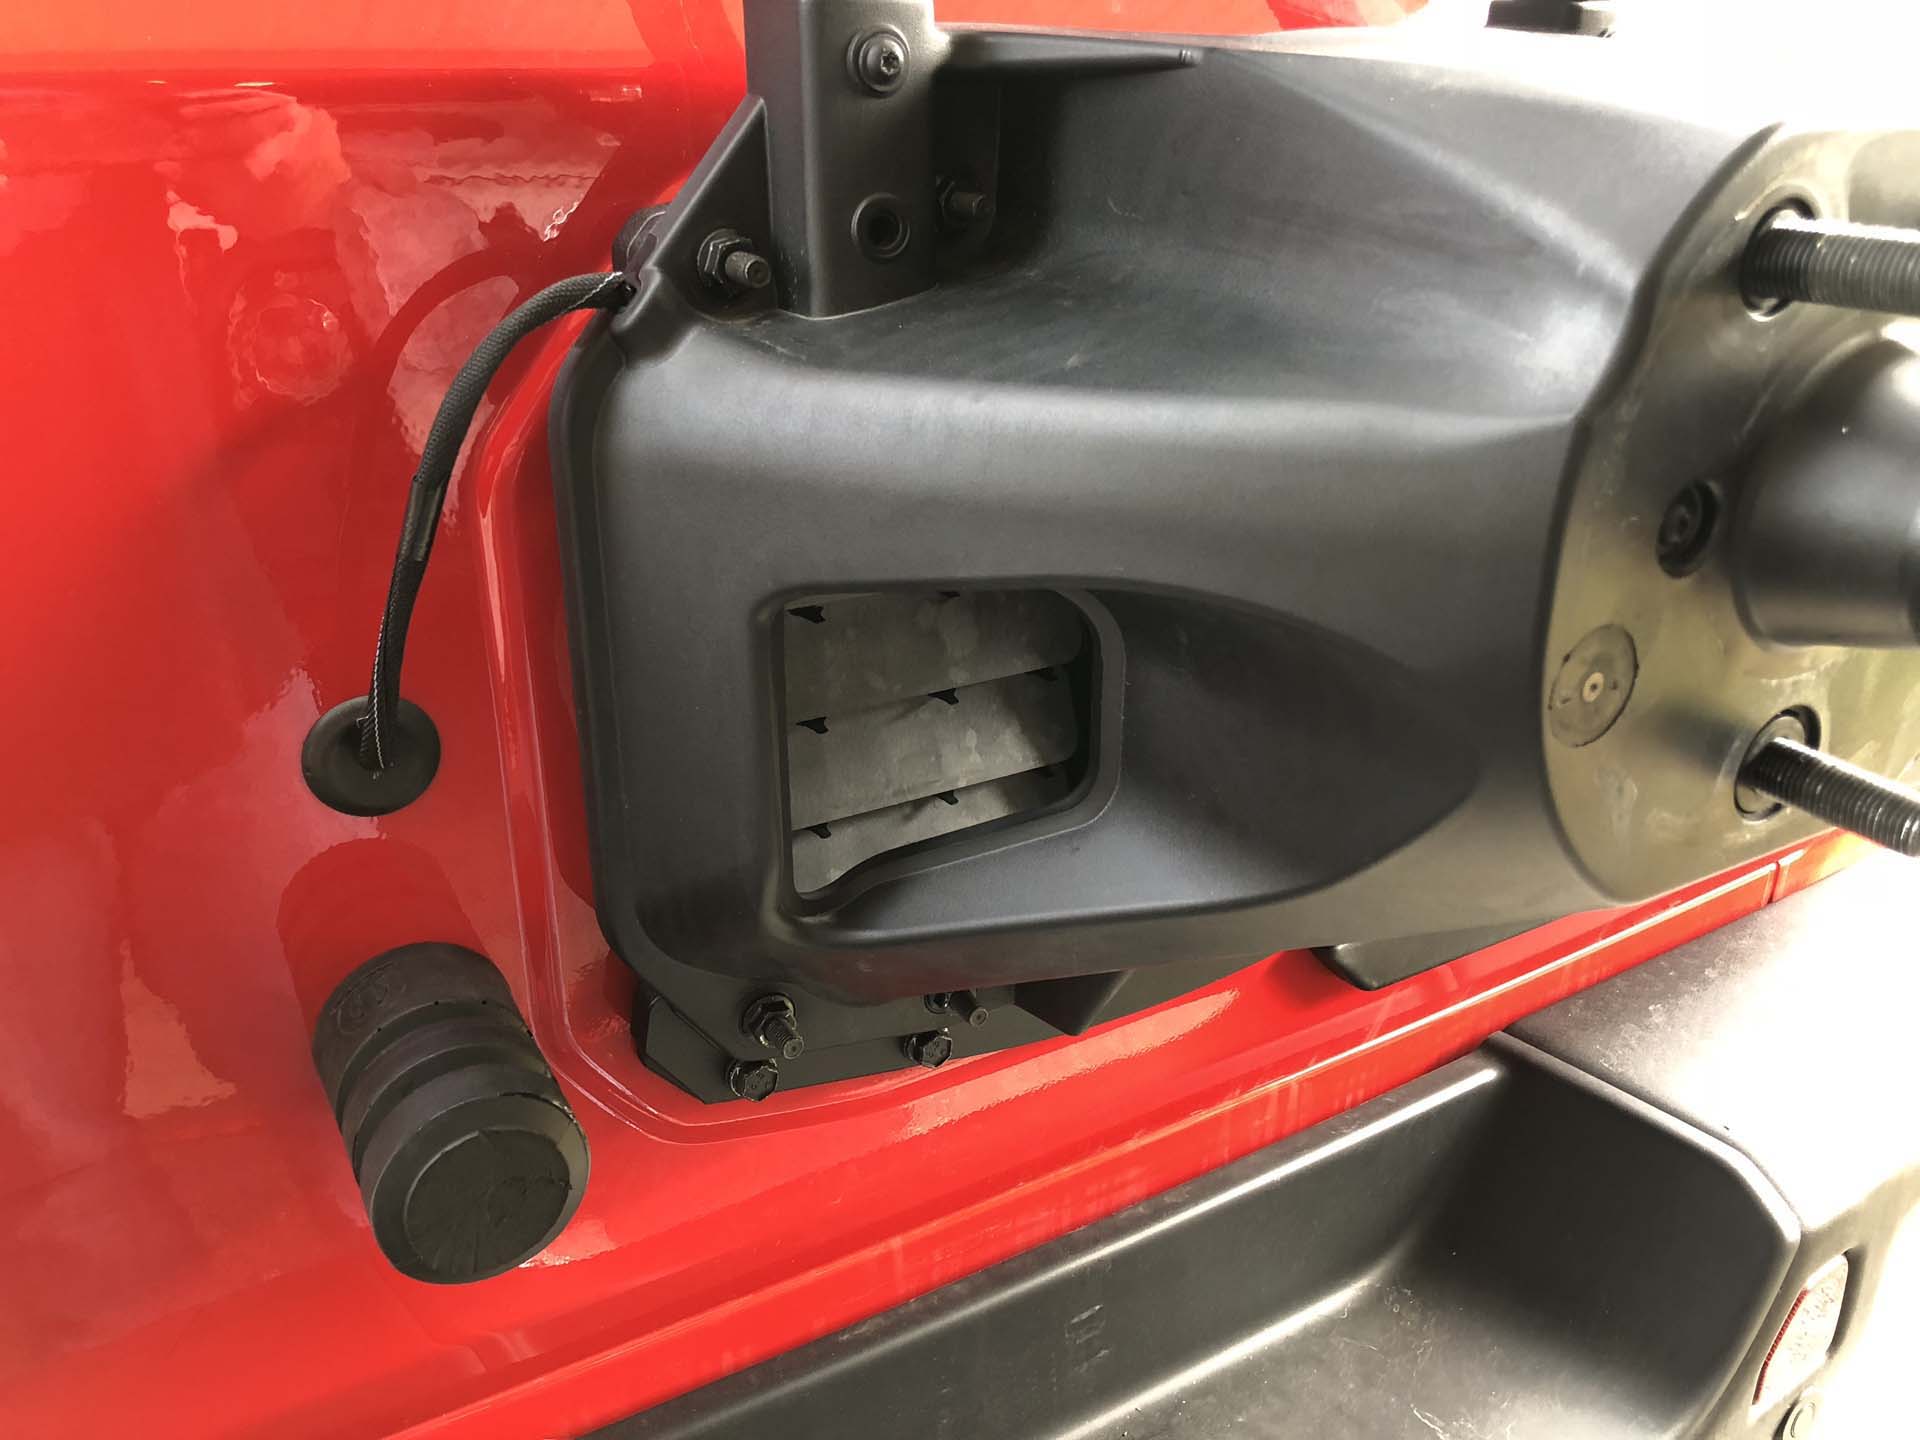
With all of the brackets installed tighten the bolts and proceed to the installation of the tire carrier. It’s likely that it will be necessary to reroute some of the wiring within the carrier to allow the carrier to be installed higher. Removing the cover from the tail light assembly allows access to the wire. Simply rerouting its path allows the extra length needed.

Get personalized content recommendations and answers drawn from our website. Simply type your question or topic of interest, and our AI assistant will help you find relevant articles, tips, and insights. You can also have a natural conversation to explore topics in more depth.

remove the torx bolts to allow access to the wires
extra wire length

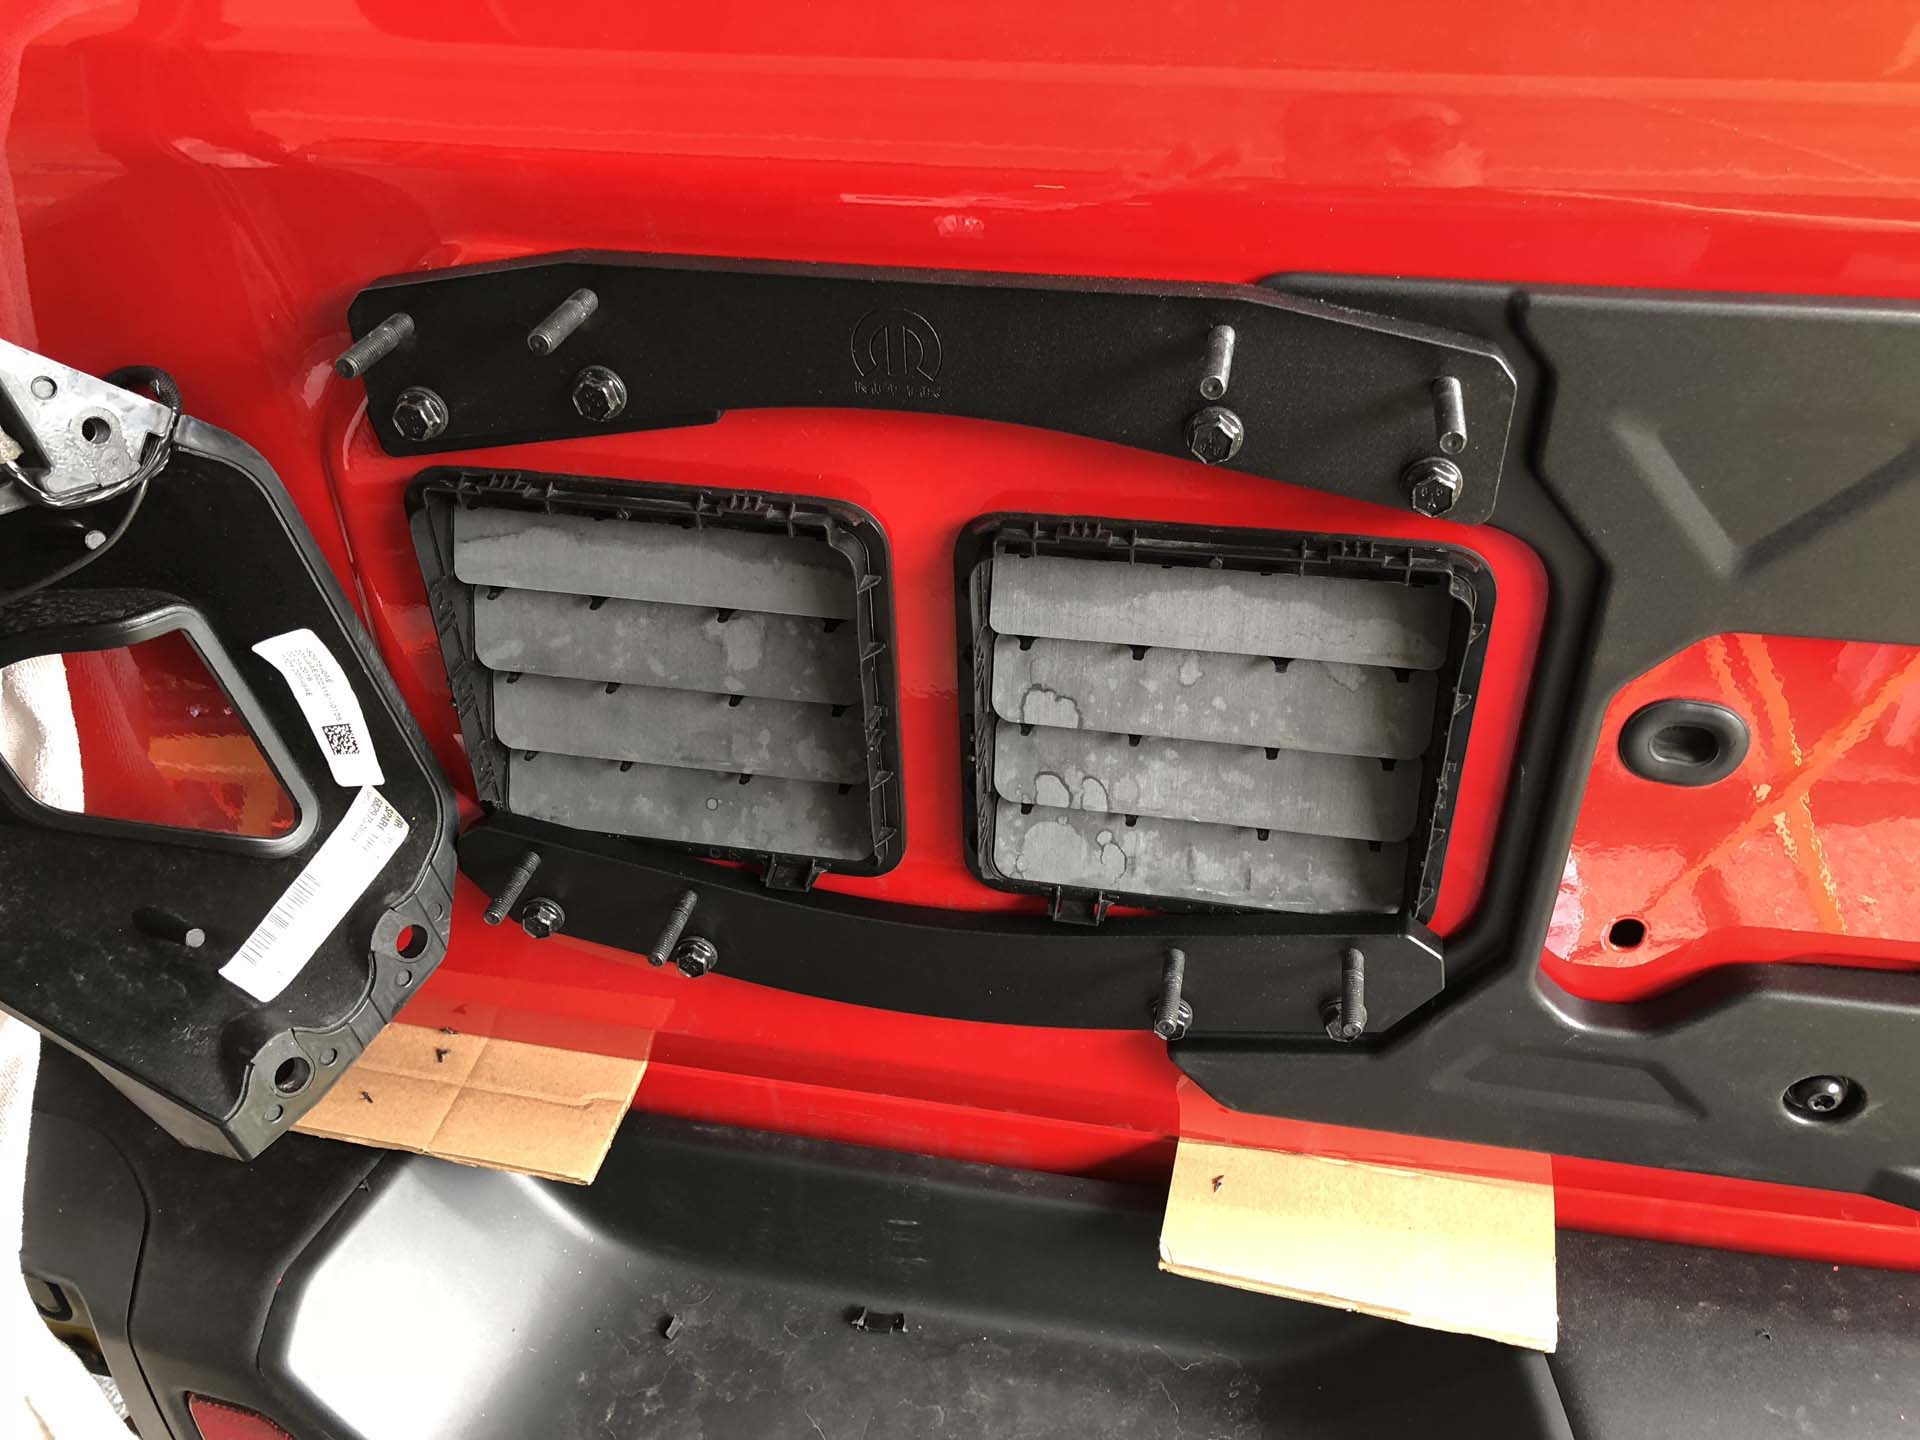
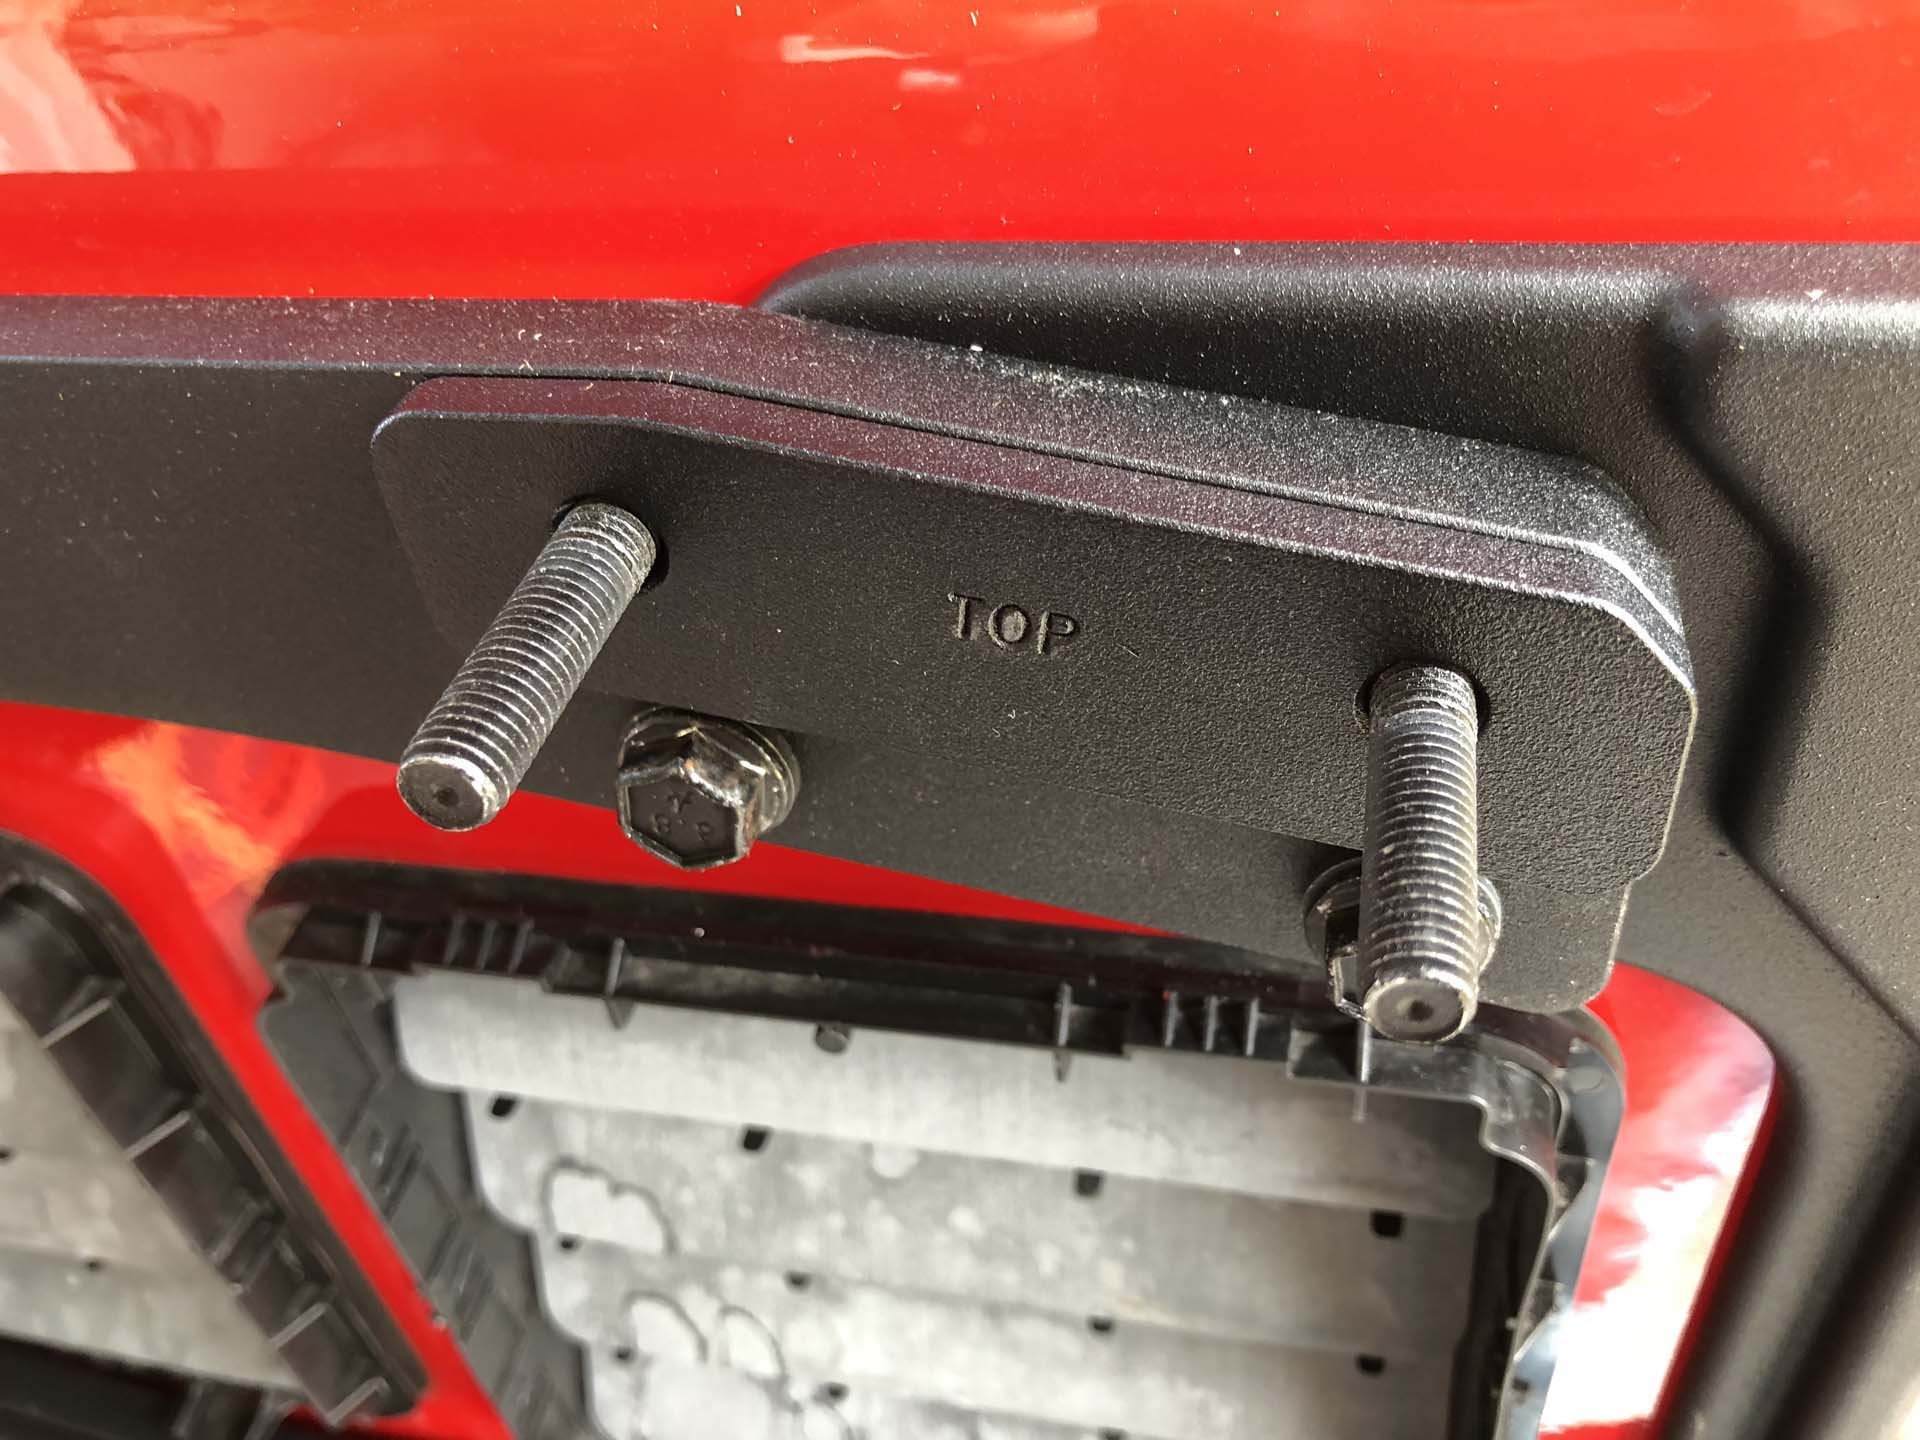
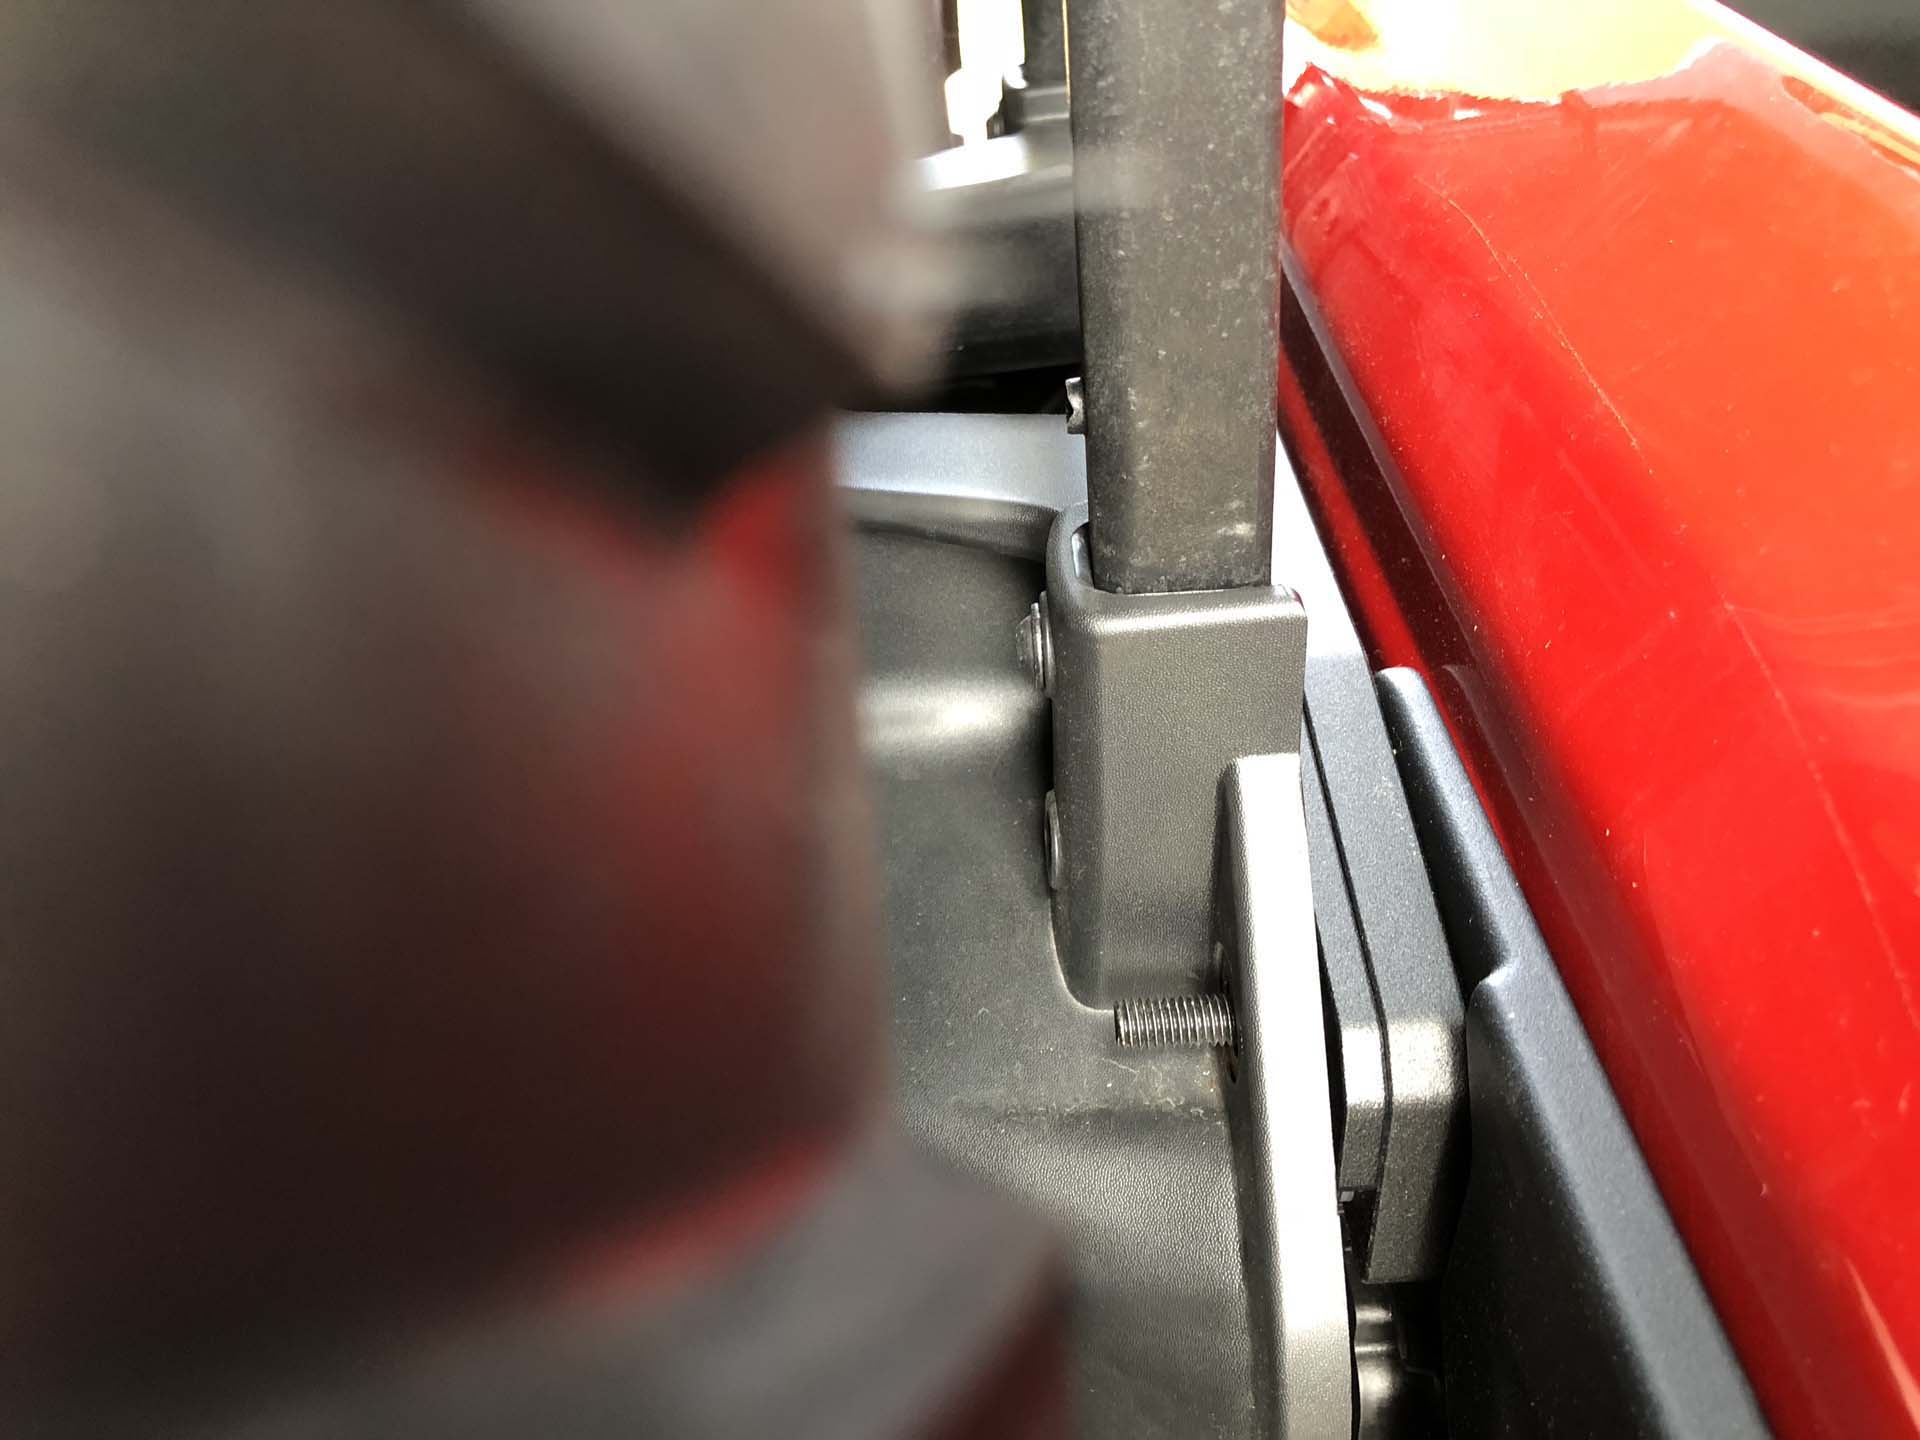
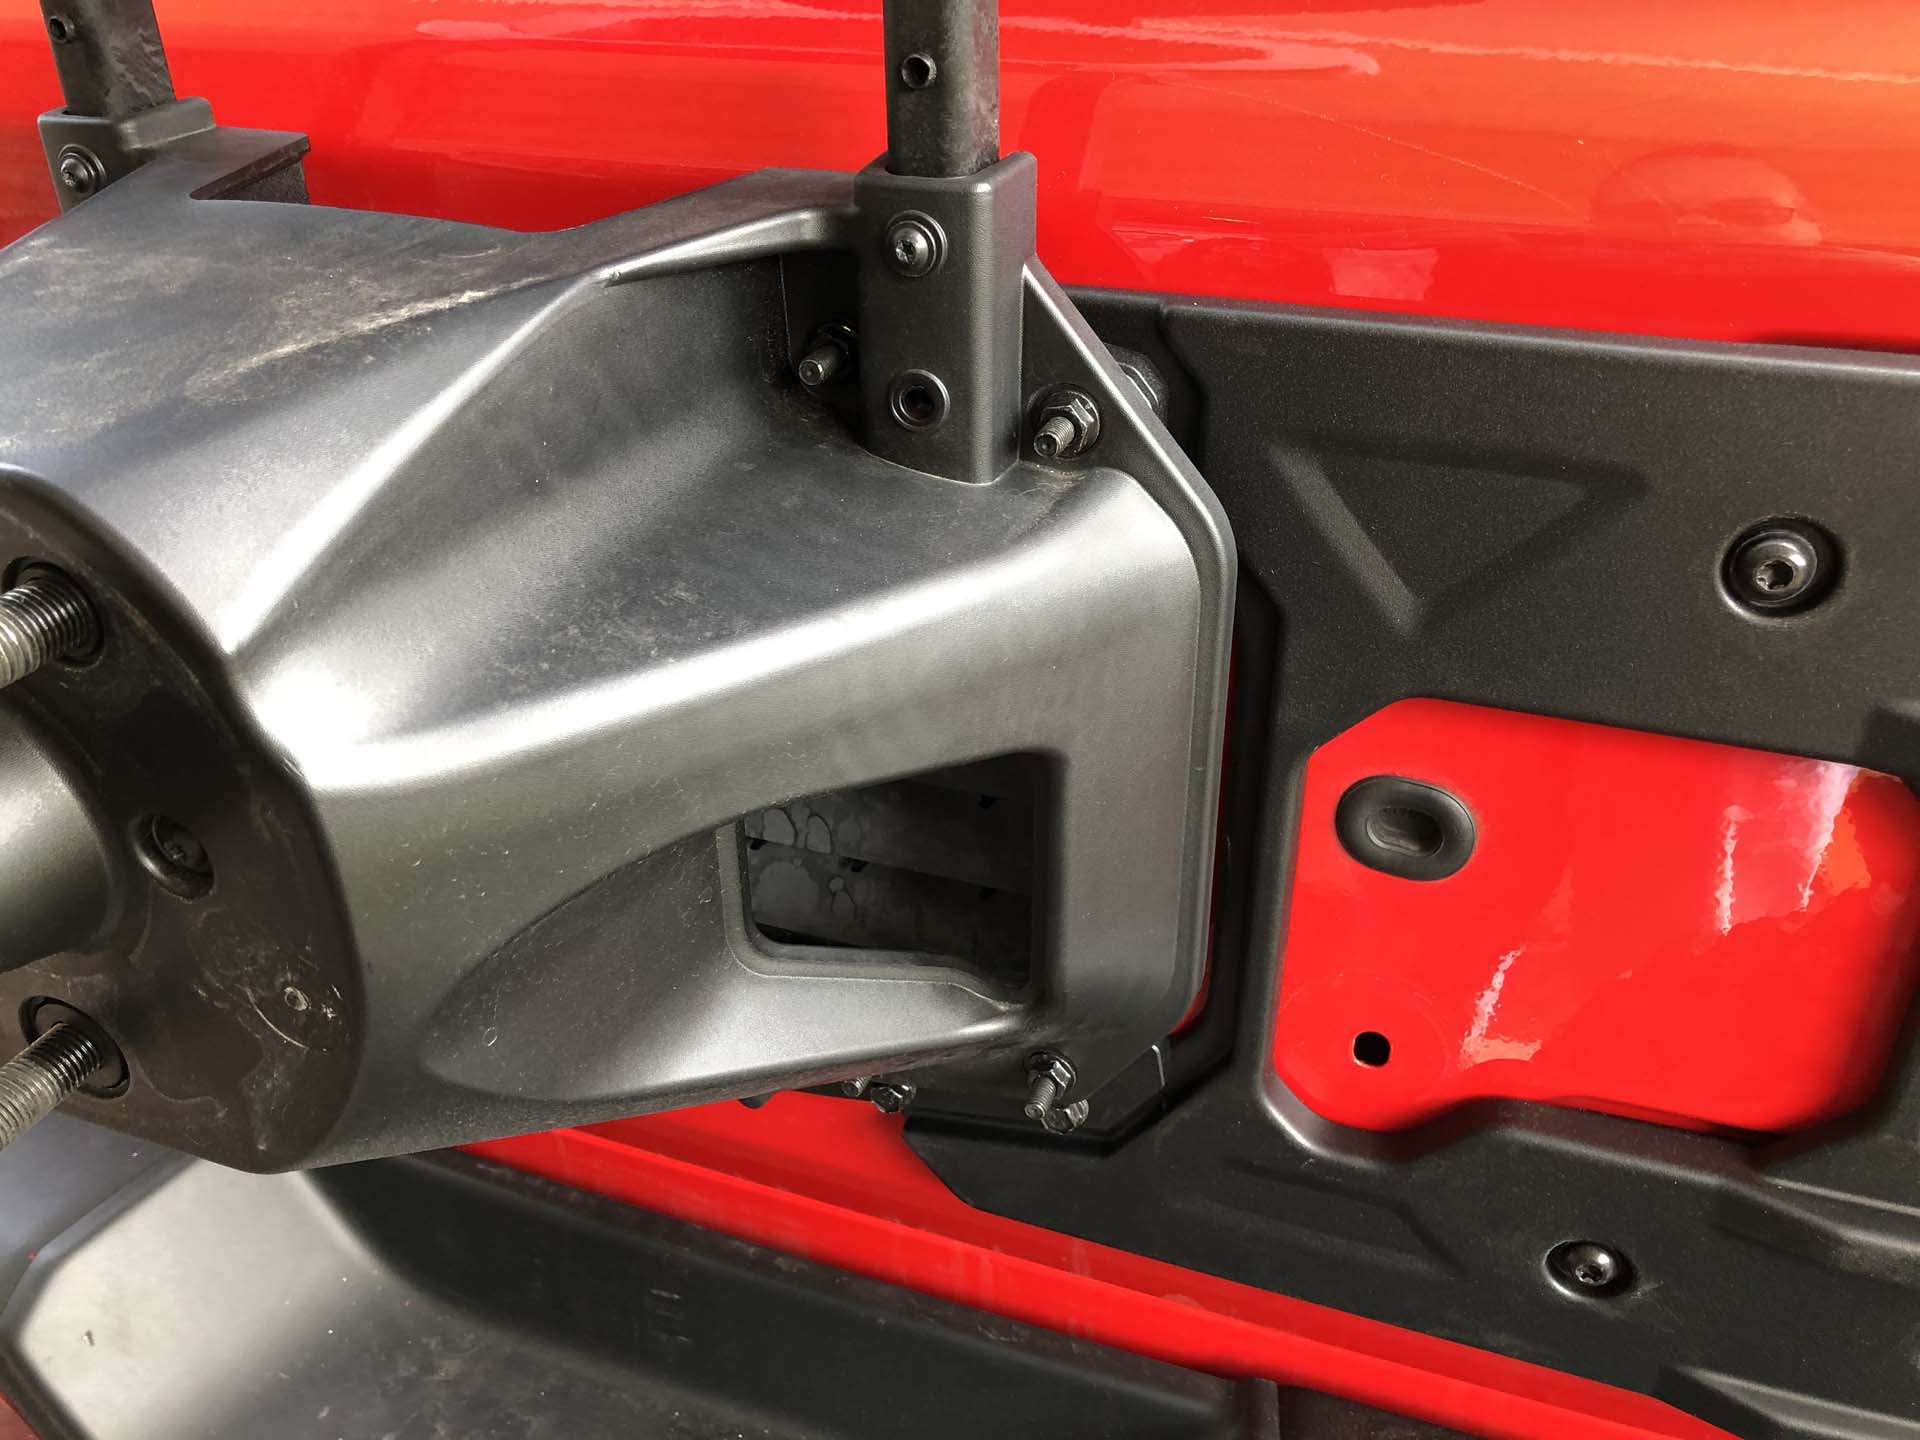
We installed the extra spacers then installed the carrier. Tighten down all the bolts. This is also a good time to adjust the height of the third brake light. Removing the four screws and pulling up the brake light mount will give the extra height to clear a 37″ tire. You will only use the bottom screw hole in the brake light mount.

carrier brackets installed
extra spacers
tightening down the carrier
test tire fitment
note the adjusted brake light mount
carrier installed

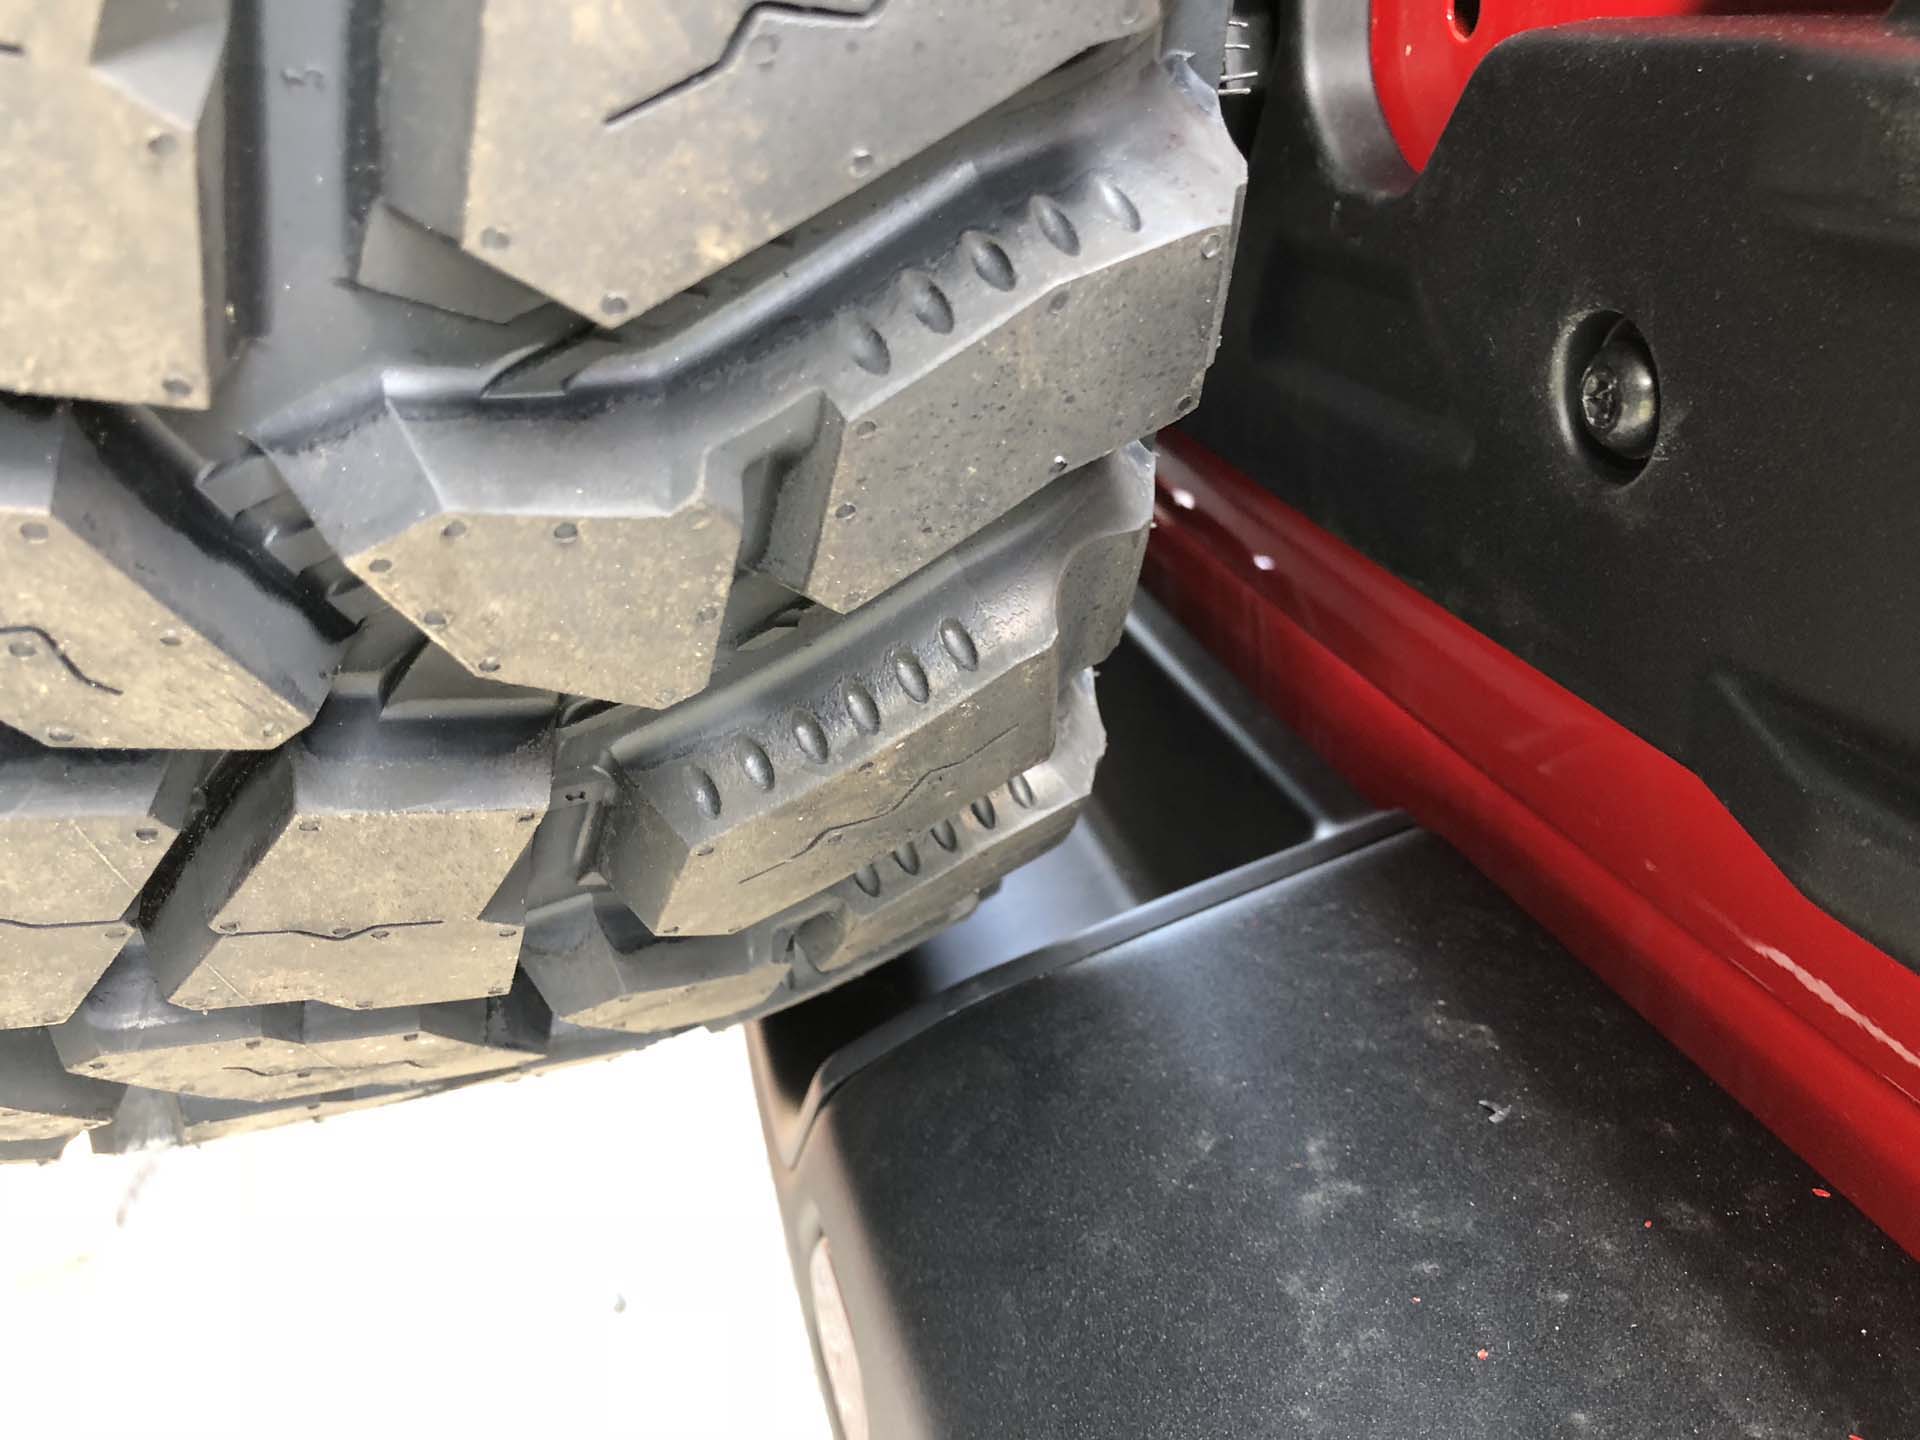
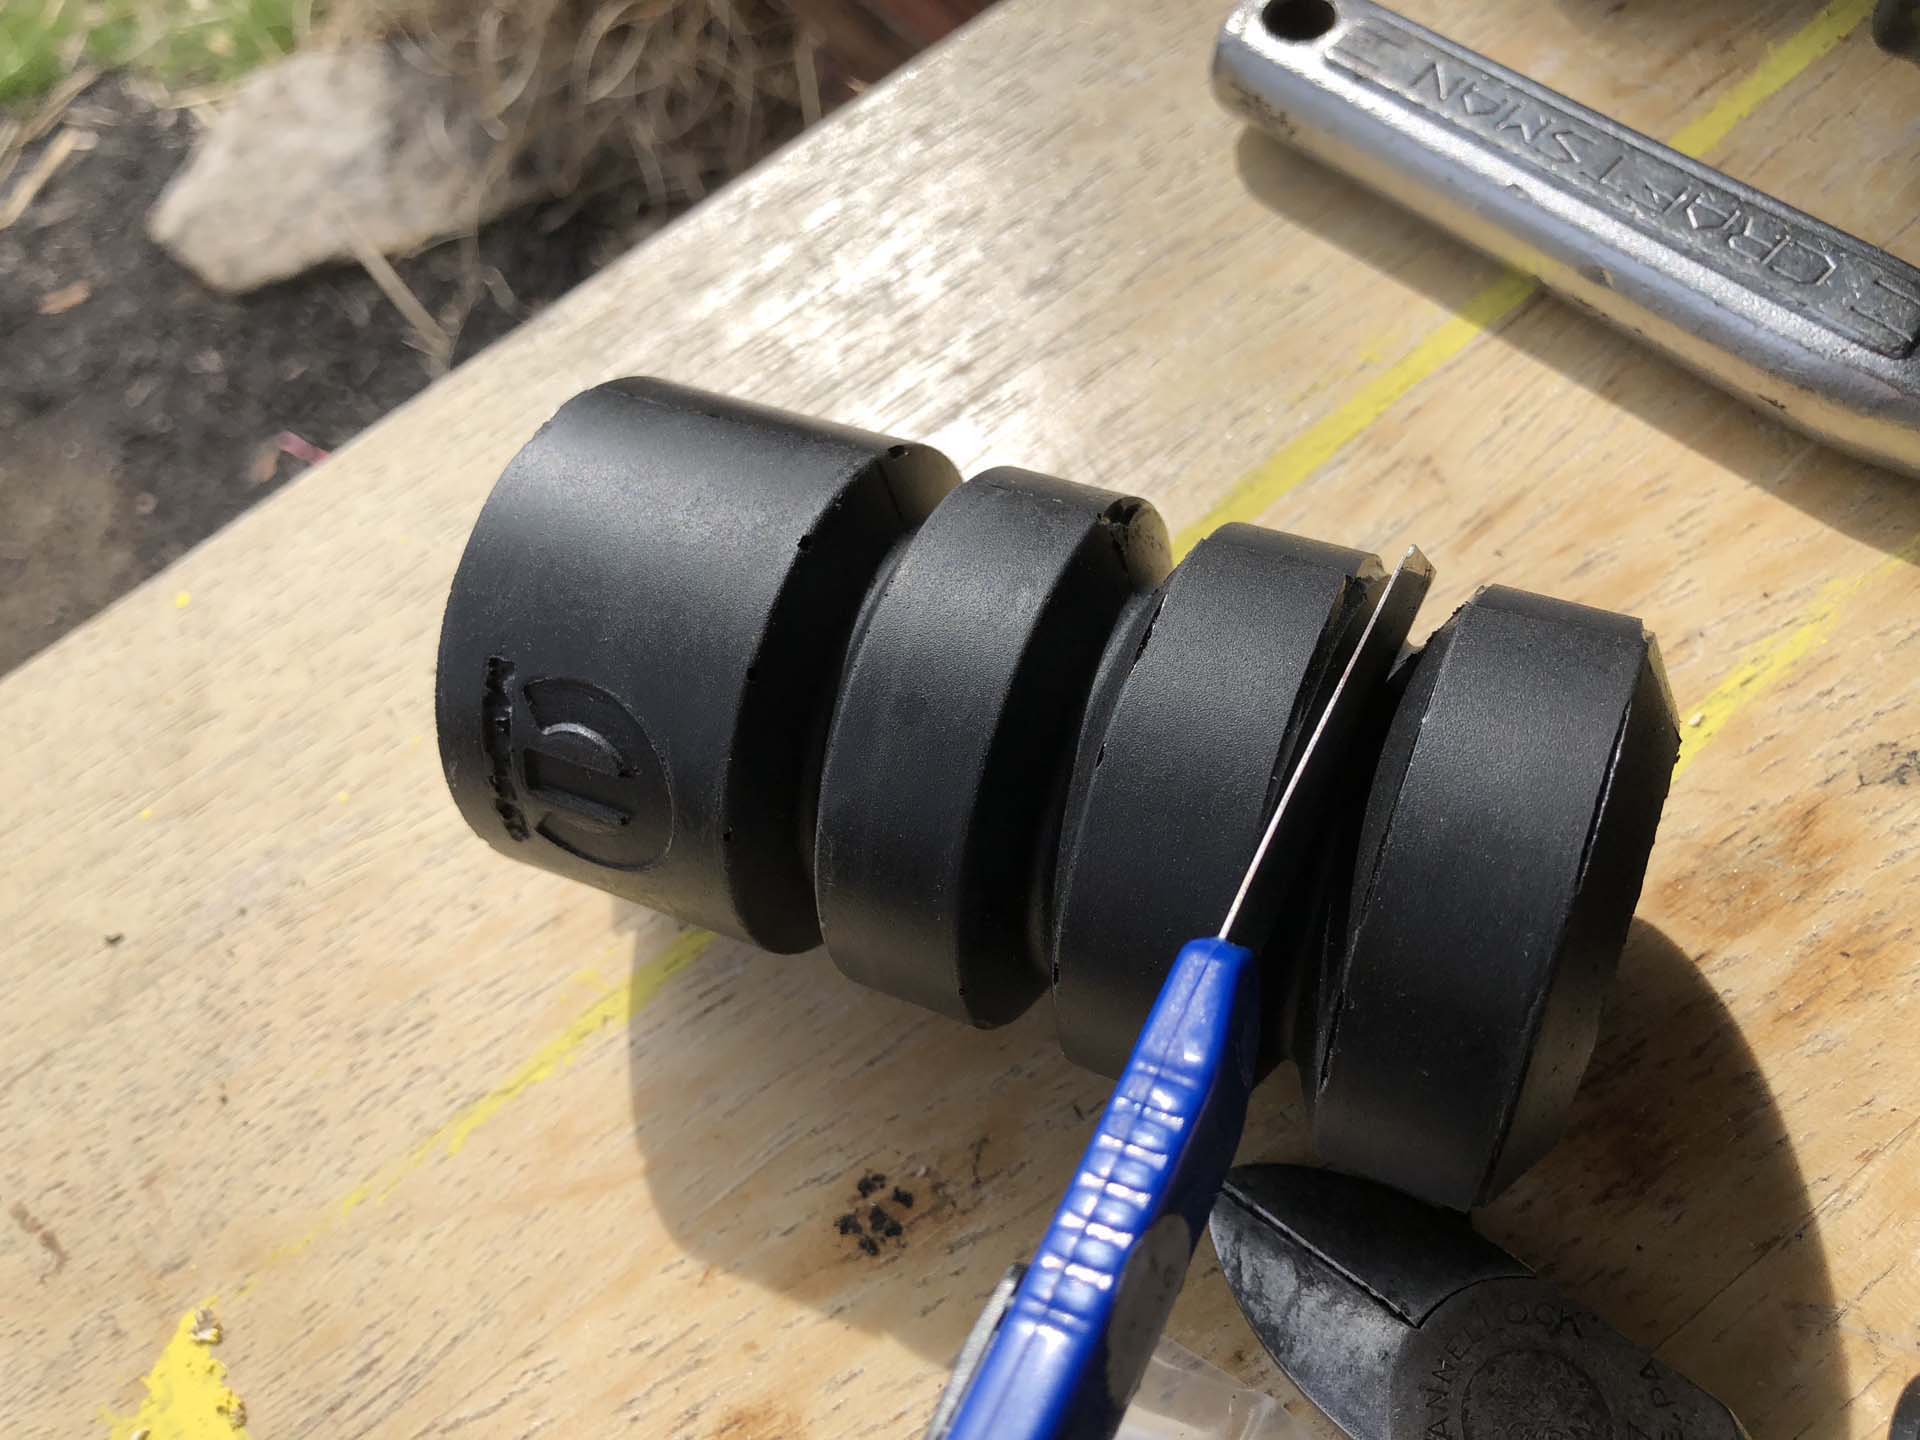
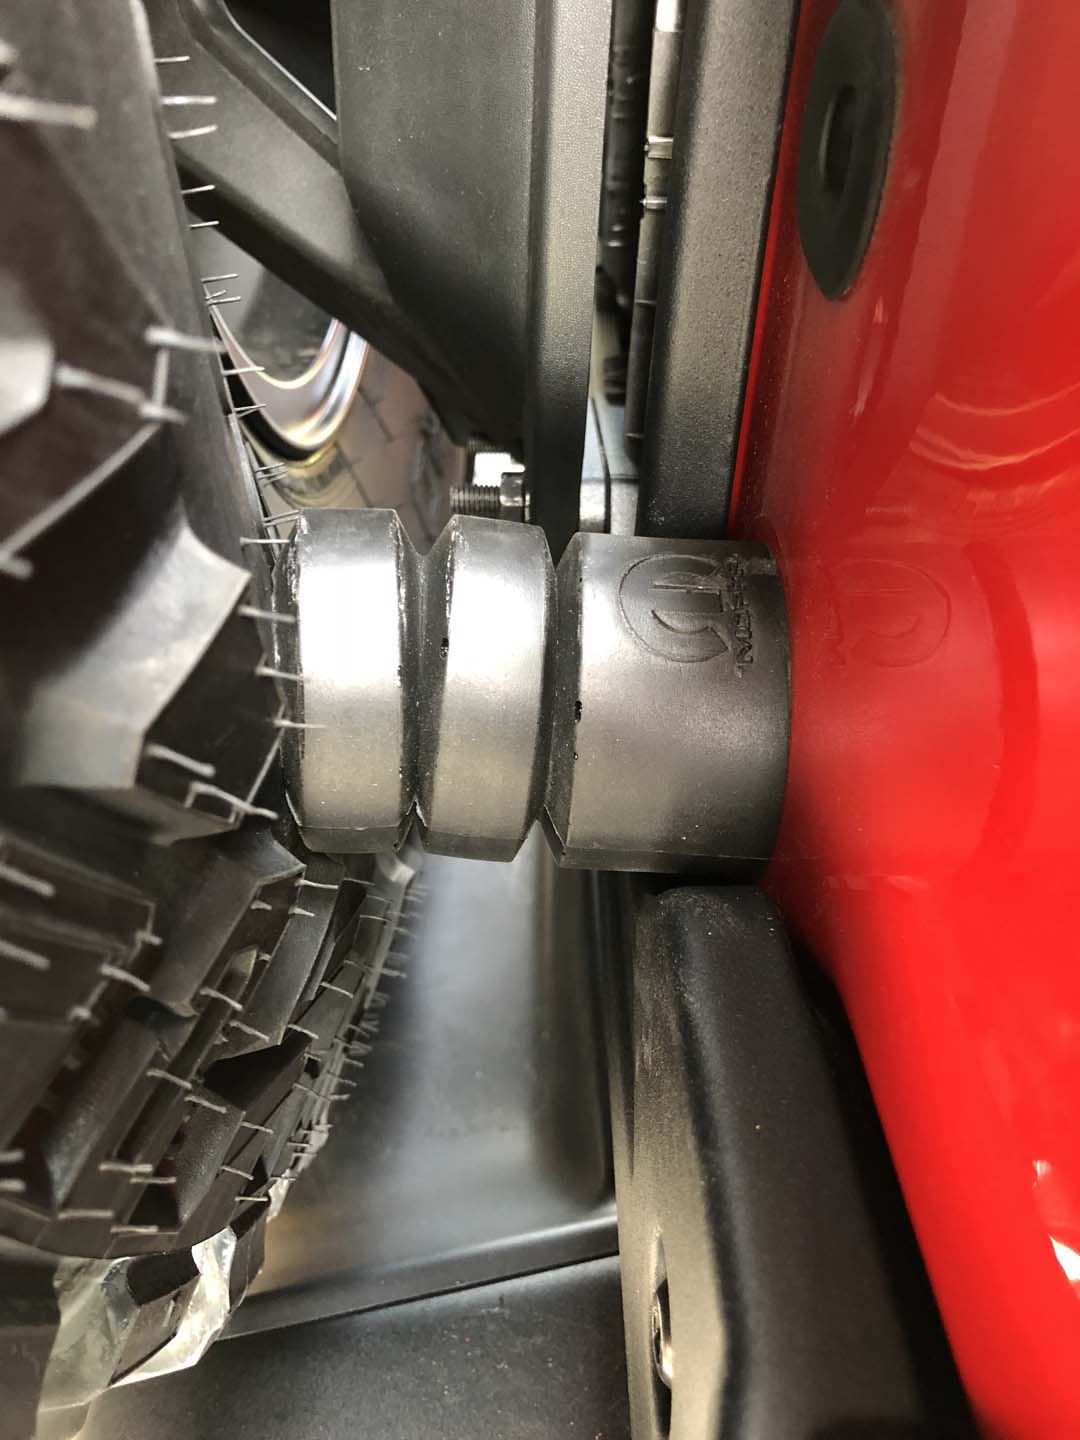
With the carrier installed things are ready to be wrapped up. Verify the tire clears the bumper. Cut the tire bumpers to fit snug, these will prevent the tire from wobbling and putting stress on the assembly. Adjust the tailgate with the weight of the tire to allow smooth latch operation.

trimming the tire bumper
tire bumper installed with some pressure
near complete installation
third brake light clearance
wiring after installation
nice clearance and fitment

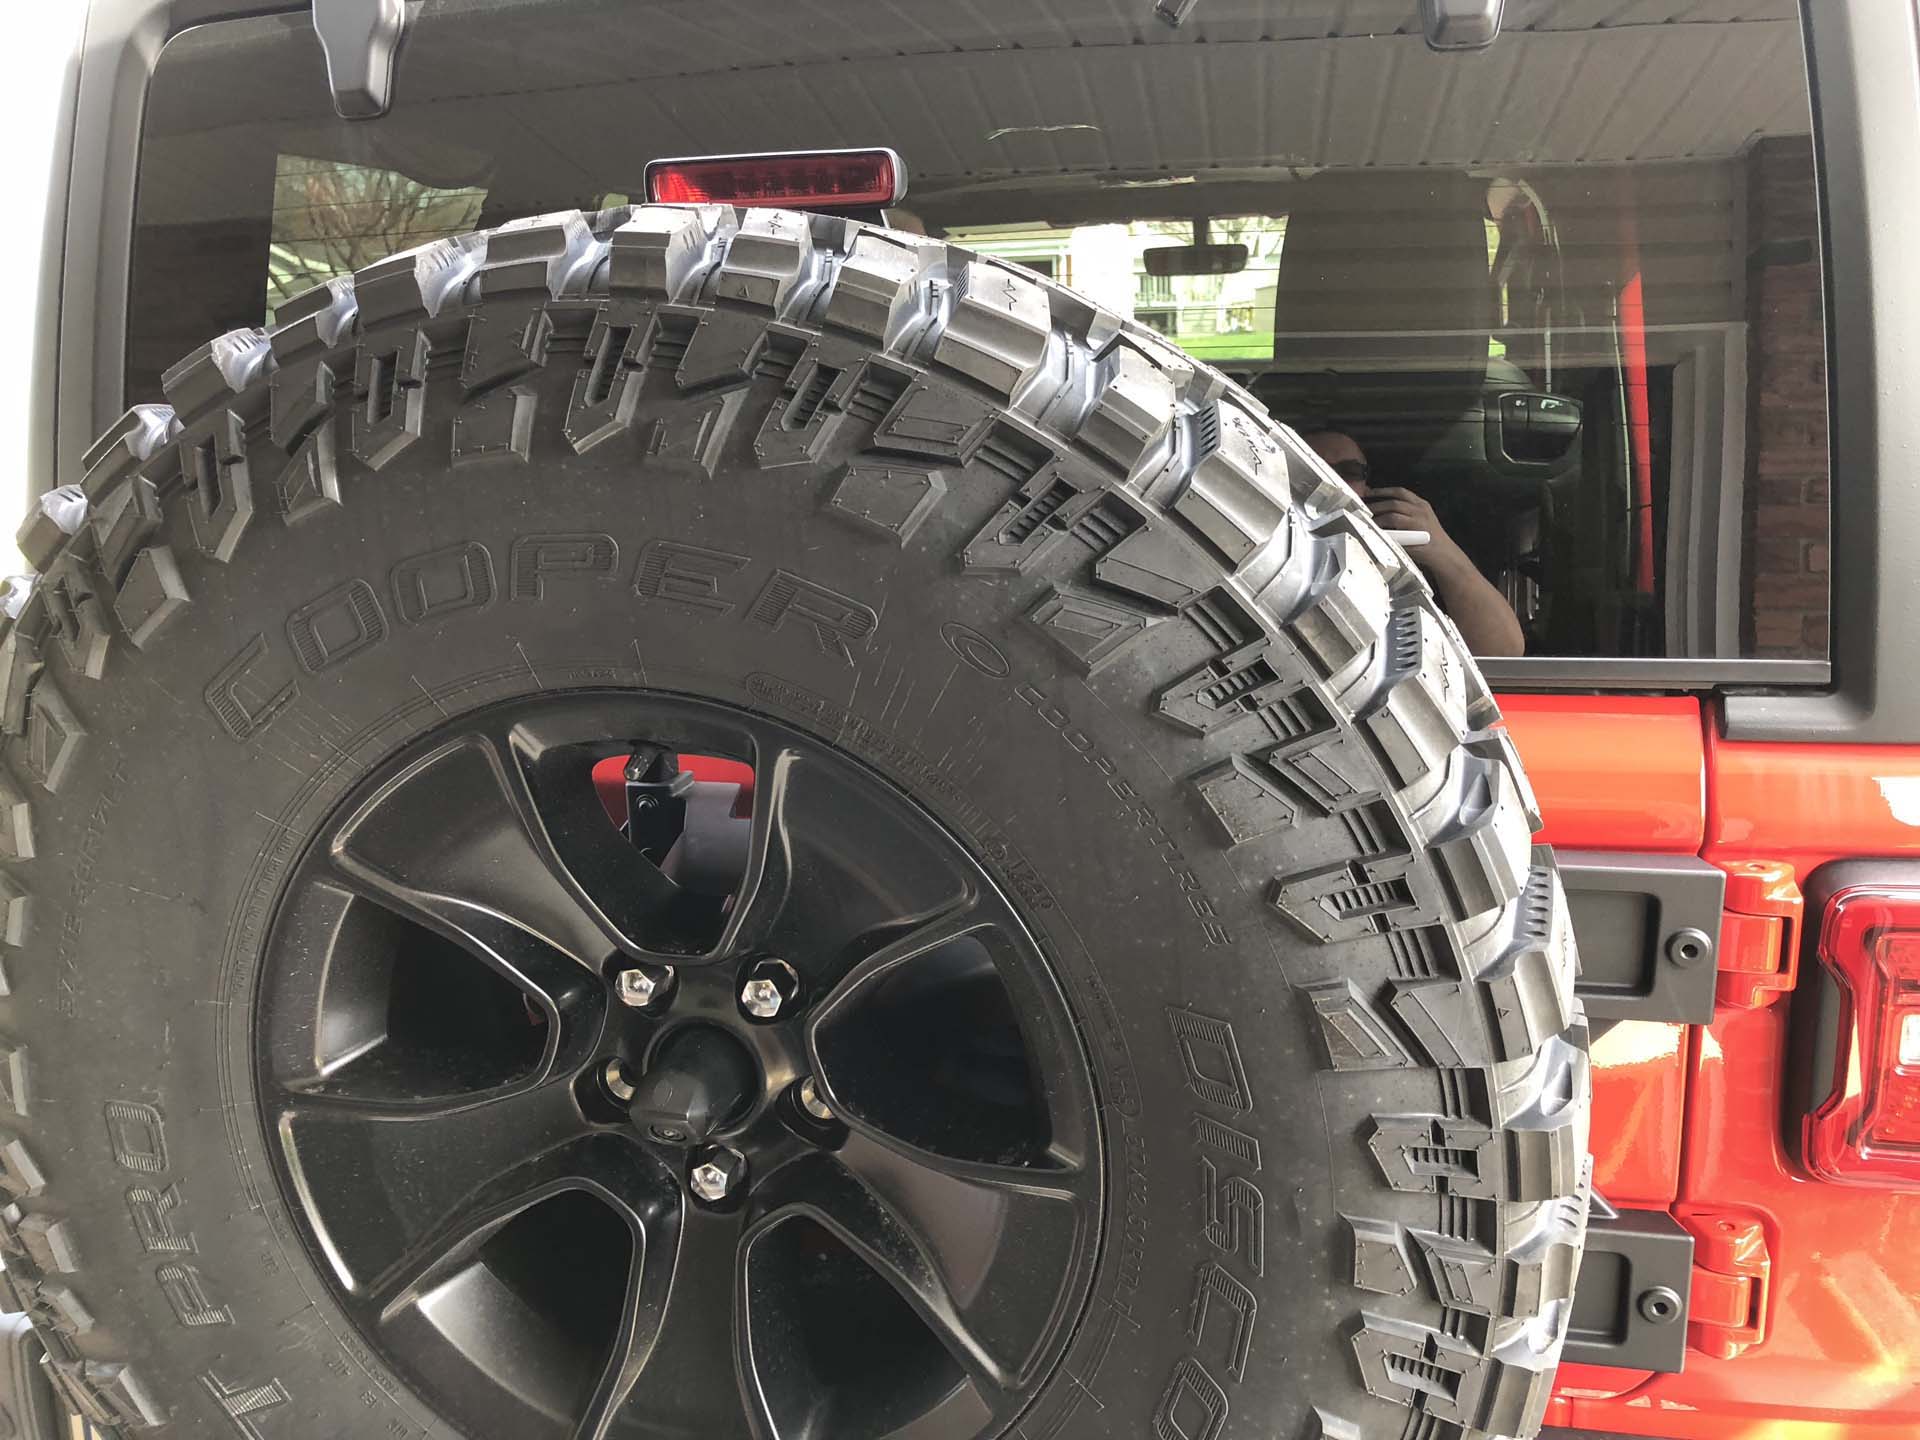
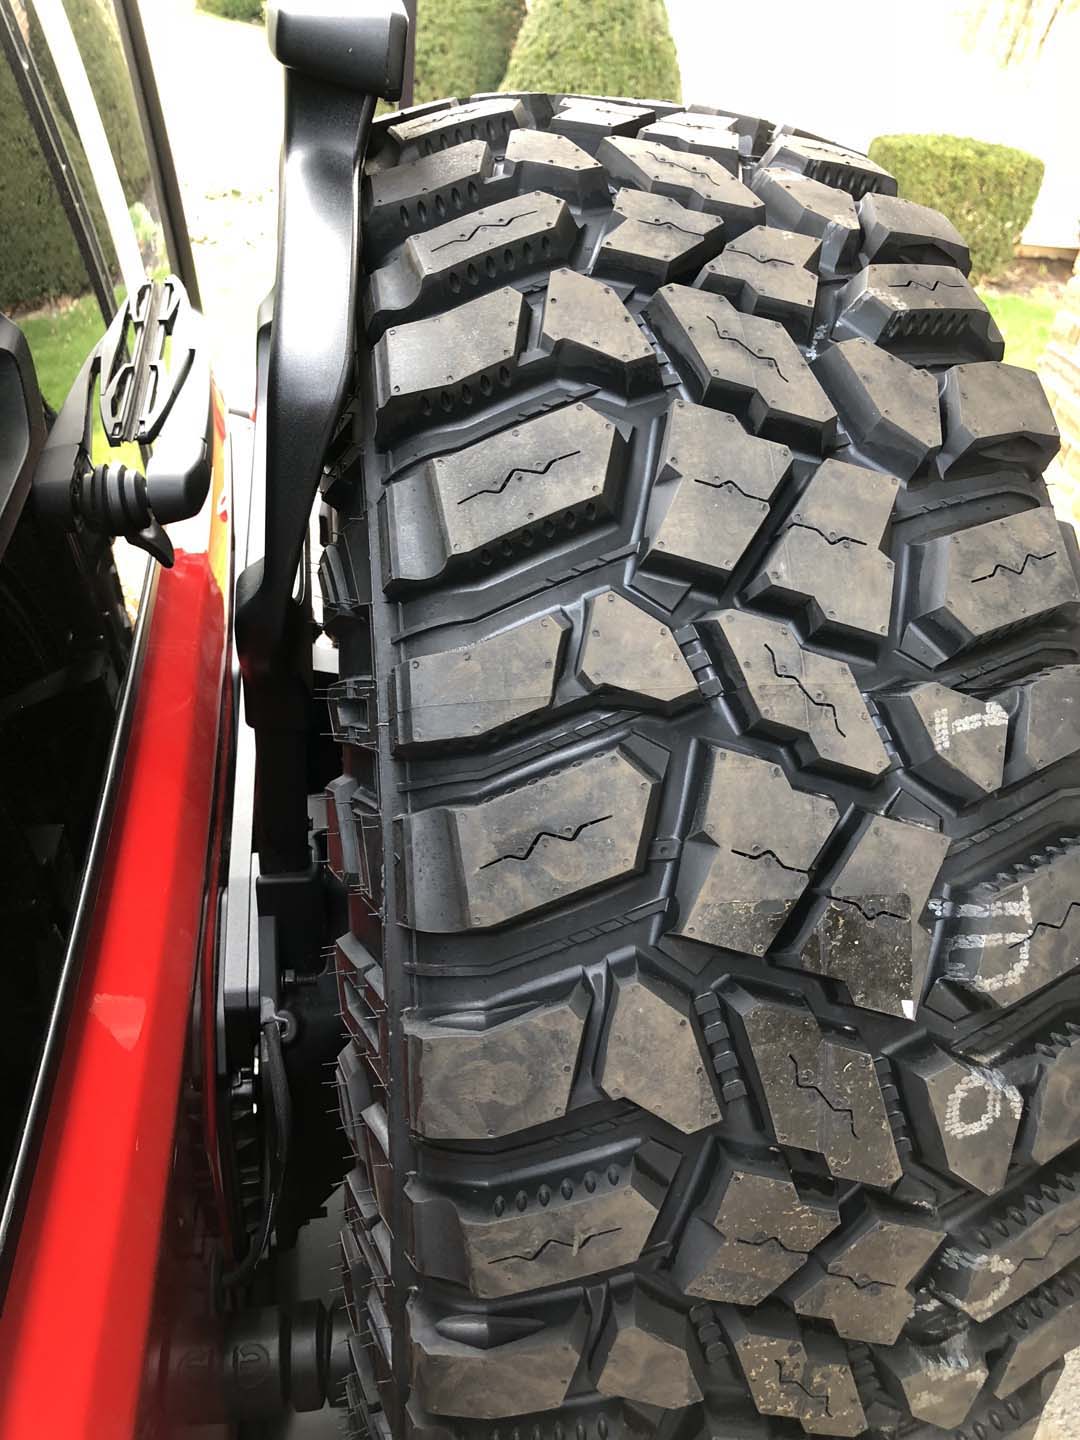
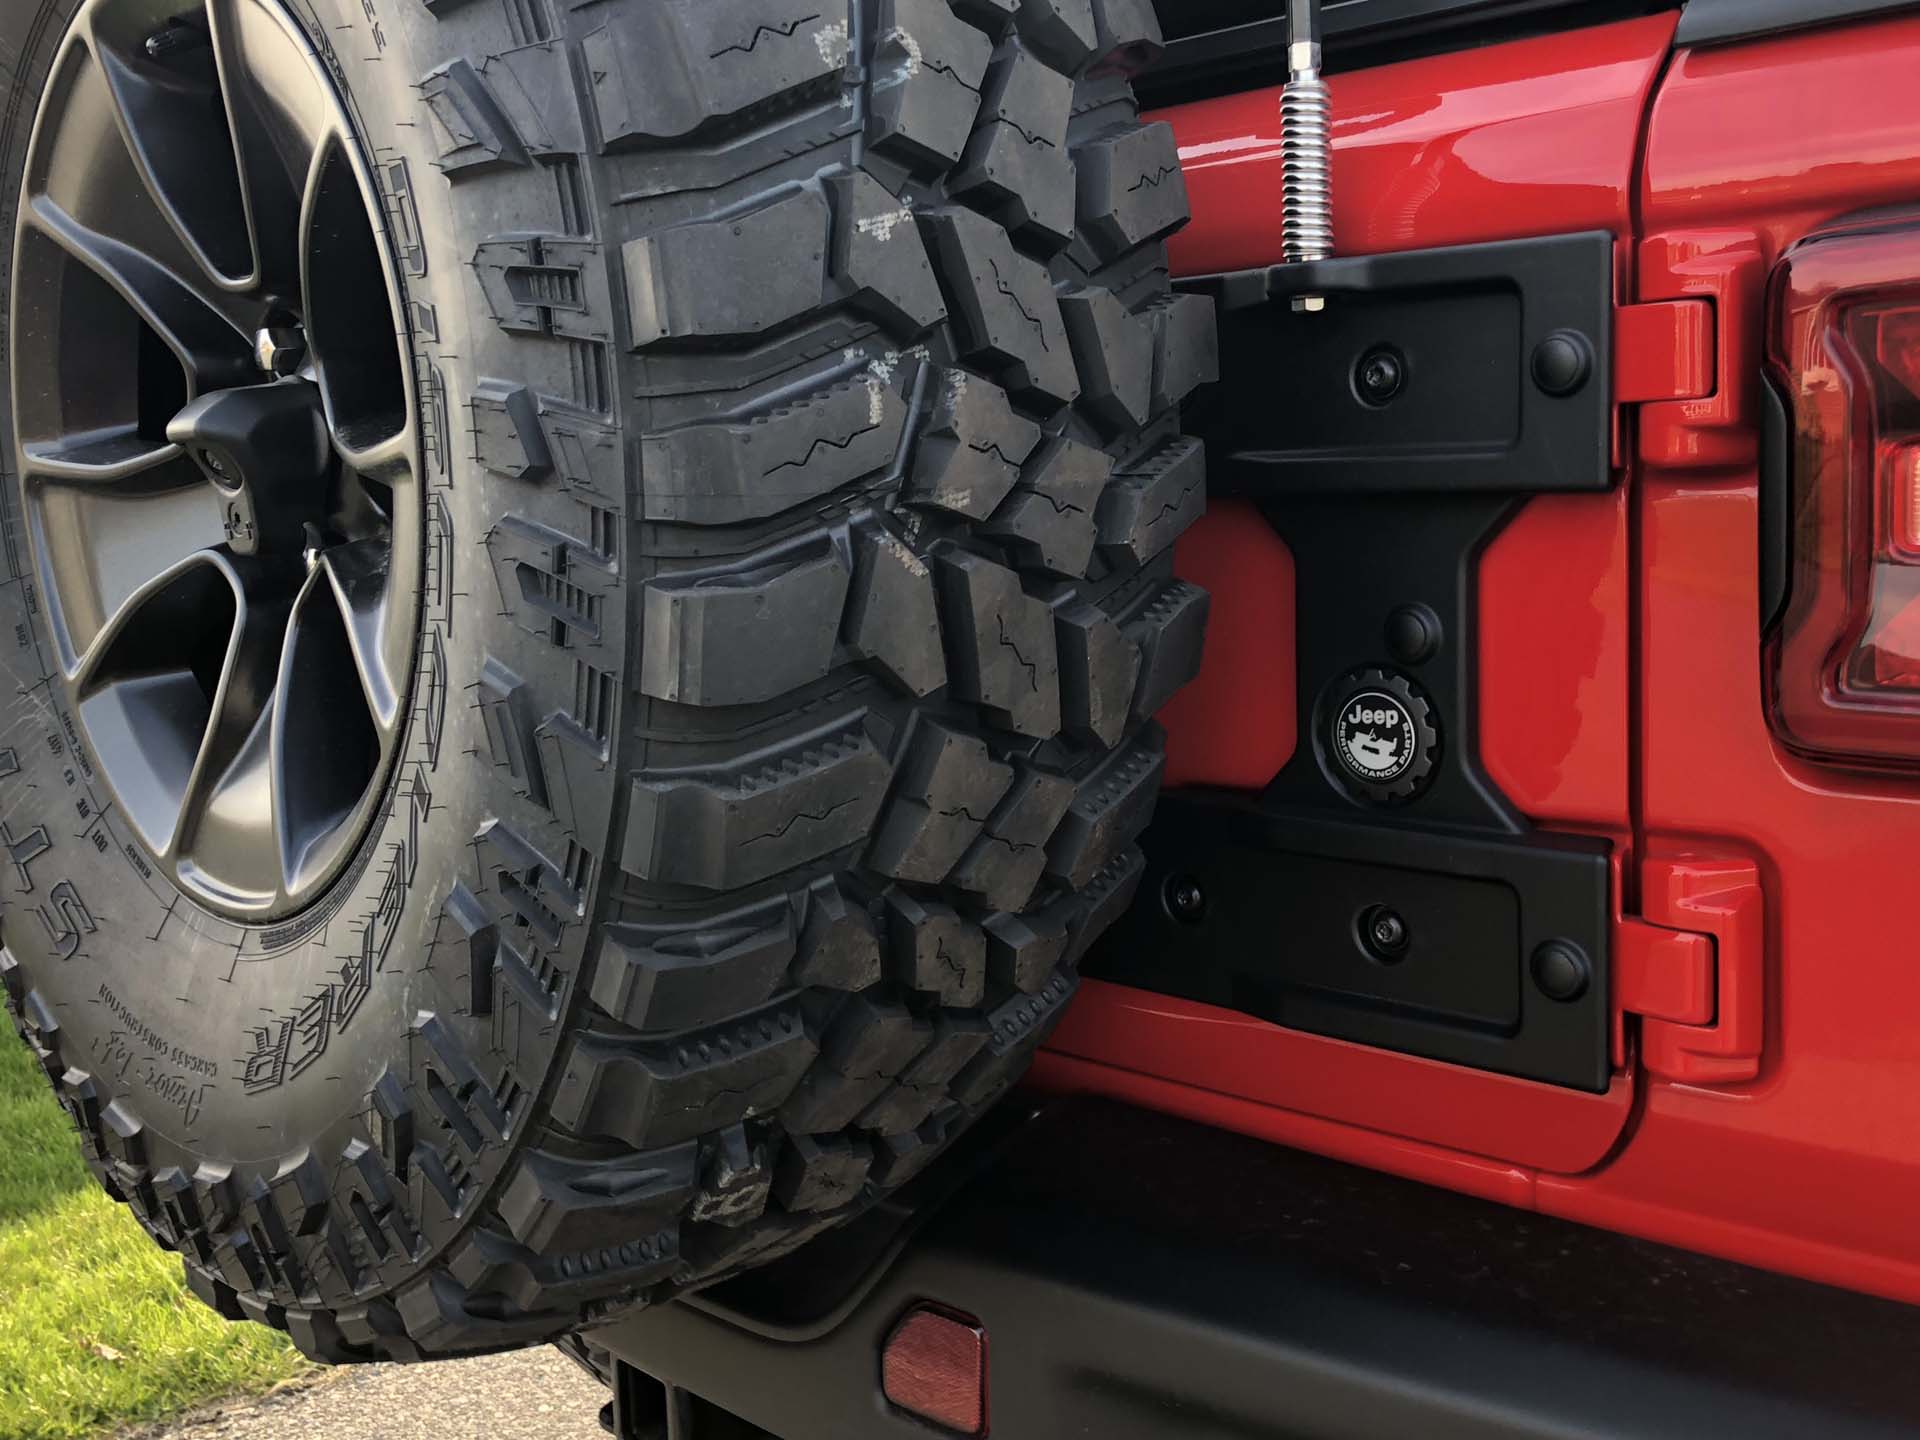
Wrapping it up. Install the tire, camera cover, and the Jeep Performance emblem. Make sure the tail gate operates smoothly and enjoy your Jeep’s new modification.

camer cover installation
Jeep emblem
completed install with CB antenna

Installation Page 1

Category: Projects & InstallsTag: how-to, jeepfan.com 2018 JL Rubicon, JL Wrangler

You’ll also enjoy these posts


check out these trending posts


Jeep Vehicles VIN Reference Guide

 13K+

How Electronic Start Stop ESS Works on the Jeep Wrangler JL

 6K+

The Wrangler 4xe Explained Simply-ish

 2K+

Understanding and Troubleshooting Jeep CJ Gauges and Senders

 4K+

Jeep Quadra-Trac 4wd System

 2K+

Jeep CJ Exhaust – Headers and Mufflers

 945

Receive exclusive recommendations directly from our website.

Sidebar


Jeep TJ 1997-2006 How to Build and Modify

Grab Your CopyJeep TJ 1997-2006 How to Build and Modify

jeepfan.com

  • Instagram
  • Facebook
  • Twitter
  • YouTube

© 2025 · jeepfan.com · Powered by Bizbudding

Privacy Manager

Explore

  • Projects & Installs
  • Technical & Info
  • Offroading & Events
  • Products
  • Racing
  • Readers Jeeps
  • Jeep News & Information jeepfan.com blog

About

  • Contact
  • Advertise
  • About
  • Terms of Use

Partners

  • Quadratec
  • Rough Country
  • TeraFlex
  • Maximus 3
  • 7S Garage
  • OK Auto