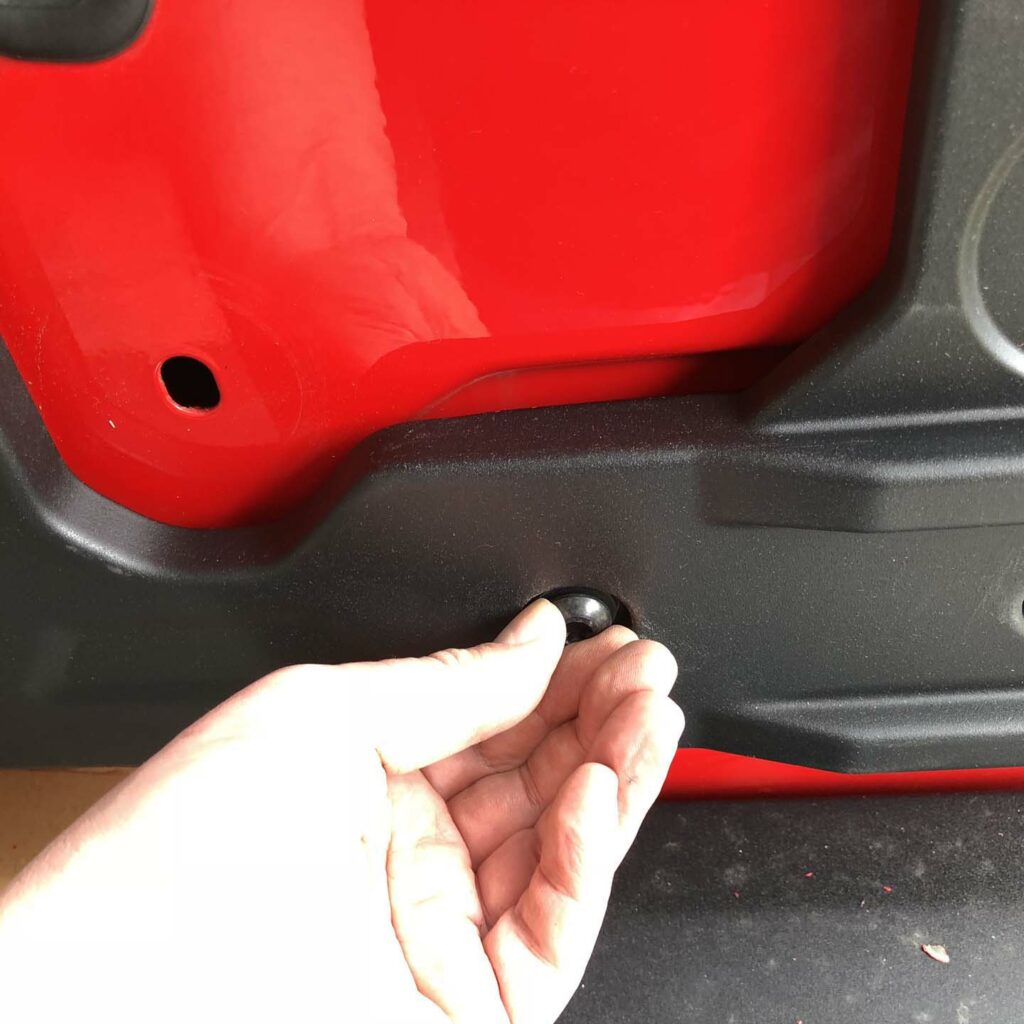
With the carrier out of the way use the supplied cardboard block to support the hinge side of the tailgate while the hinge bolts are removed. Remove the rubber tire bumpers. Remove the four hinge bolts. Be careful to keep the tailgate closed and aligned.

Get personalized content recommendations and answers drawn from our website. Simply type your question or topic of interest, and our AI assistant will help you find relevant articles, tips, and insights. You can also have a natural conversation to explore topics in more depth.
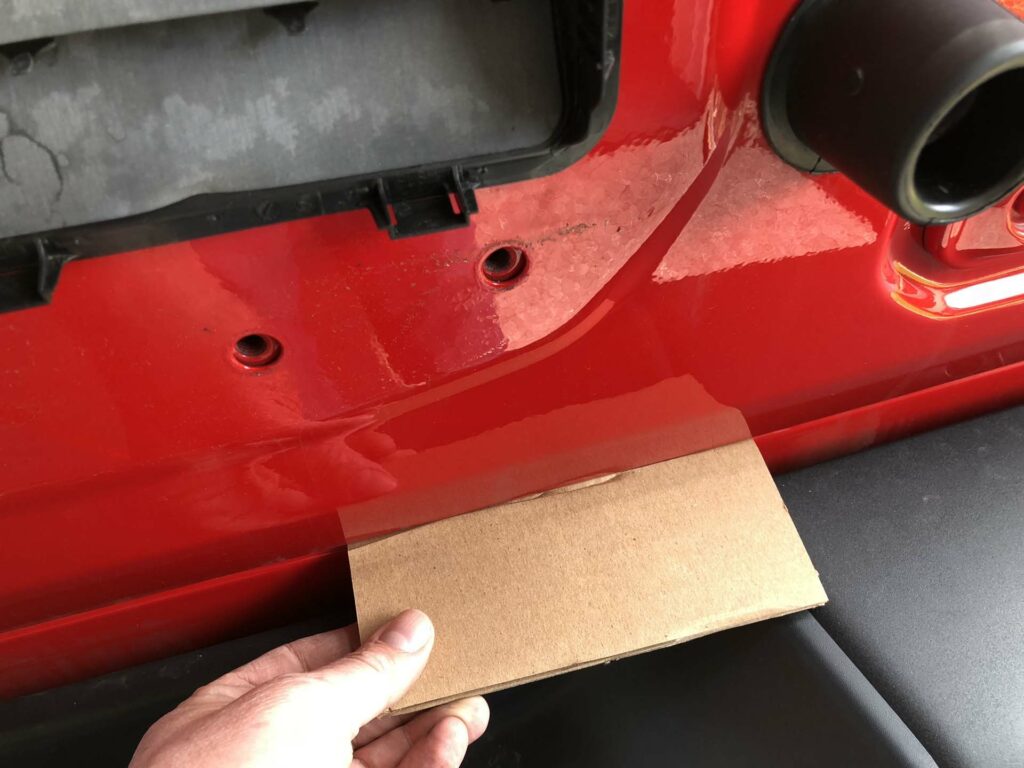
cardboard shim 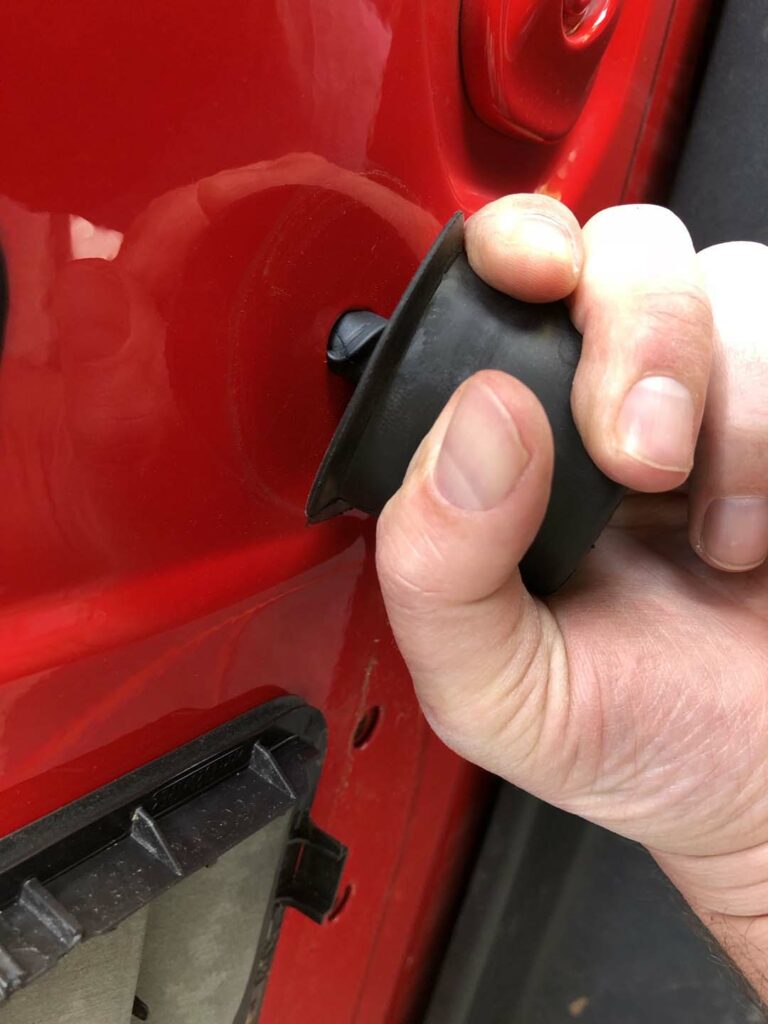
tire bumper removal 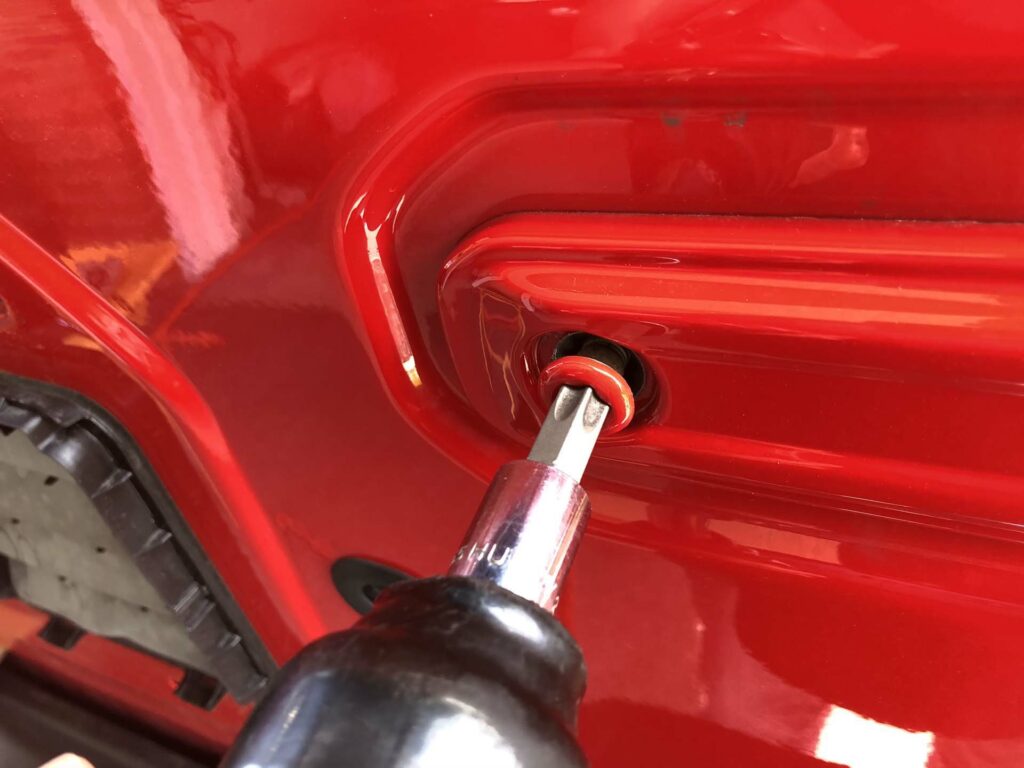
removing the factory bolts 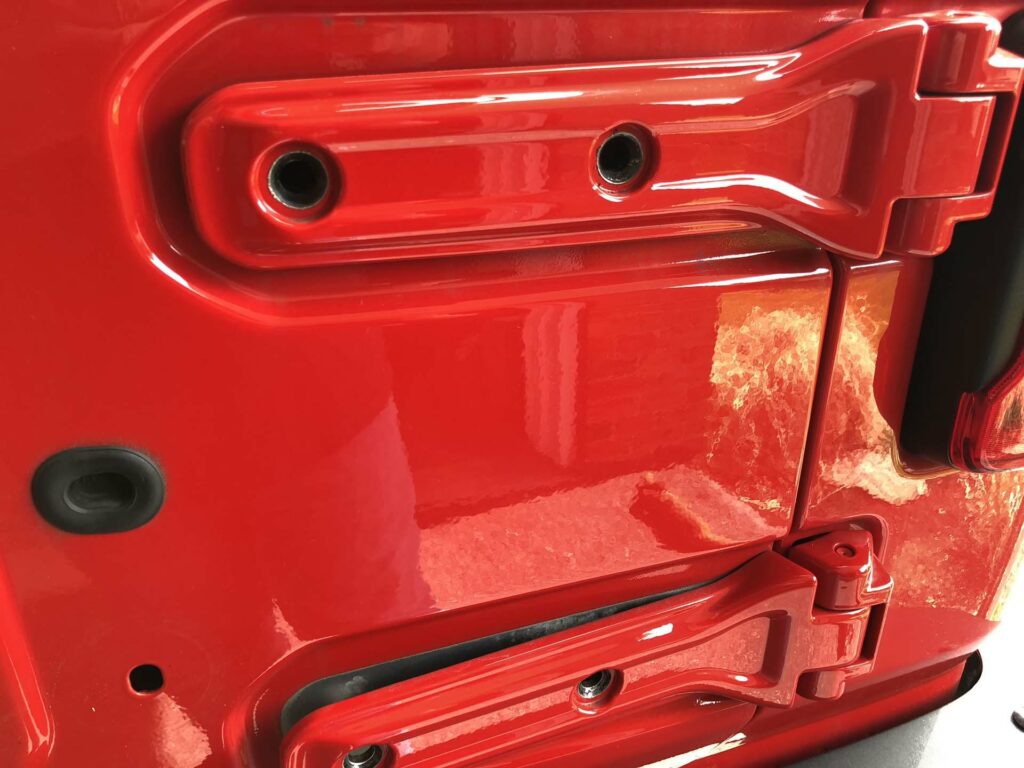
bolts removed
According to the instructions the new hinge bolts are placed into the reinforcement along with a spacer and plastic retainer. With the bolts in place install the reinforcement plate onto the factory hinges. Do not fully tighten.
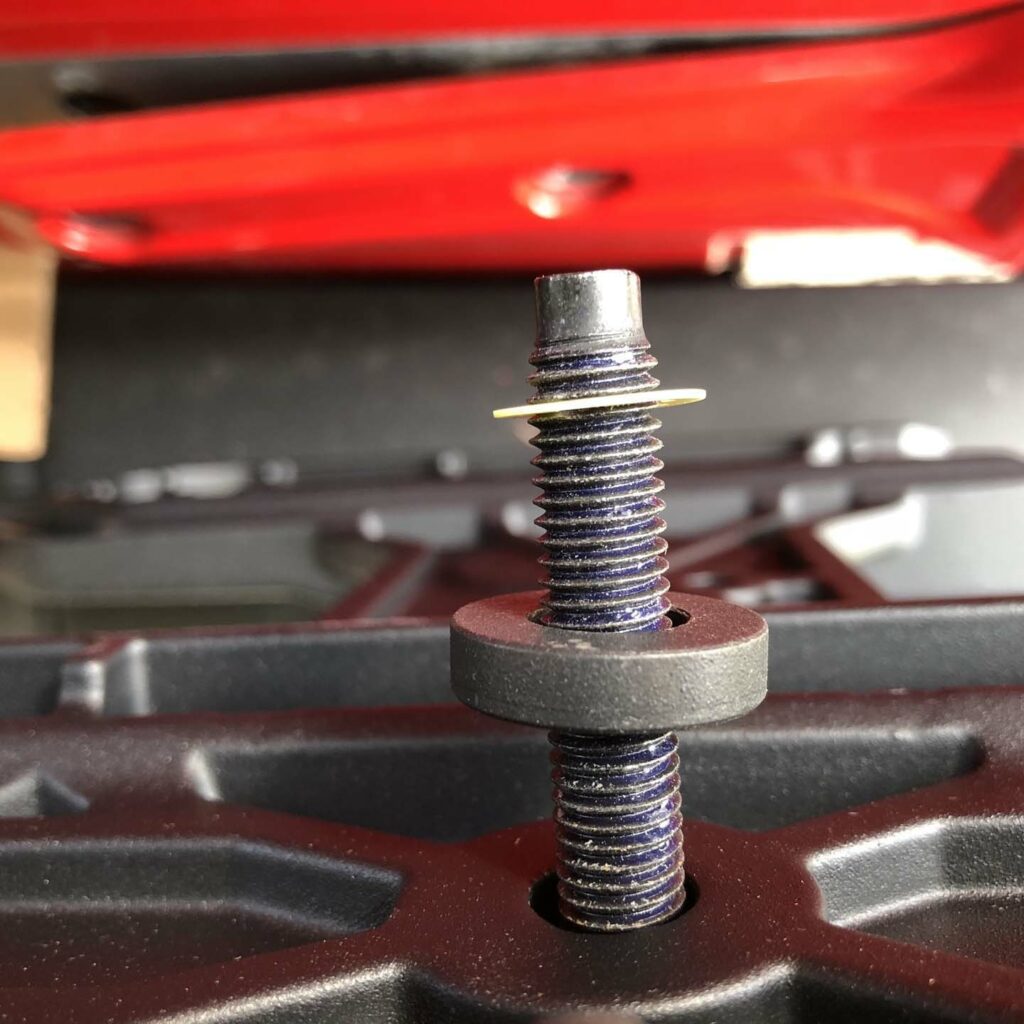
bolt with spacer and retainer 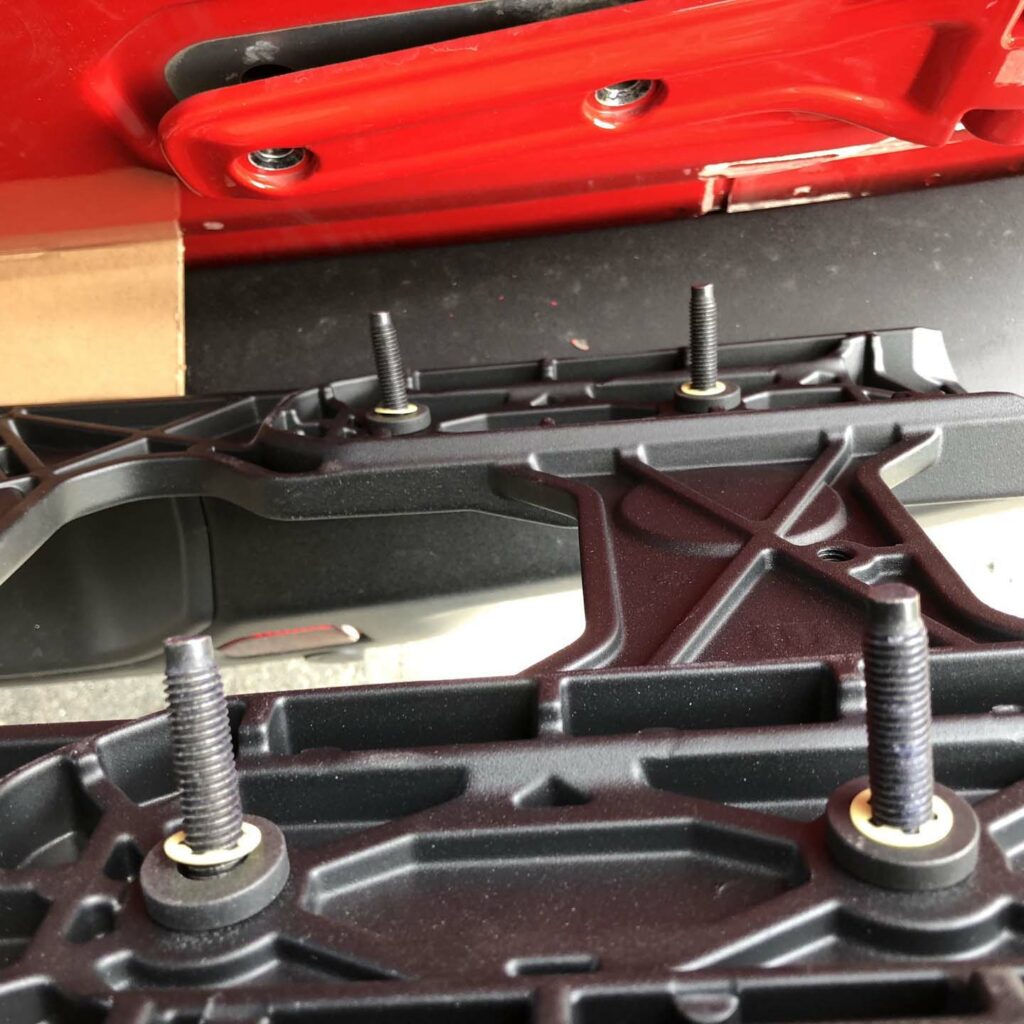
ready for installation 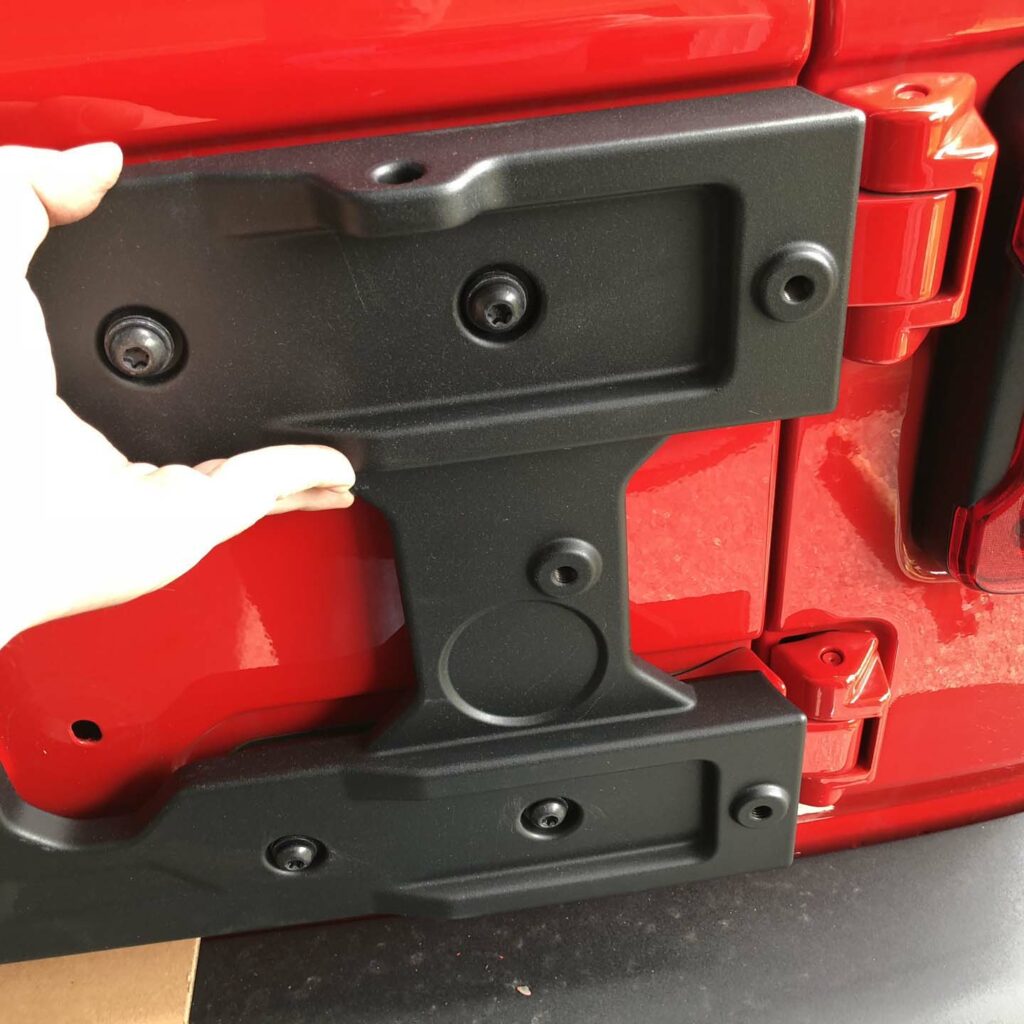
hand tightening the bolts 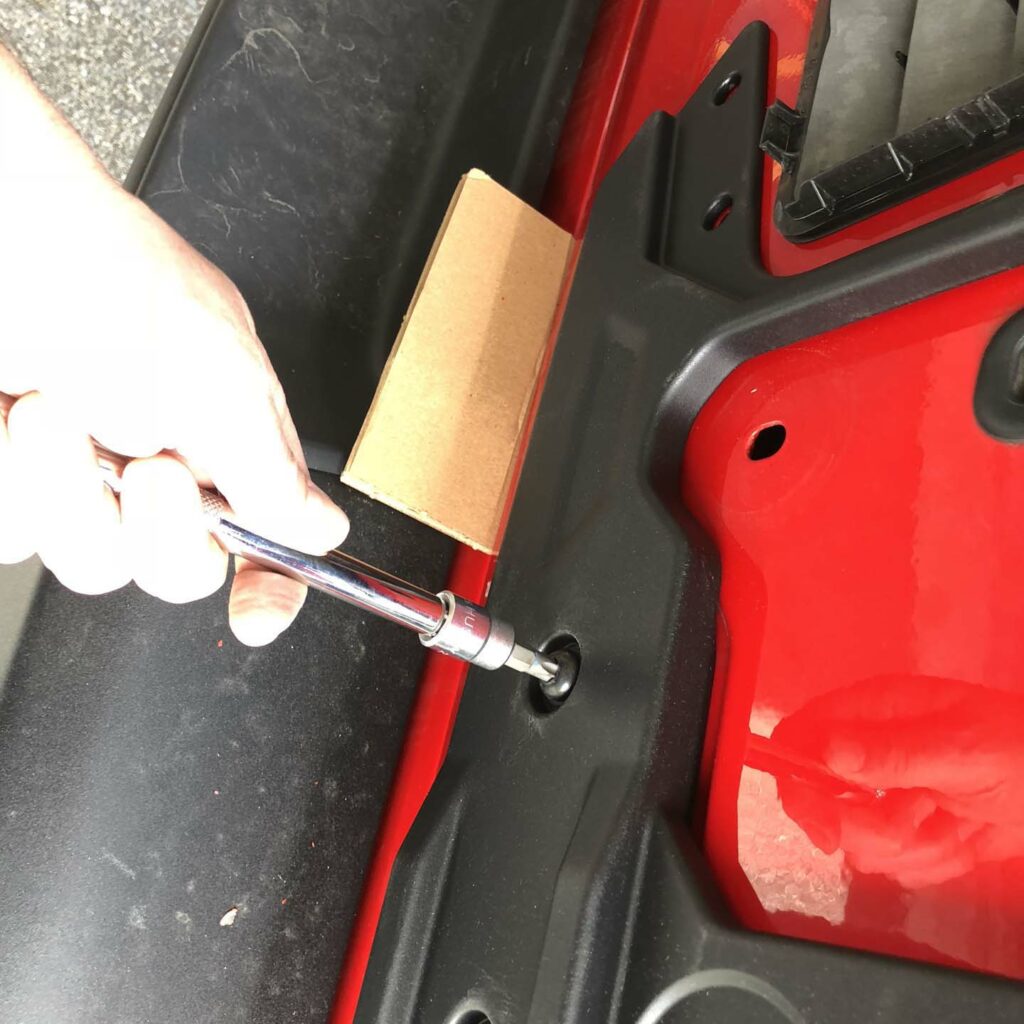
lightly tight 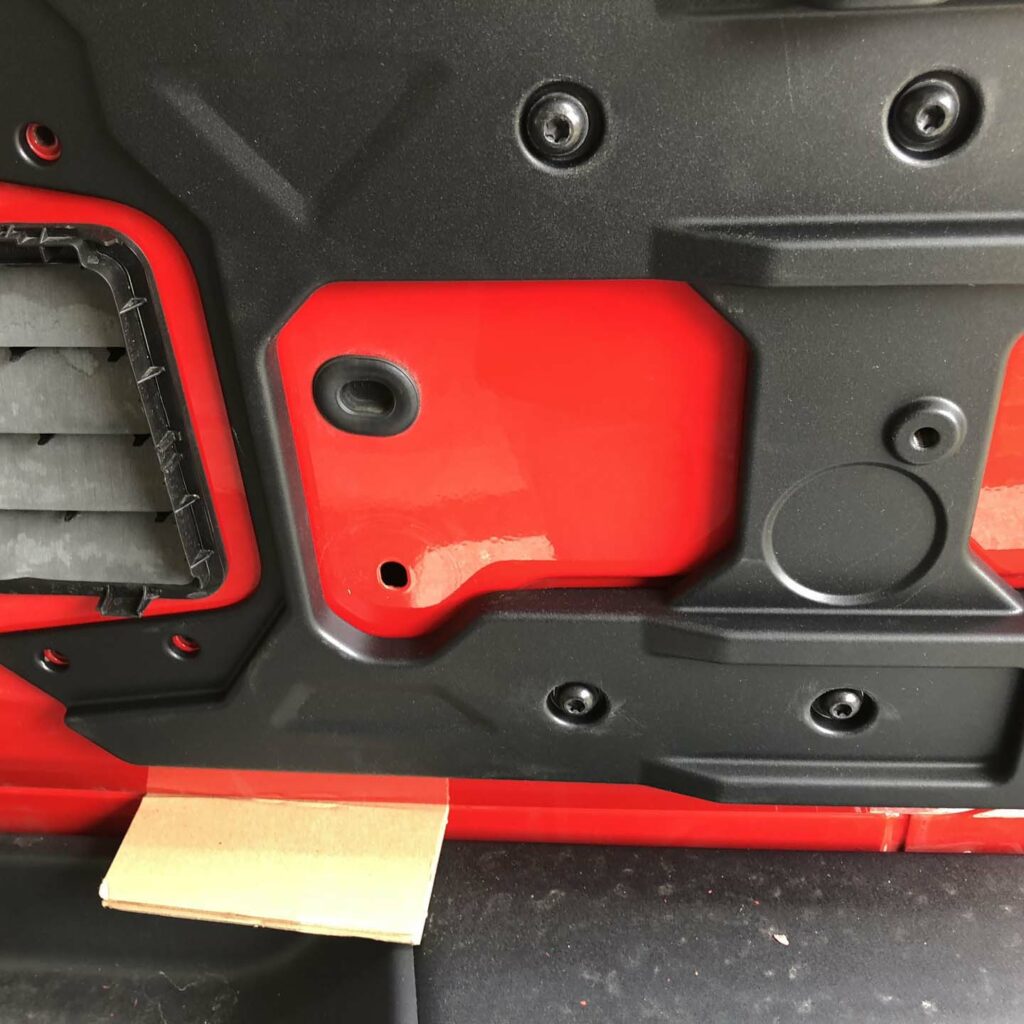
ready for next step
We’ve added the tire spacer kit to the install. This option will move the tire carrier slightly up and out to allow for a 37″ tire to clear the bumper and fit the carrier with lower backspaced wheels. This kit also adds extra strength by tying together the sides. There is a few options with this kit, choose the best fit for your situation. We added the spacers to give the most clearance.
Install the driver side spacers and install the 8 bolts for the brackets. The bottom bracket will require some trimming of the plastic on the corners of the rear vent. See the images.
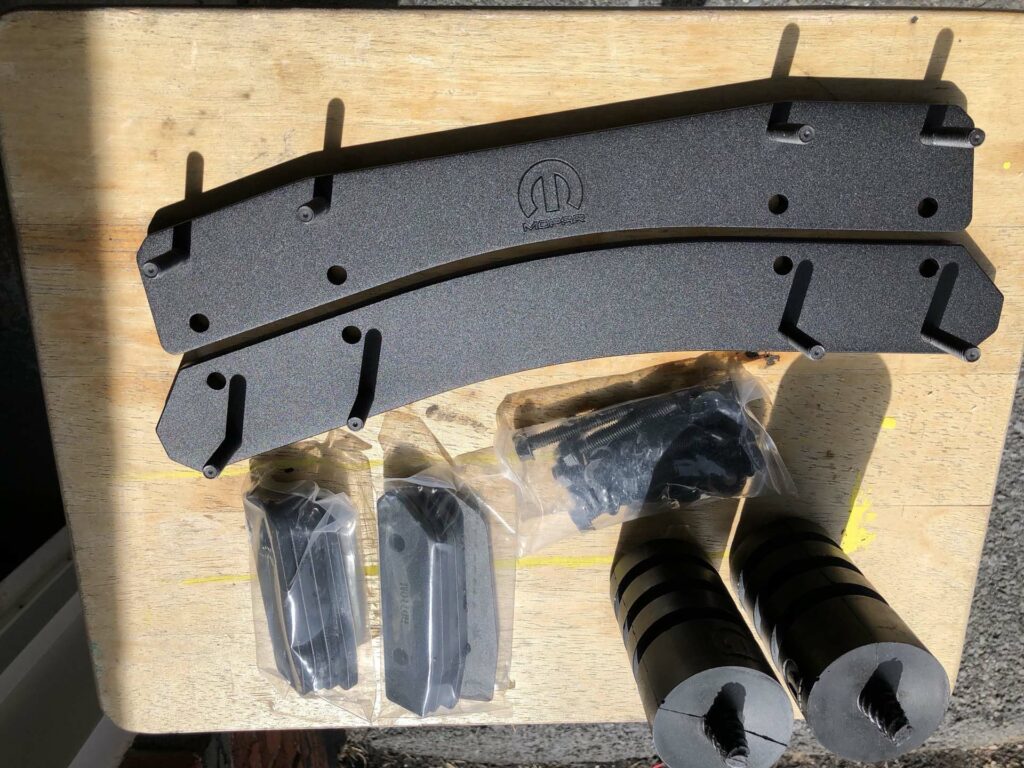
spacer kit 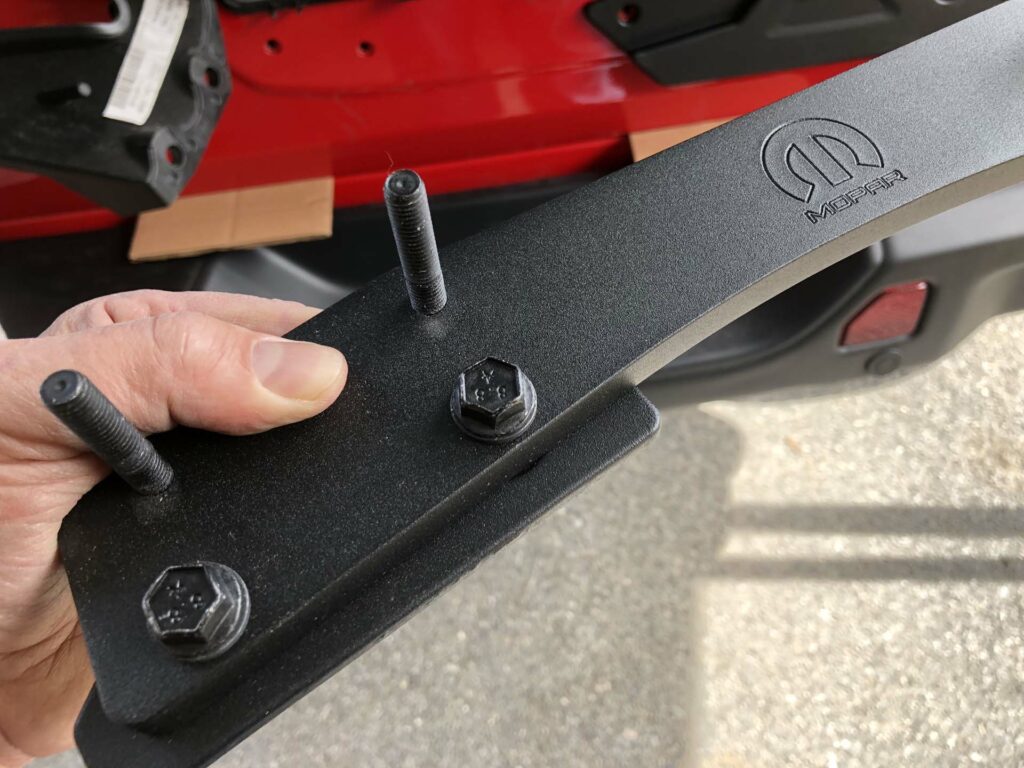
driver side spacer 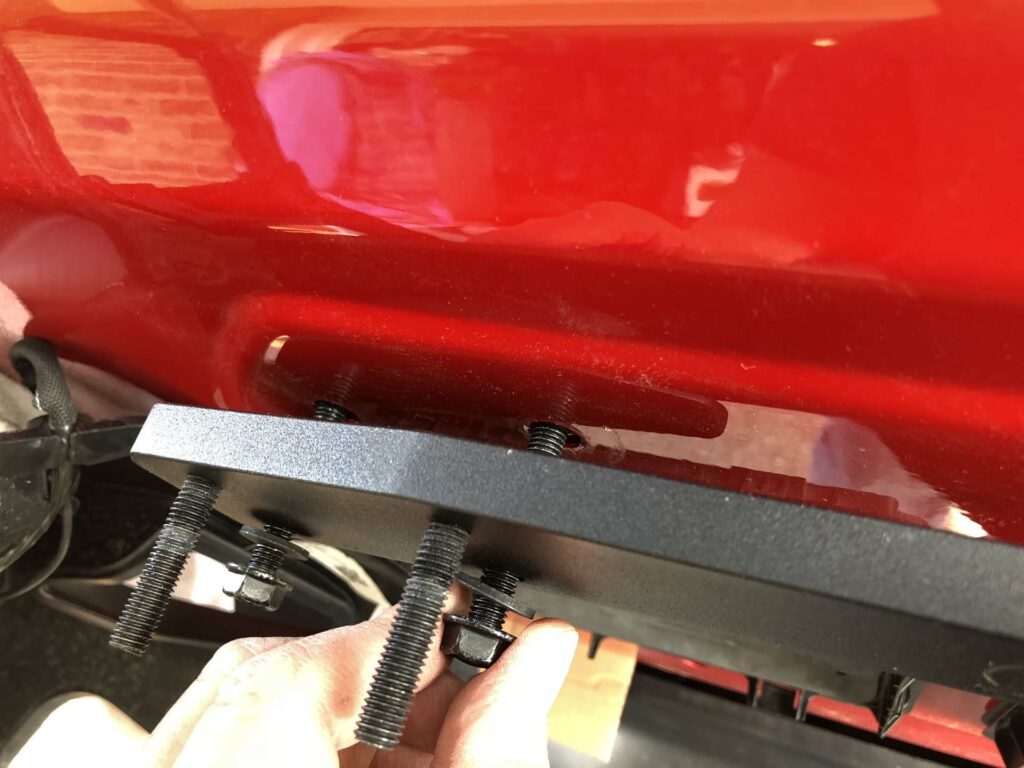
installation of the top bracket 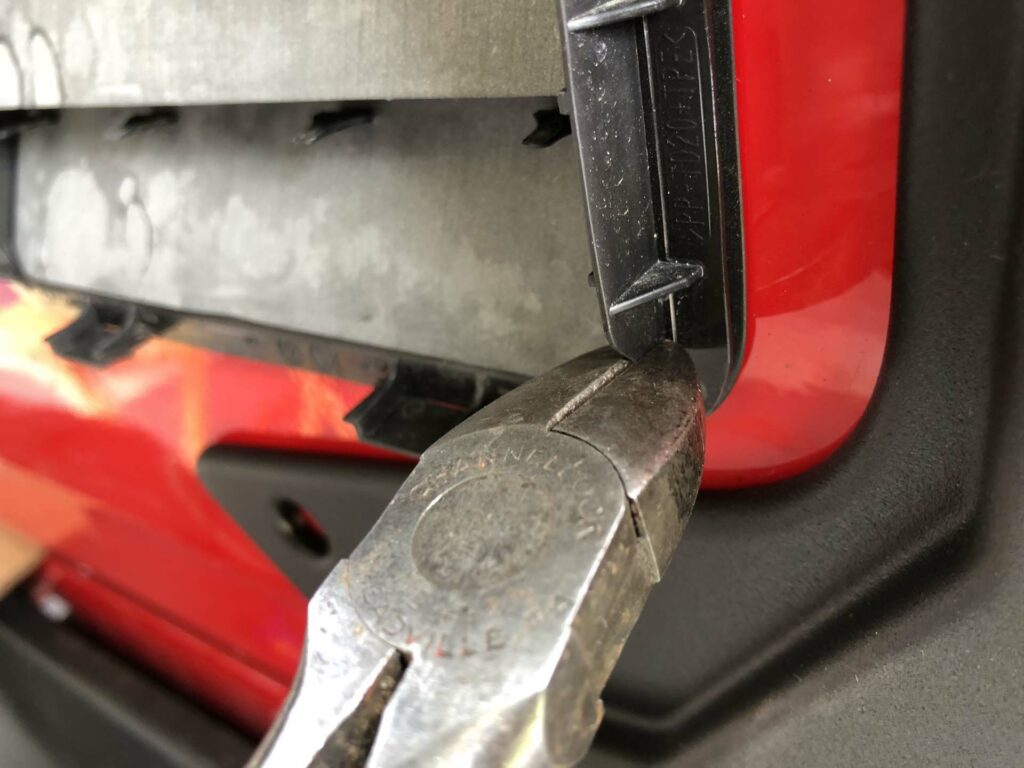
trimming 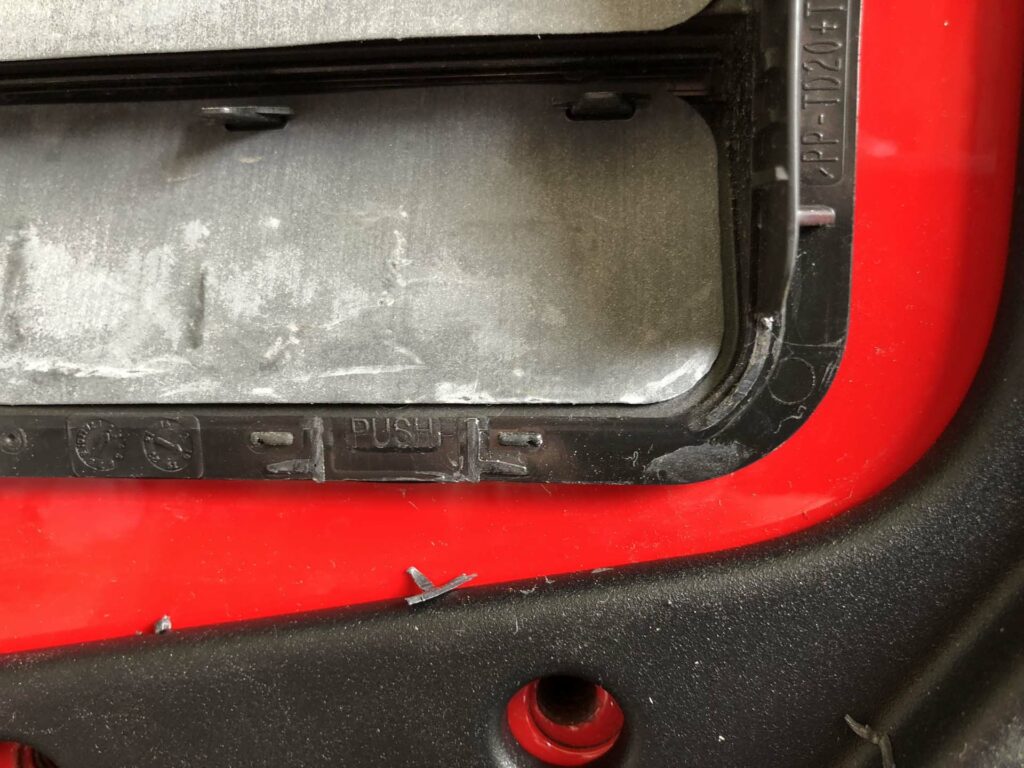
trimming complete 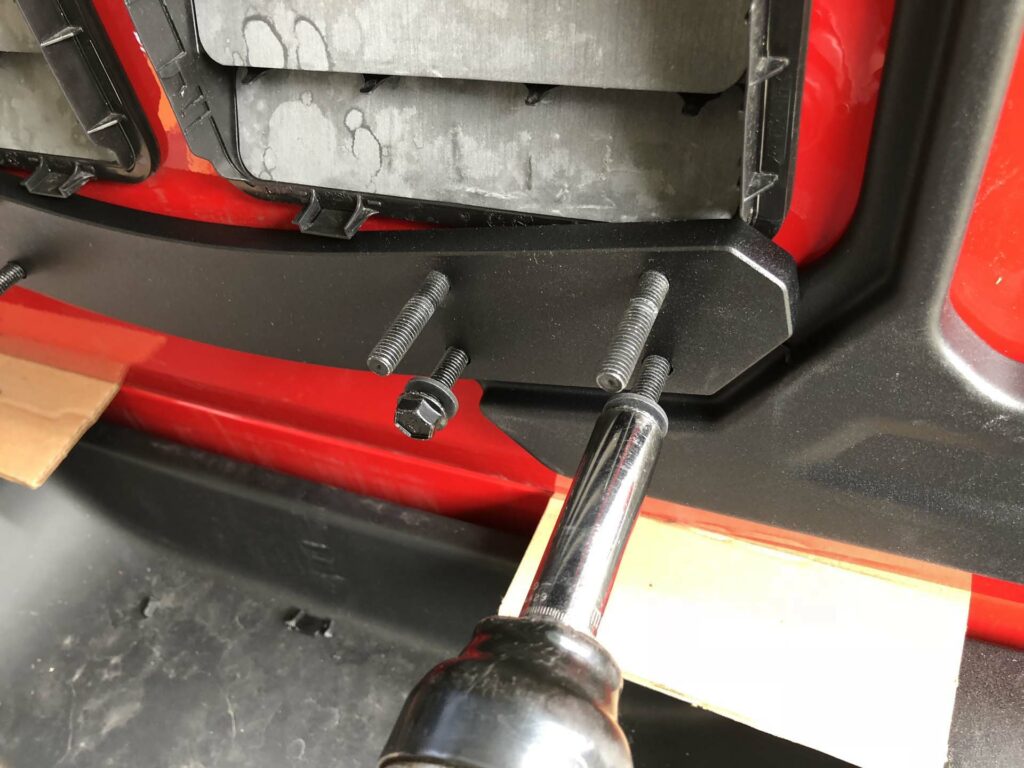
installation of the lower bracket