• Skip to main content
  • Skip to header right navigation
  • Skip to after header navigation
  • Skip to site footer
Jeepfan.com

Jeepfan.com

serving the Jeep community since 1997

  • Projects & Installs
  • Offroading & Events
  • Technical & Info
  • Readers Jeeps
  • Jeep Racing
  • Products
  • Ask
  • jeepfan.com 2022 4xe
  • jeepfan.com 2018 JL
  • jeepfan.com 2004 TJ Unlimited
  • jeepfan.com 1978 CJ-5
Home » Projects & Installs » Wrangler JL Mopar 2 Inch Lift Kit Install Page 2

Wrangler JL Mopar 2 Inch Lift Kit Install Page 2

Continuing from Page 1 we are about to remove the rear coil springs and proceed forward with the install.

Get personalized content recommendations and answers drawn from our website. Simply type your question or topic of interest, and our AI assistant will help you find relevant articles, tips, and insights. You can also have a natural conversation to explore topics in more depth.

Remove the coil springs. Depending on how low the axle is lowered you may need to use a pry bar to get the spring over the lower perch.  

spring removal
using a pry bar to remove the spring
stock vs lift spring comparison

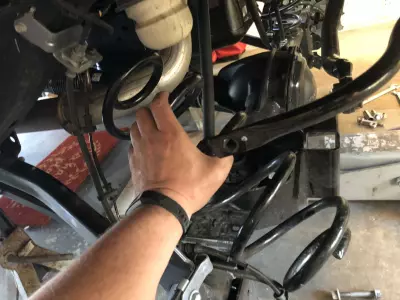
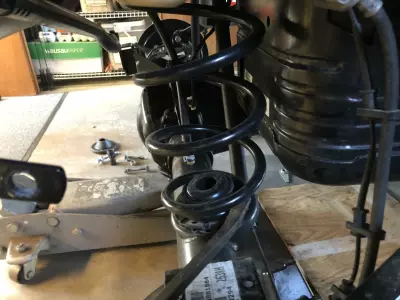
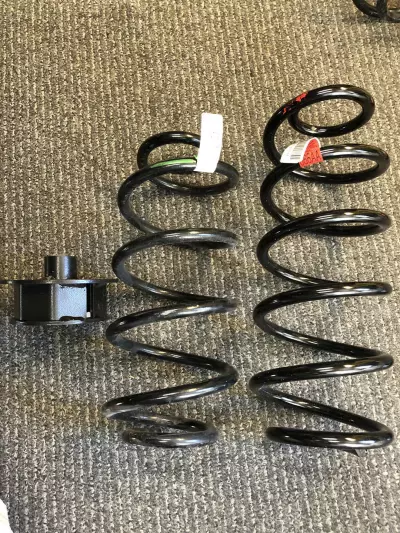
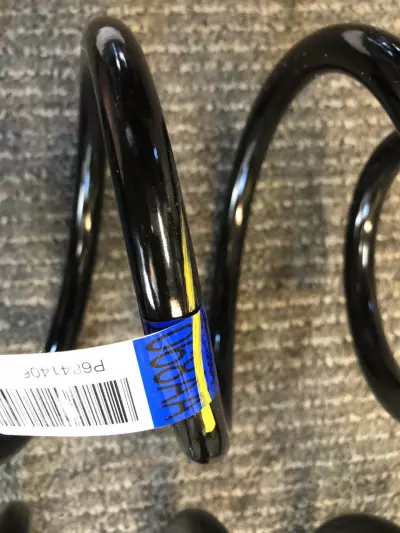
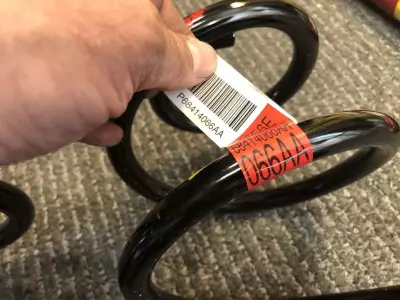
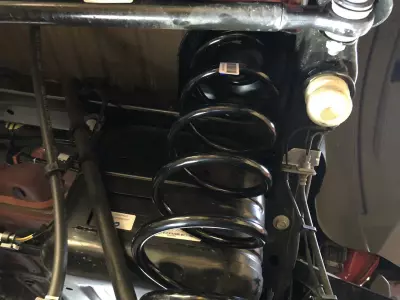
The Mopar lift uses different springs on each side, make sure you follow the directions to install the correct spring on the proper side. Insert the top of the spring first and using a pry bar work the spring on to the lower perch.

rear bump stop
shock comparison
rear upper Fox shock installed
sway bar link installed
rear install completed
the Fox shock visible is a great sight
Rear installation completed

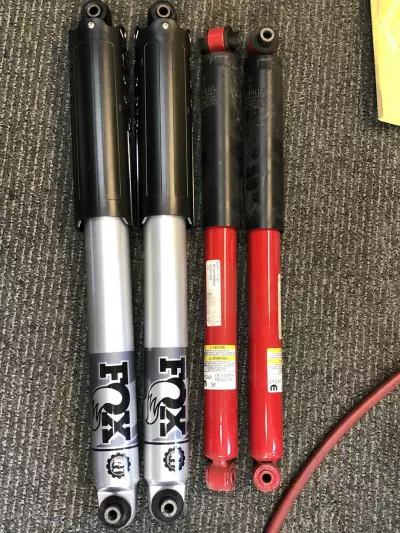
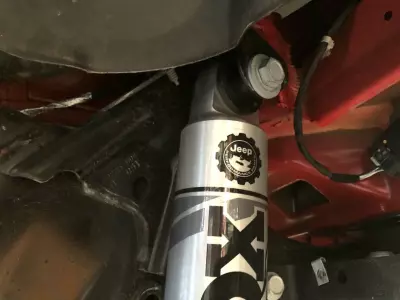
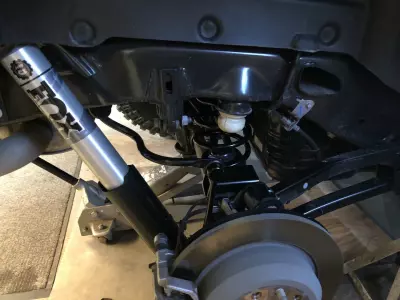
With the springs installed install the bump stops and and the upper side of the shocks. Raise the axle to allow the lower side of the shocks to be installed. Using the jack to line up the shock is much easier then trying to compress the shock by hand. With the shocks installed raise the axle to support the weight of the Jeep and complete the installation of the sway bar links. Reconnect the locker wiring and breather tube. Install the rear inner fender splash guards.

With the wheels on and the Jeep on the ground use a helper to move the Jeep side to side to allow the lower rear track bar to line up. Install and tighten the bolt to spec. Check all the fasteners and tighten to specs, inspect lines and hoses to make sure there is no binding. At this point the rear is complete and the front is next. 

Front Installation

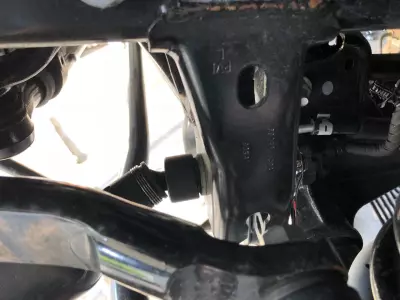
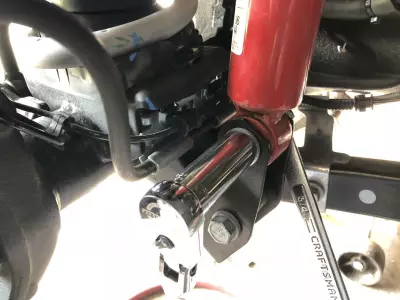
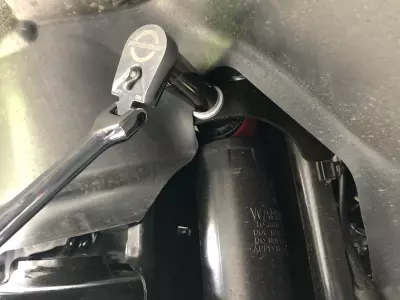
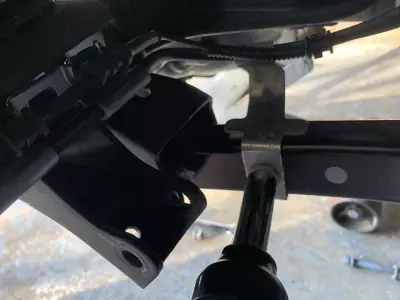
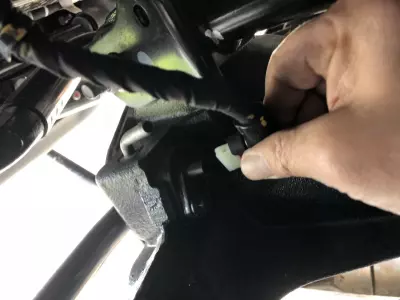
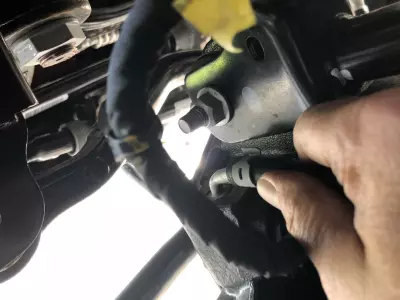
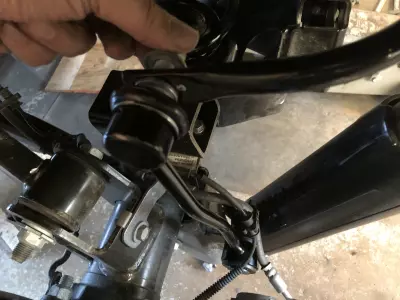
The front is a bit more complex but not really more difficult. With the front of the Jeep supported properly begin by removing the upper track bar bolt. Remove the shocks and the brake line bracket from the lower control arms. Remove the axle breather tube and the locker wiring plug if equipped. Remove the sway bar links.

upper track bar mount
New design for the upper shock mount, no more threaded stud to struggle with
brake line bracket
locker wiring plug
breather tube

Next Page

Category: Projects & InstallsTag: how-to, jeepfan.com 2018 JL Rubicon, JL Wrangler, lift kit

You’ll also enjoy these posts


check out these trending posts


Jeep Vehicles VIN Reference Guide

 14K+

How Electronic Start Stop ESS Works on the Jeep Wrangler JL

 7K+

The Wrangler 4xe Explained Simply-ish

 2K+

Understanding and Troubleshooting Jeep CJ Gauges and Senders

 4K+

Jeep CJ Exhaust – Headers and Mufflers

 1K+

Jeep CJ Power Brake Conversion

 328

Receive exclusive recommendations directly from our website.

Sidebar


Jeep TJ 1997-2006 How to Build and Modify

Grab Your CopyJeep TJ 1997-2006 How to Build and Modify

jeepfan.com

  • Instagram
  • Facebook
  • Twitter
  • YouTube

© 2025 · jeepfan.com · Powered by Bizbudding

Privacy Manager

Explore

  • Projects & Installs
  • Technical & Info
  • Offroading & Events
  • Products
  • Racing
  • Readers Jeeps
  • Jeep News & Information jeepfan.com blog

About

  • Contact
  • Advertise
  • About
  • Terms of Use

Partners

  • Quadratec
  • Rough Country
  • TeraFlex
  • Maximus 3
  • 7S Garage
  • OK Auto