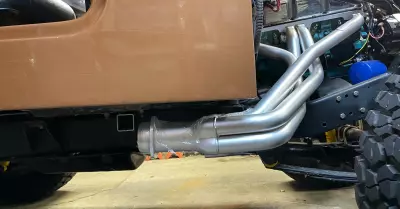
With the bumper removed some modifications need to be made to the bumper to allow the winch to pass through the front.

Get personalized content recommendations and answers drawn from our website. Simply type your question or topic of interest, and our AI assistant will help you find relevant articles, tips, and insights. You can also have a natural conversation to explore topics in more depth.
Remove the torx bolts to remove the top plate in the bumper. Once the bolts are removed use the supplied nuts to replace the bolts. At this point these bolts are for appearance only. Next remove the plastic front cover by squeezing the tabs. The cover will not be reused. A final step is to remove the fog light wiring clips from the bumper to prevent interference with the winch mount.

removing the torx bolts 
top plate removal 
appearance bolts 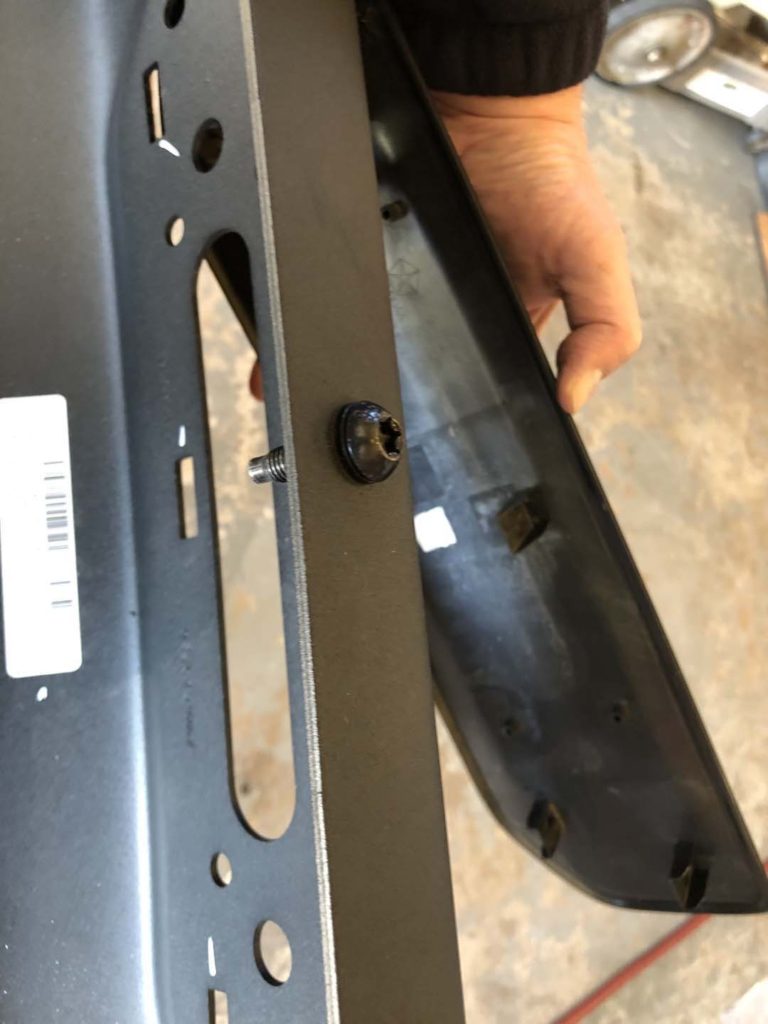
removing the front cover 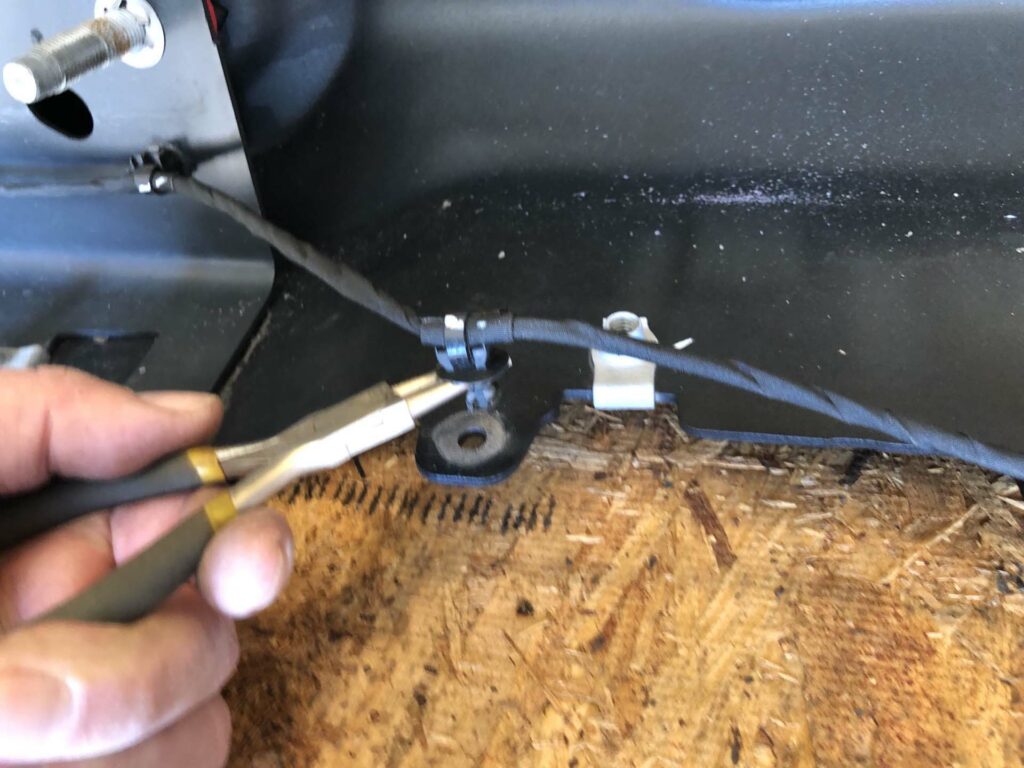
removing the wiring 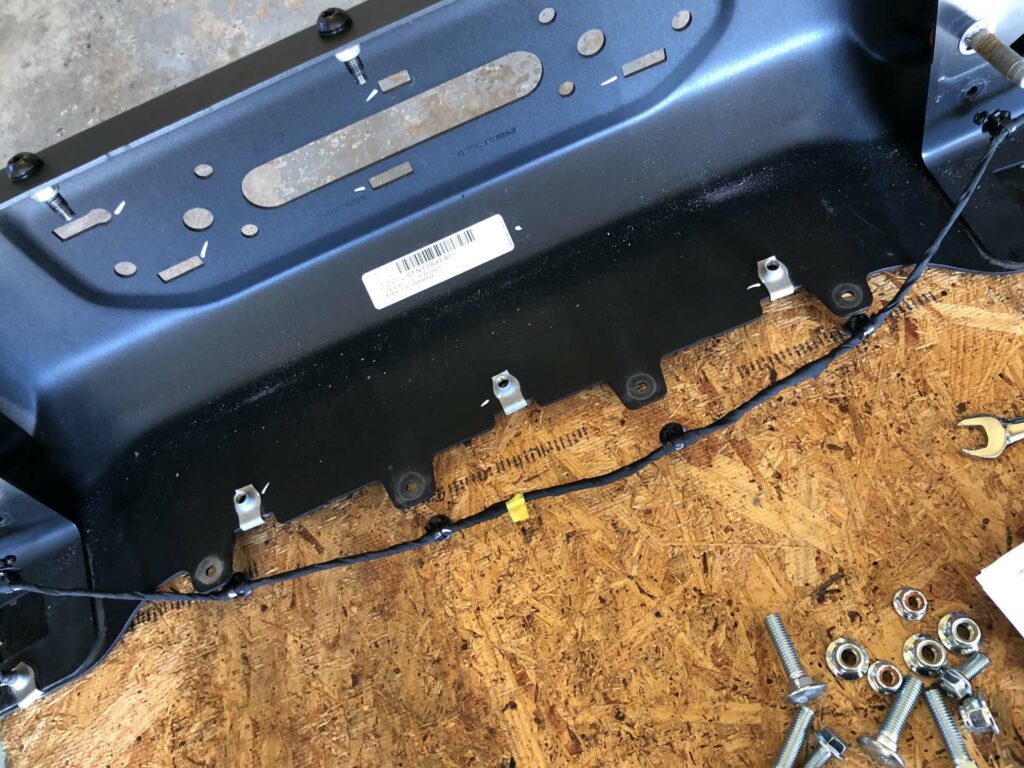
wiring ready
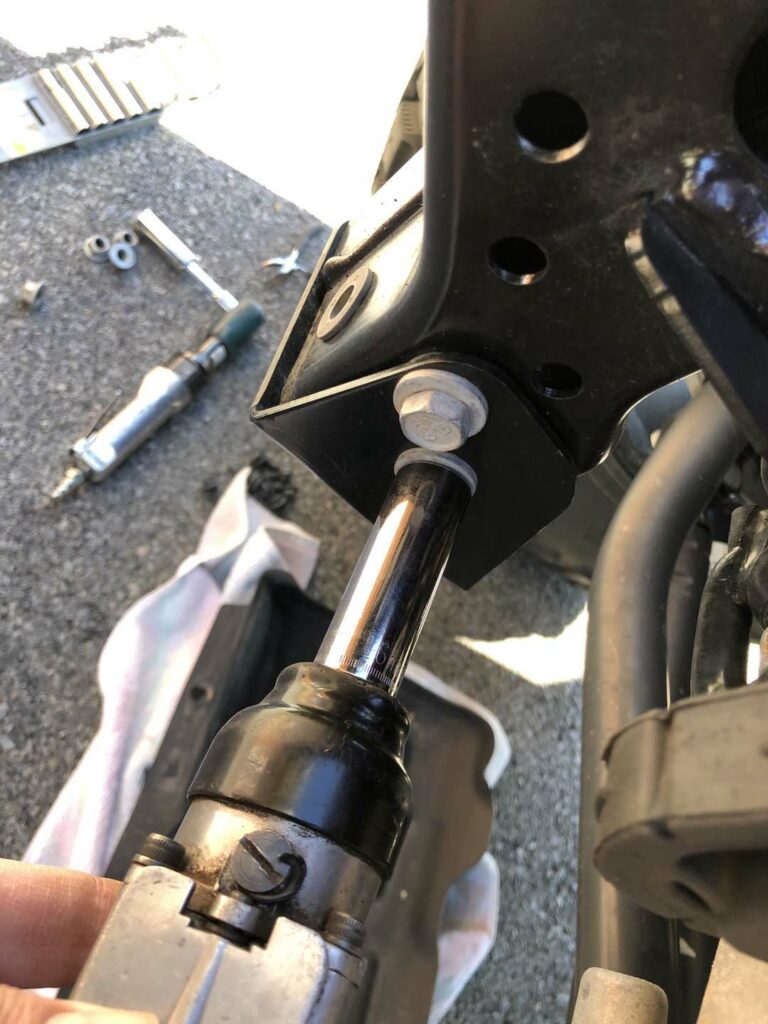
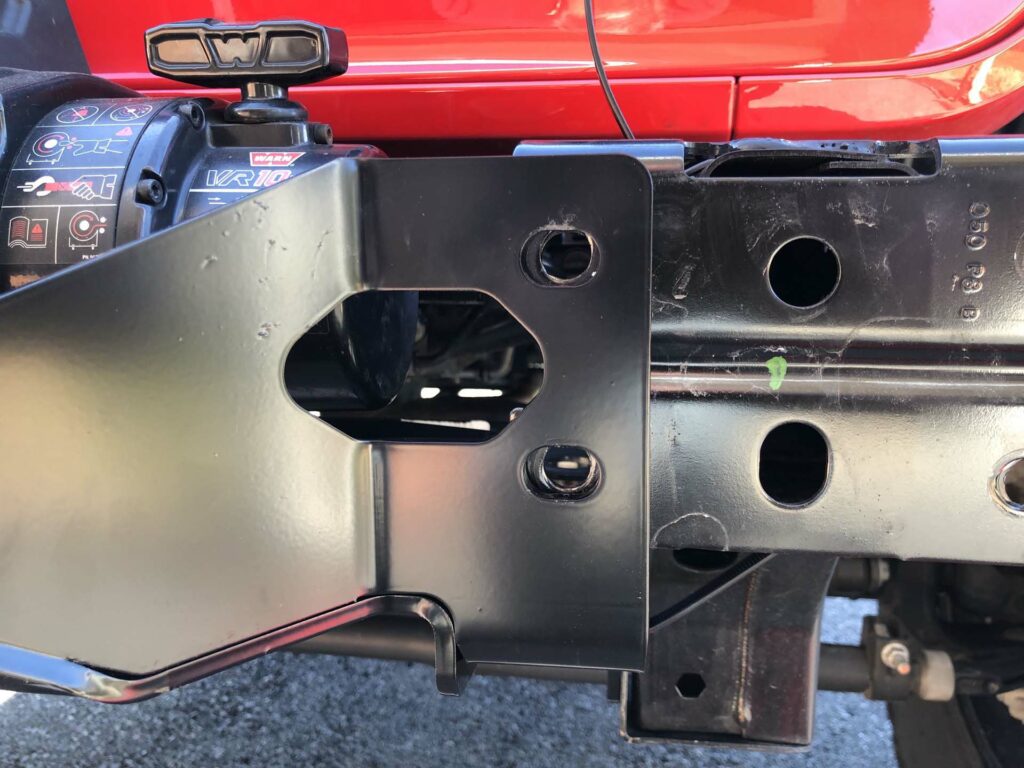
Now that the bumper is almost ready it’s time to get the winch mount installed into the Jeep’s frame. There are some skid plate mounts on the frame that need to be removed and reinstalled with the Warn rear mount plates. Install the plates and reinsert the bolts but only lightly tighten. It’s best to install the carriage bolts on the passenger side before the bracket since the will be blocked by the sway bar mechanism.
remove the skid plate mount bolts 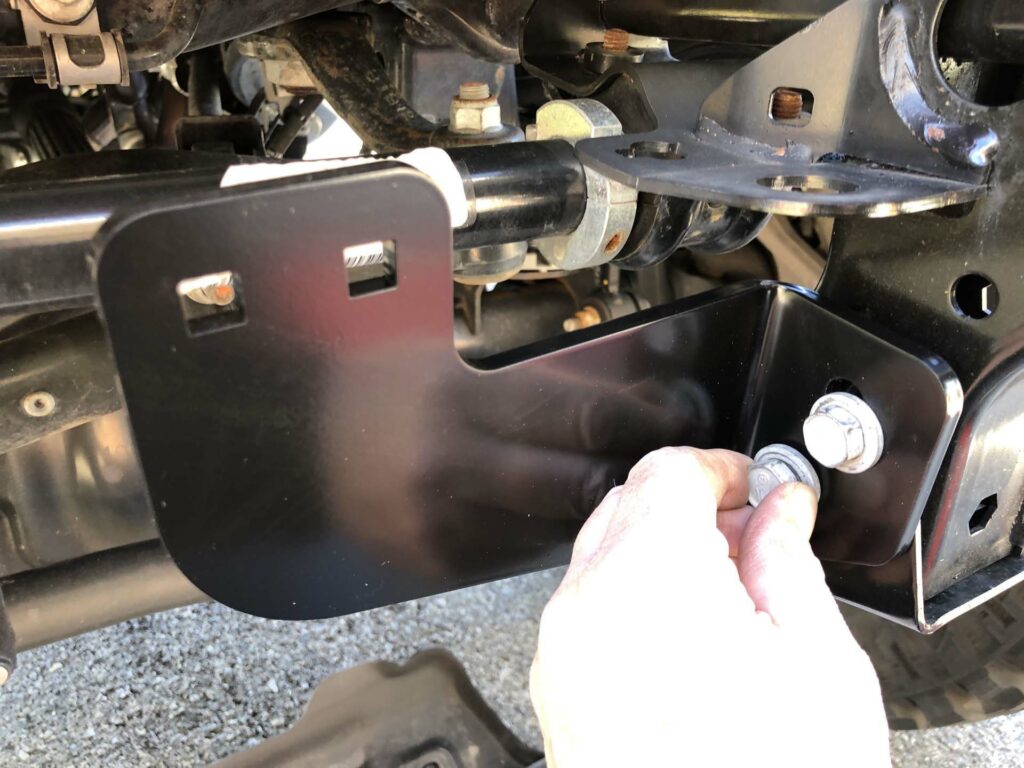
installing the rear bracket 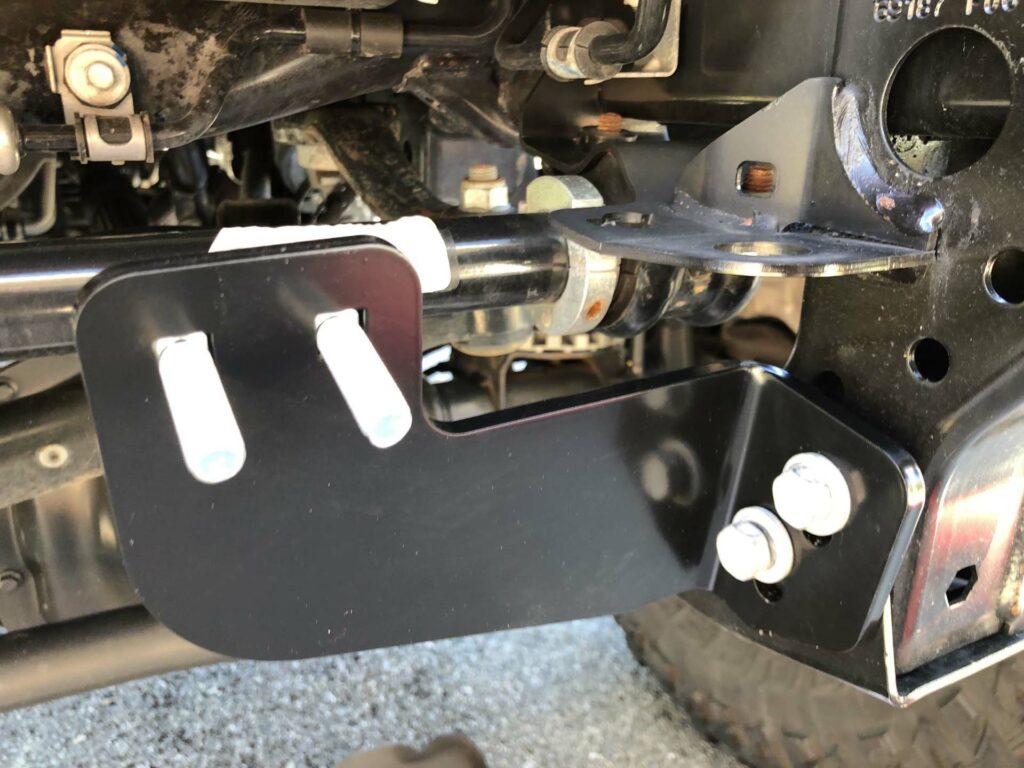
rear bracket installed 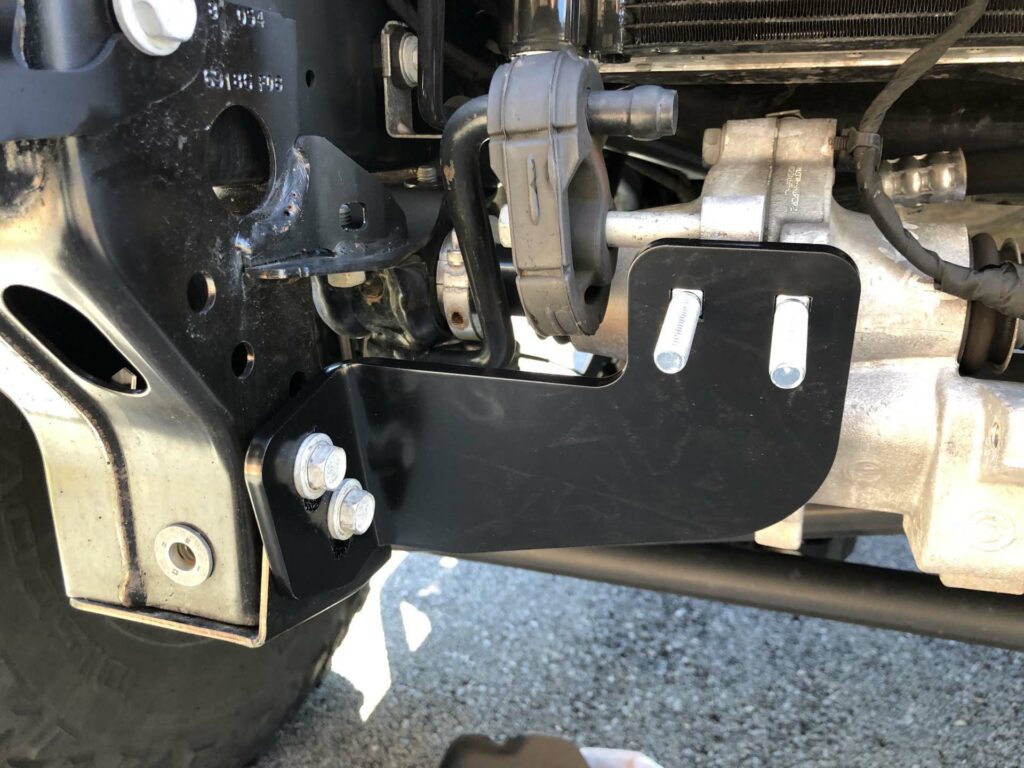
note the proximity of the carriage bolts to the sway bar disconnect
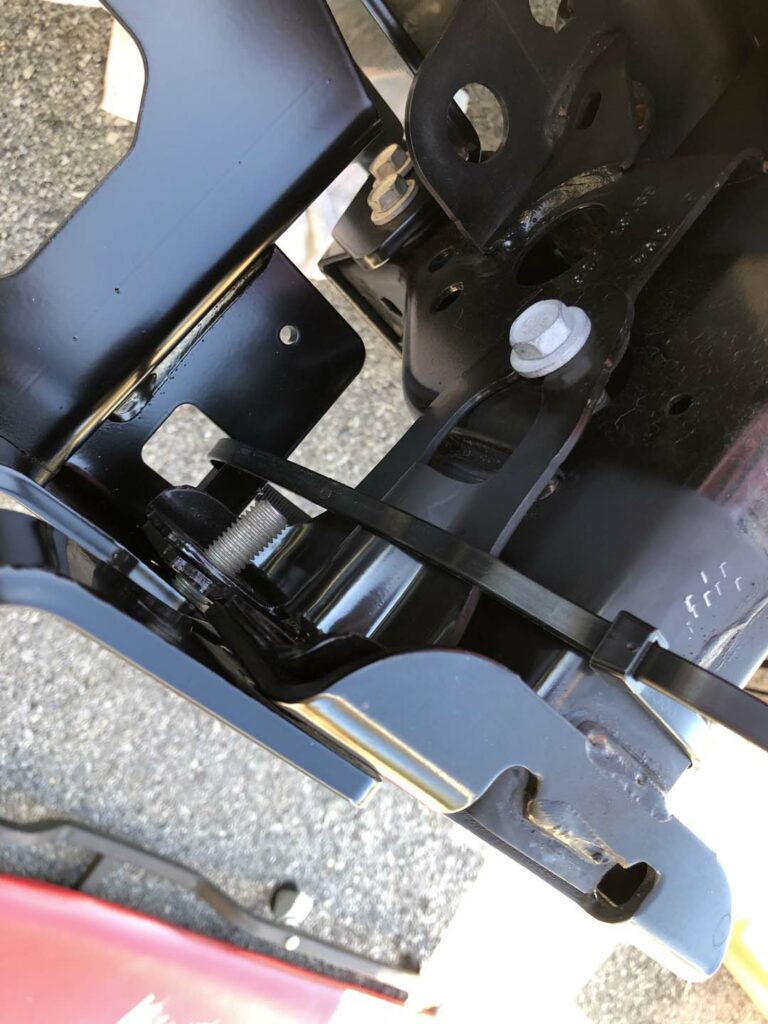
Now the winch mount is ready for installation. Warn supplies two long wire ties. These are used to hold the mount in place while the bumper is installed. Place the mount onto the rear carriage bolts and install the nuts. Using some spare bolts align the front of the mount to the frame bolt holes and tighten down the wire ties to hold everything in place.
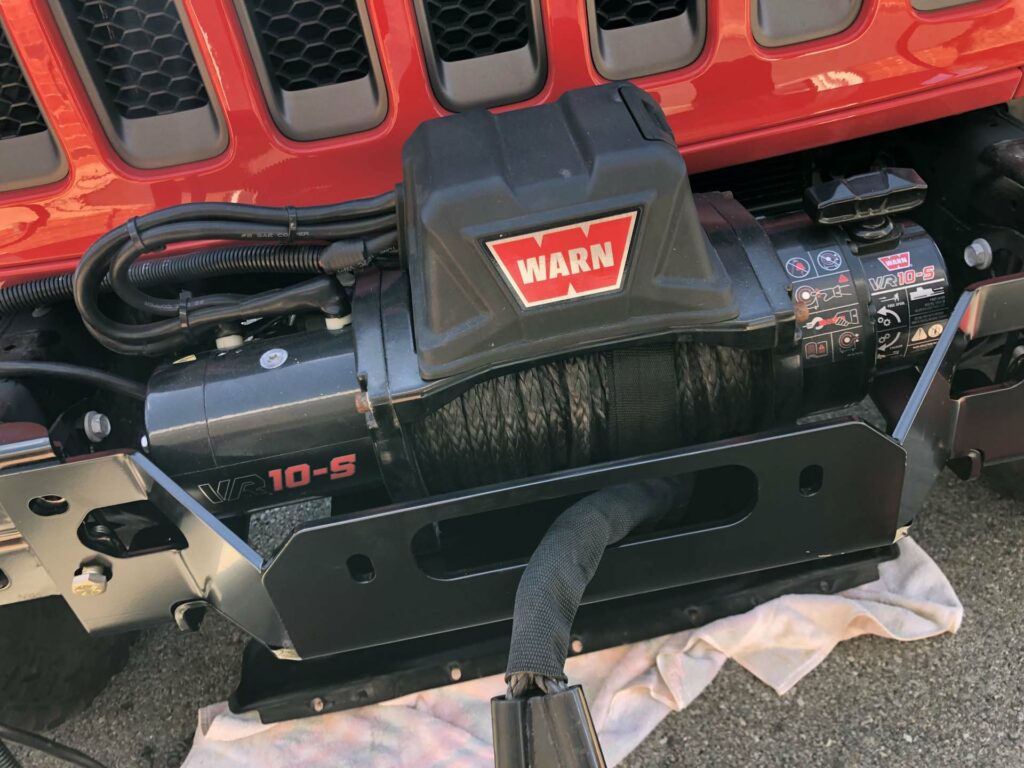
It’s usually best to place the winch into the mount at this point since many winches will not fit in through the top of the bumper. Do not install the winch mounting bolts. Tip: many winches use square nuts that are placed within the winch. It’s best to install these before placing the winch in the mount.
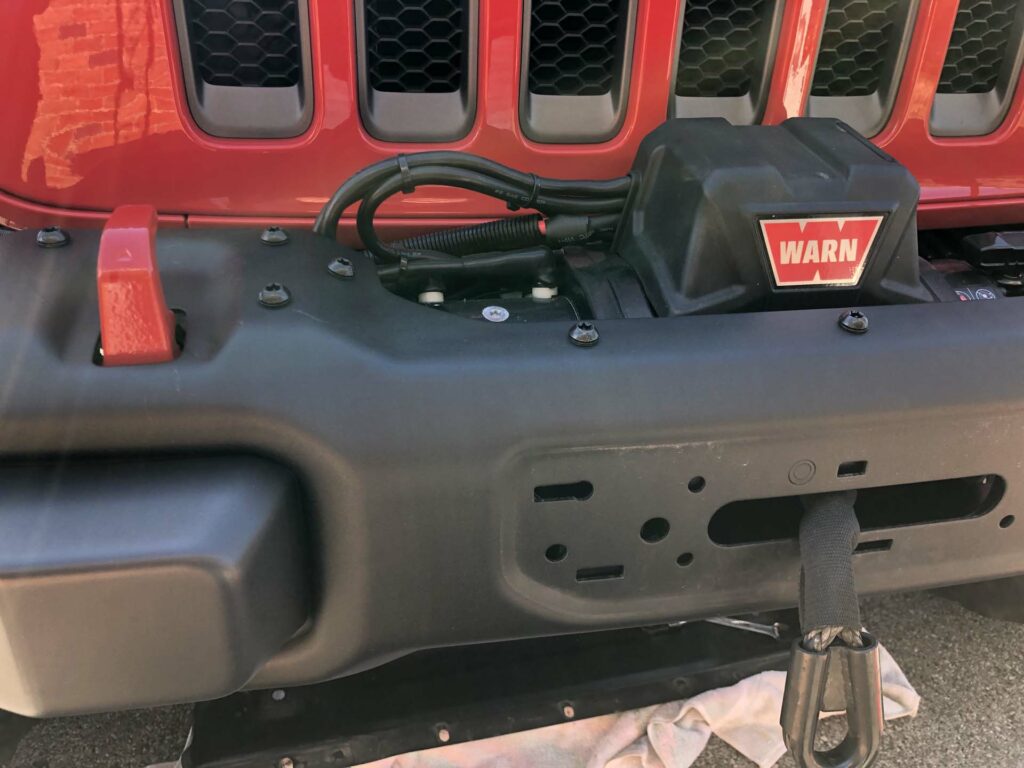
The bumper is ready to be installed. This is usually easier with the help of a partner, place the bumper onto the frame and install the 8 nuts. With everything aligned tighten the bumper nuts as well as the rear winch mount nuts. Install the fairlead and bolt down the winch.
bumper installed 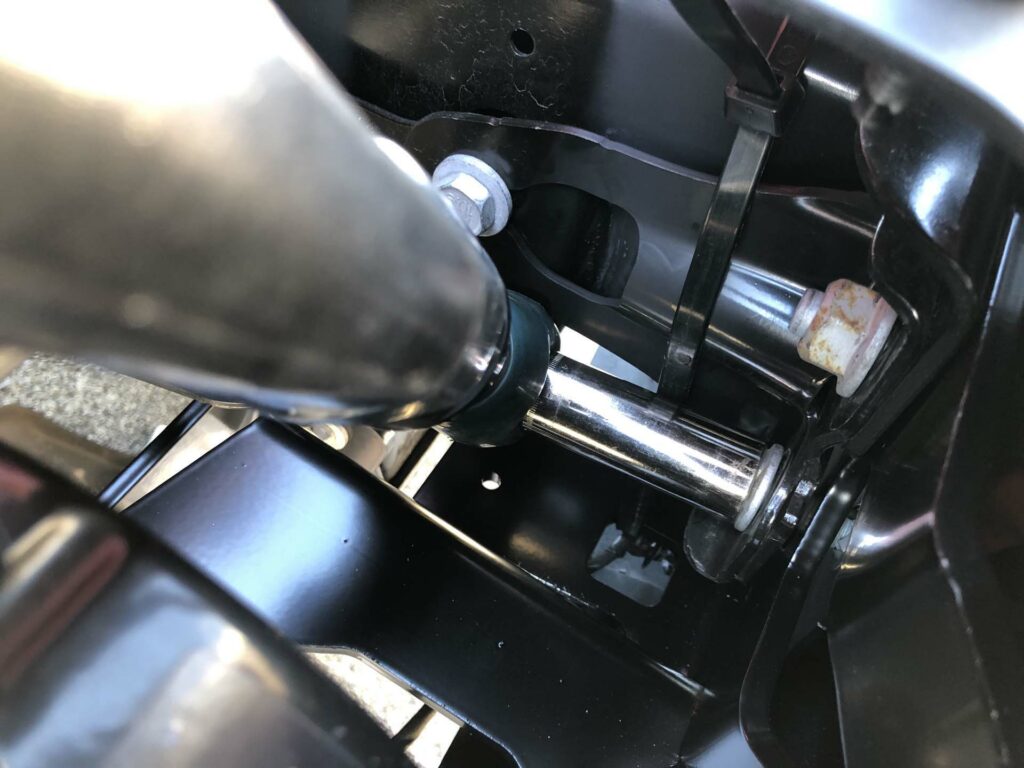
tightening the bumper nuts 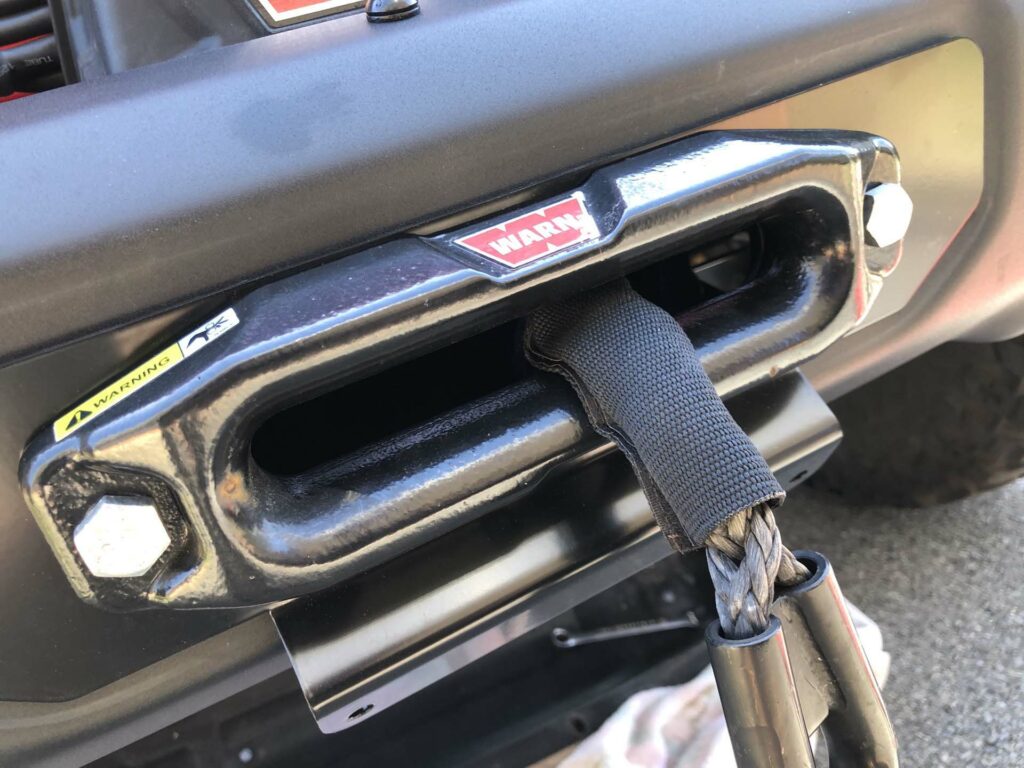
fairlead installed 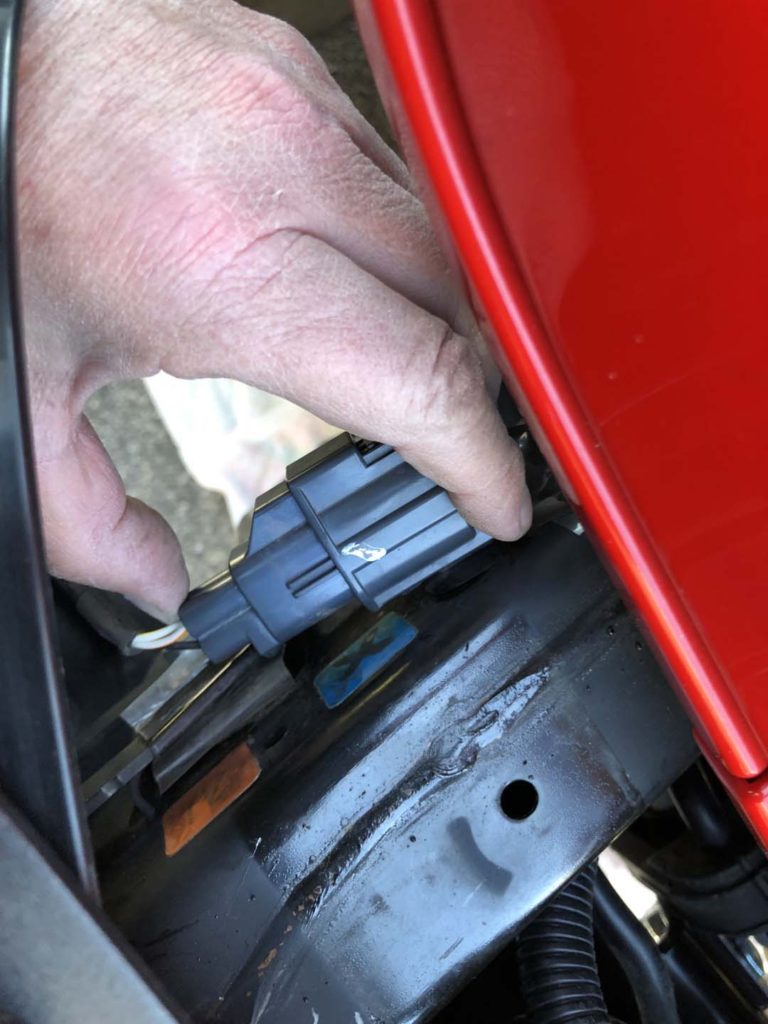
reattach the fog lights
Next Page
Back to Page 1