Installation

Get personalized content recommendations and answers drawn from our website. Simply type your question or topic of interest, and our AI assistant will help you find relevant articles, tips, and insights. You can also have a natural conversation to explore topics in more depth.
Note: Our installation detail is less complete than the directions that come with the unit. This article is meant to outline and give a better idea of the installation. Follow the Unichip directions and this guide together.
Disconnect the battery. Messing with the computer systems on newer vehicles can be risky without some precautions. Not remembering to disconnect the power can cause damage to the computer system.
Locate the Jeep’s computer on the drivers side behind the windshield washer bottle. Pop the two retaining clips that hold the computer plugs in place on the outer most two plugs. Some model Jeeps use four of the plugs others use three.
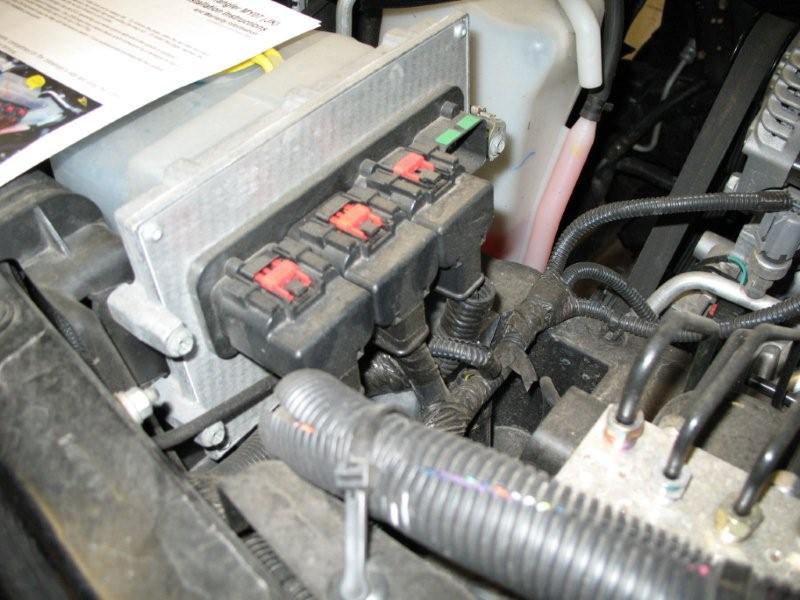
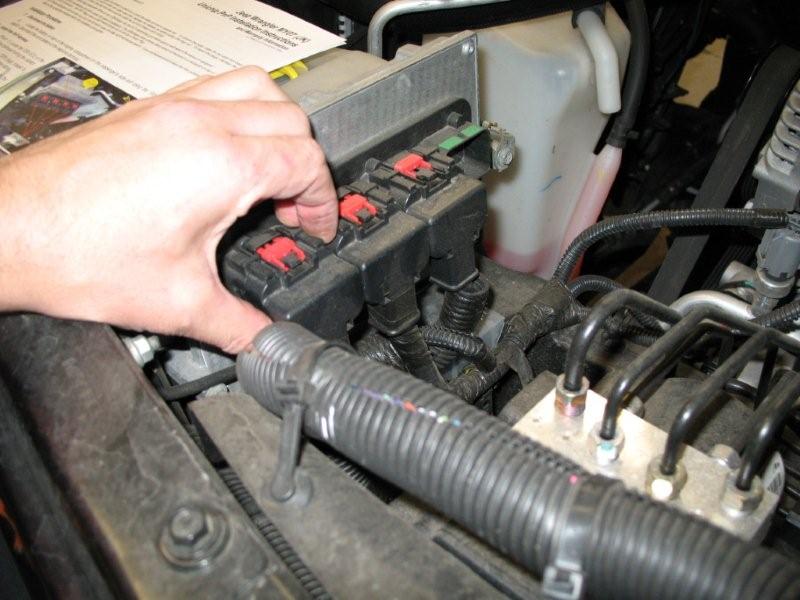
When the plug clips are released squeeze the black tab to the rear of the red retainer and gently rock the plug to release it. Repeat for the second plug. You will notice the outer connector is black and the second is orange.
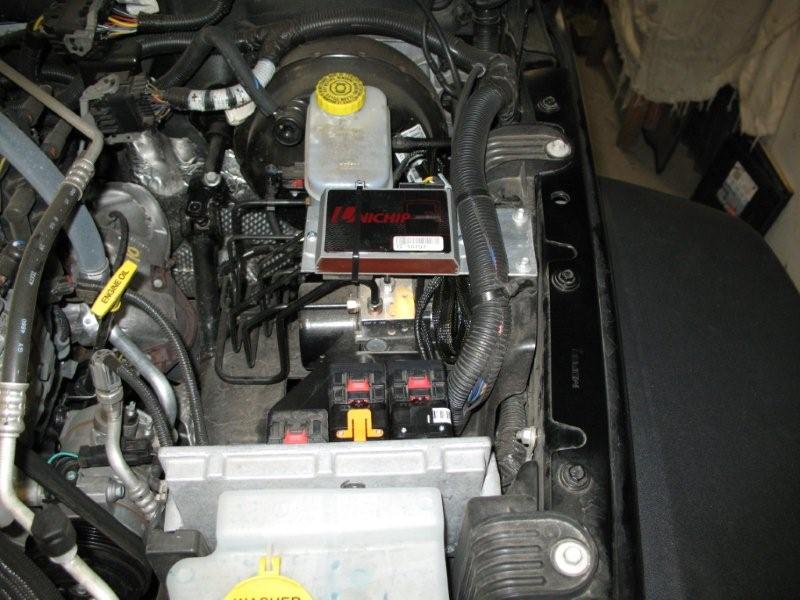
Next, install the Unichip wiring harness into the original plugs. Plug the orange connector into the orange plug and the black into the black. Then plug both connectors back into the computer. (pictured right)
Install the module – a modification
The directions call to attach a Velcro patch to the back of the module and attach it to the plastic area on the front of the brake control. We didn’t like the way the module was crammed into the area and made it almost impossible to remove the wiring harness. We fabricated a piece of flat aluminum and created a bracket to mount the chip above the brake control.
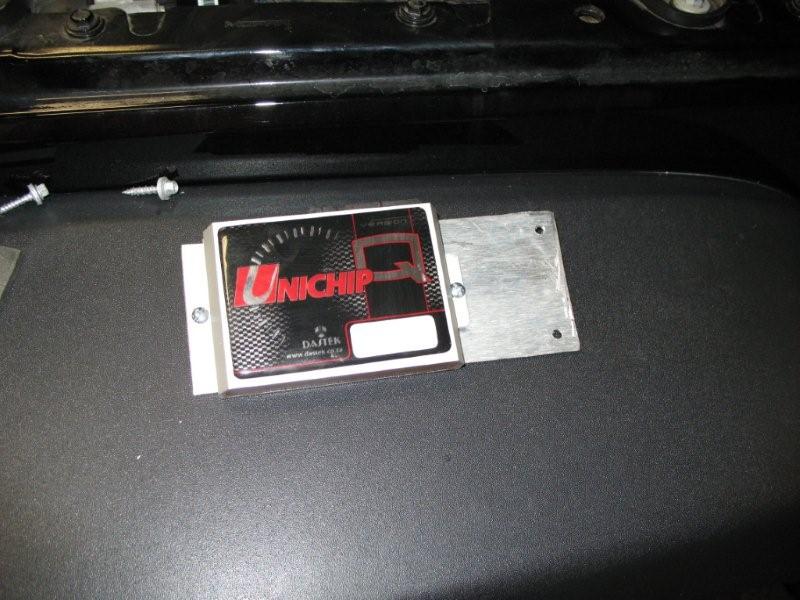
A piece of rubber was attached to the bottom of the plate to prevent it from rubbing the brake lines. Two screws into the plastic inner fender and a wire tie keep the module securely in place.
Reconnect the battery – the Jeeps horn will beep and the wipers may move – don’t let it startle you.
Start the Jeep and see that it idles and sound correct. If it doesn’t start disconnect the battery and verify connections.
If needed, follow the troubleshooting procedure outlined in the Unichip directions.
Part 3 – a road test, 1st impressions, tuning, and other details