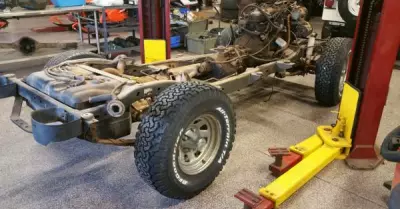
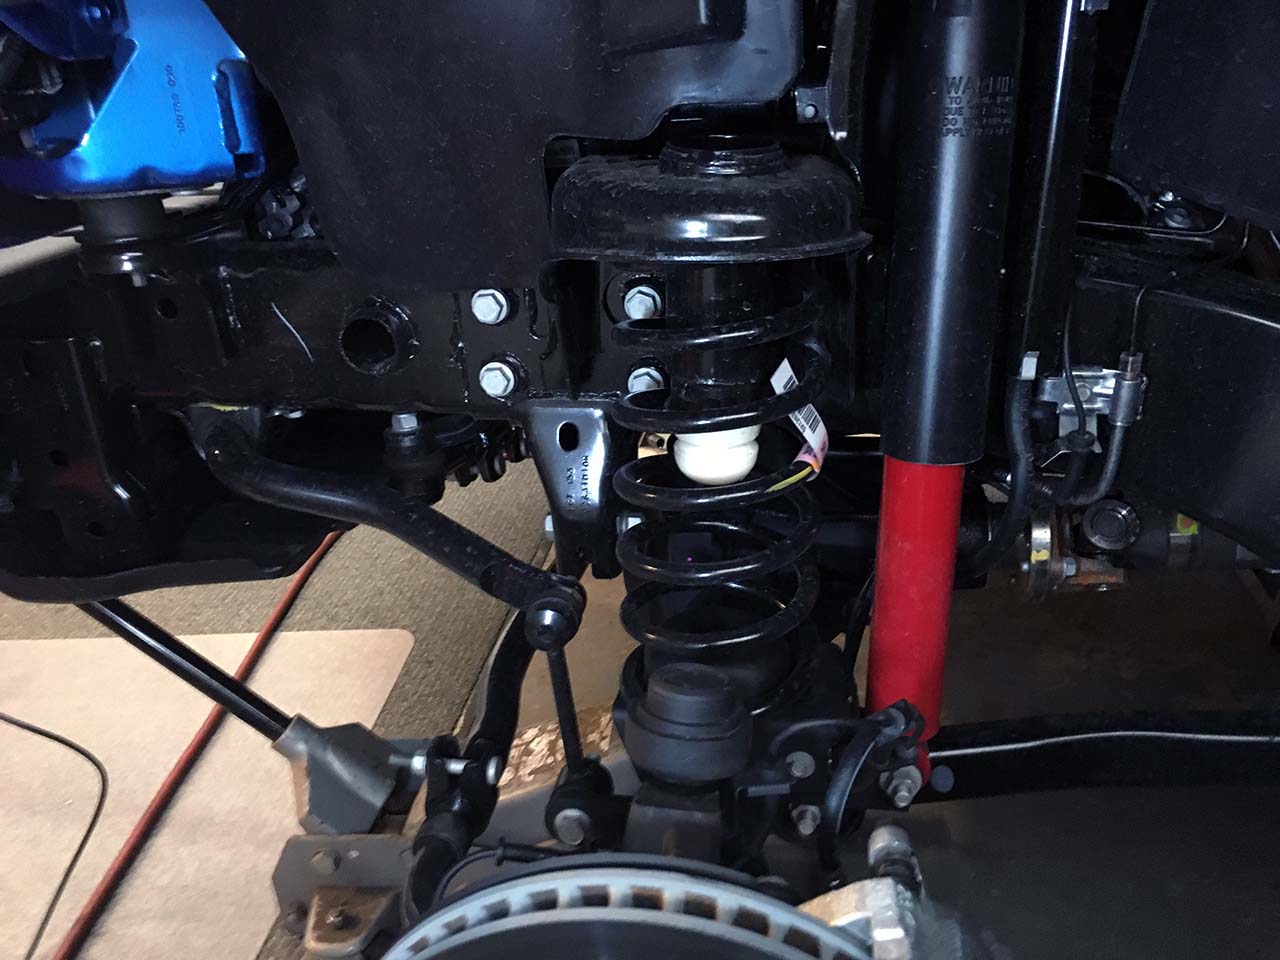
Continuing from Page 1 in the rear after the springs have been installed. Jack up the rear slowly observing for anything that may bind. When the axle is near ride height install the shock extensions, like when they were removed install one bolt to help hold the shock in place, install the shock then the second bolt. Once the upper bolts are in place tighten them all to the torque settings specified in the Teraflex manual. Install the lower shock bolts. Tip: The factory Jeep shocks are nitrogen filled and will extend fully when there is no pressure. Compressing them is a bit challenging, using a good pry bar or other form of lever will help get them compressed to ease installation.
|
|
|
|
|
|
|
|
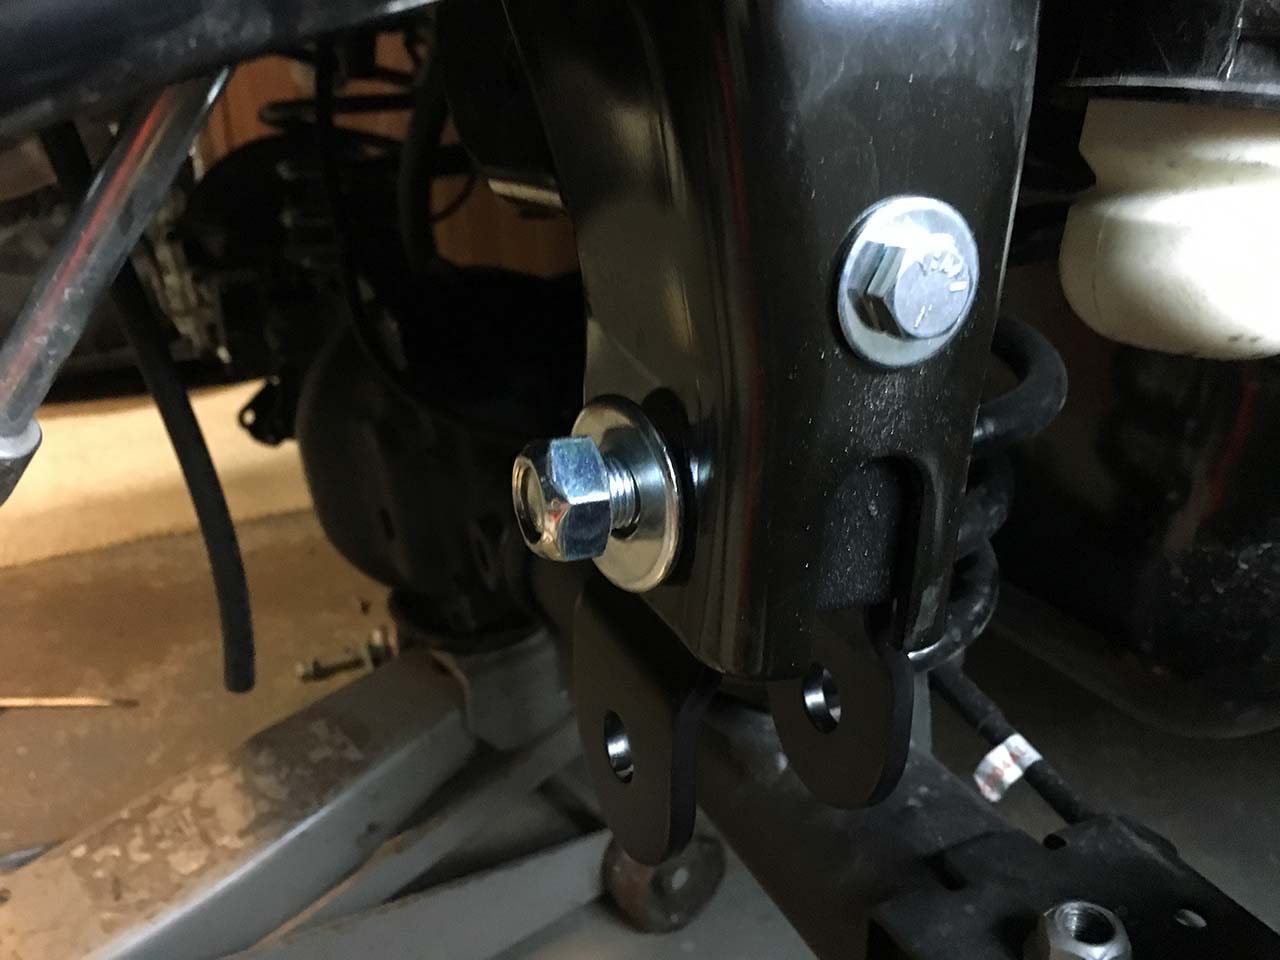
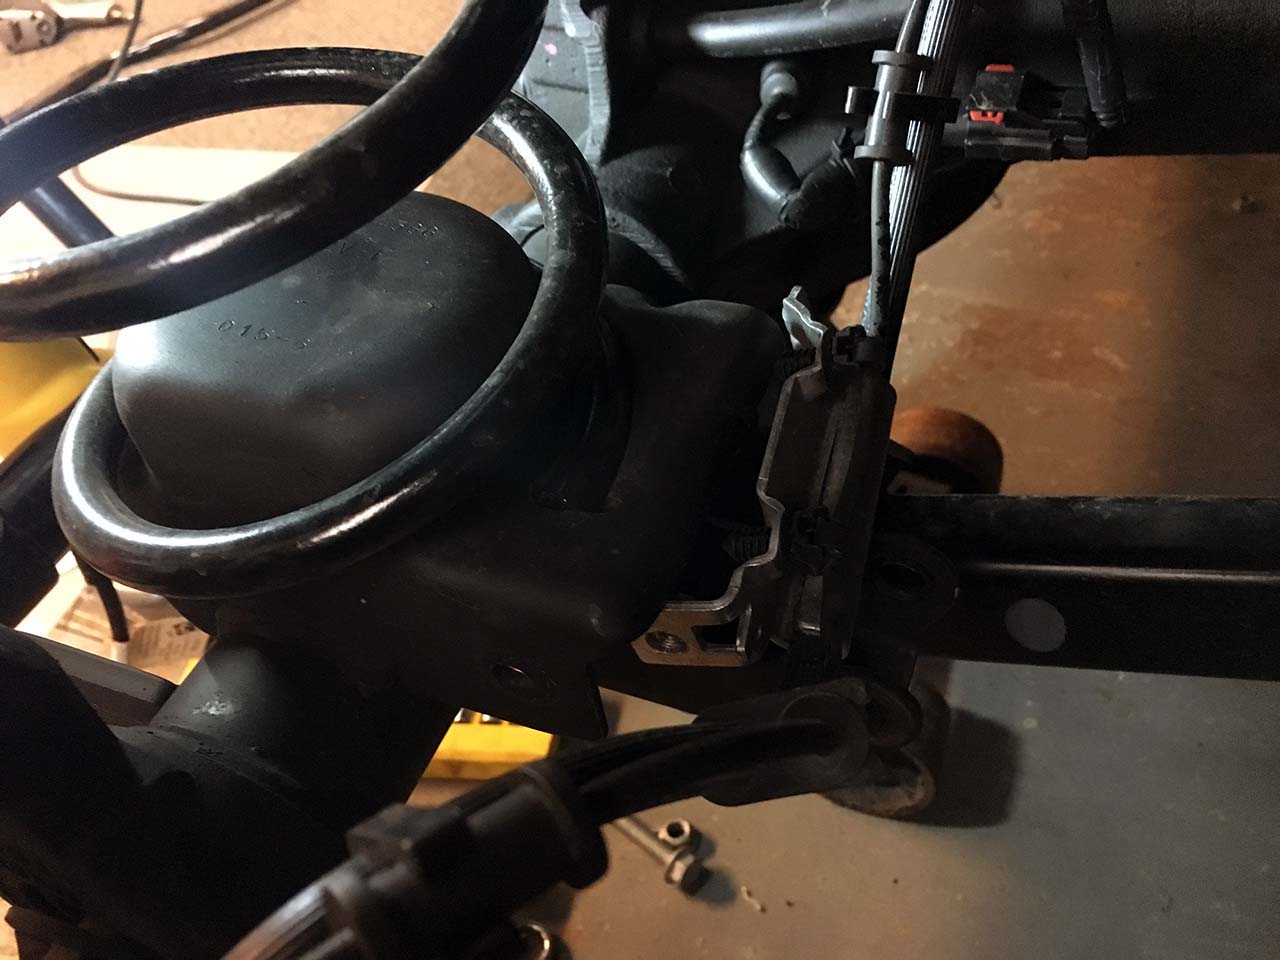
Install the Teraflex sway bar extensions and the Teraflex brake line extension brackets. Take care to install them correctly.
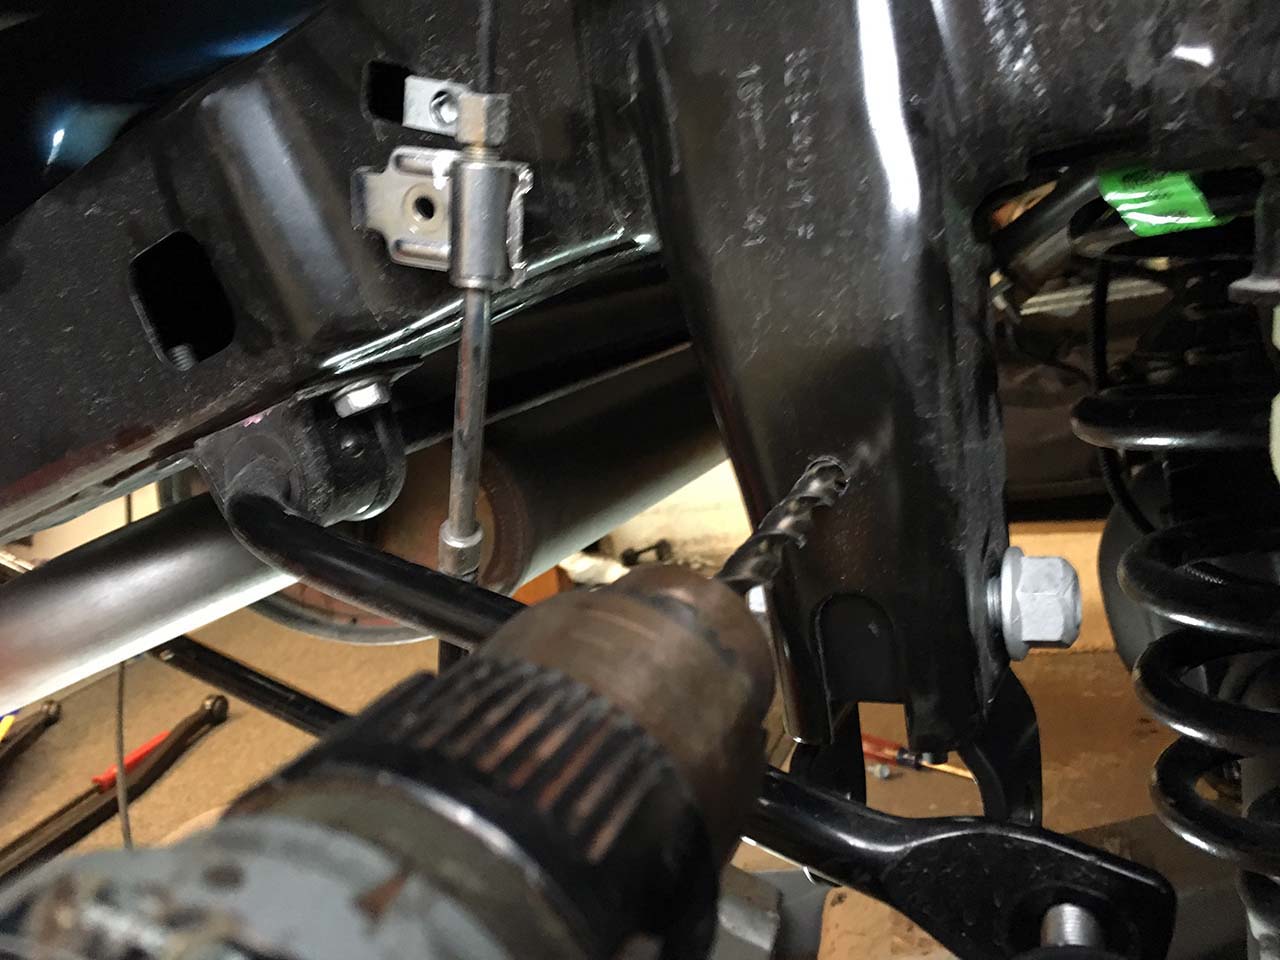
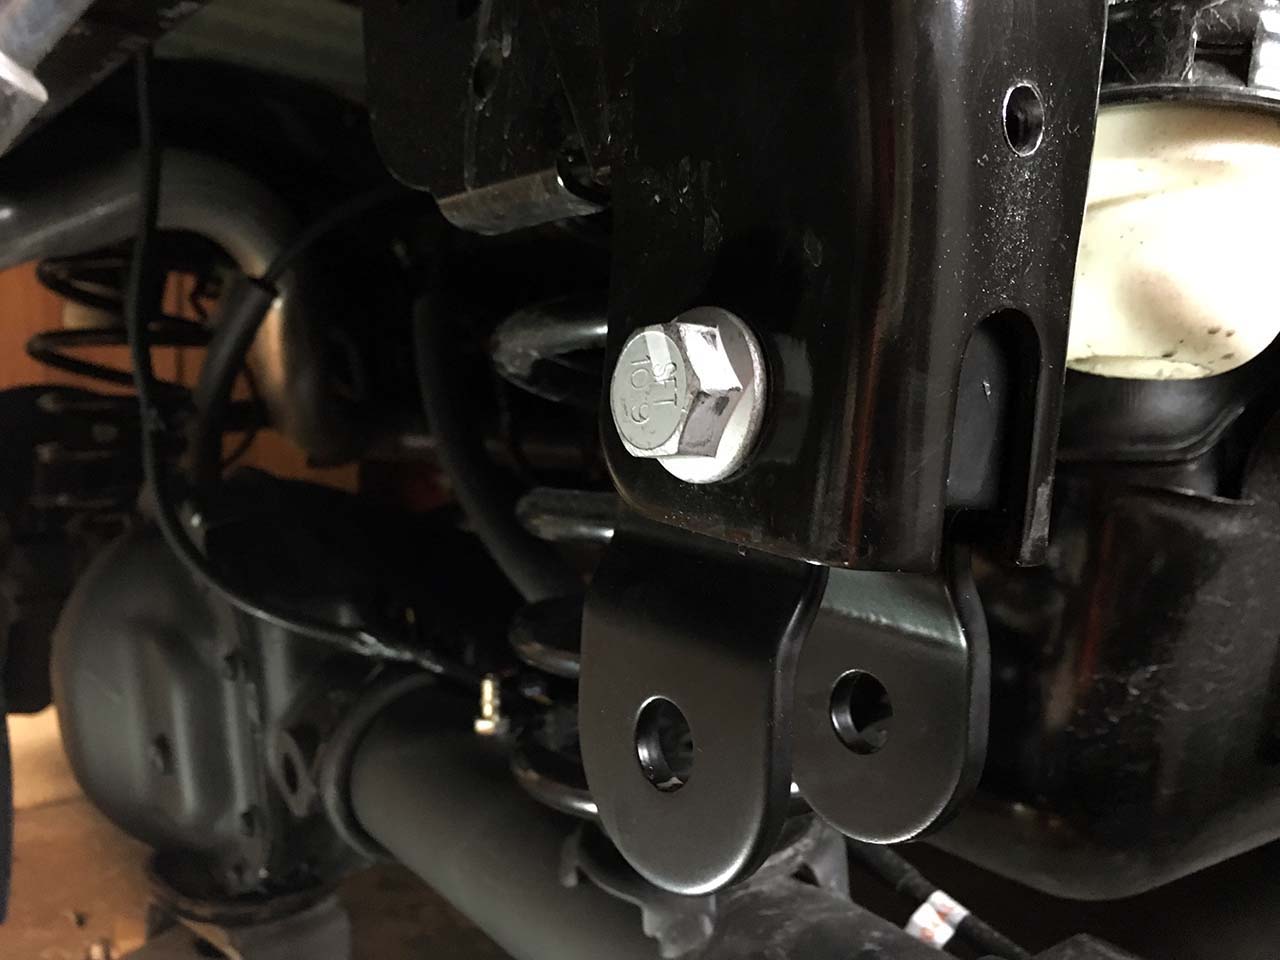
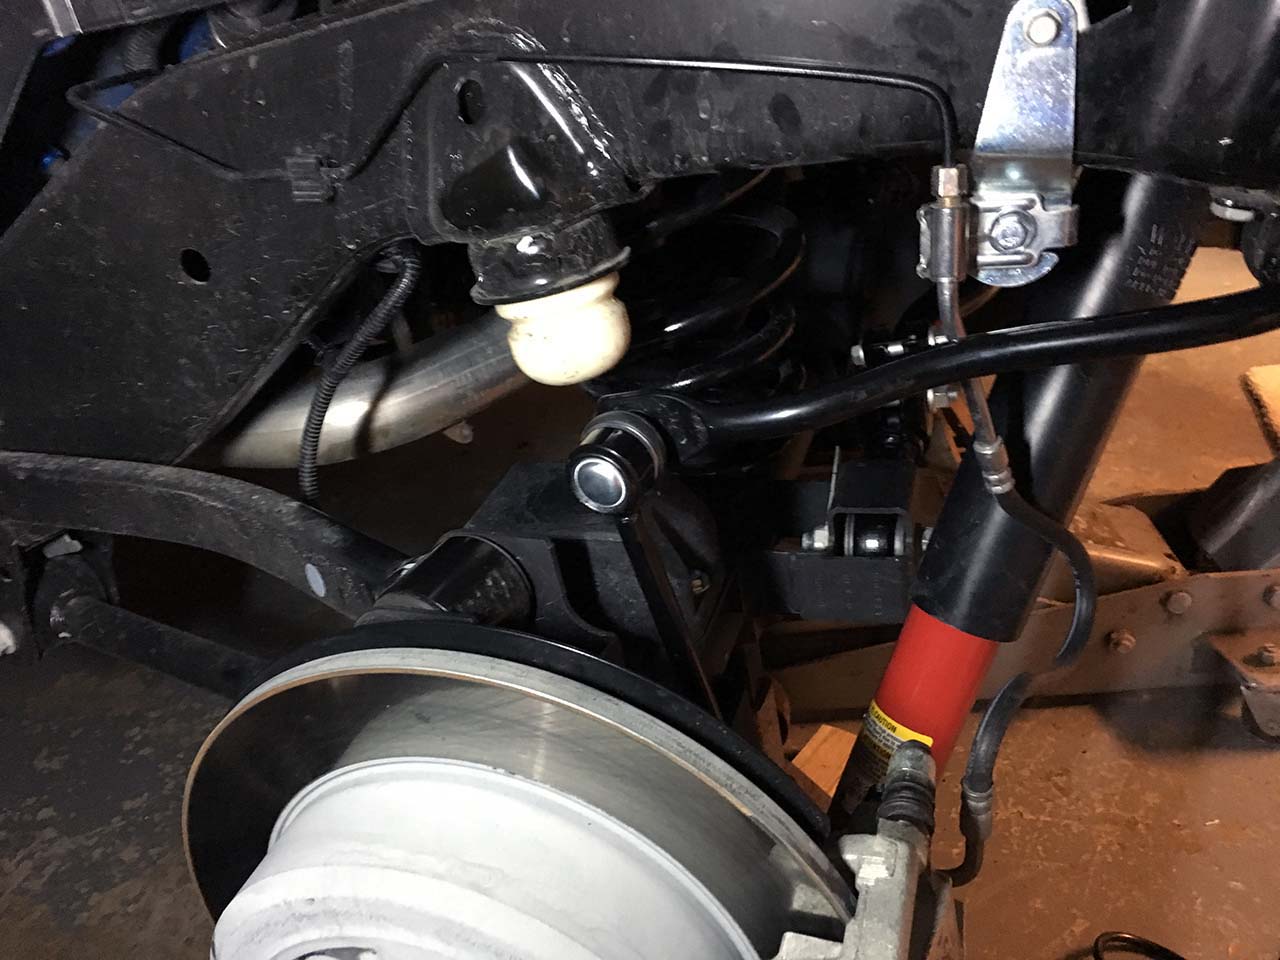
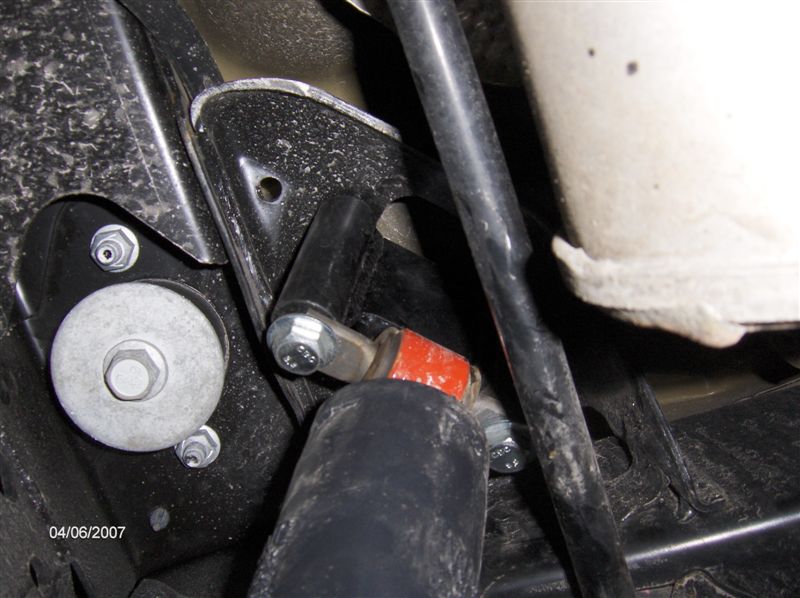
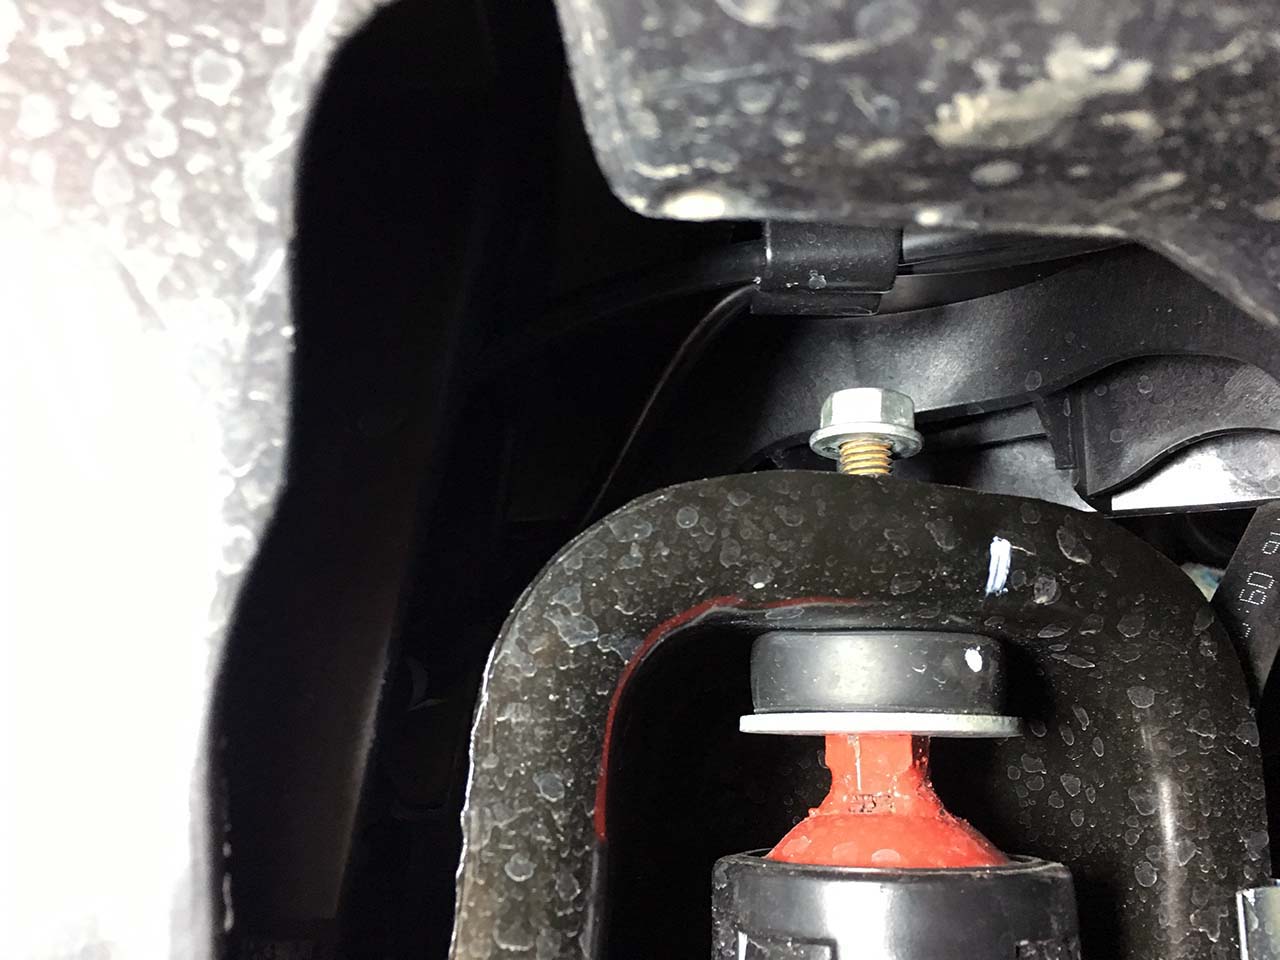
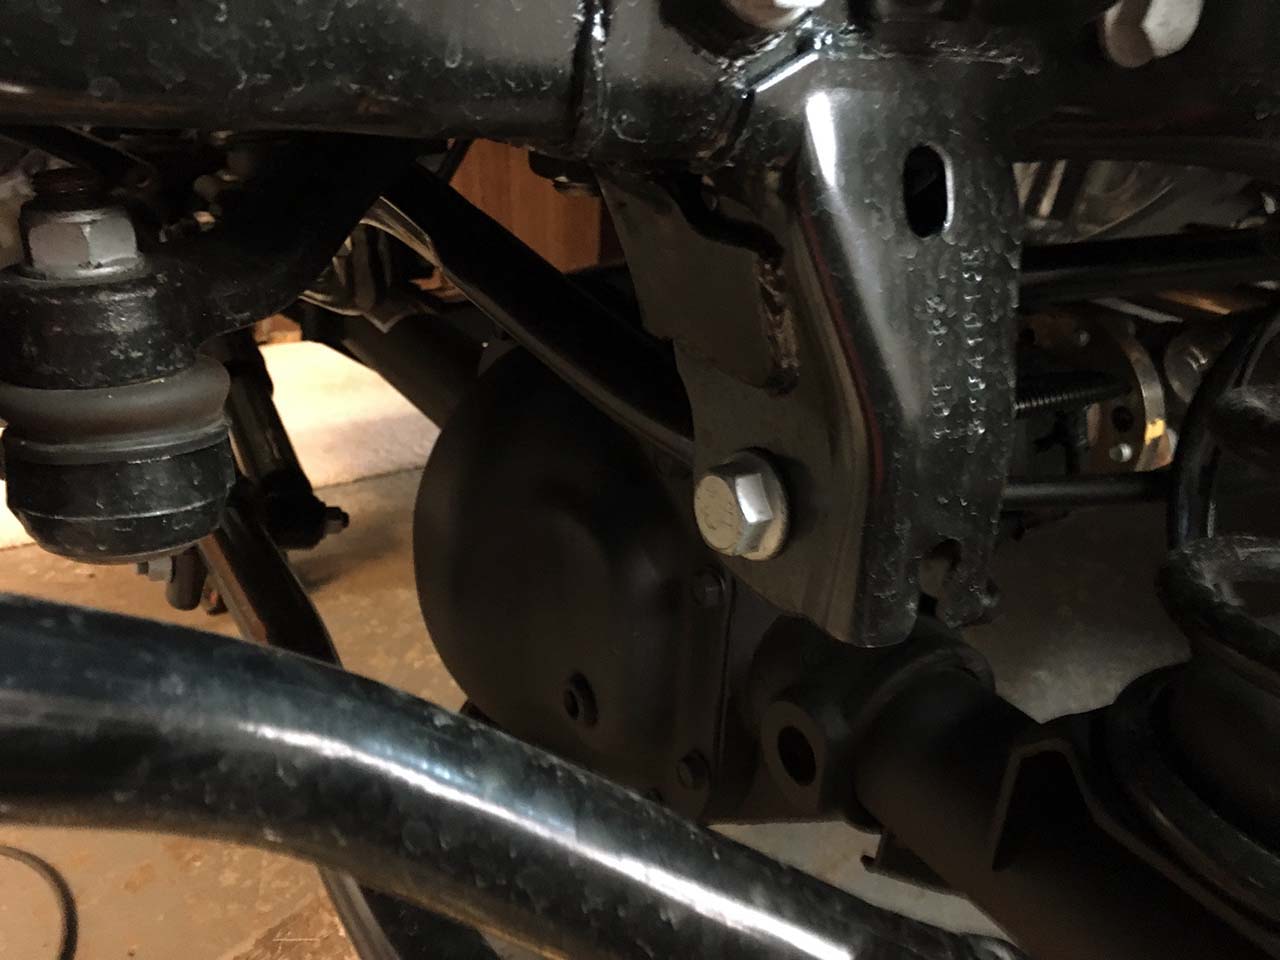
Install the Teraflex track bar drop bracket. The drop bracket is an important part of the installation, the bracket corrects the track bar angle and prevents excess body movement when going over the rough stuff. Cut out the paper template and locate it on the upper track bar mount. Drill a 3/8″ hole at the mark indicated by the template. Install the track bar bracket using the supplied bolt and spacer to prevent the mount from crushing. Install the upper bolt.
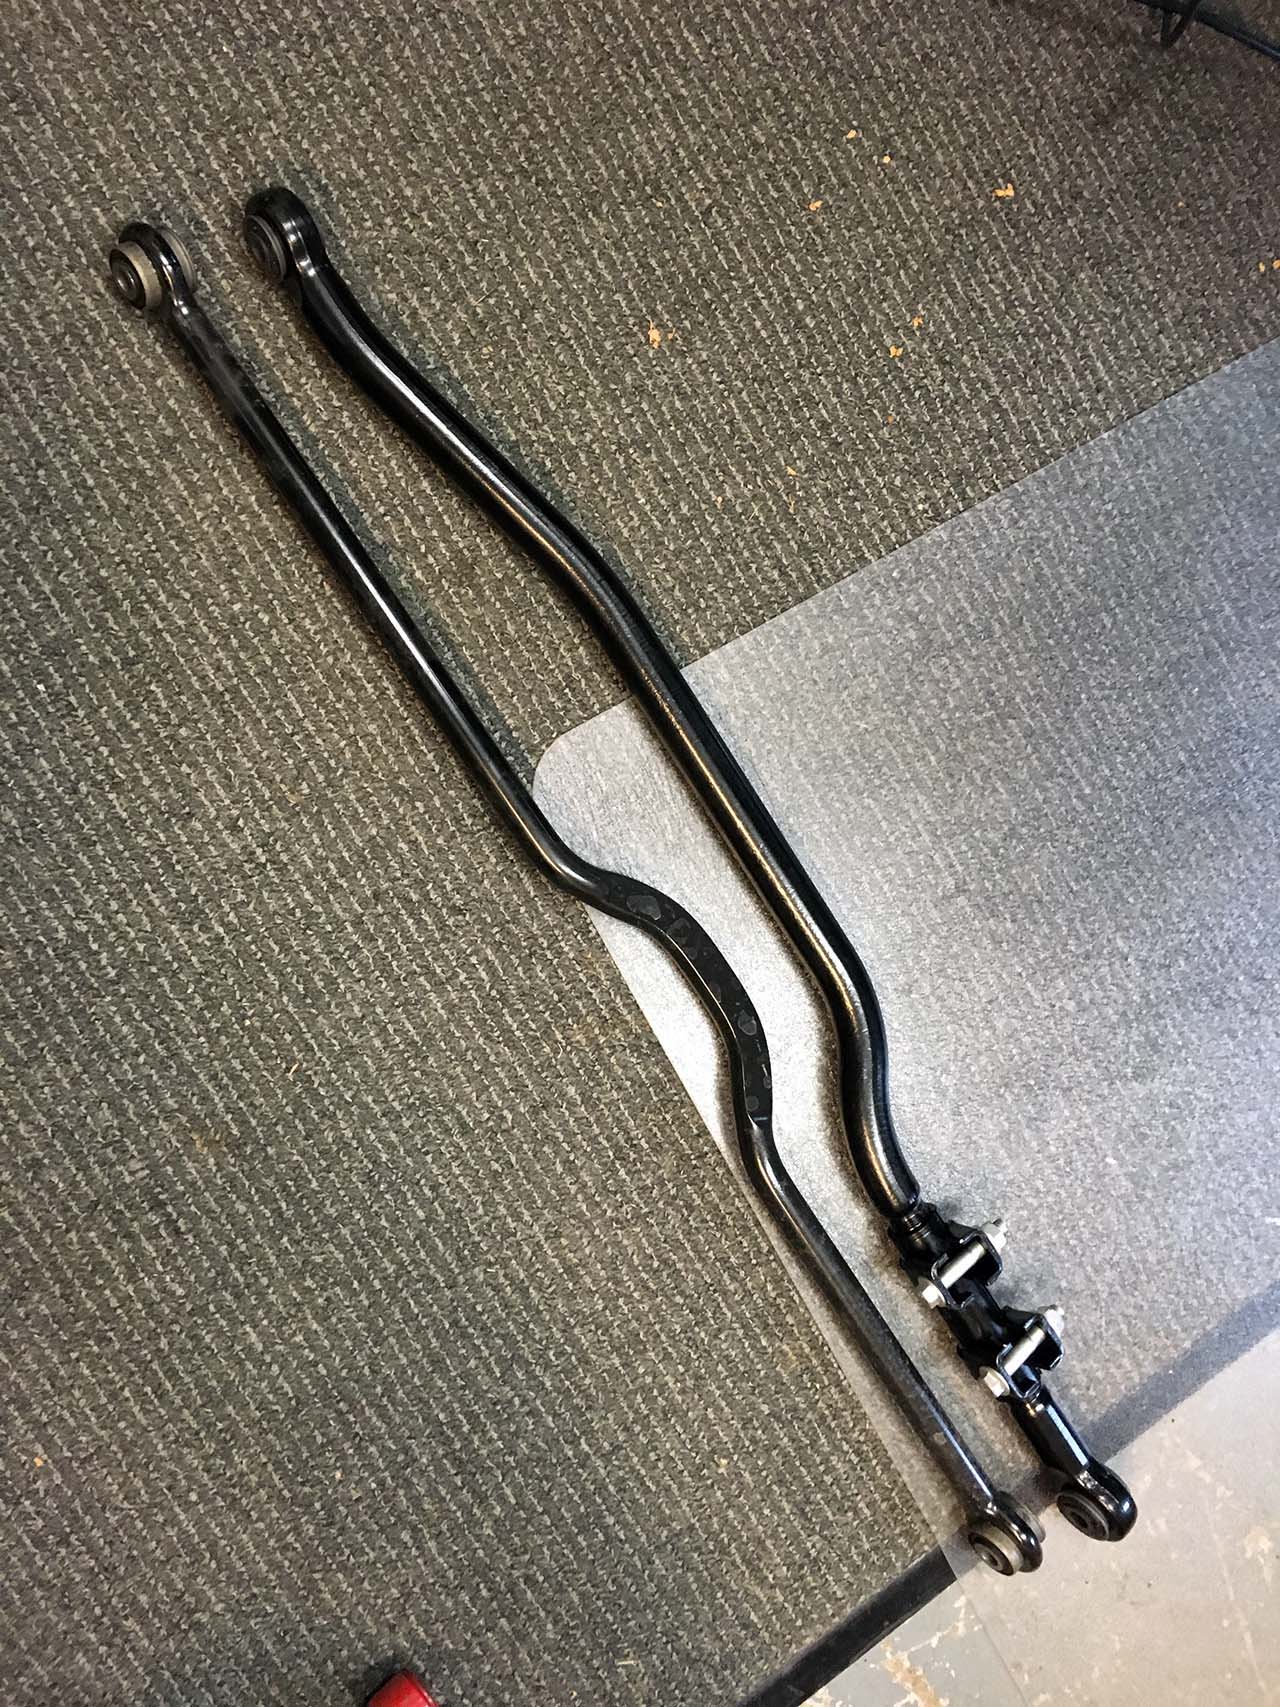
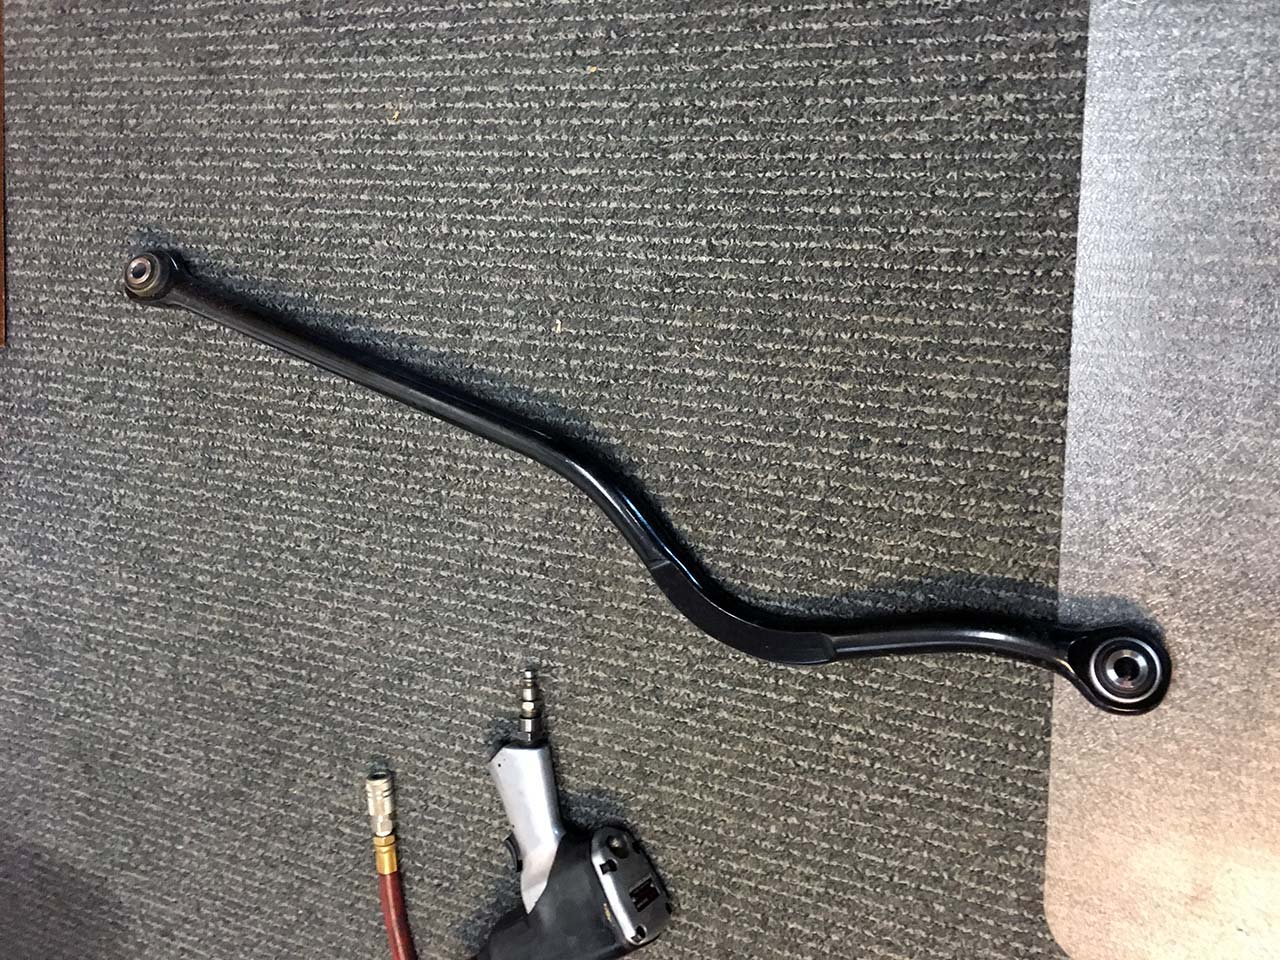
Install the track bar to the top mount first then install the bottom. You may need the help of a friend to push the Jeep from side to side to locate the track bar bolt hole. We installed a Teraflex Forged Adjustable Track Bar in place of the stock one to get the axle properly located. Click the link to read about it.
At this point the rear is near complete. Put the axle breather hose back and check for loose/binding items as you place the Jeep’s weight back on the rear axle.
At this point we like to transfer the Jeep’s weight back onto the axle. Either put the wheels back on or support the axles on jack stands. Tighten everything up to the torque specs provided by Teraflex.
Front Installation
Similar to the rear support the Jeep by the frame and remove the front wheels. Don’t let the axle extend from the Jeep quite yet.
Remove the track bar, sway bar links, and shocks. Remove the bottom shock bolt first then loosen the top nut to remove the shock. Loosen the brake line/ABS line bracket from the bottom spring perch. Pull the axle breather and detach the locker wiring from the axle if equipped.
|
|
|
|
|
|
|
|
|
|
|
|

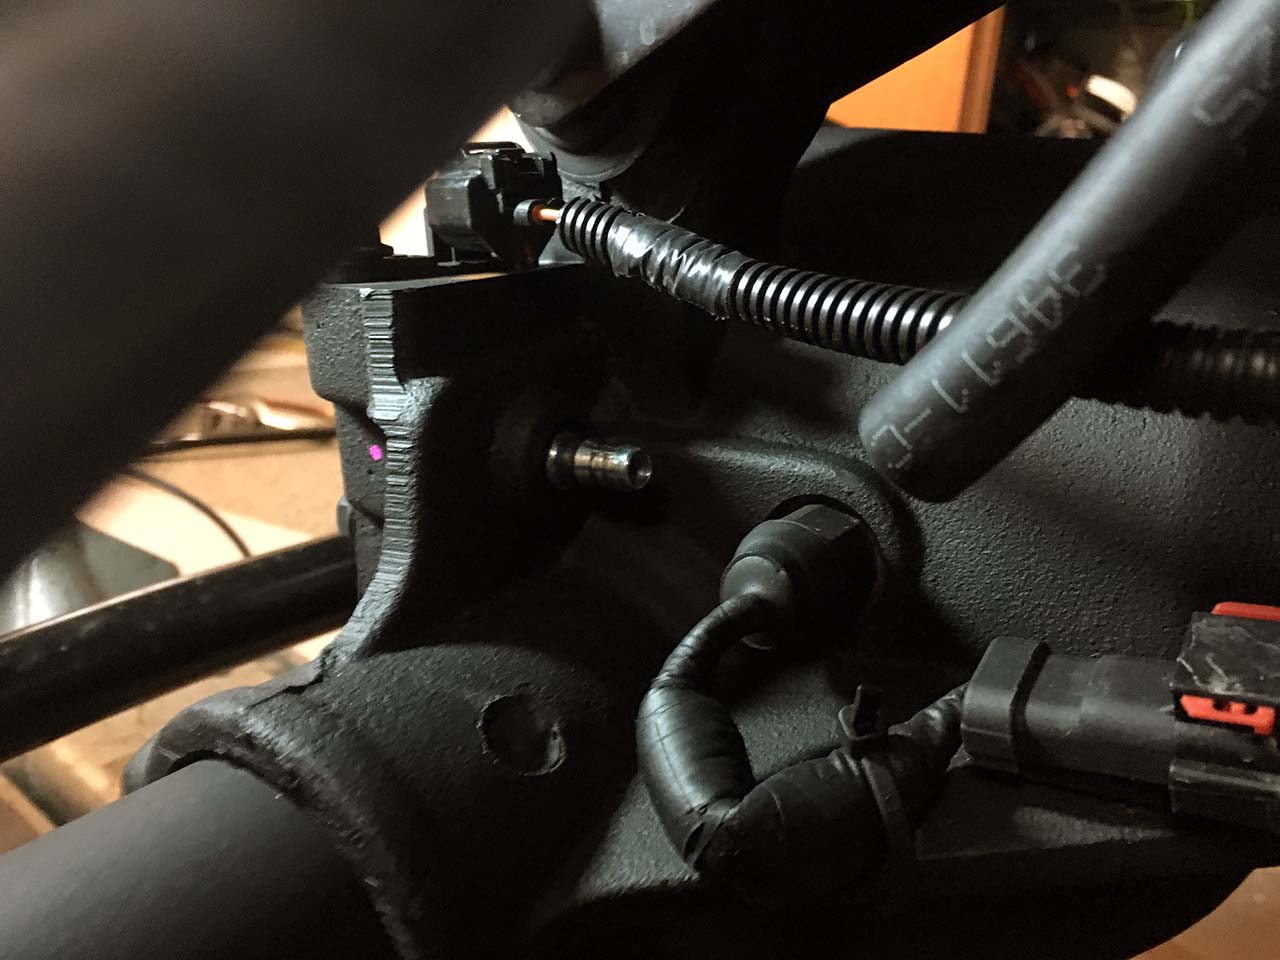


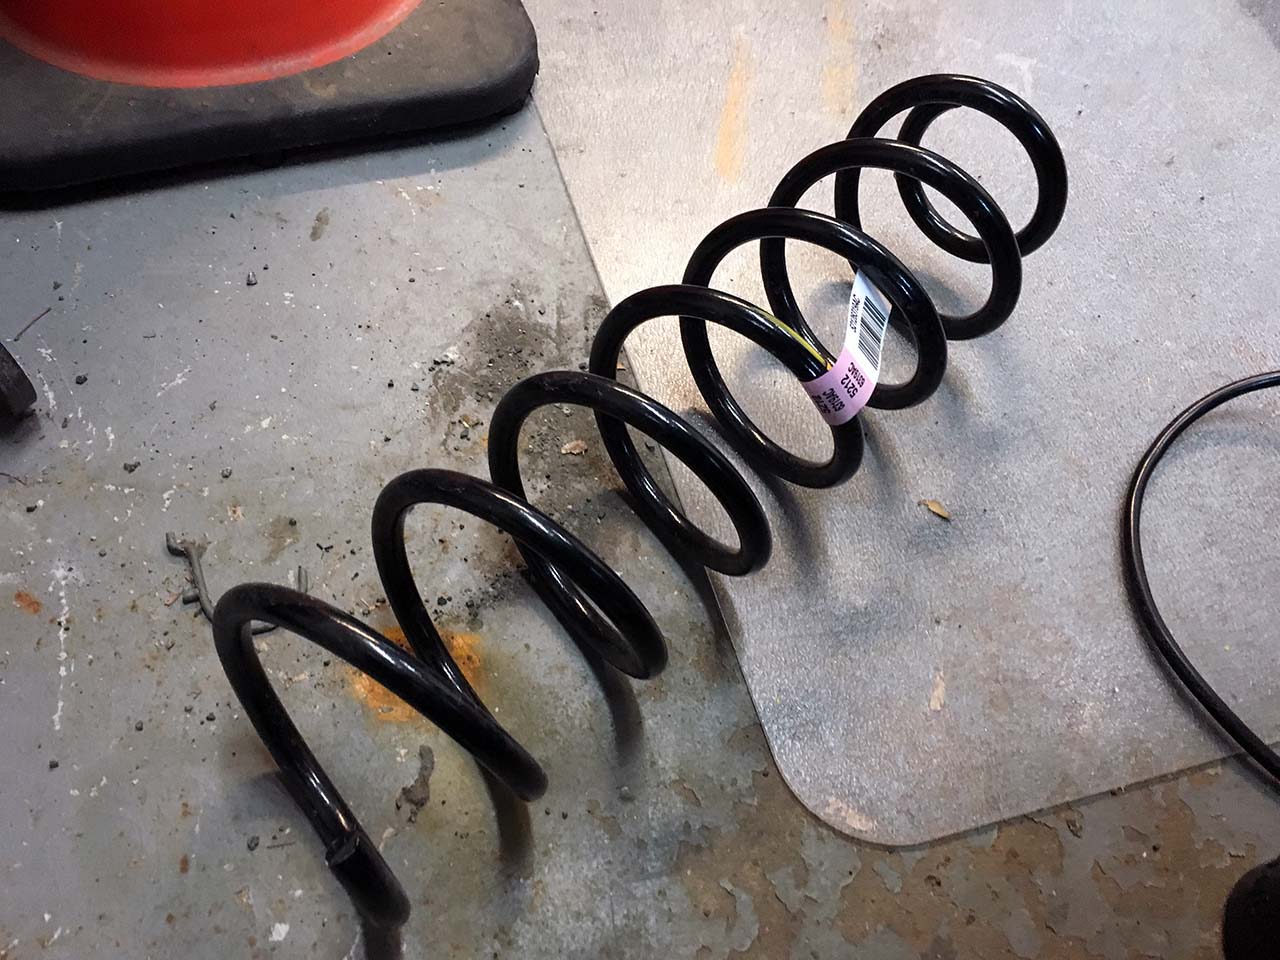
With everything loose gently lower the axle down watching for anything binding or stretching. Lower the axle enough to remove the springs. Finally remove the bumpstop from the bumpstop tube. It should be easily removed with a little prying with a screwdriver.
Next Page