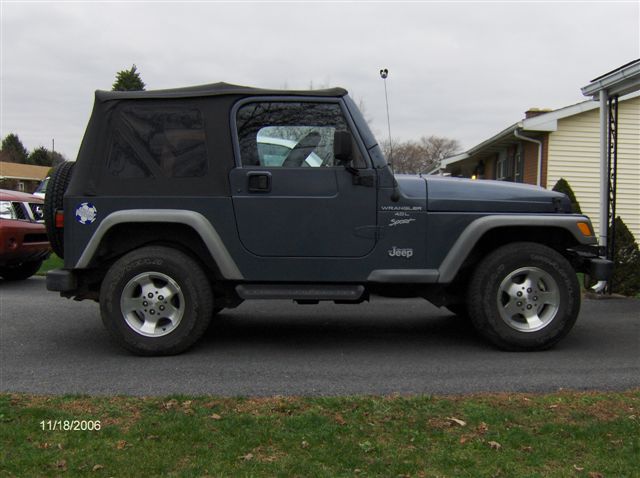
The TJ in stock form is a very trail capable Jeep. Increasing ground clearance makes a huge difference off-road. For a little money in an inexpensive lift and larger tires a TJ can greatly increase it’s trail readiness in a few hours. Many TJs on the road never see the trail or some only see light trail use. This lift is good for those individuals that wish to give their Jeep a better appearance and trail-worthiness without breaking the bank.
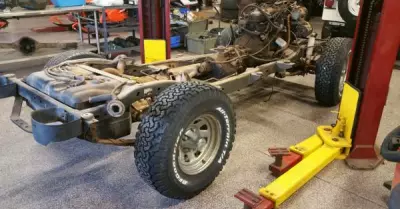
 We started with a 2001 Jeep Wrangler TJ. This Jeep was completely stock and still had it’s original worn out Goodyear 30X9.5″ tires.
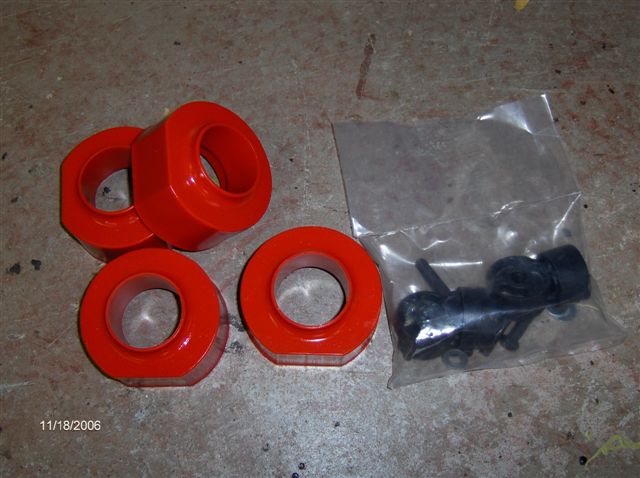
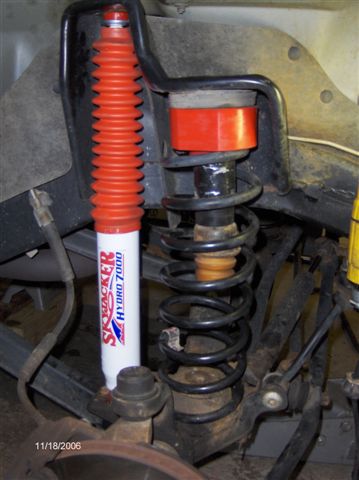
Our plan was to install a Skyjacker 2″ lift, a set of Skyjacker Hydro shocks and a new set of 32X11.5″ BFGoodrich All-Terrain tires all put on order from OK Auto in Stewartsville NJ.
 |
 |
 |
 |
As usual, make sure you are confident on you ability to install this modification. Follow the manufacturers instructions and be safe. Never work under a vehicle lifted by a jack only.
The Front
After the Jeep was securely up on jack stands and the front wheels were removed. Remove the shocks, disconnect the sway bar links, and disconnect the bottom mount of the track bar. The Skyjacker directions indicate that these do not need to be disconnected but we found it near impossible to re-install the coil springs with them still connected. Wire brush all the exposed threads and spray them with PB Blaster to aid in removal.
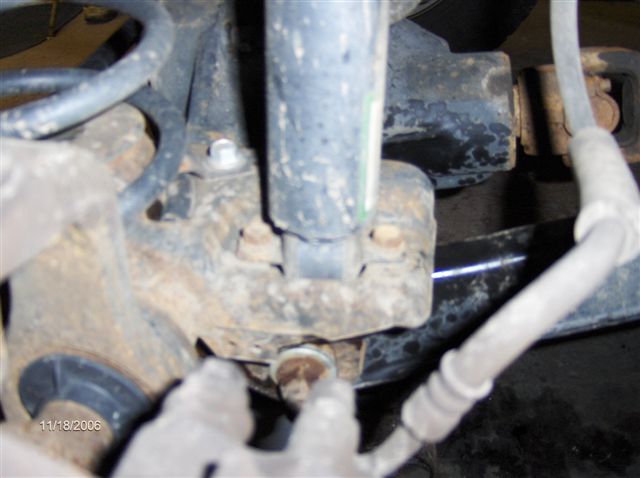 bottom shock mount |
 upper shock mount |
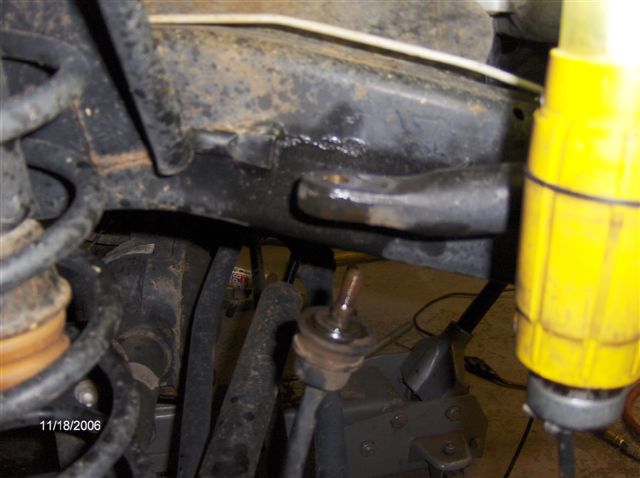 sway bar link disconnected |
 track bar mount |
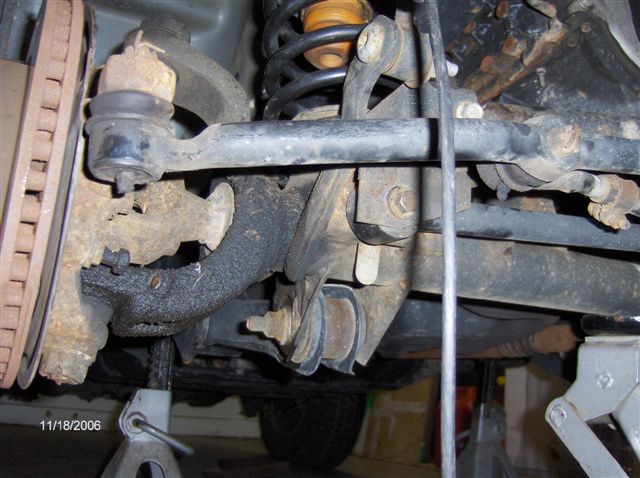
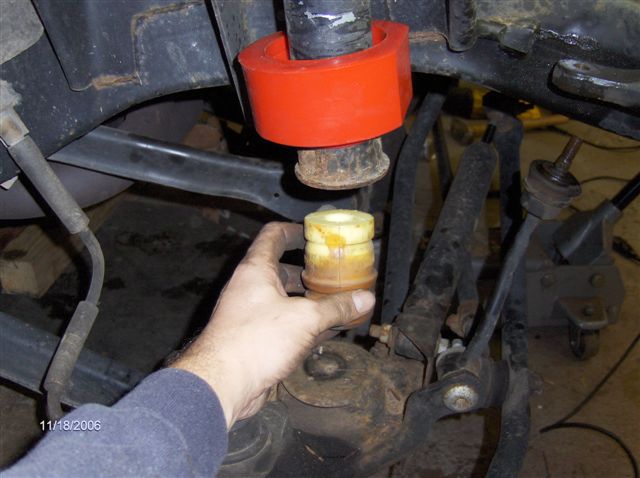
After the shocks are removed and the links are disconnected lower the axle to allow the springs to fully extend. Remove the coil springs. Remove the bump stop by rocking it out of the cup, then remove the bump stop cup.
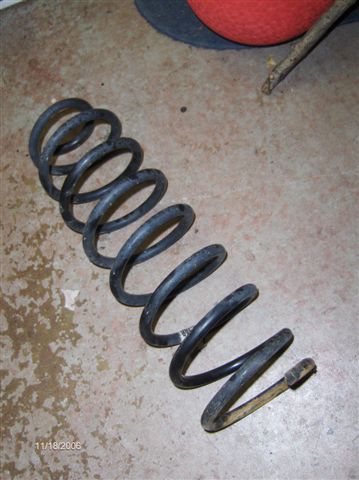 front coil spring |
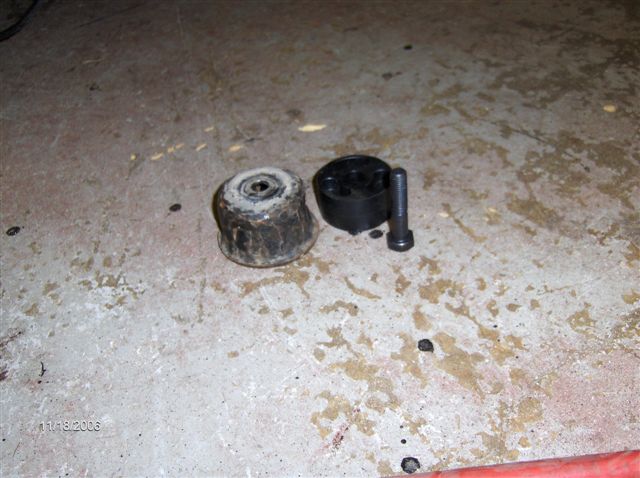 bump stop cup and spacer |
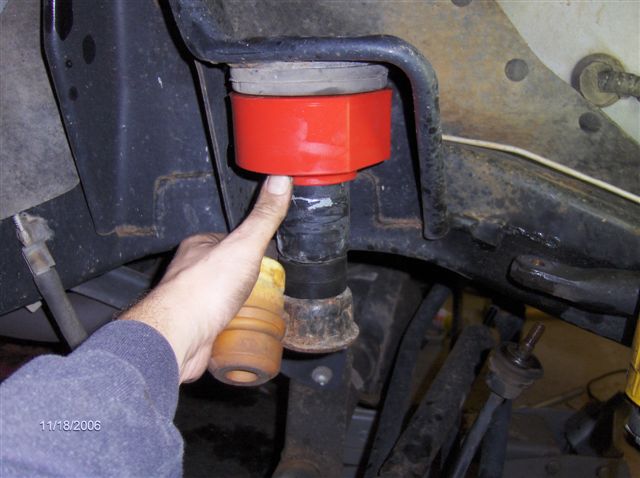
 bump stop cup and spacer installed |
 coil spacer installed and bump stop |
 |
coil spring installed |
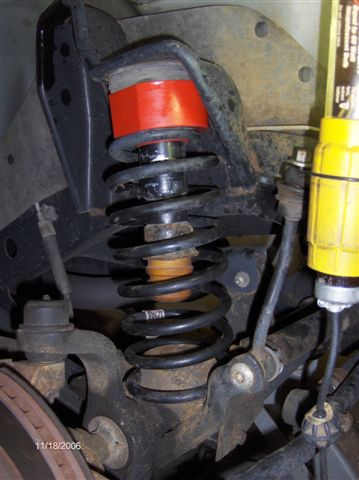
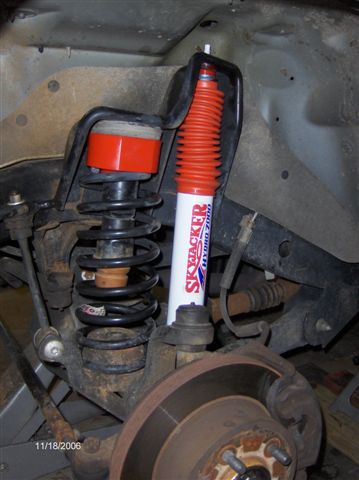
Slide the coil spacer onto the bump stop mount and reinstall the bump stop cup and the bump stop spacer using the included longer bolt. Reinstall the bump stop into the cup. We found it easy to use a jack to raise the axle and while holding a block on top of the spring mount press the bump stop back into the cup. Install the new shock absorbers, reconnect the sway bar and the track bar.
 |
 |
Shock tip: Installing the poly bushings with the crossbar can be a challenge. Put a small amount of grease on the bushing and using a vice and a socket press the bushing into the mounting eye.