Rear Installation

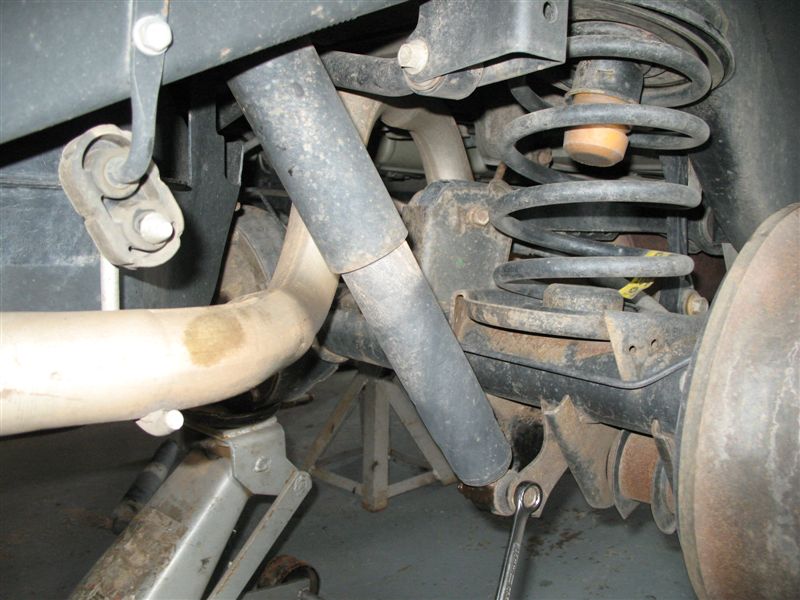
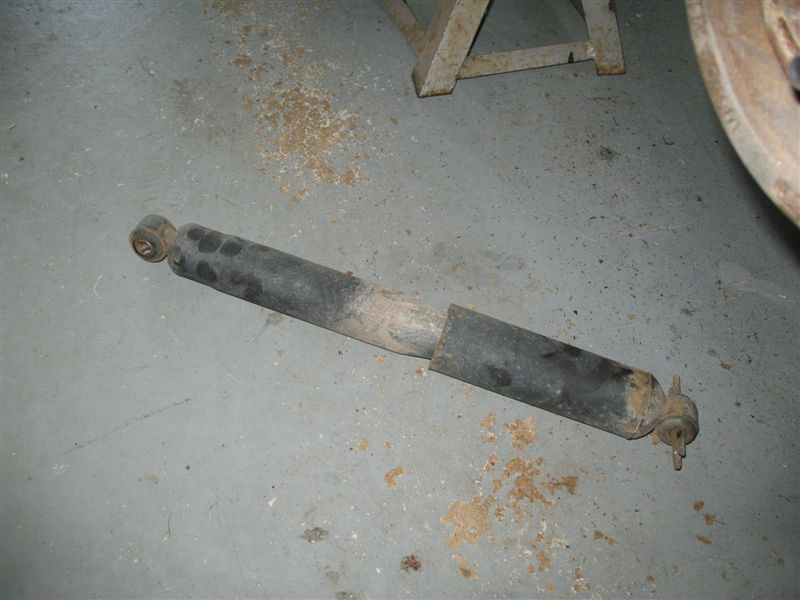
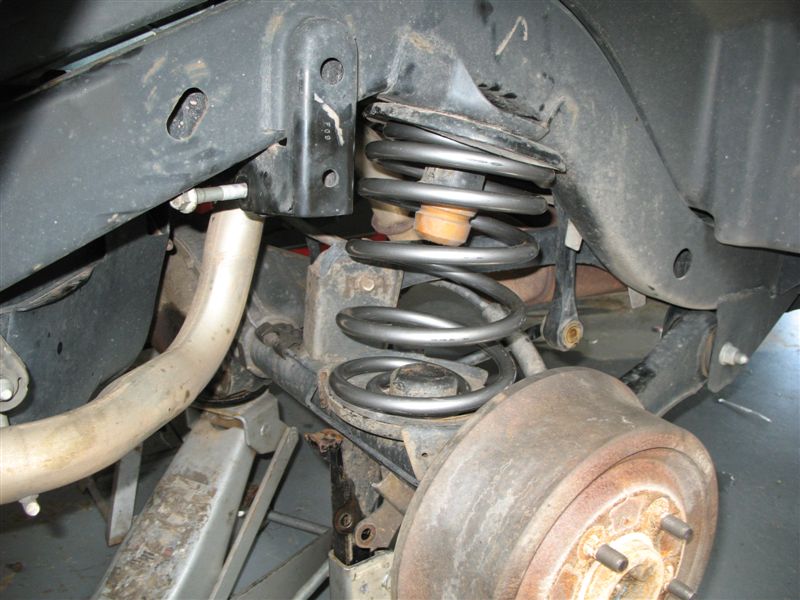
As we did during the front installation support the Jeep’s weight on stands to allow the rear suspension to partially hang free. Start by removing the shocks. Allow the axle to lower completely watching for stretching brake lines, hoses, and/or cables. Remove the rear coil springs.
 |
 |
 |
 |
After the rear coils are removed it is easier to install the new springs with the sway bar links and upper track bar mount disconnected. Shown below.

Allow the axle to lower watching the brake lines to make sure they don’t pull to far and pull out the spring. A pry bar may come in handy to help removing the spring.
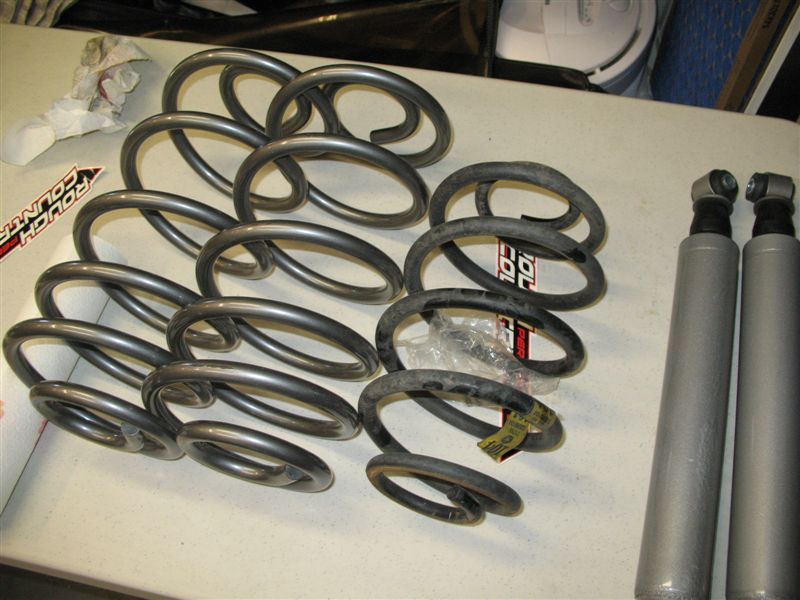
As mentioned during the front install. Installing the new springs will be easier with a coil spring compressor. It seems we “lent” out ours and were stuck improvising. Luckily the spring only requires a minimal amount of compression to allow the installer to muscle the spring in place.
Use caution if you are going to use this method. Place the upper section of the coil in place. Using a ratcheting strap attach the strap to the lower coils of the spring and loop over the upper spring mount. Tighten down the strap compressing the spring. Using a pry bar pop the spring into the lower mount.

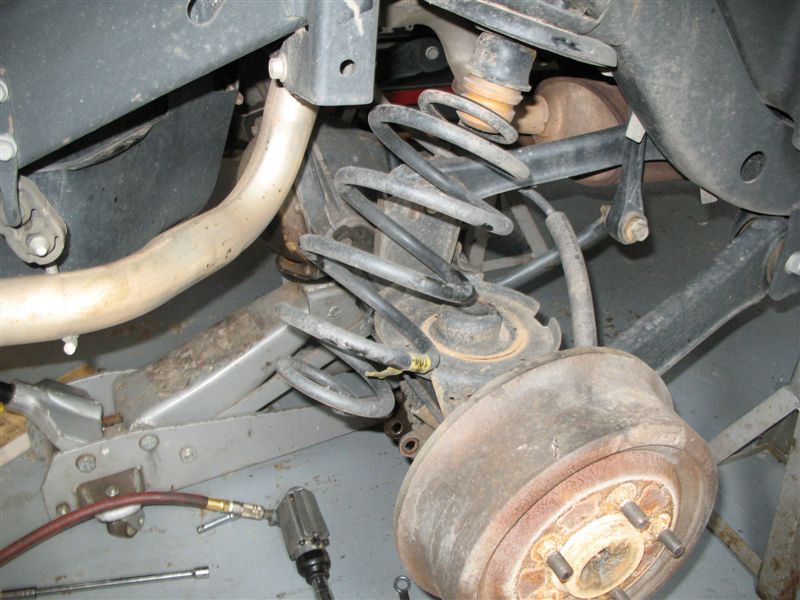
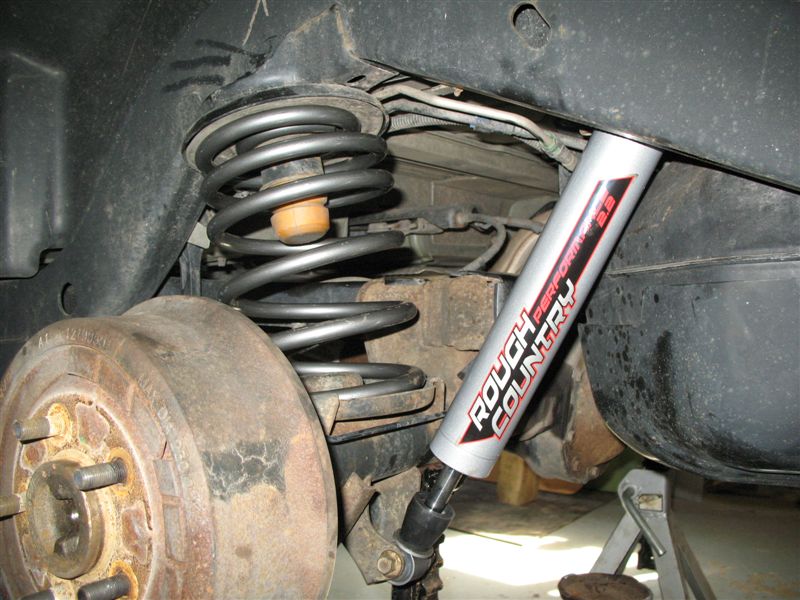
After both springs are installed install the shocks to the upper mount first. It is easier to install one of the upper shock bolts to then install the shock along with the second bolt. Using a floor jack raise the axle slightly and mount the bottom of the shock.
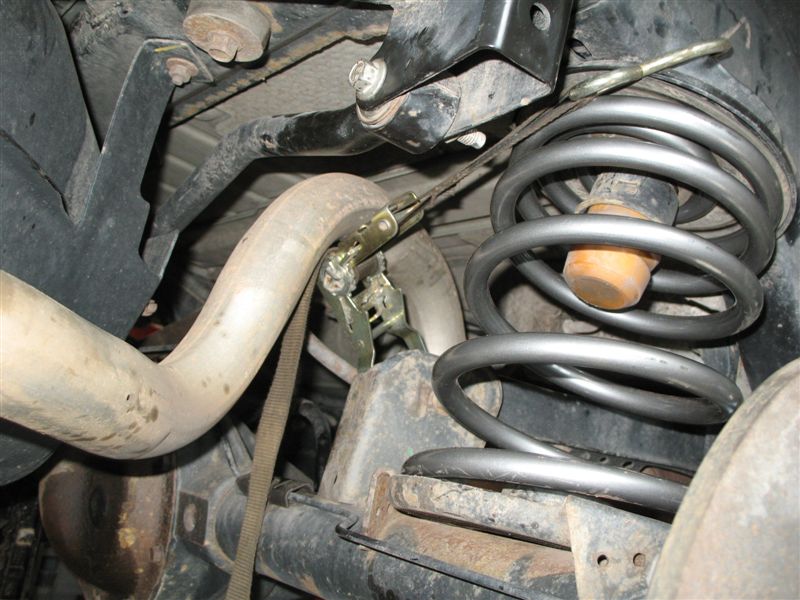
Raise the axle further and reattach the sway bar links. Wait to reattach the track bar until the Jeep is on its own weight. Raise the Jeep and move the jack stand to under the axle so the Jeep’s weight is sitting on the suspension. Using the ratchet strap attach one end to the axle at the lower track bar mount and the other to the upper spring mount. Tighten down the strap until the upper track bar bolt moves into alignment. See image on the right.
Double check all the nuts/bolts for proper tightness and reinstall the tires.