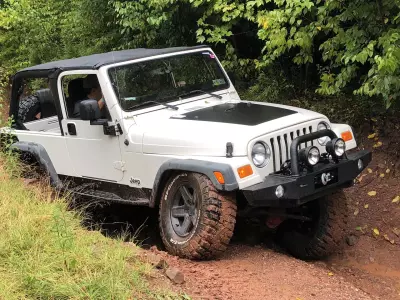
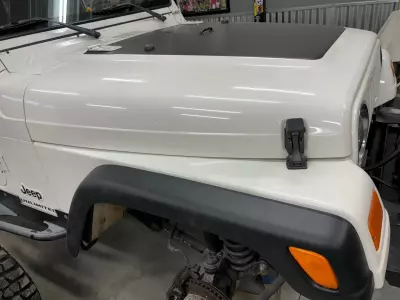
We are no experts in rust repair unless you count watching several YouTube videos about it. The jeepfan.com 2004 Wrangler TJ Unlimited had a rust hole in the passenger side front fender that we have been ignoring. The fender should probably be replaced but we decided to give a repair job a go while installing new fender flares.
The simple plan here is to remove as much of the rust as possible. Fill any holes that are created from the rust removal. Sand the areas in stages to get it all smooth and ready for paint. The area is painted and feathered into the existing paint. Finishing up with fine sanding of the paint followed by some buffing to match everything together.
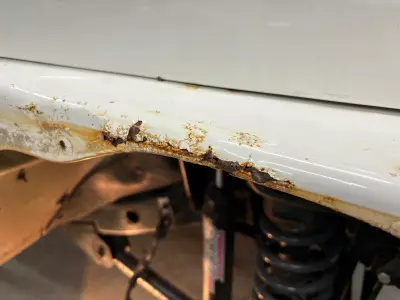

We did a patch job on the fender soon after the TJ joined the jeepfan.com fleet but it was poorly done and the front tire did a number on it while offroad. This little incident led us to add a coil spacer in the front for some extra clearance – Teraflex 2″ Spacer for Wrangler TJ.
Rust Repair Step 1 – Prepping the Site
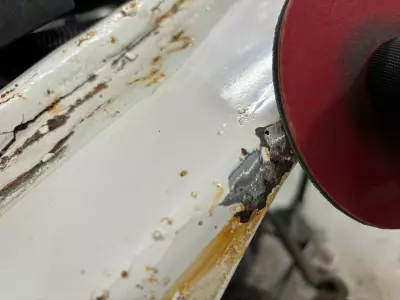
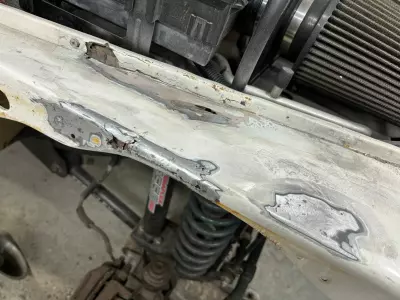
It’s important to get as much of the rust removed to expose good metal to stop the rust from spreading. Removing rust from the top of the fender was easy as opposed to the underside which isn’t flat. We used a wire brush to clean the underside as much as possible. After it’s all complete we will use a good rust bonding paint to essentially seal off any remaining rust.
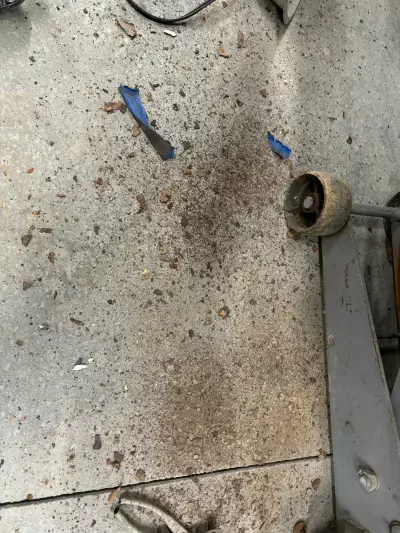
We used an air grinder disk on the top to remove the rust and expose the damage. It definitely isn’t pretty and like we said before, the fender should probably be replaced. In this case the project was a good experiment and it may last a long time.
Step 2 – Filling and Sanding
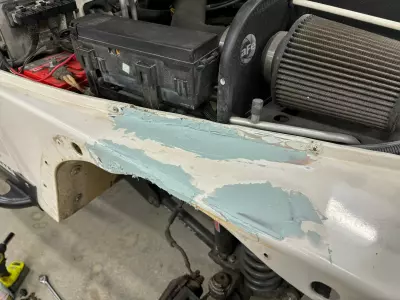
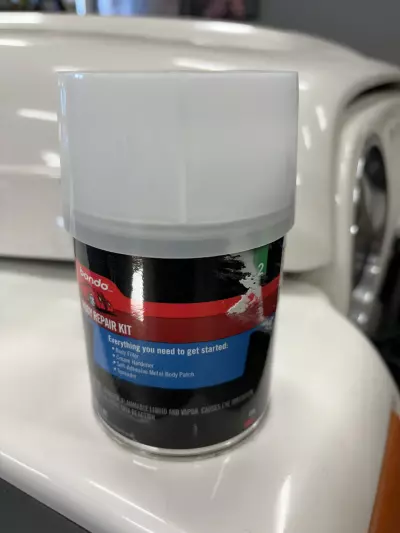
We picked up a bondo repair kit that included body filler and some screen material to patch large holes. We used a bit of screen to fill the large hole on the top of the fender. After mixing up a batch of the filler it was applied to the fender for the first pass of fill. After it set up good we got to sanding with 180 grit paper to smooth it all out.

Step 3 – Primer and Sanding
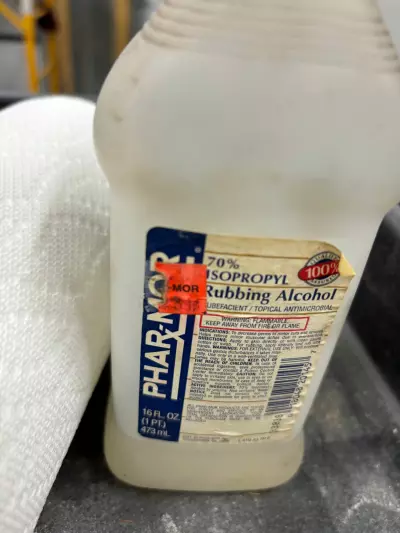
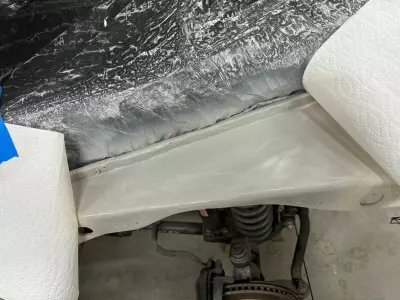
We fixed up any areas we missed with more filler then proceeded to sanding with finer and finer grit until it was ready for primer. We cleaned the area with rubbing alcohol and masked it off to prevent overspray. Paper towels were used in a curved manor to allow the paint to feather into the existing paint. This method prevents a hard line where new paint meets old.
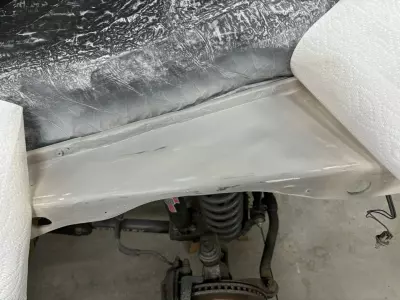
Apply thin layers of primer and wet sand with fine grit like 1000 to get it smooth.
Step 4 – Paint
After we felt satisfied with the smoothness we applied several thin layers of matching paint, wet sanding with 3000 grit. The paint wasn’t a perfect match but overall it was close, getting it closer would likely require professional paint. Overall it’s good enough for this imperfect old Jeep.
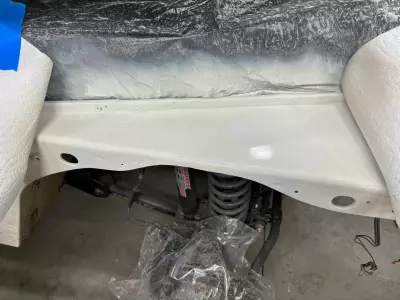
We applied two good layers of clearcoat, wet sanding in between with 3000 grit. Make sure you sand a bit onto the old paint to prevent a line at the transition, this will be blended during buffing. You should have a near matching surface that’s smooth.
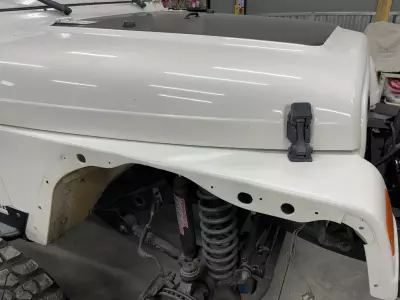
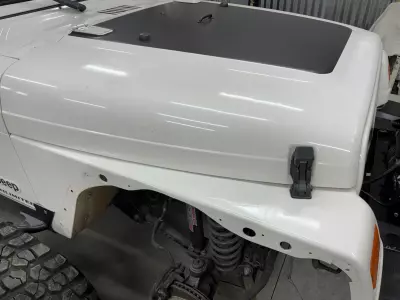
The final step after paint is to use a buffer and some compound to polish the surface to a shine and remove any orange peel left behind. We waited several days to buff allowing the paint to fully cure. In the end the job looks pretty good and is probably not very noticeable to others.
Supplies
Many of the supplies for our rust repair project like Bondo and sandpaper can be found at local DIY or automotive stores. We purchased the paint directly from Automotive Touchup.
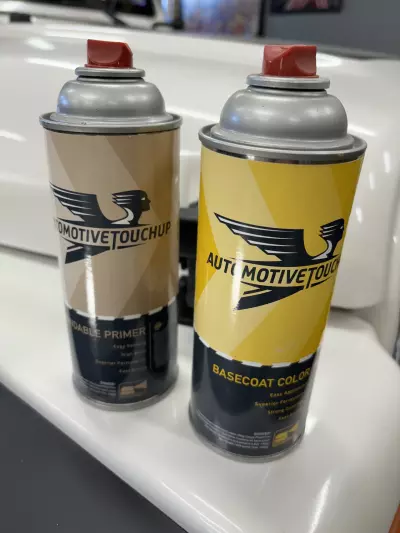
Automotive Touchup paint for Jeep.


