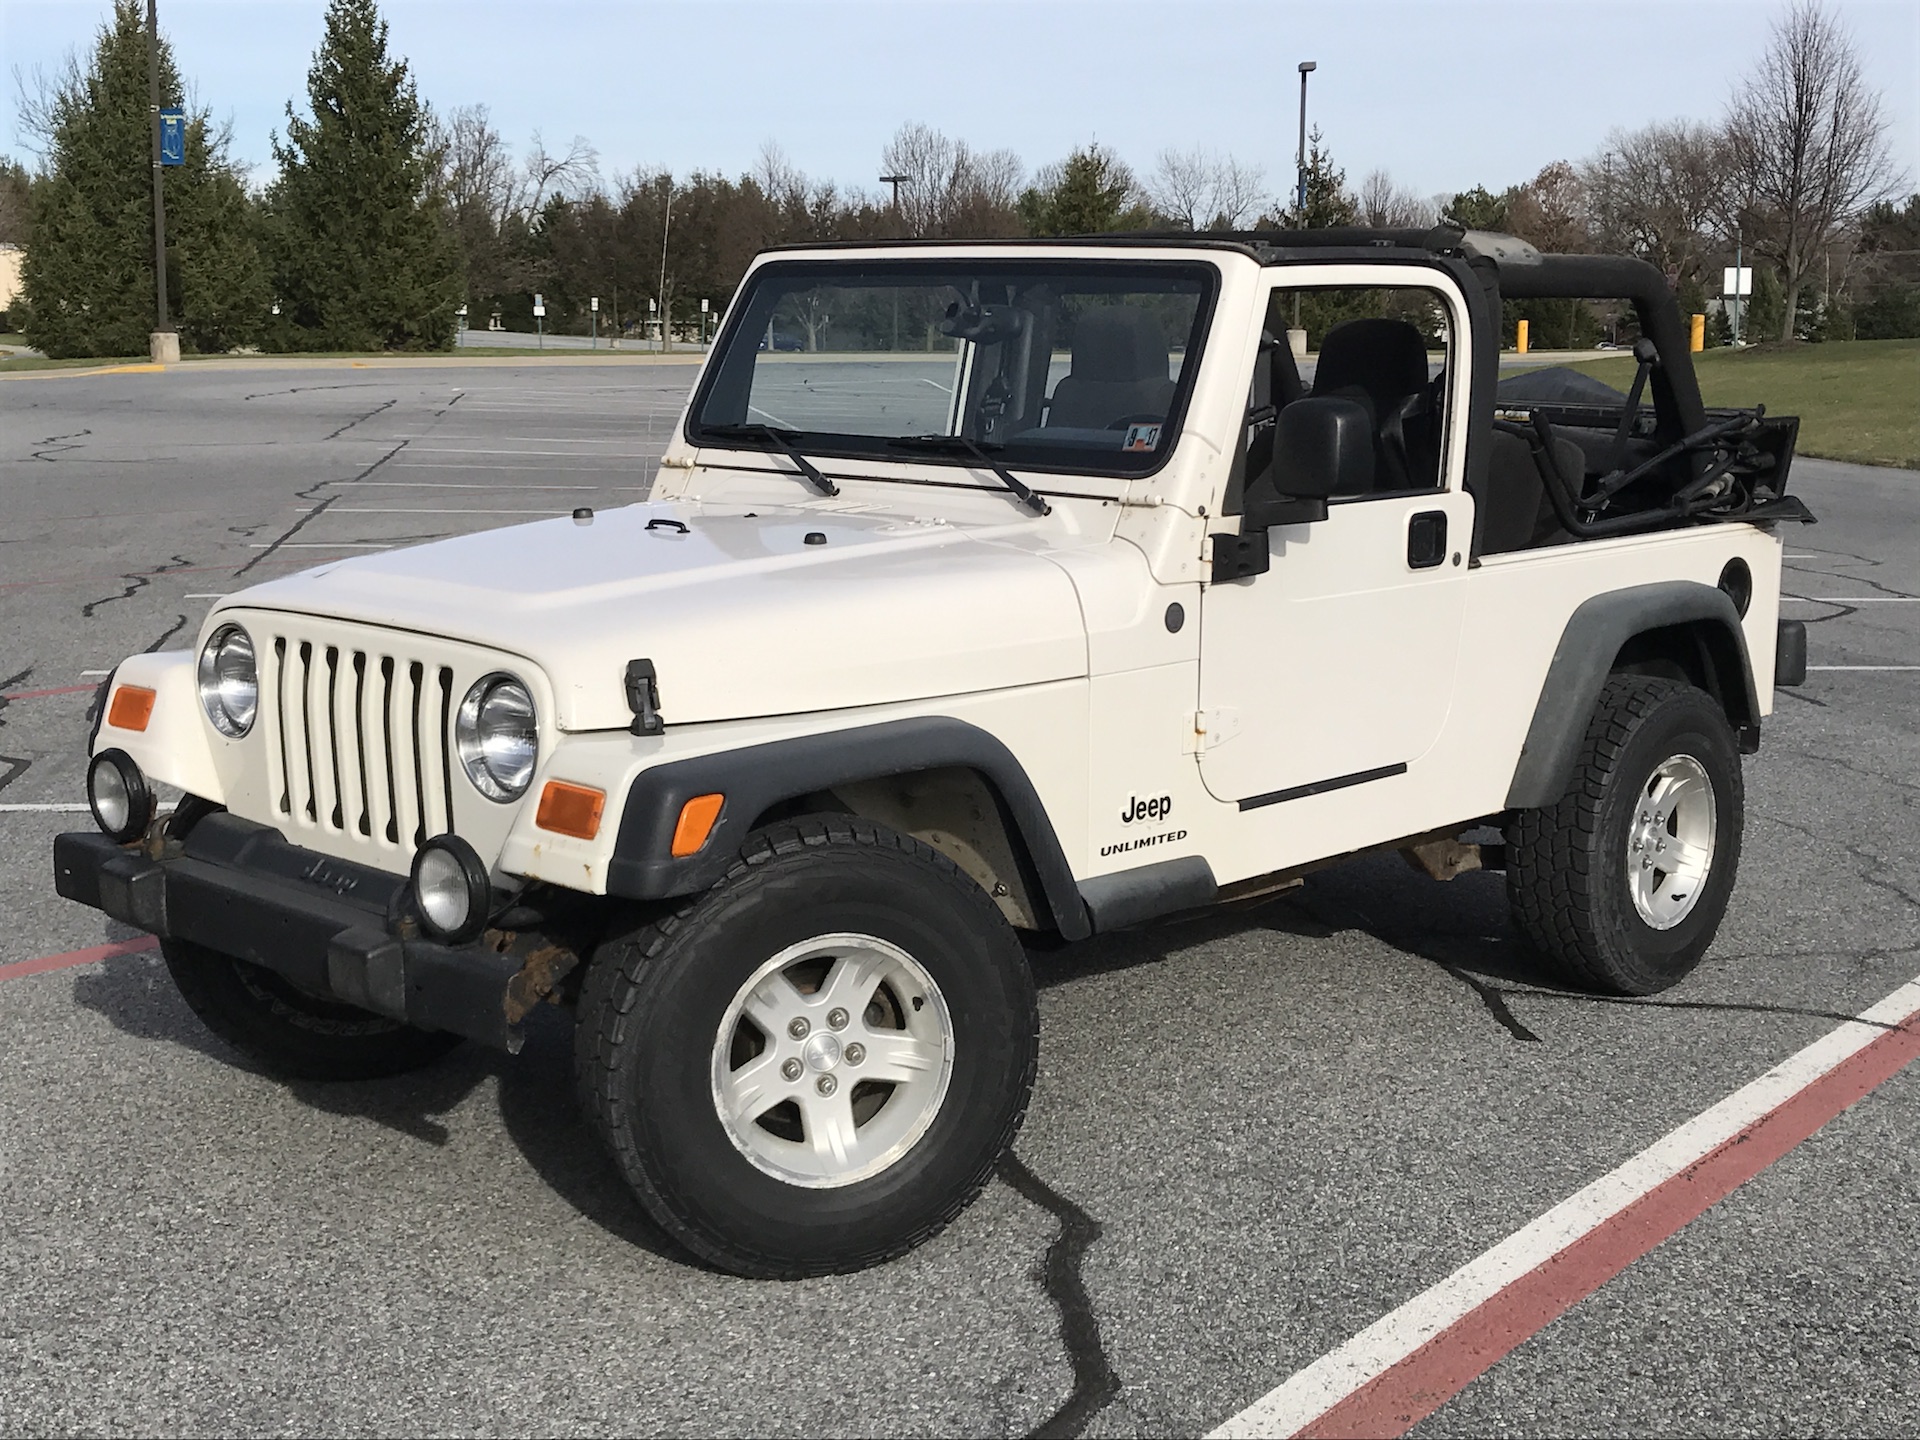
The jeepfan.com 2004 TJ Unlimited was bone stock and with its 193000 miles the stock suspension was worn out. There was evidence that the shocks were replaced at some point but the control arm bushings were looking rather tired so replacing the whole suspension seemed prudent. This Jeep is used off road but isn’t used on hardcore stuff so a short arm kit at 3″ is perfect for good suspension travel, ground clearance and room for 33″ tires.
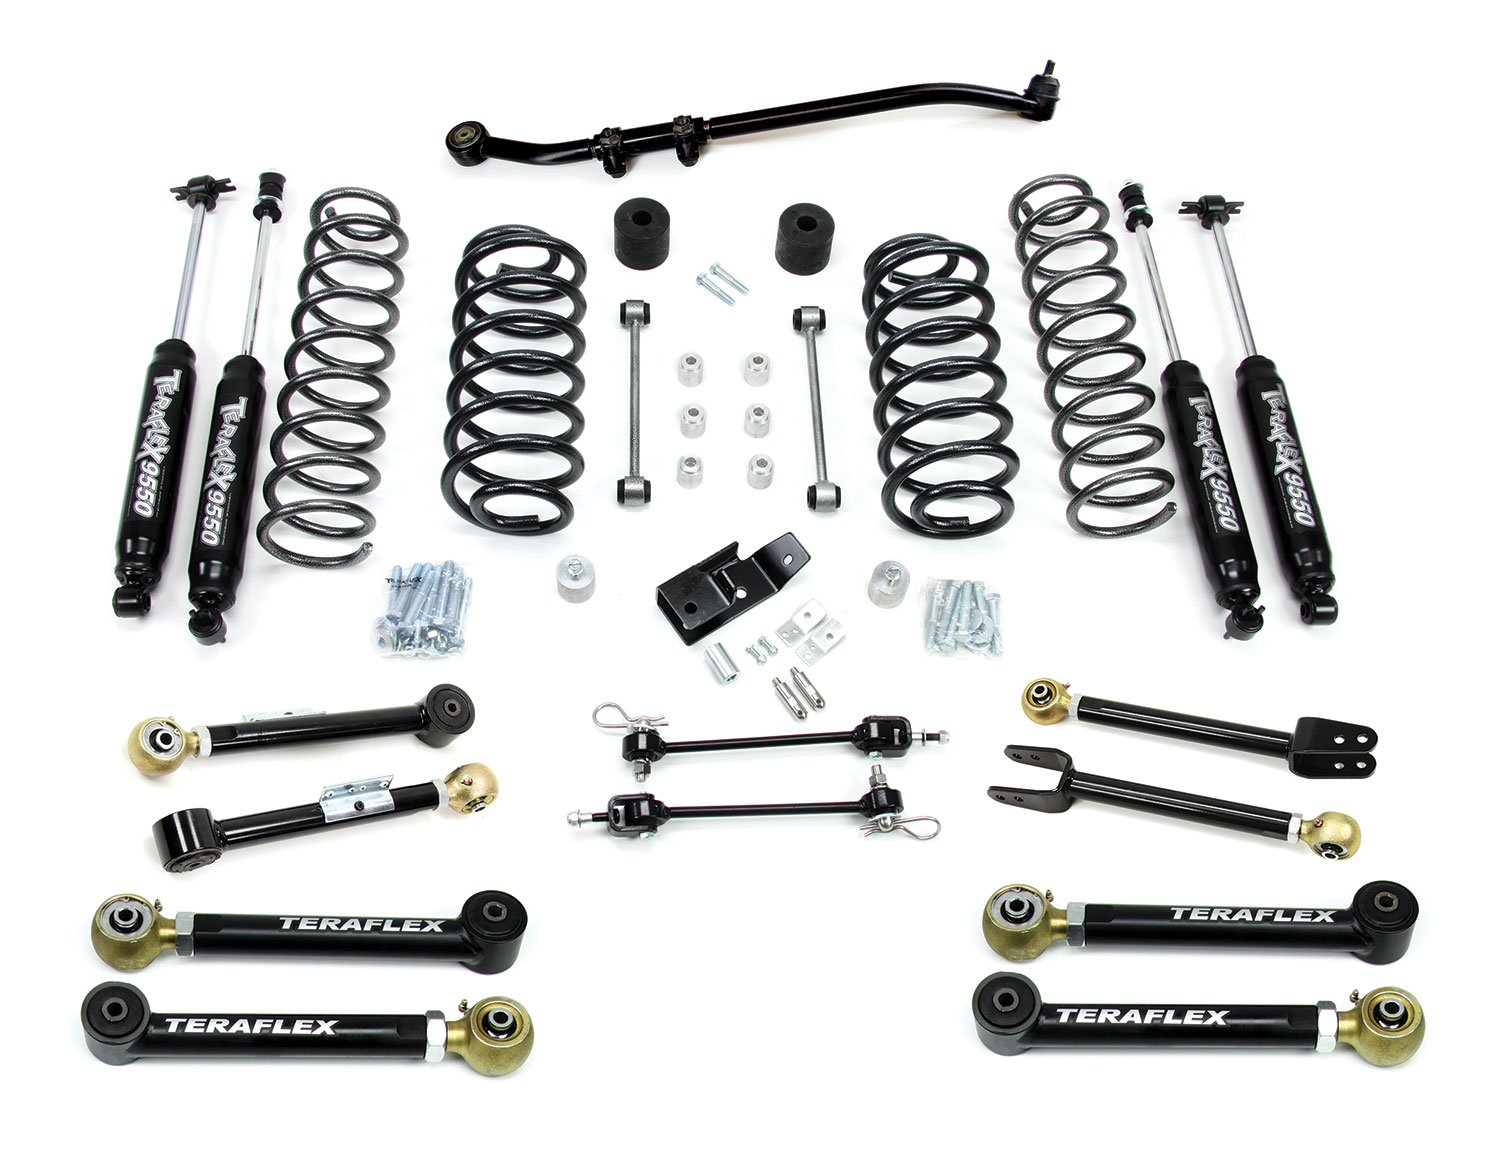 A Teraflex 3″ lift was chosen along with a full set of Teraflex adjustable upper and lower Flexarms. This kit is complete with the following components.
- Springs
- Teraflex 9550 shocks
- Front and rear upper and lower Flexarms
- Rear swaybar links
- Front swaybar disconnects
- Rear track bar bracket
- Front Monster track bar
- Bump stops, transfer case lowering kit and a slew of little parts
This kit replaces all the suspension components leaving behind a fresh, tight new ride feeling in the Jeep. Since the lift was part of a larger project where ARB Air Lockers and new gears were being installed at the same time the axles were removed. Complete removal wouldn’t be needed normally. Follow the Teraflex provided directions and support the Jeep properly when working underneath.
Removal
Full Axle and Suspension Removal
The way you may proceed here will vary depending on the depth of the project. As stated before the axles were being removed. If that is part of your project you can just start with removing components until the axle is free. The particular order of component removal isn’t super important but often it will follow the particular sequence.
- Shocks
- Sway bar links
- Track bar
- Drive shafts
- Breather tubes
- Springs
- Brake line/cable removal
- Axle removal
- Control arm removal
Suspension Removal Only
If you are just replacing the suspension the process will be less involved and in order to make installing the control arms a lesser fight leave the control arms installed and replace one side at a time. Like above the order isn’t important but often it goes like this.
- Shocks
- Sway bar links
- Track bar
- Breather tubes
- Springs
- Control arms, remove/replace one side at a time
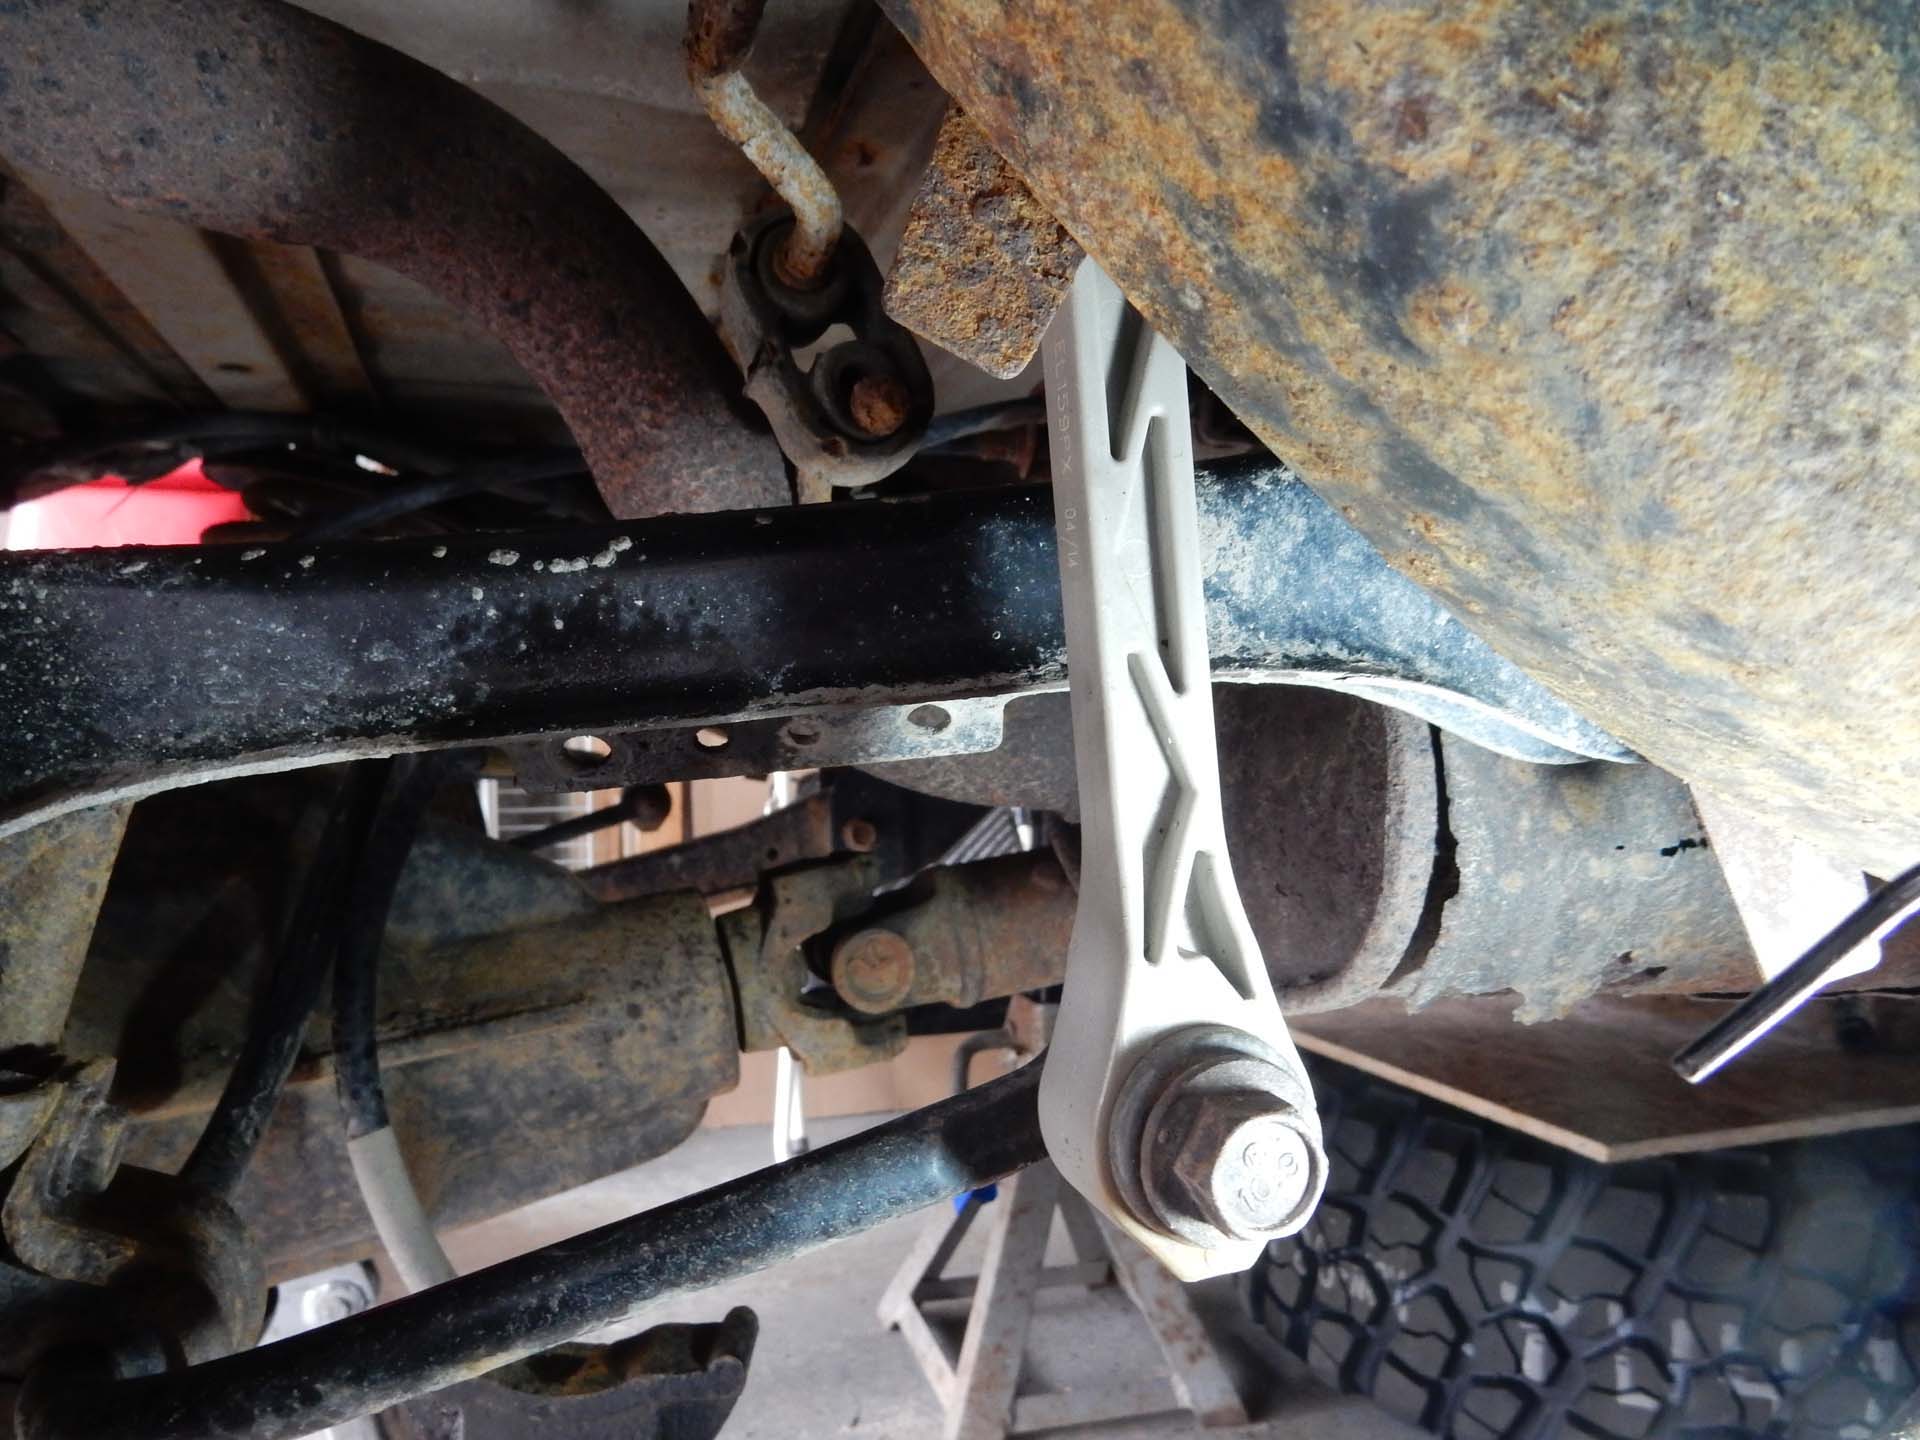
Depending on the condition and/or age of your Jeep removing the control arm bolts may be impossible. Years of corrosion can fuse the bolts to the inner sleeve within the bushing. In our case we needed the help of a sawzall with a blade capable of cutting the hardened steel bolts. This created the need for new bolts..Quadratec can help with that.
|
|
|
|
|
|
|
|
|
|
|
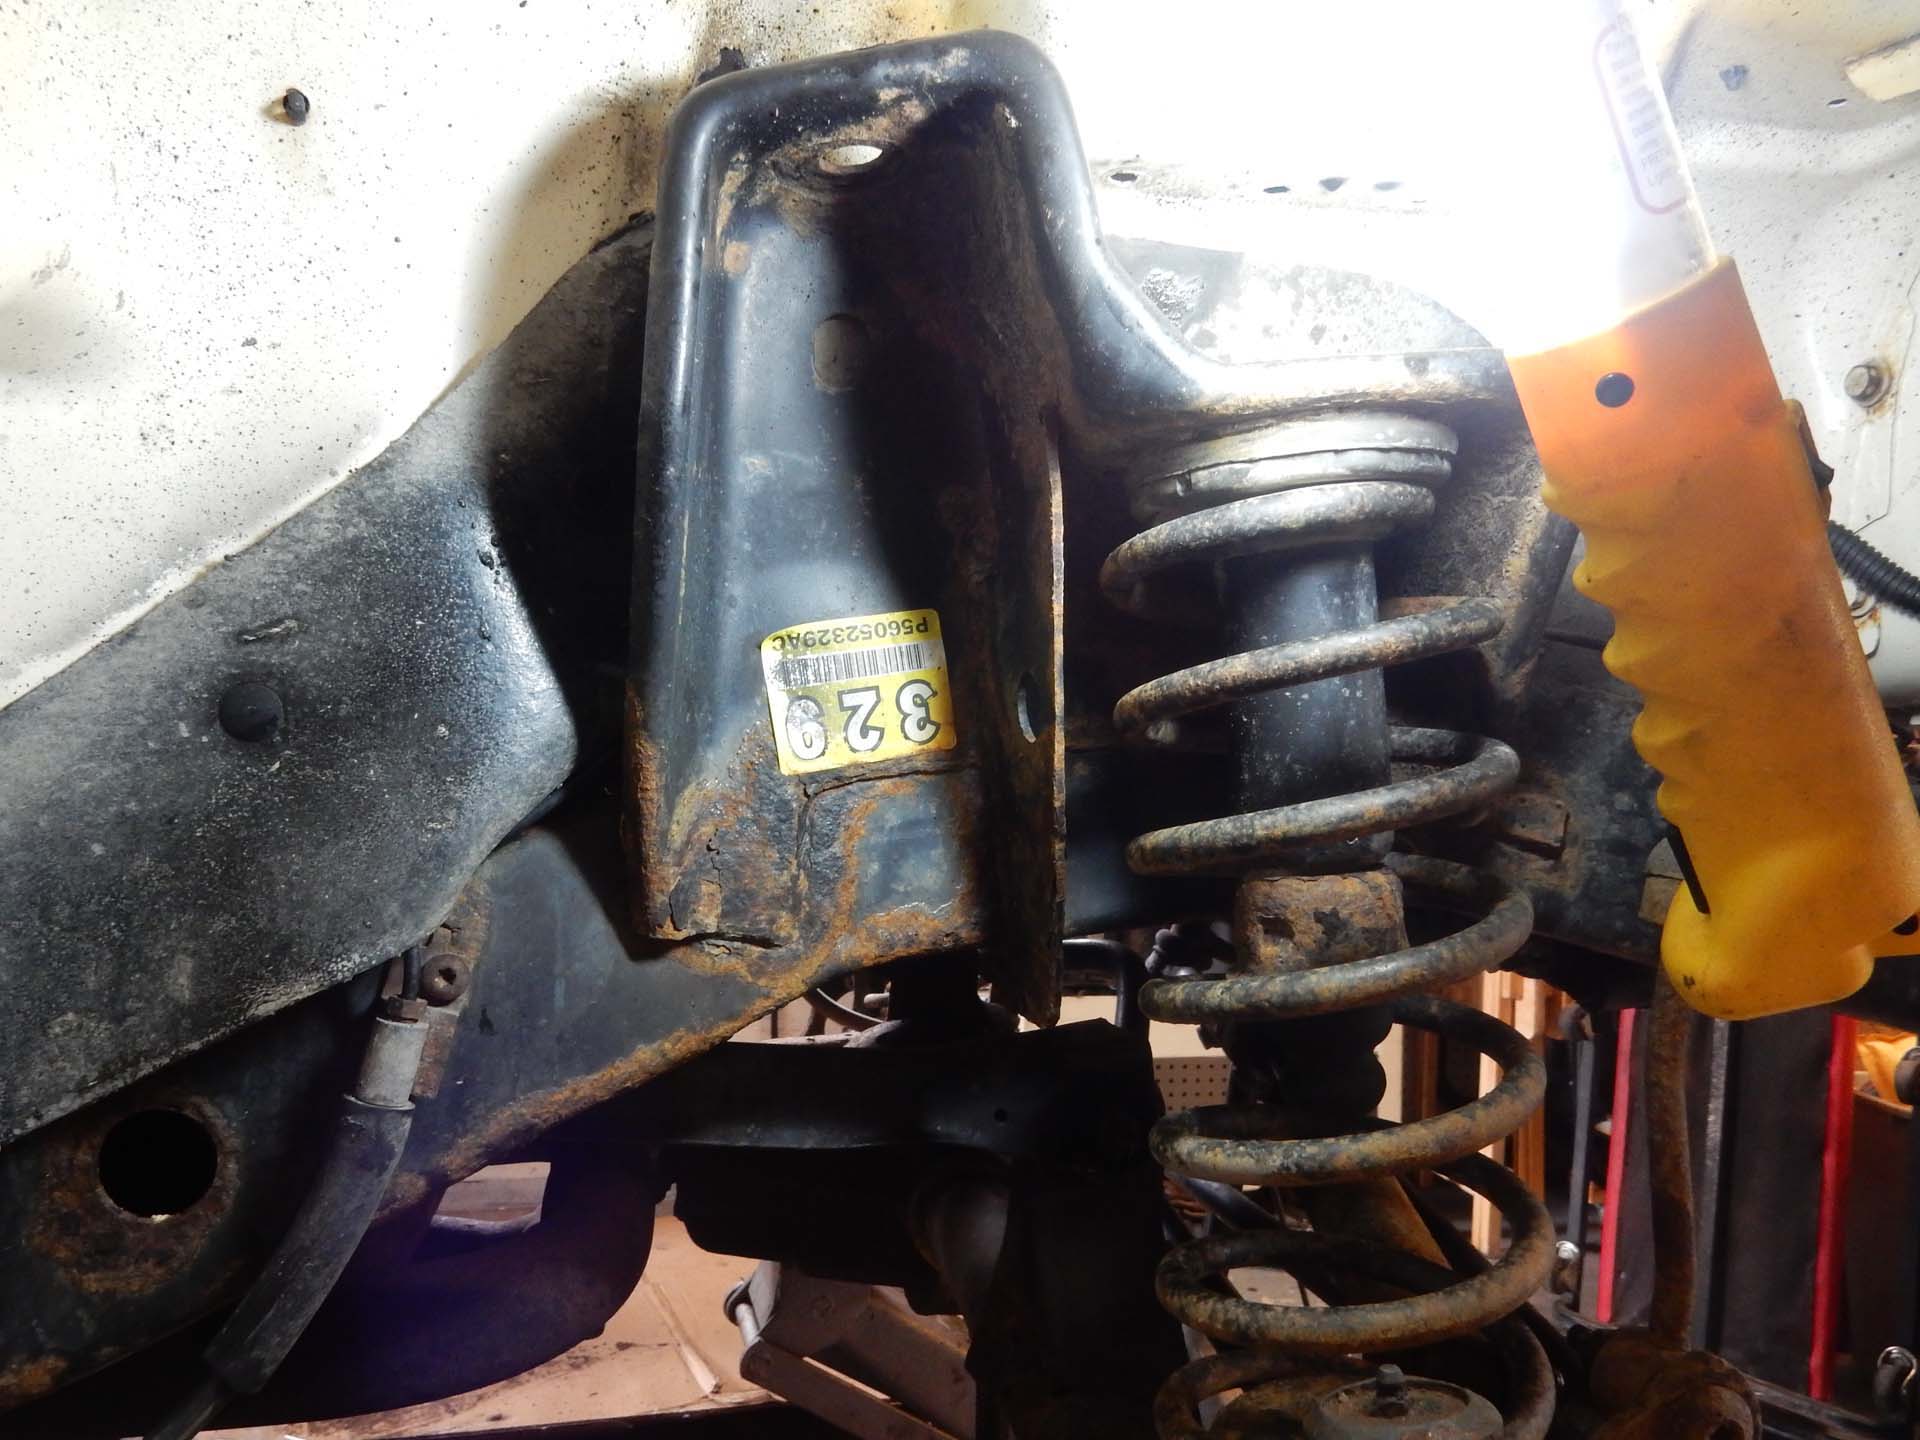
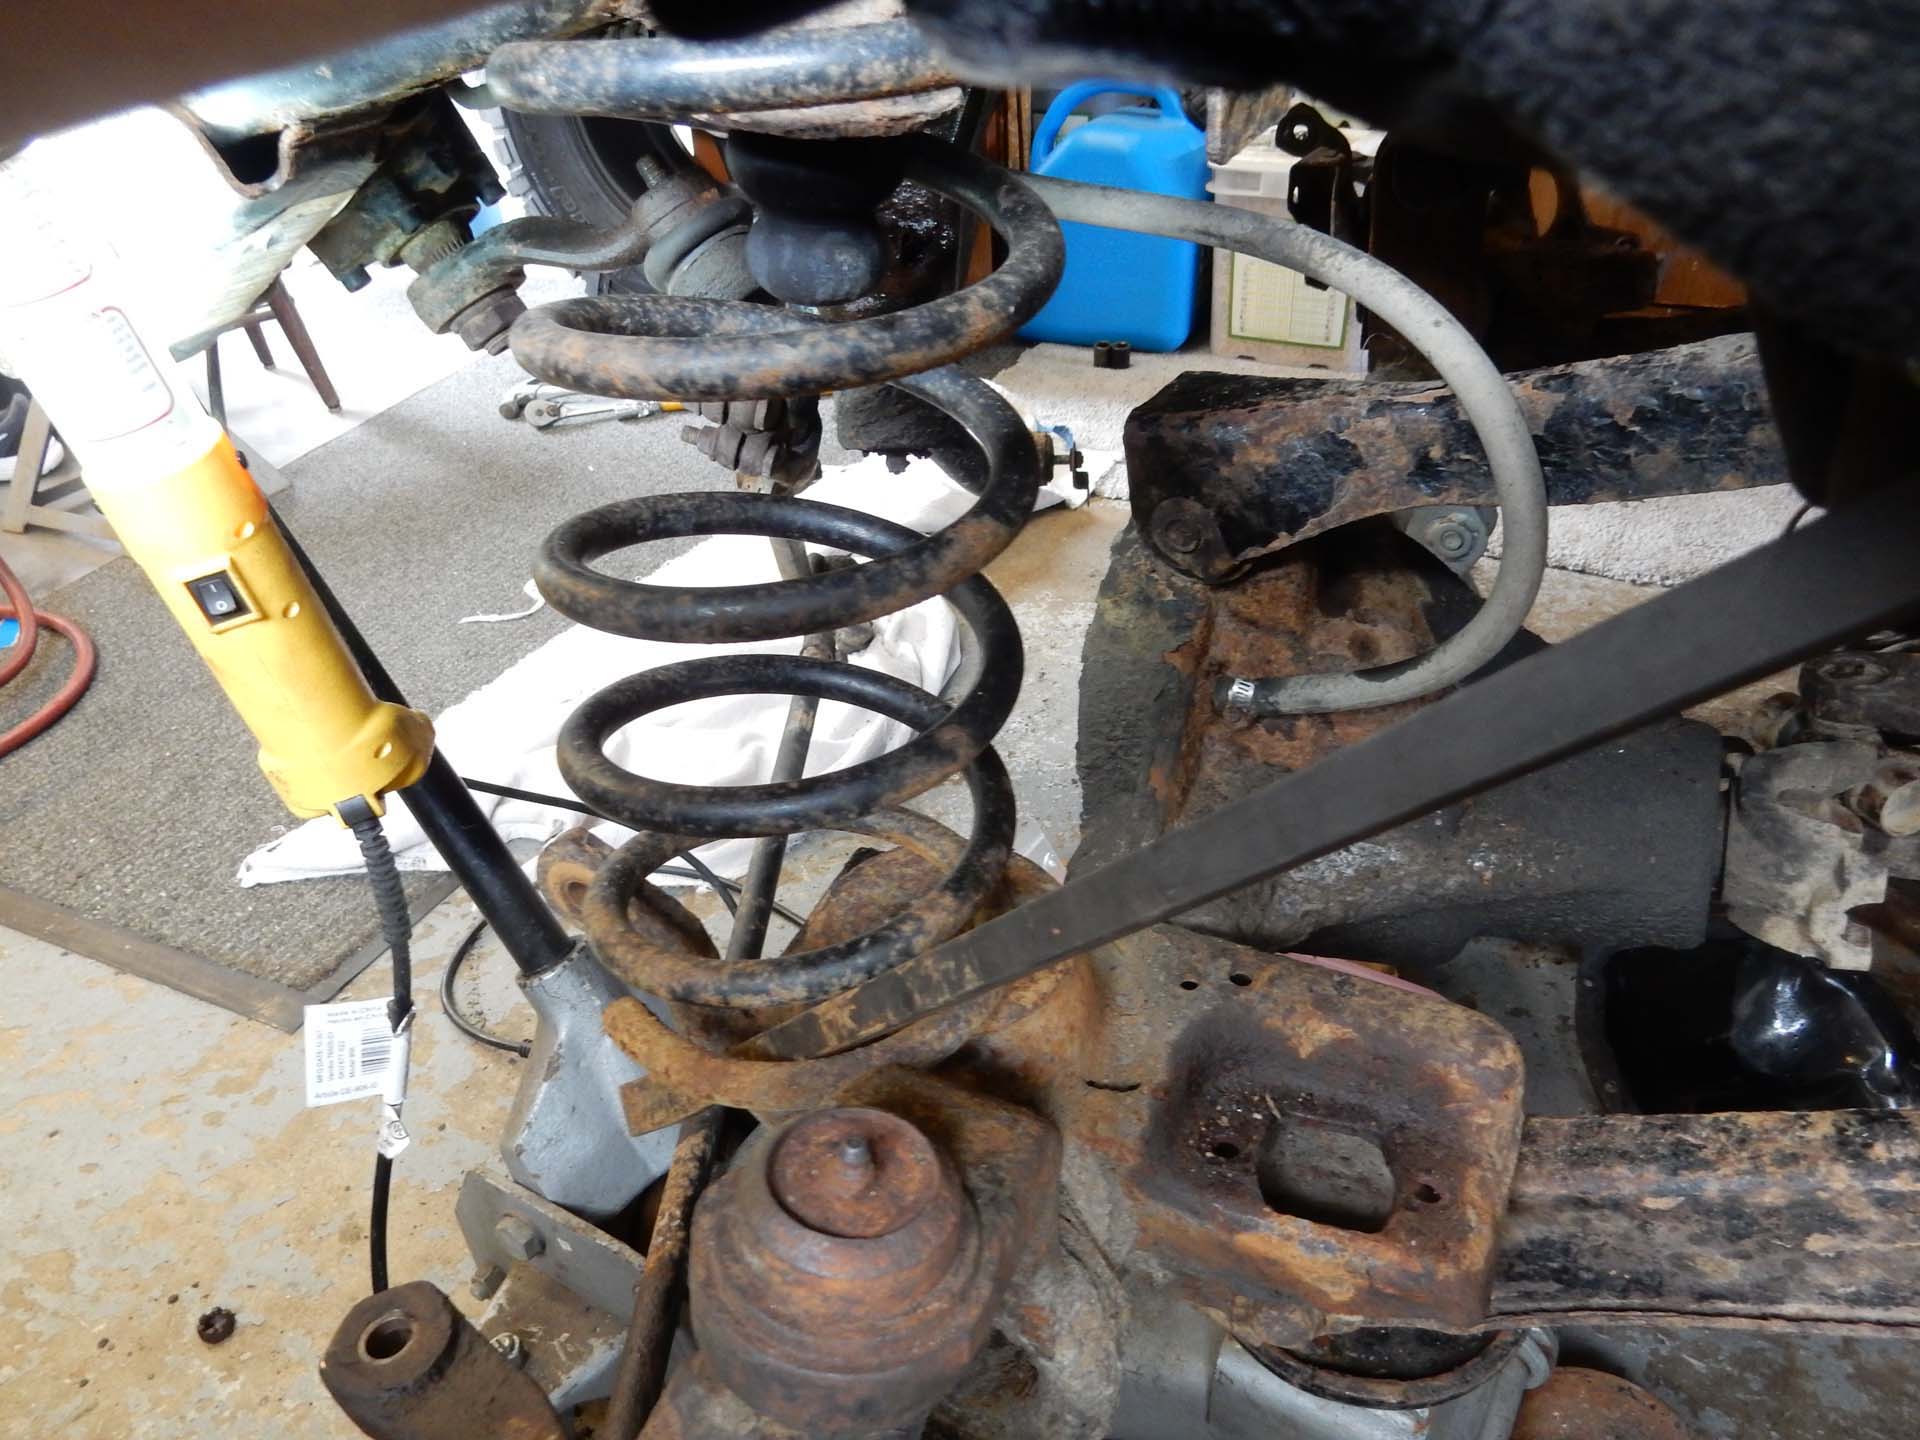
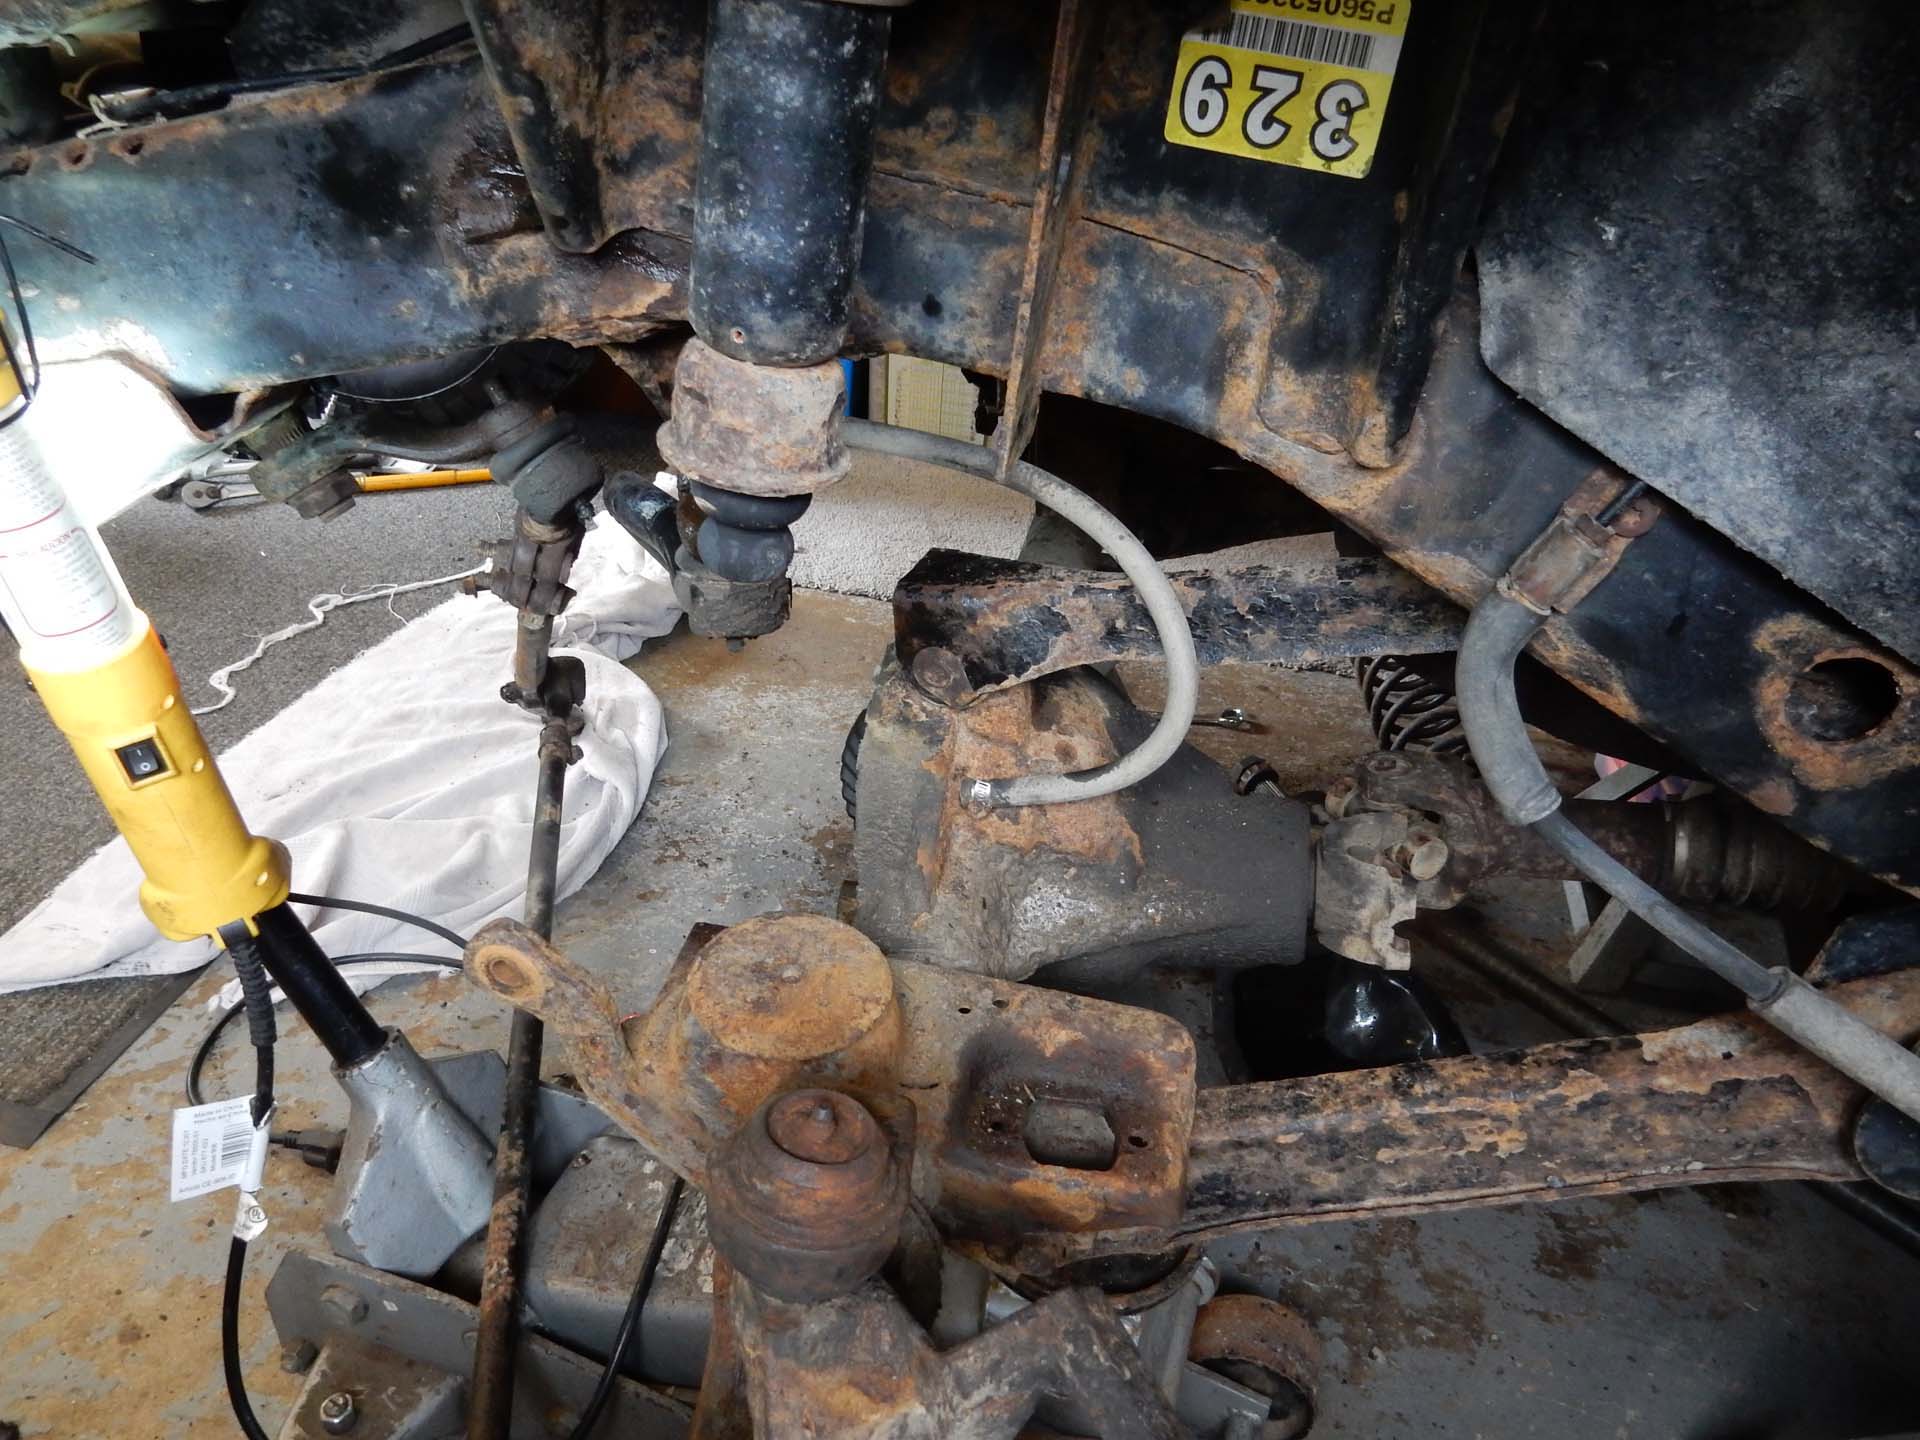
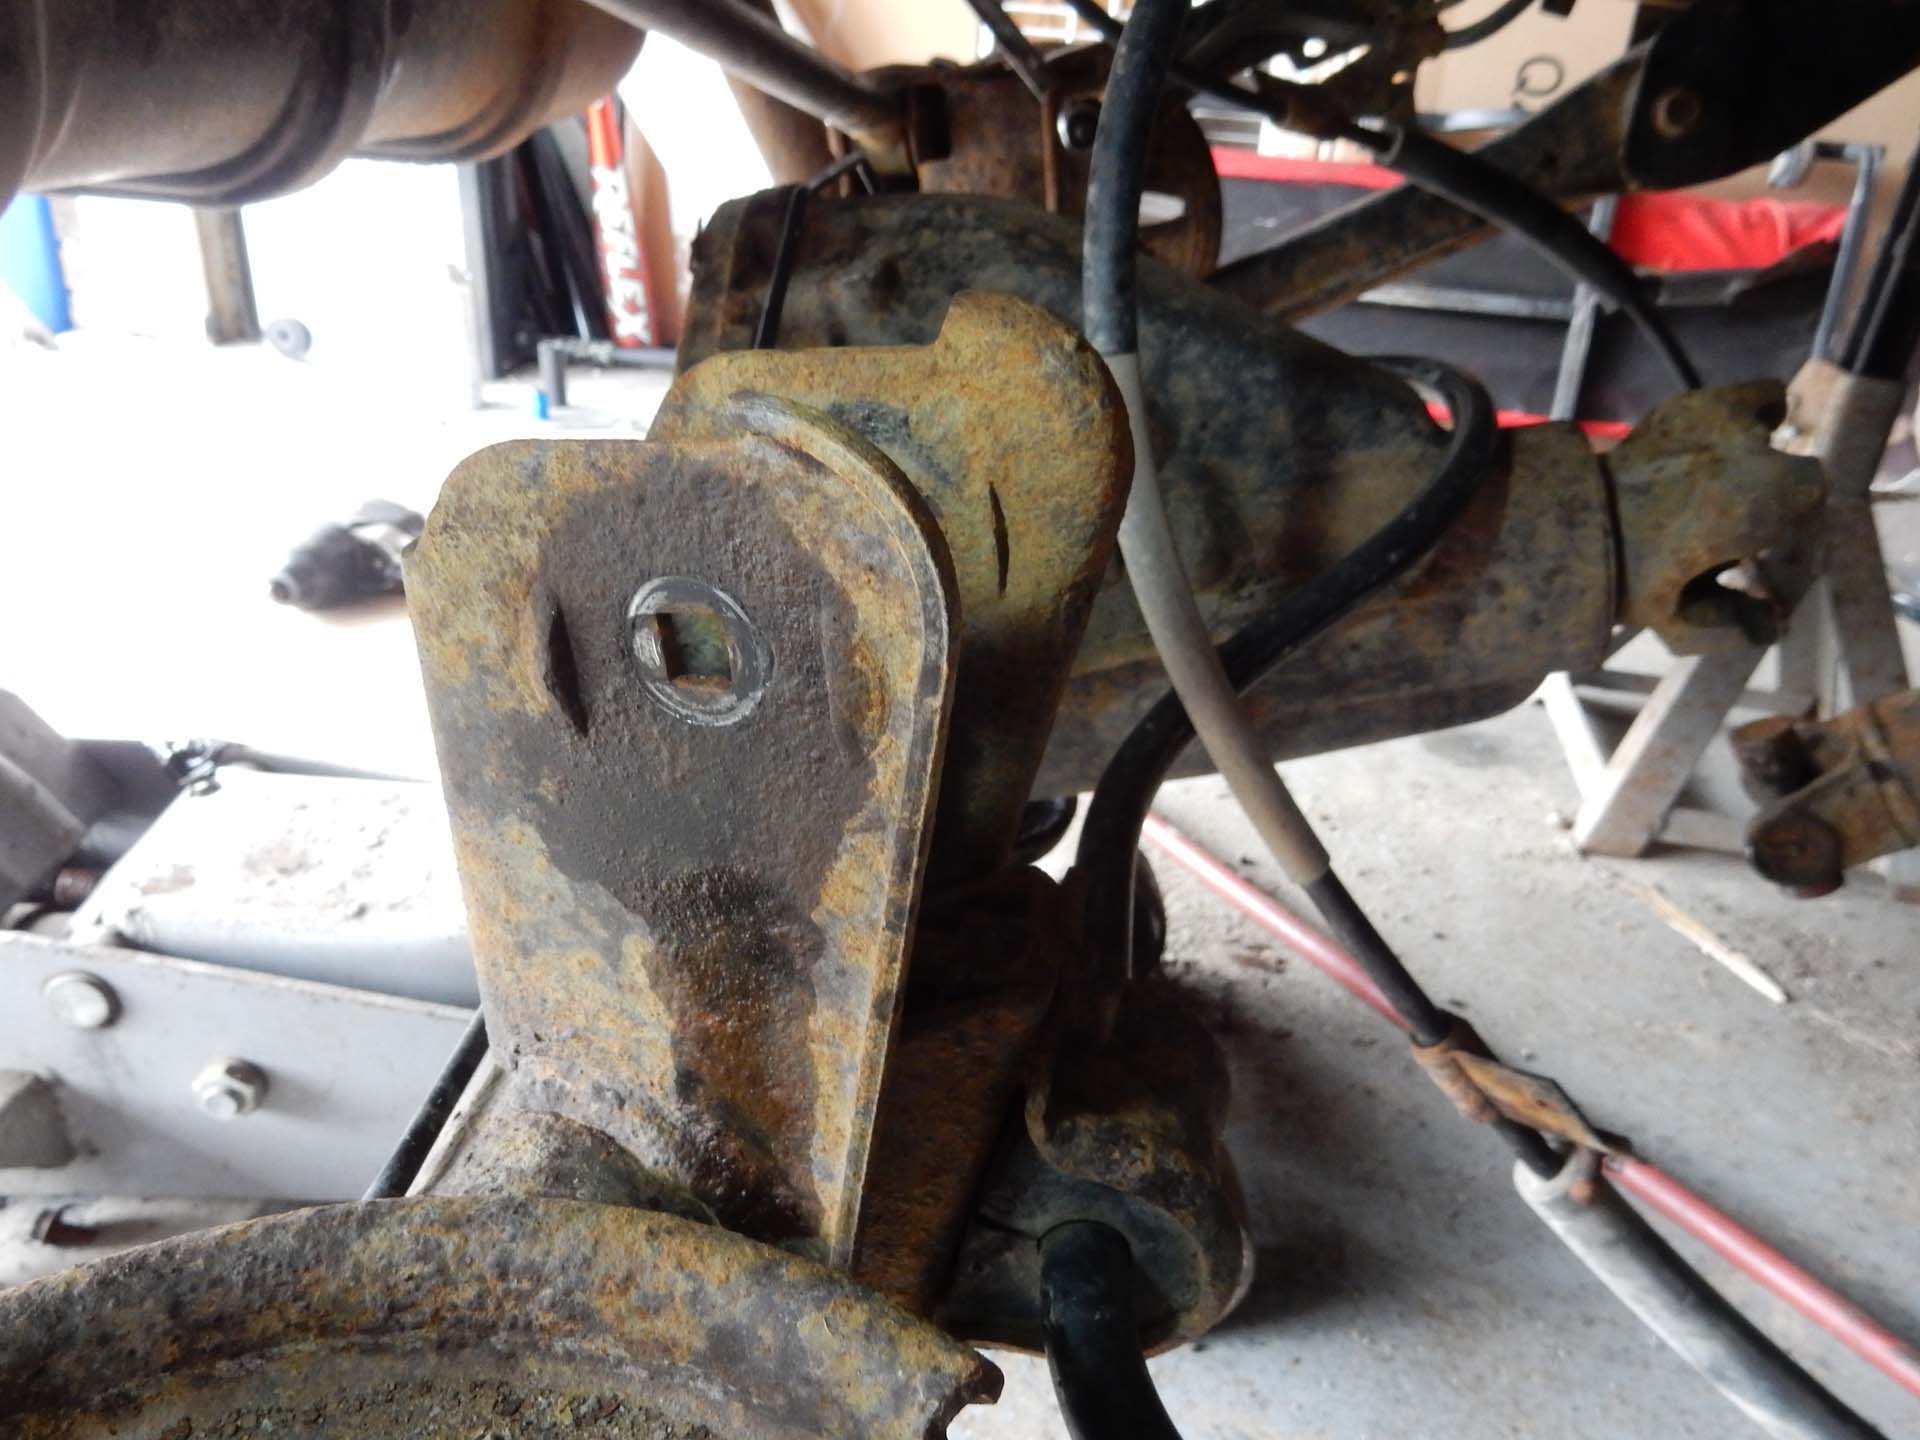


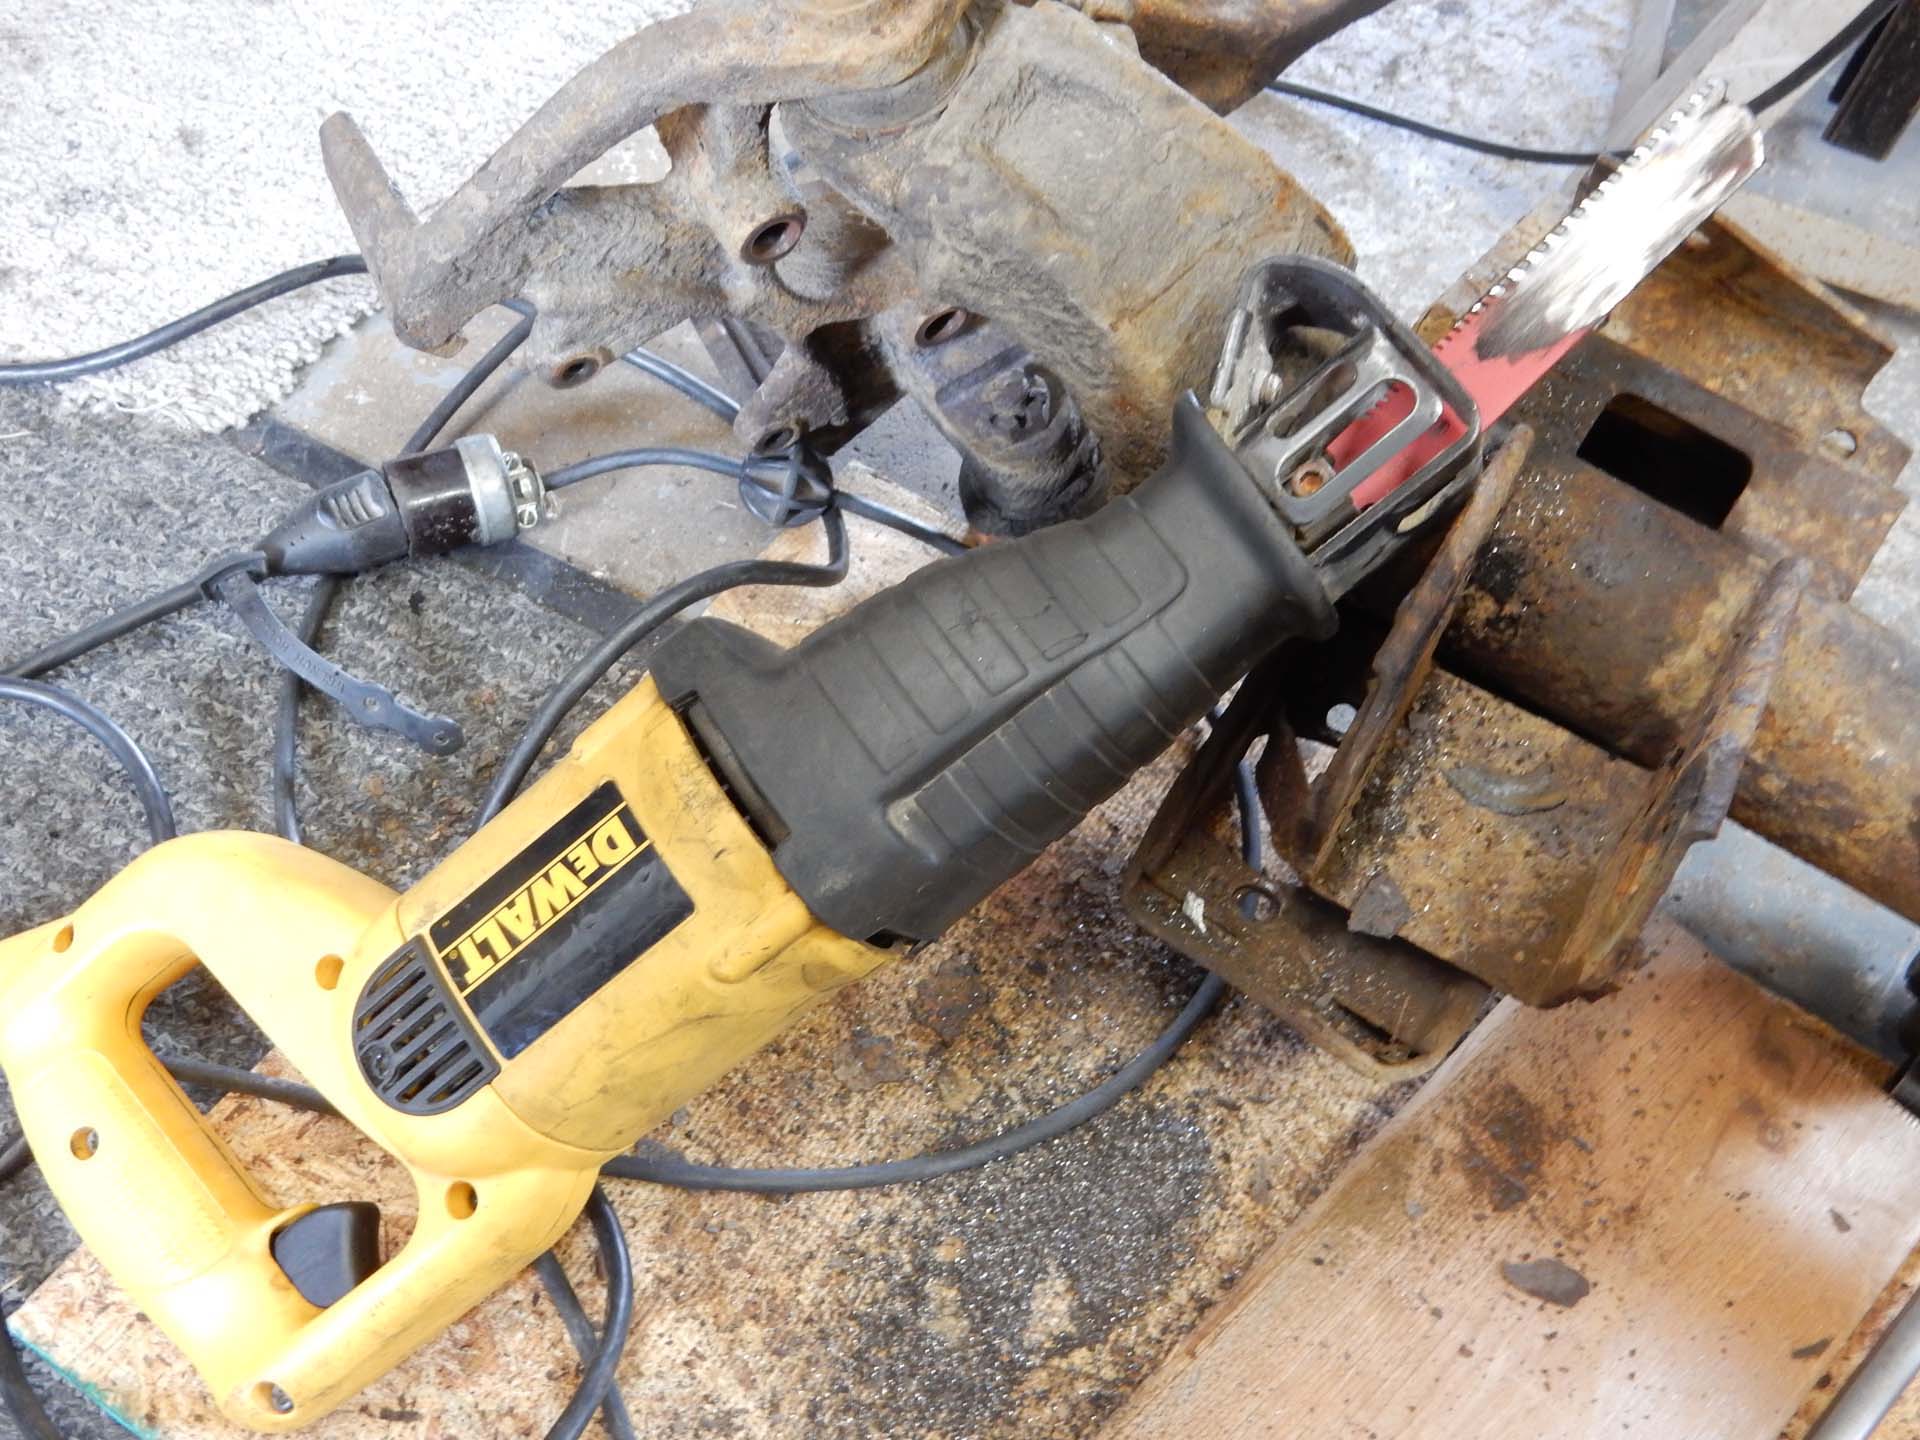
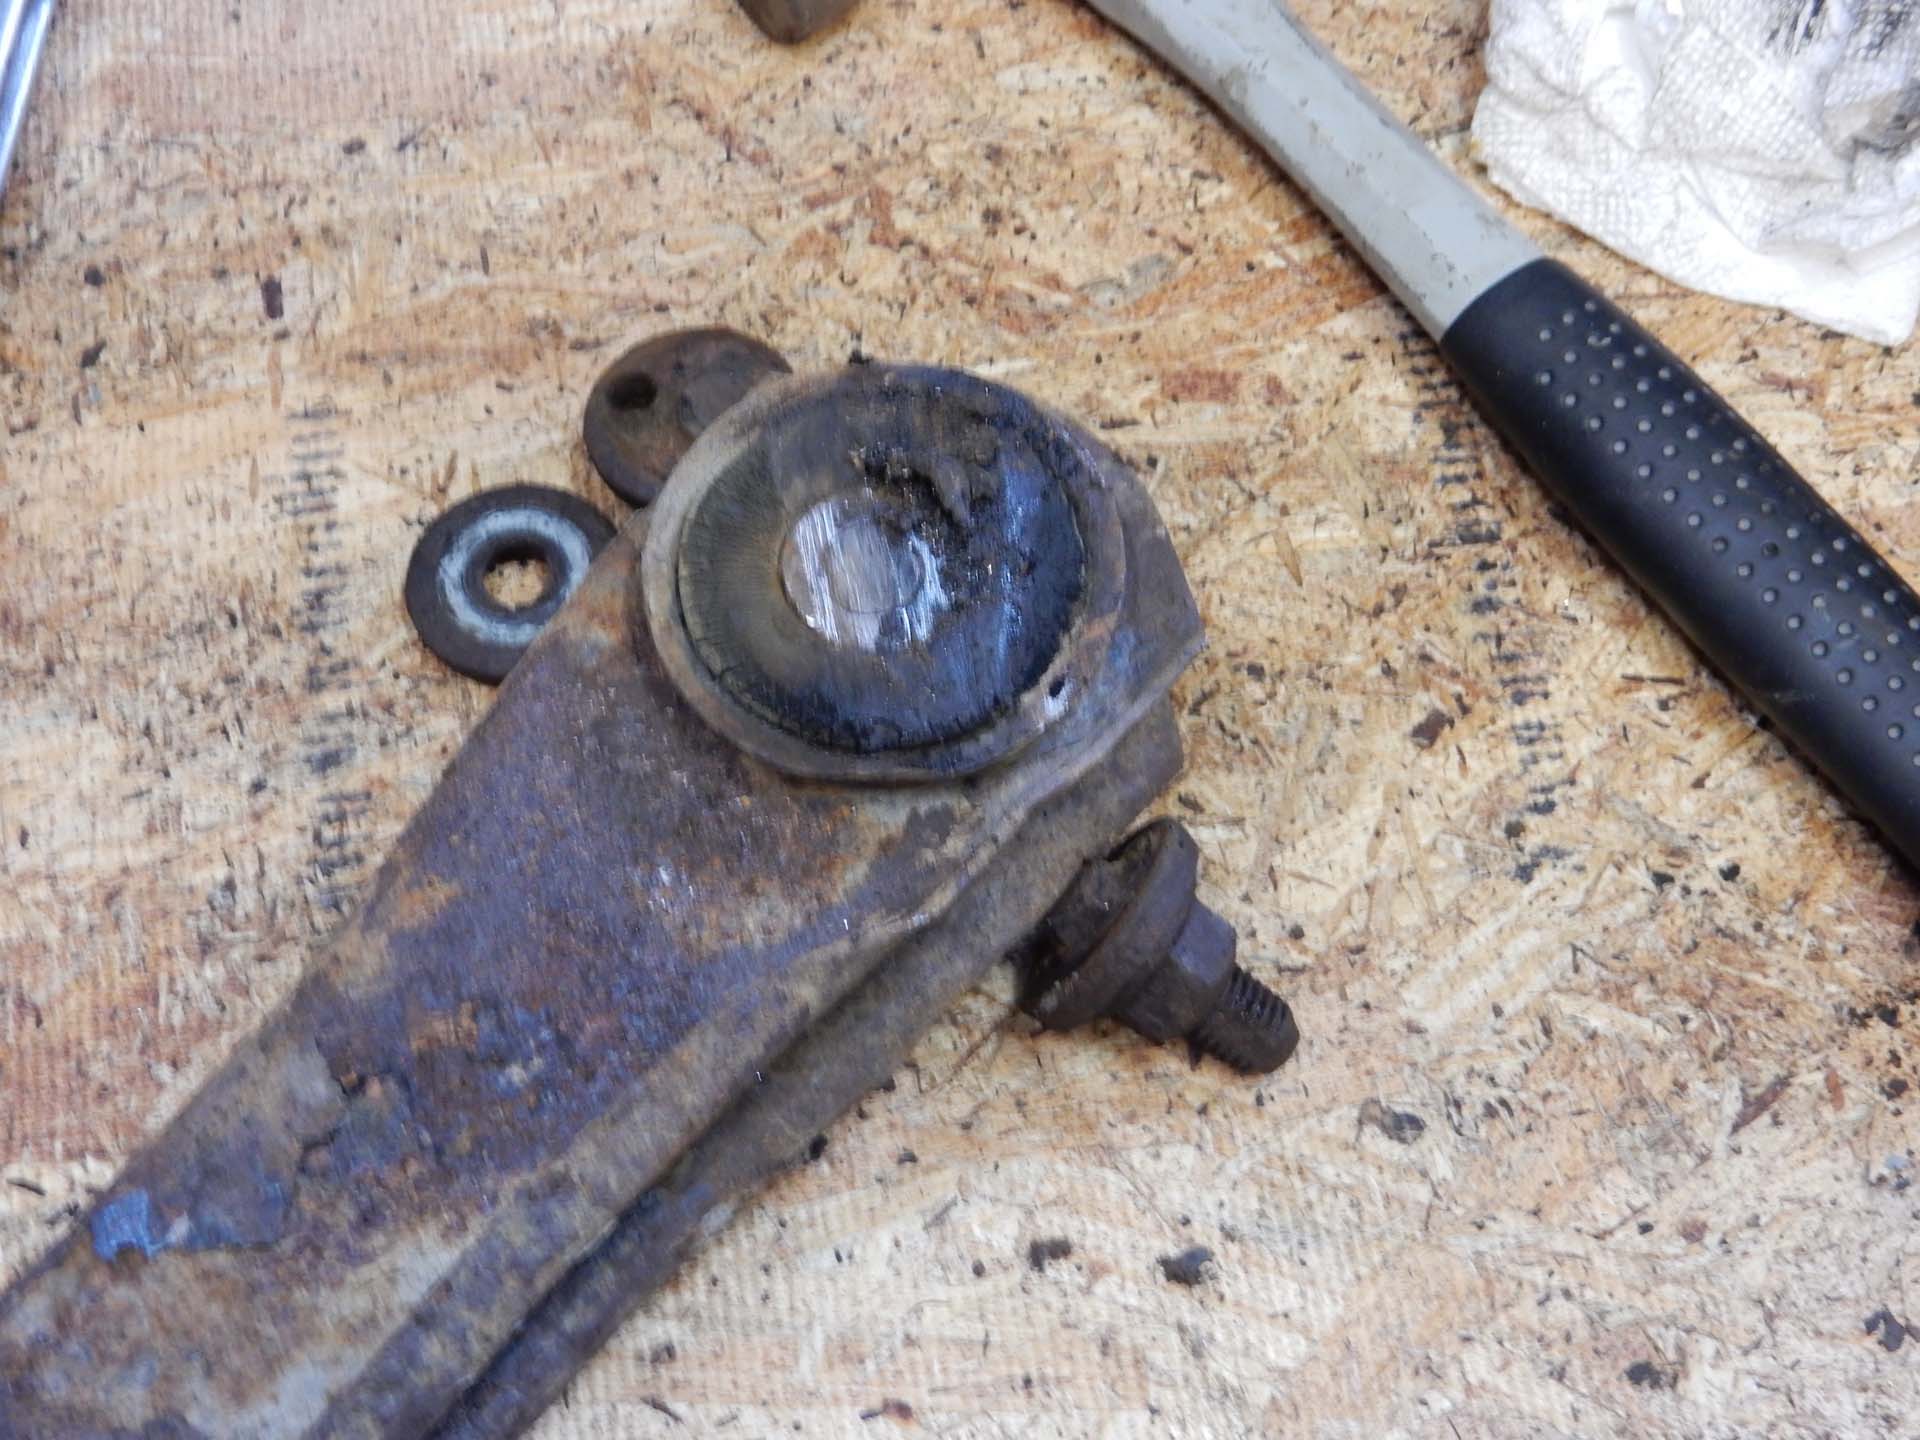
With the shocks removed, sway bar links/track bar disconnected lower the axle to allow the springs to be pulled from the mounts. At this point you can start the removal of the control arms. In our case the lower front control arm bolts were completely seized and needed to be cut off for removal. This was much easier with the axle out from under the Jeep. These bolts are hard and require a blade designed for this job. We used a Freud Diablo blade in a reciprocating saw.
|
|
|
|
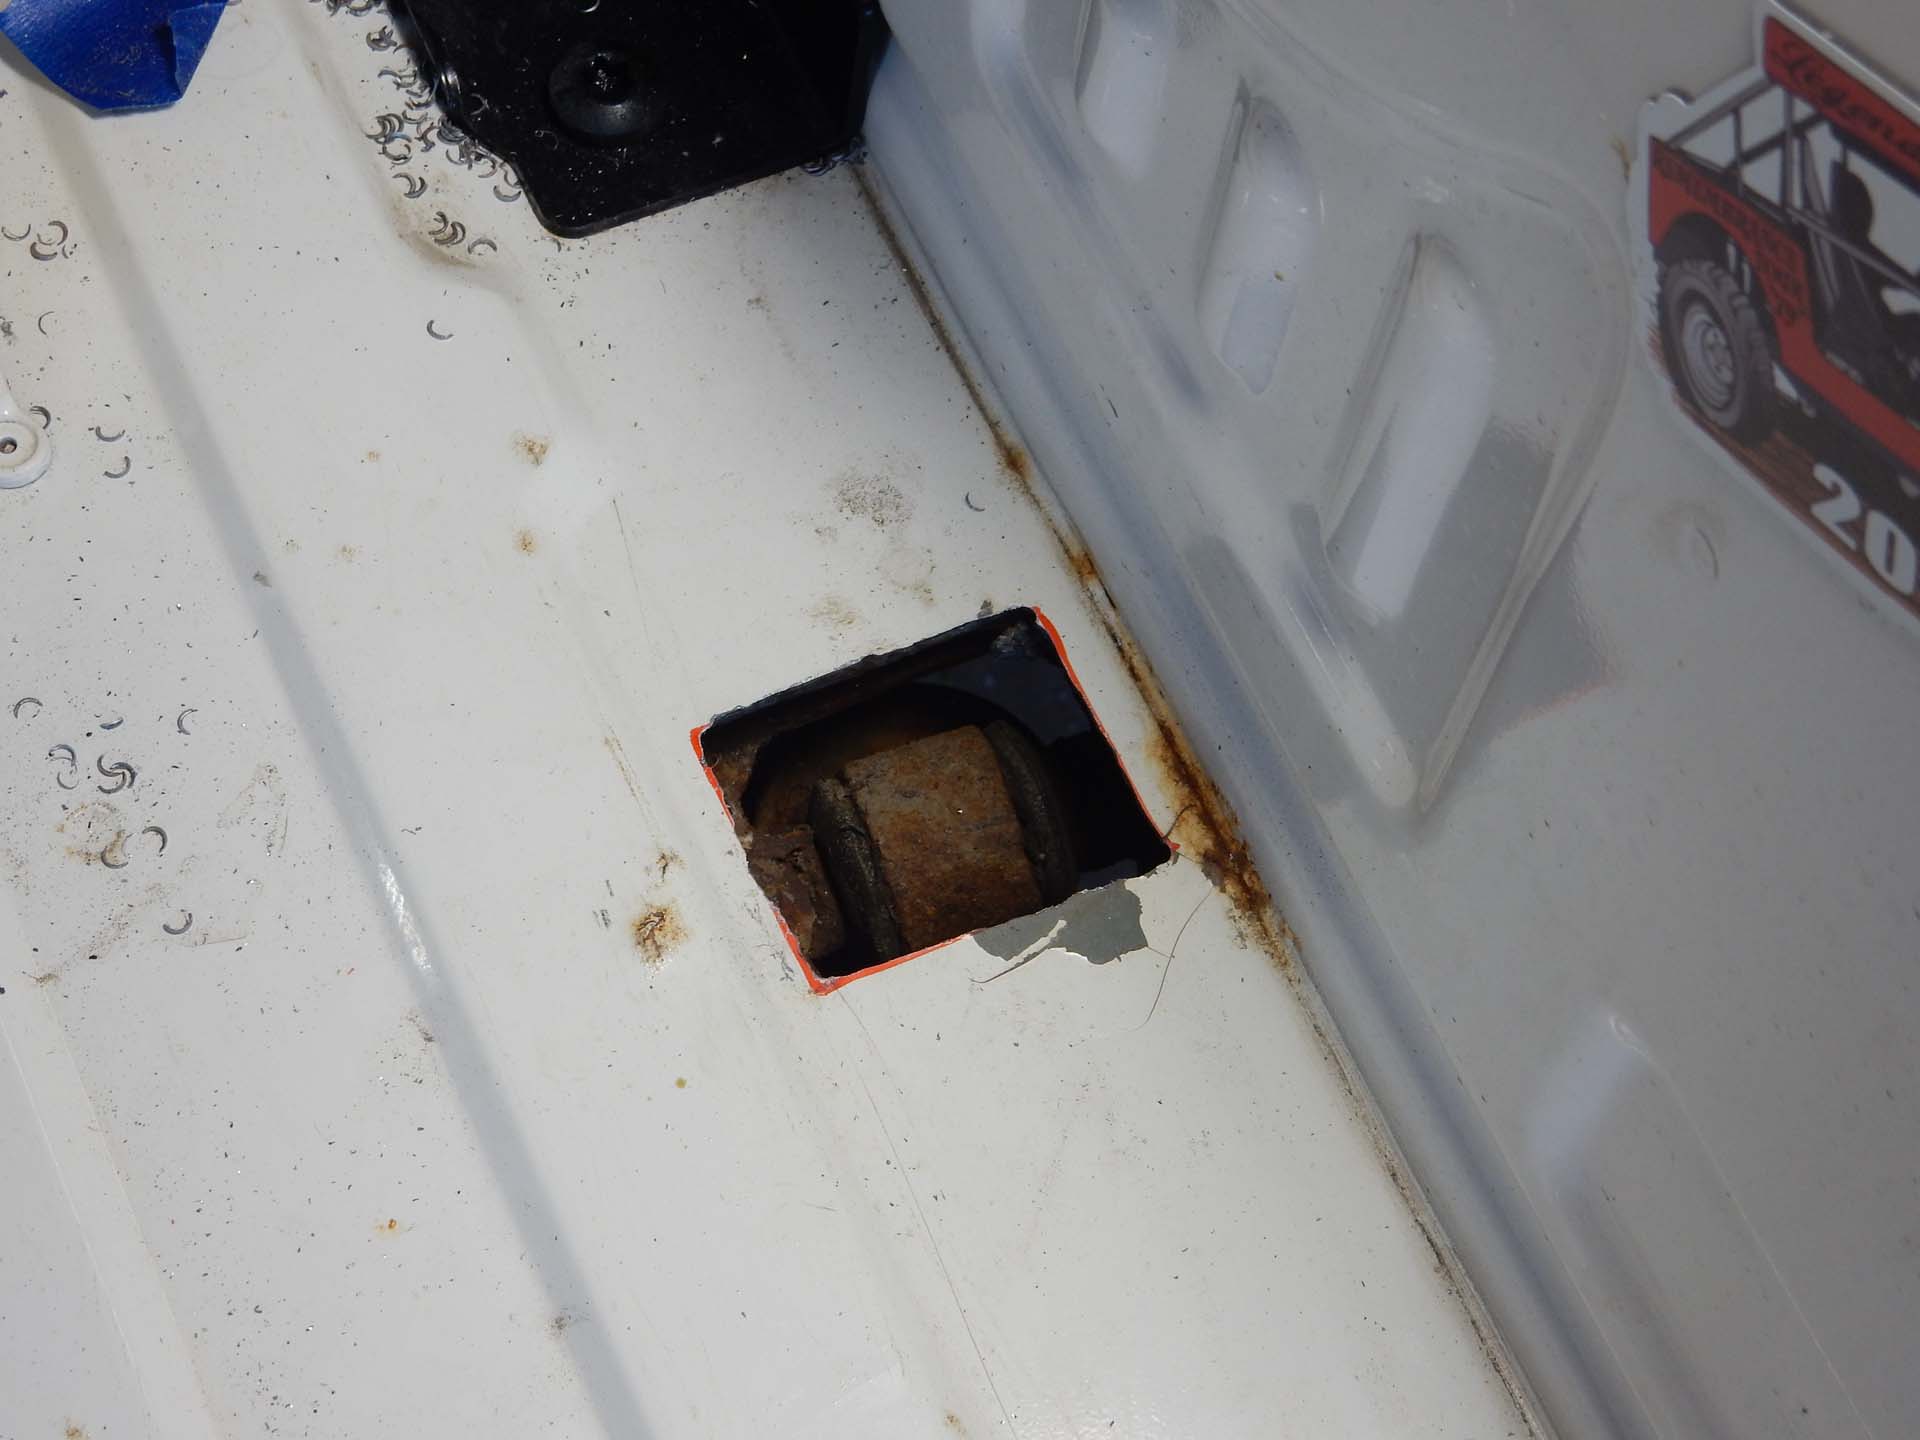
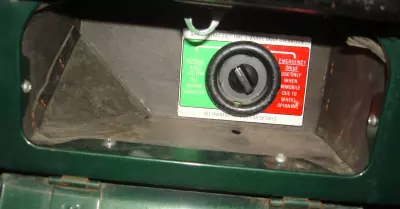
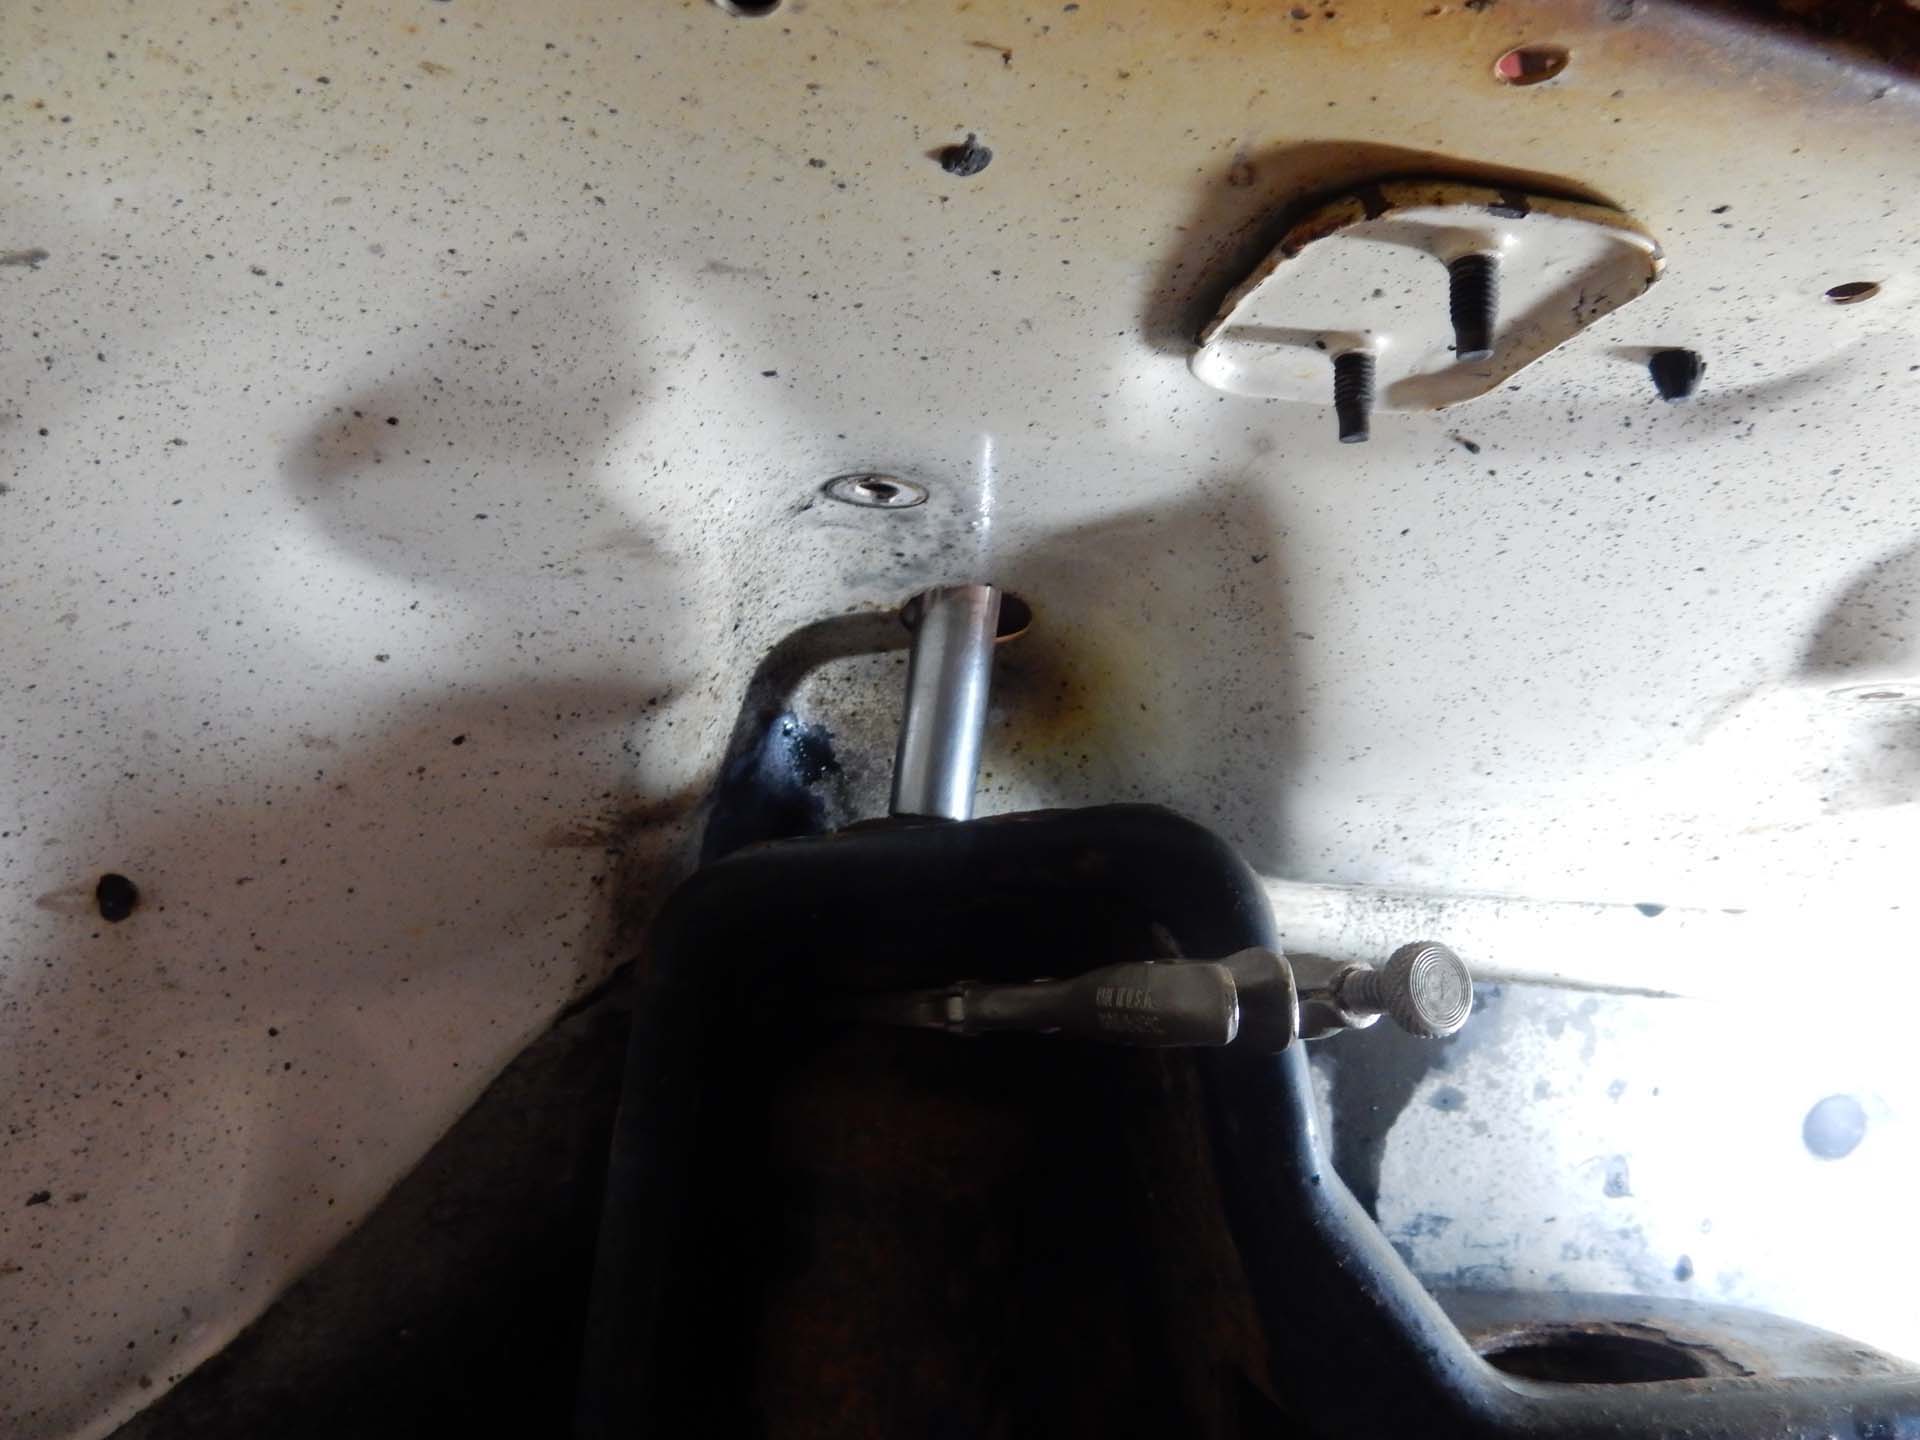
Another troublesome area with the TJ is the upper rear shock mount. Often these bolts will break off when being removed and create a big headache. Access to the upper mount is very limited. Some Jeepers will drill out the broken bolts and use thread inserts. In this case the upper area had already been hacked up during past service. Cutting a small rectangular hole in the body allowed access to the top from above. The old bolts were drilled out and a new nut and bolt were installed.