The stock NP231 transfer case in the Jeep Wrangler TJ does its job just fine for daily driving and mild off-roading. But once you start lifting the suspension and venturing into more serious trail territory, the factory slip yoke setup quickly becomes a liability. The exposed driveshaft splines and limited slip range are prone to vibration and can’t handle the angles introduced by a lift. It’s not uncommon to see the driveshaft of an NP231 pop out of the back of the transfer case due to suspension overextension. That’s where a Slip Yoke Eliminator (SYE) kit comes in and Teraflex makes a reliable, straightforward version that’s well-suited for most TJ builds.
What is a Slip Yoke Eliminator?
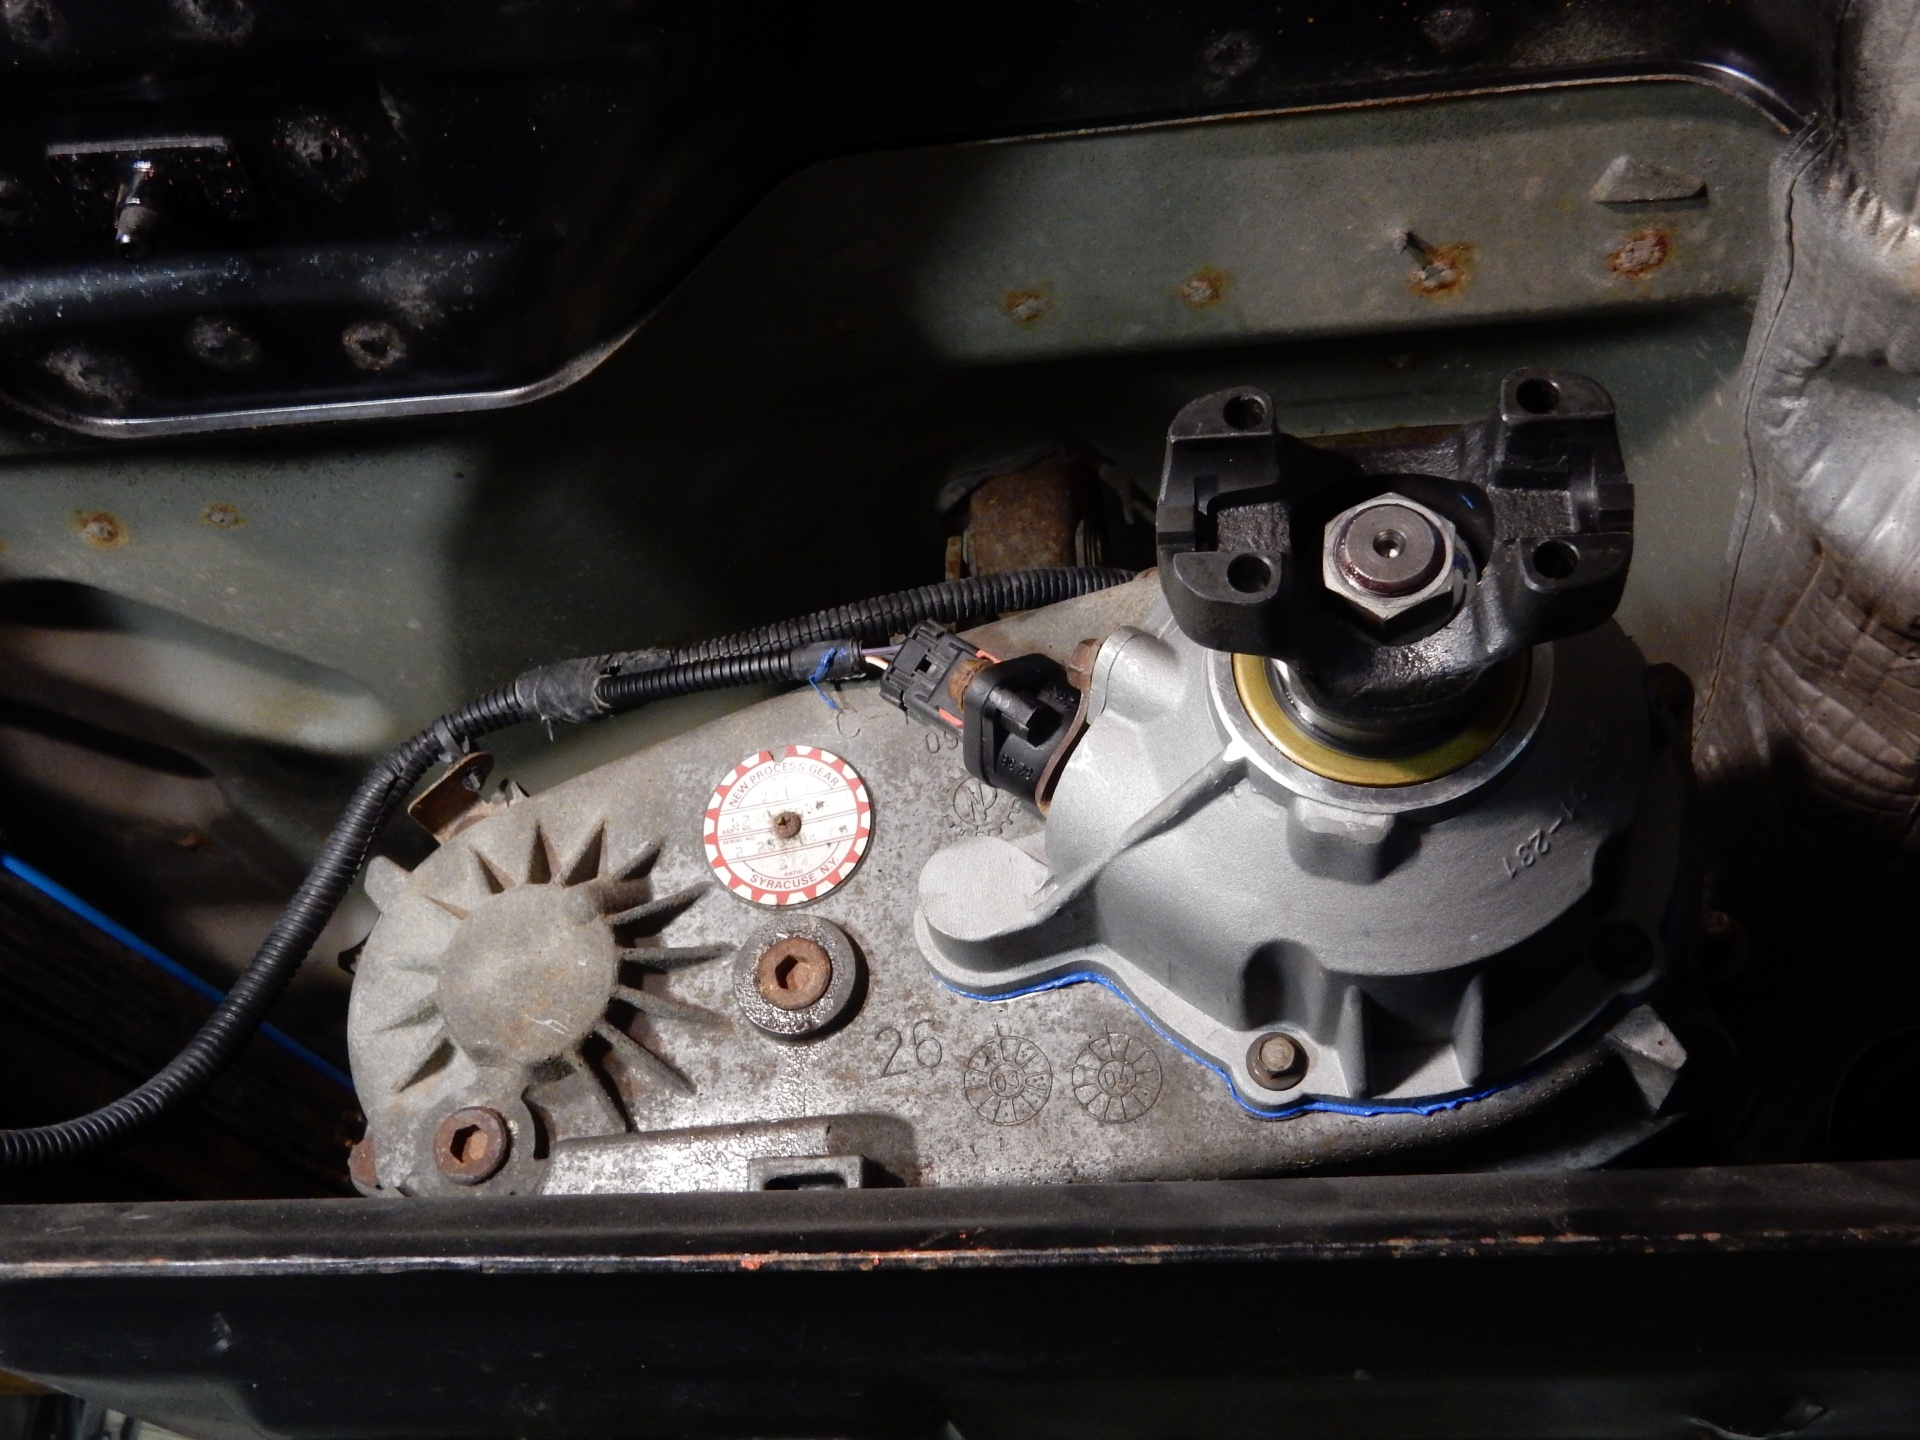
A Slip Yoke Eliminator replaces the factory slip yoke output on the NP231 transfer case with a fixed output flange and short tail housing. This allows the use of a longer, double cardan driveshaft with a slip yoke built into the shaft itself. The result is a stronger, more vibration-resistant setup, especially important on lifted TJs running 3″ of suspension lift or more.
Why Teraflex?
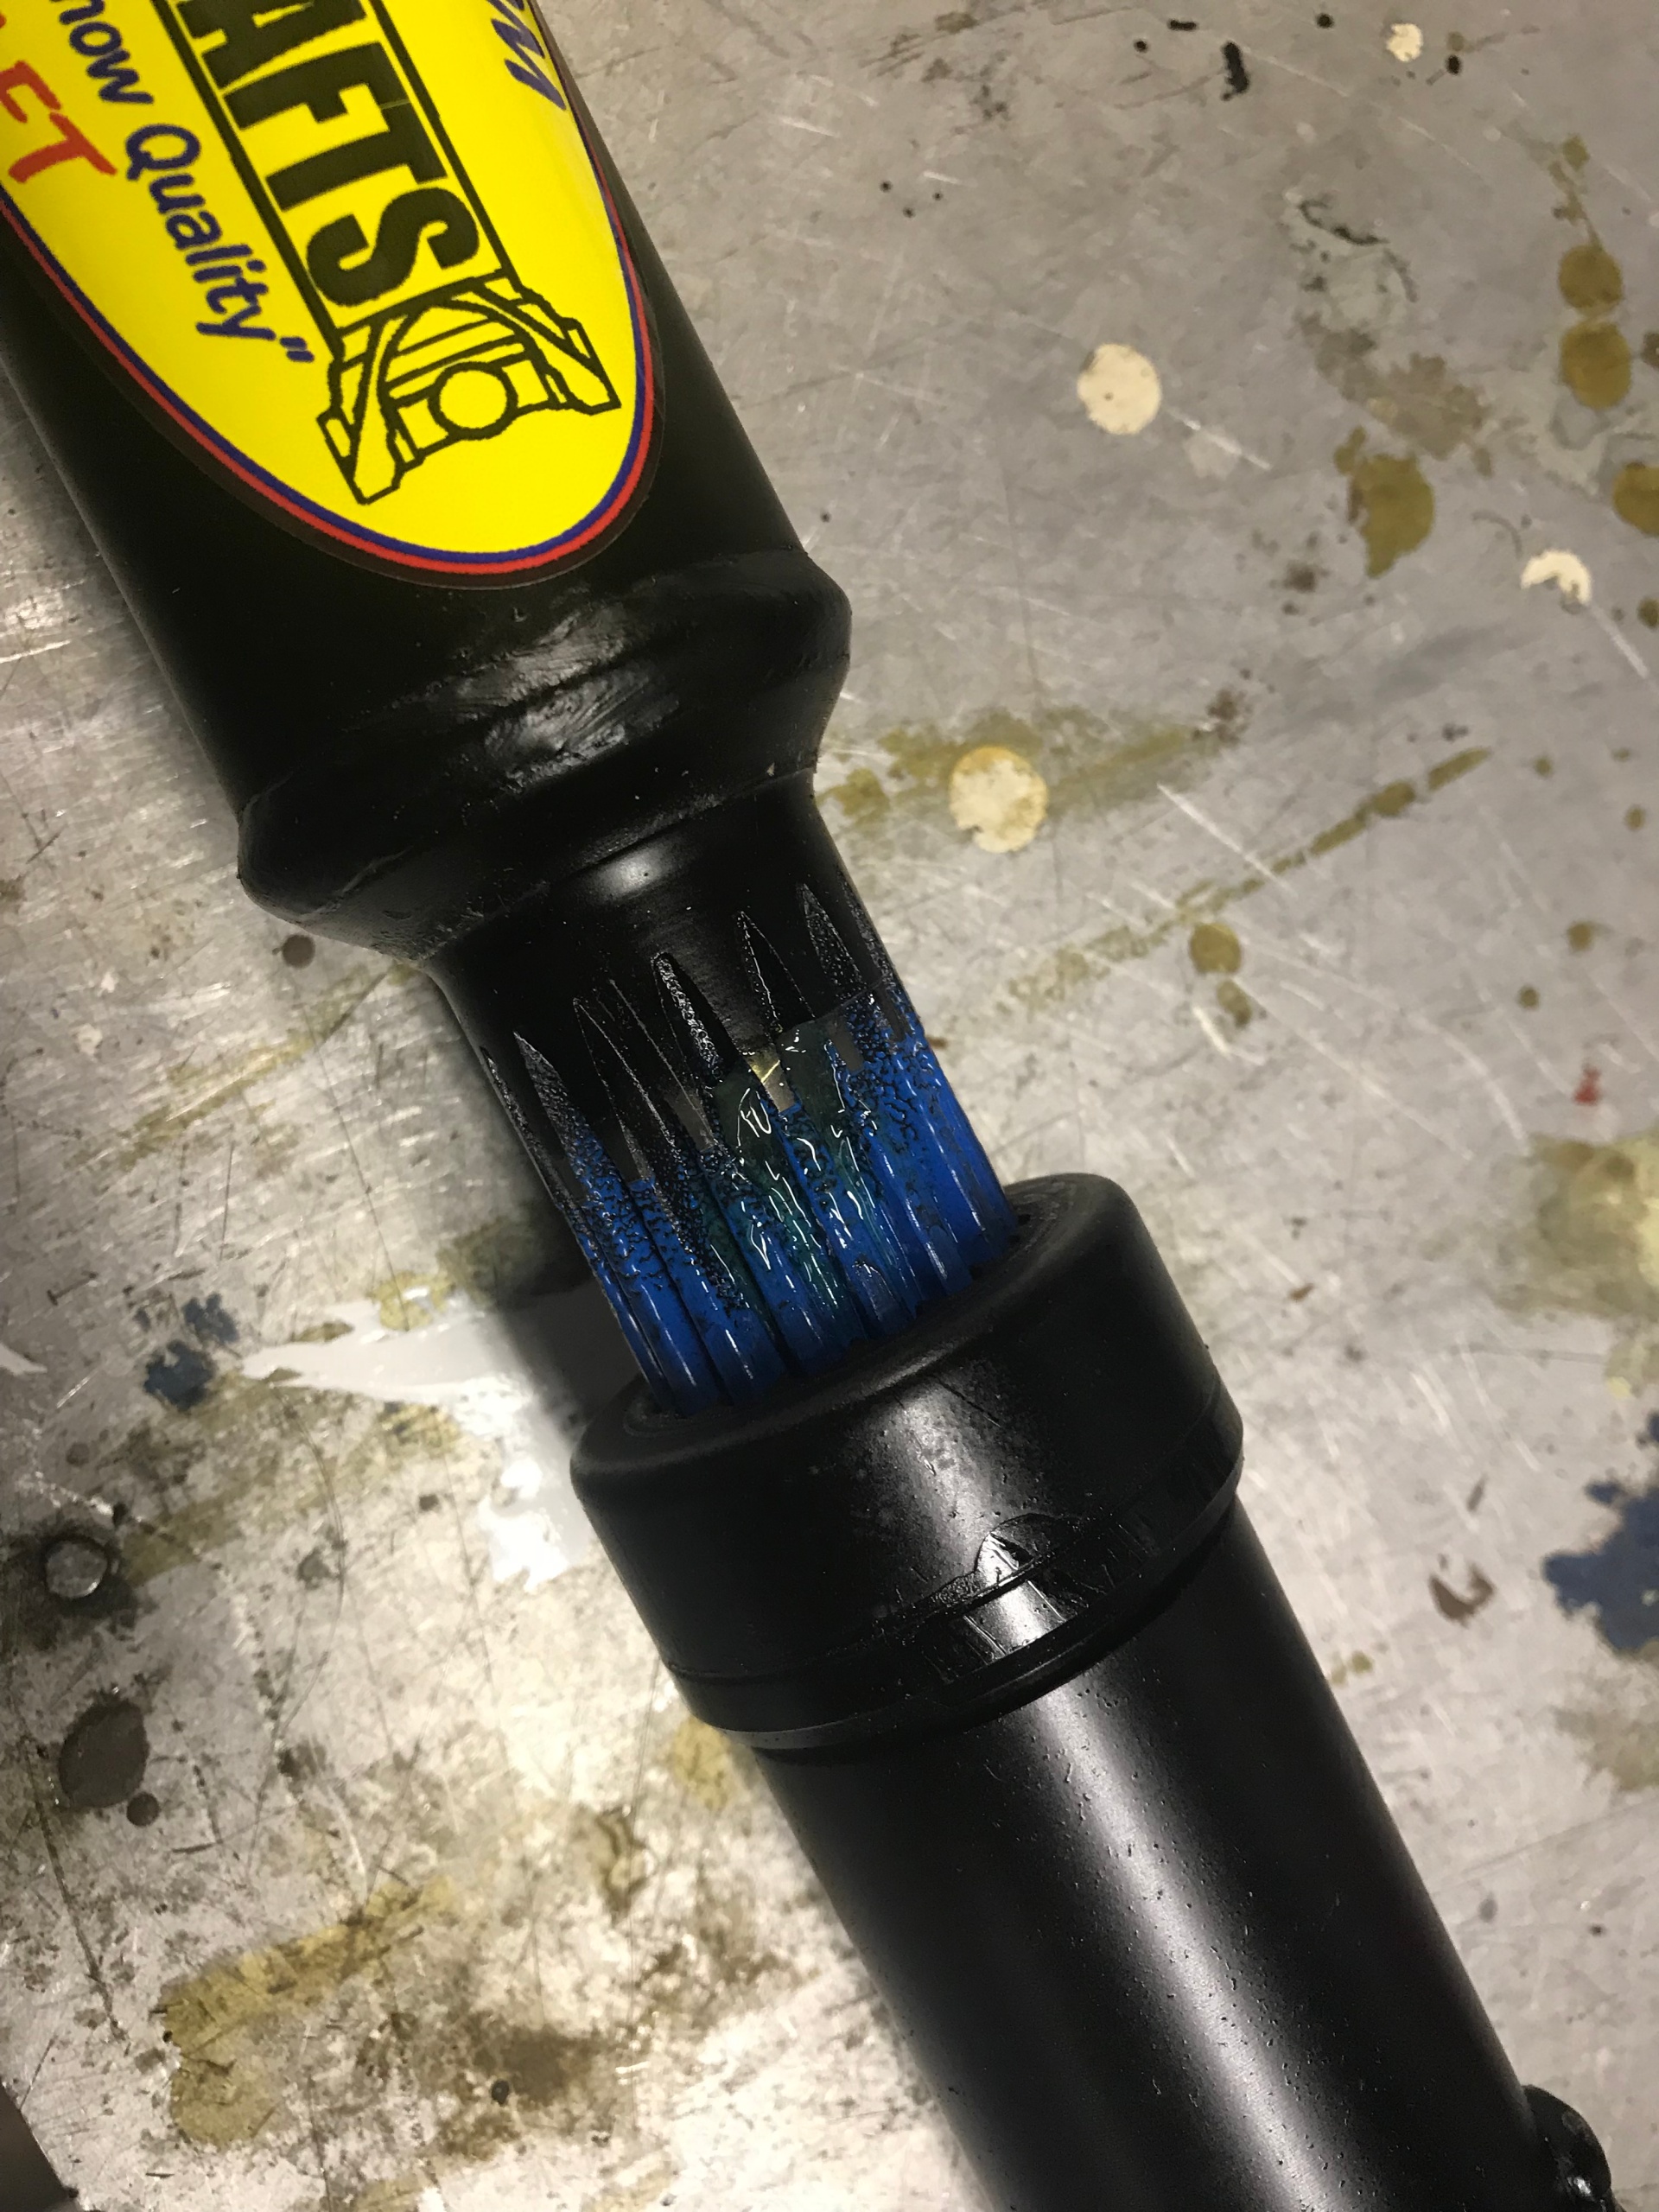
Teraflex’s SYE kit is a solid mid-tier option. It includes a new tail housing, main shaft, bearings, snap rings, and all necessary seals. The machining is clean, the fitment is tight, and it’s designed specifically for Jeep NP231 cases. Teraflex doesn’t include a driveshaft with the kit, but it pairs well with Tom Wood’s or Adams Driveshaft units built to spec once installed. We used a Tom Wood’s and it’s perfect.
Installation Overview
This job can be done at home with basic tools, but it’s not a quick bolt-on. You’re opening the transfer case and replacing internal components, so expect about 4–6 hours if you’re mechanically confident and have everything laid out.
Tools & Supplies Needed
- Basic socket set and torque wrench
- Snap ring pliers
- RTV sealant
- Drain pan (you will spill ATF)
- Bench vise (strongly recommended)
- Replacement driveshaft (custom length required post-install)
- Floor jack and jack stands
Installation Steps
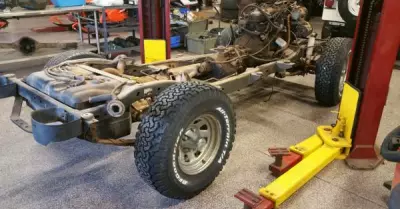
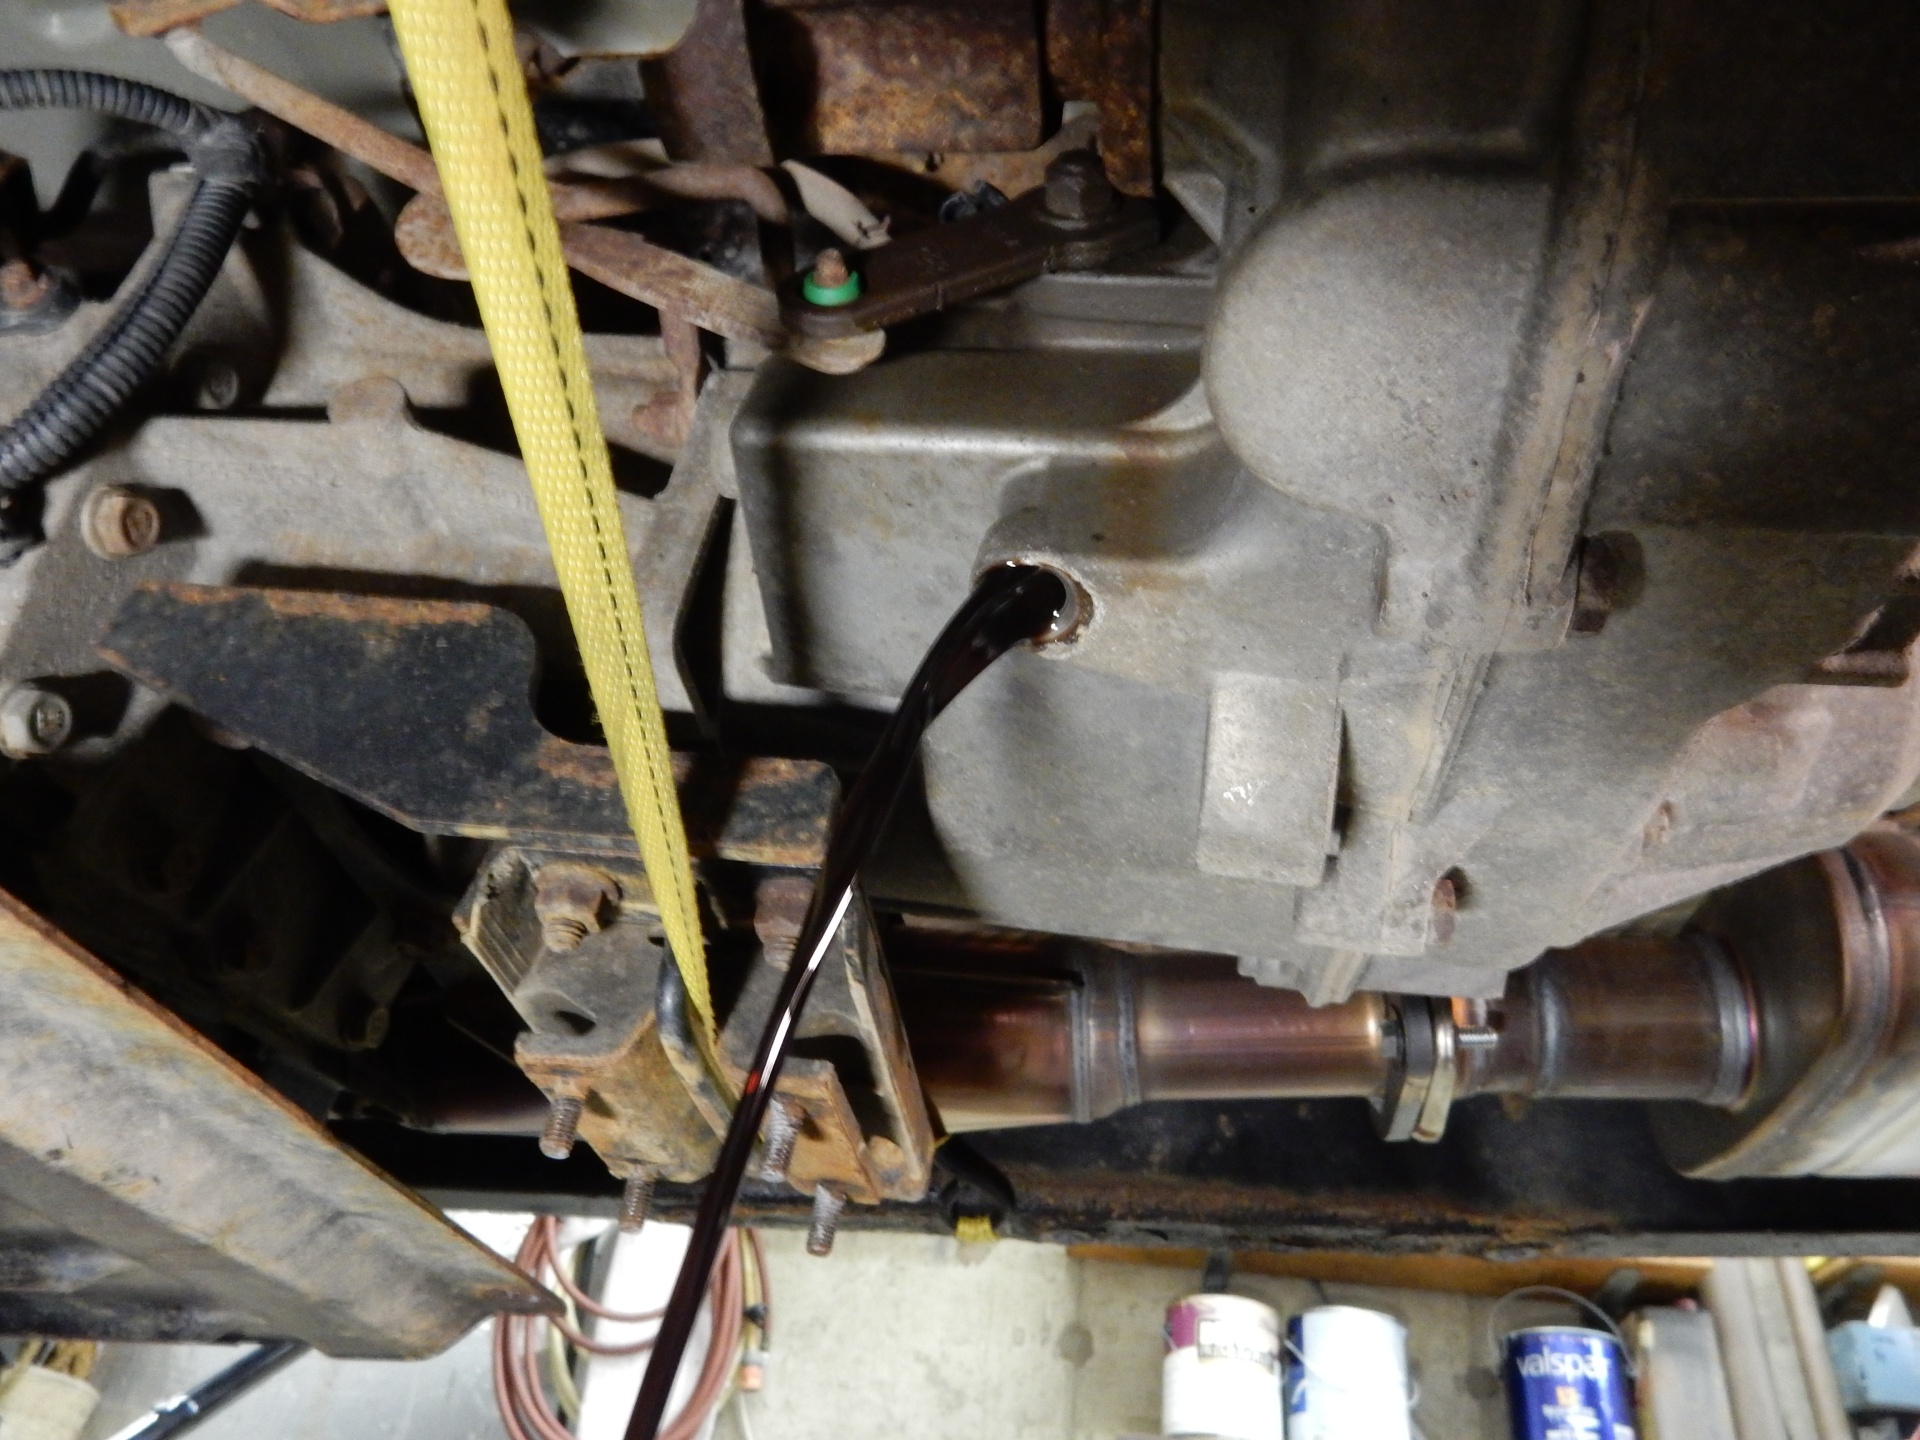
1. Prep the Jeep:
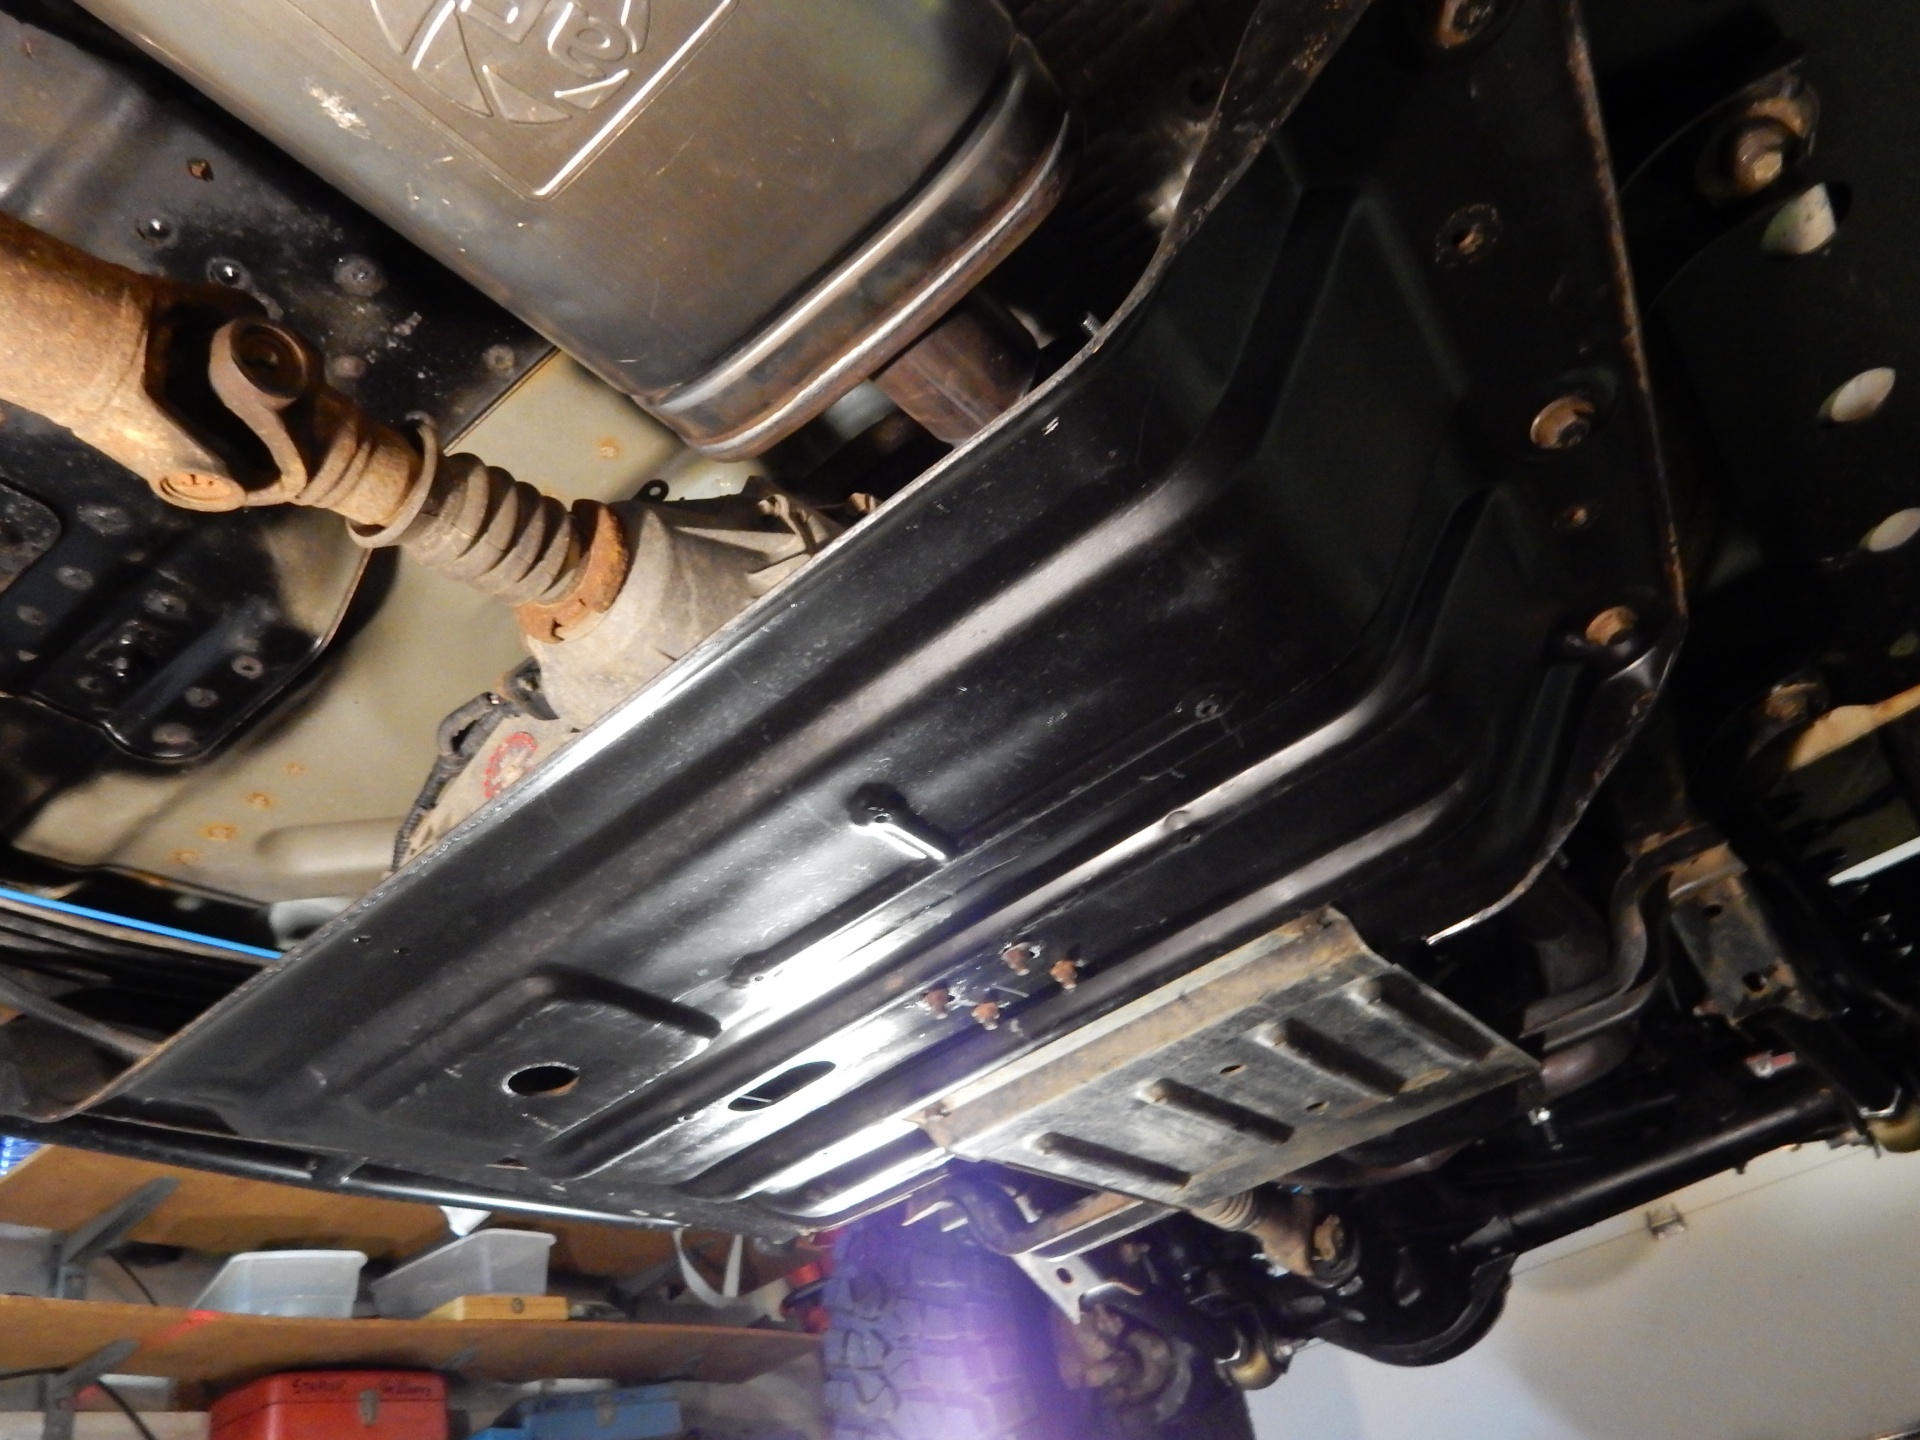
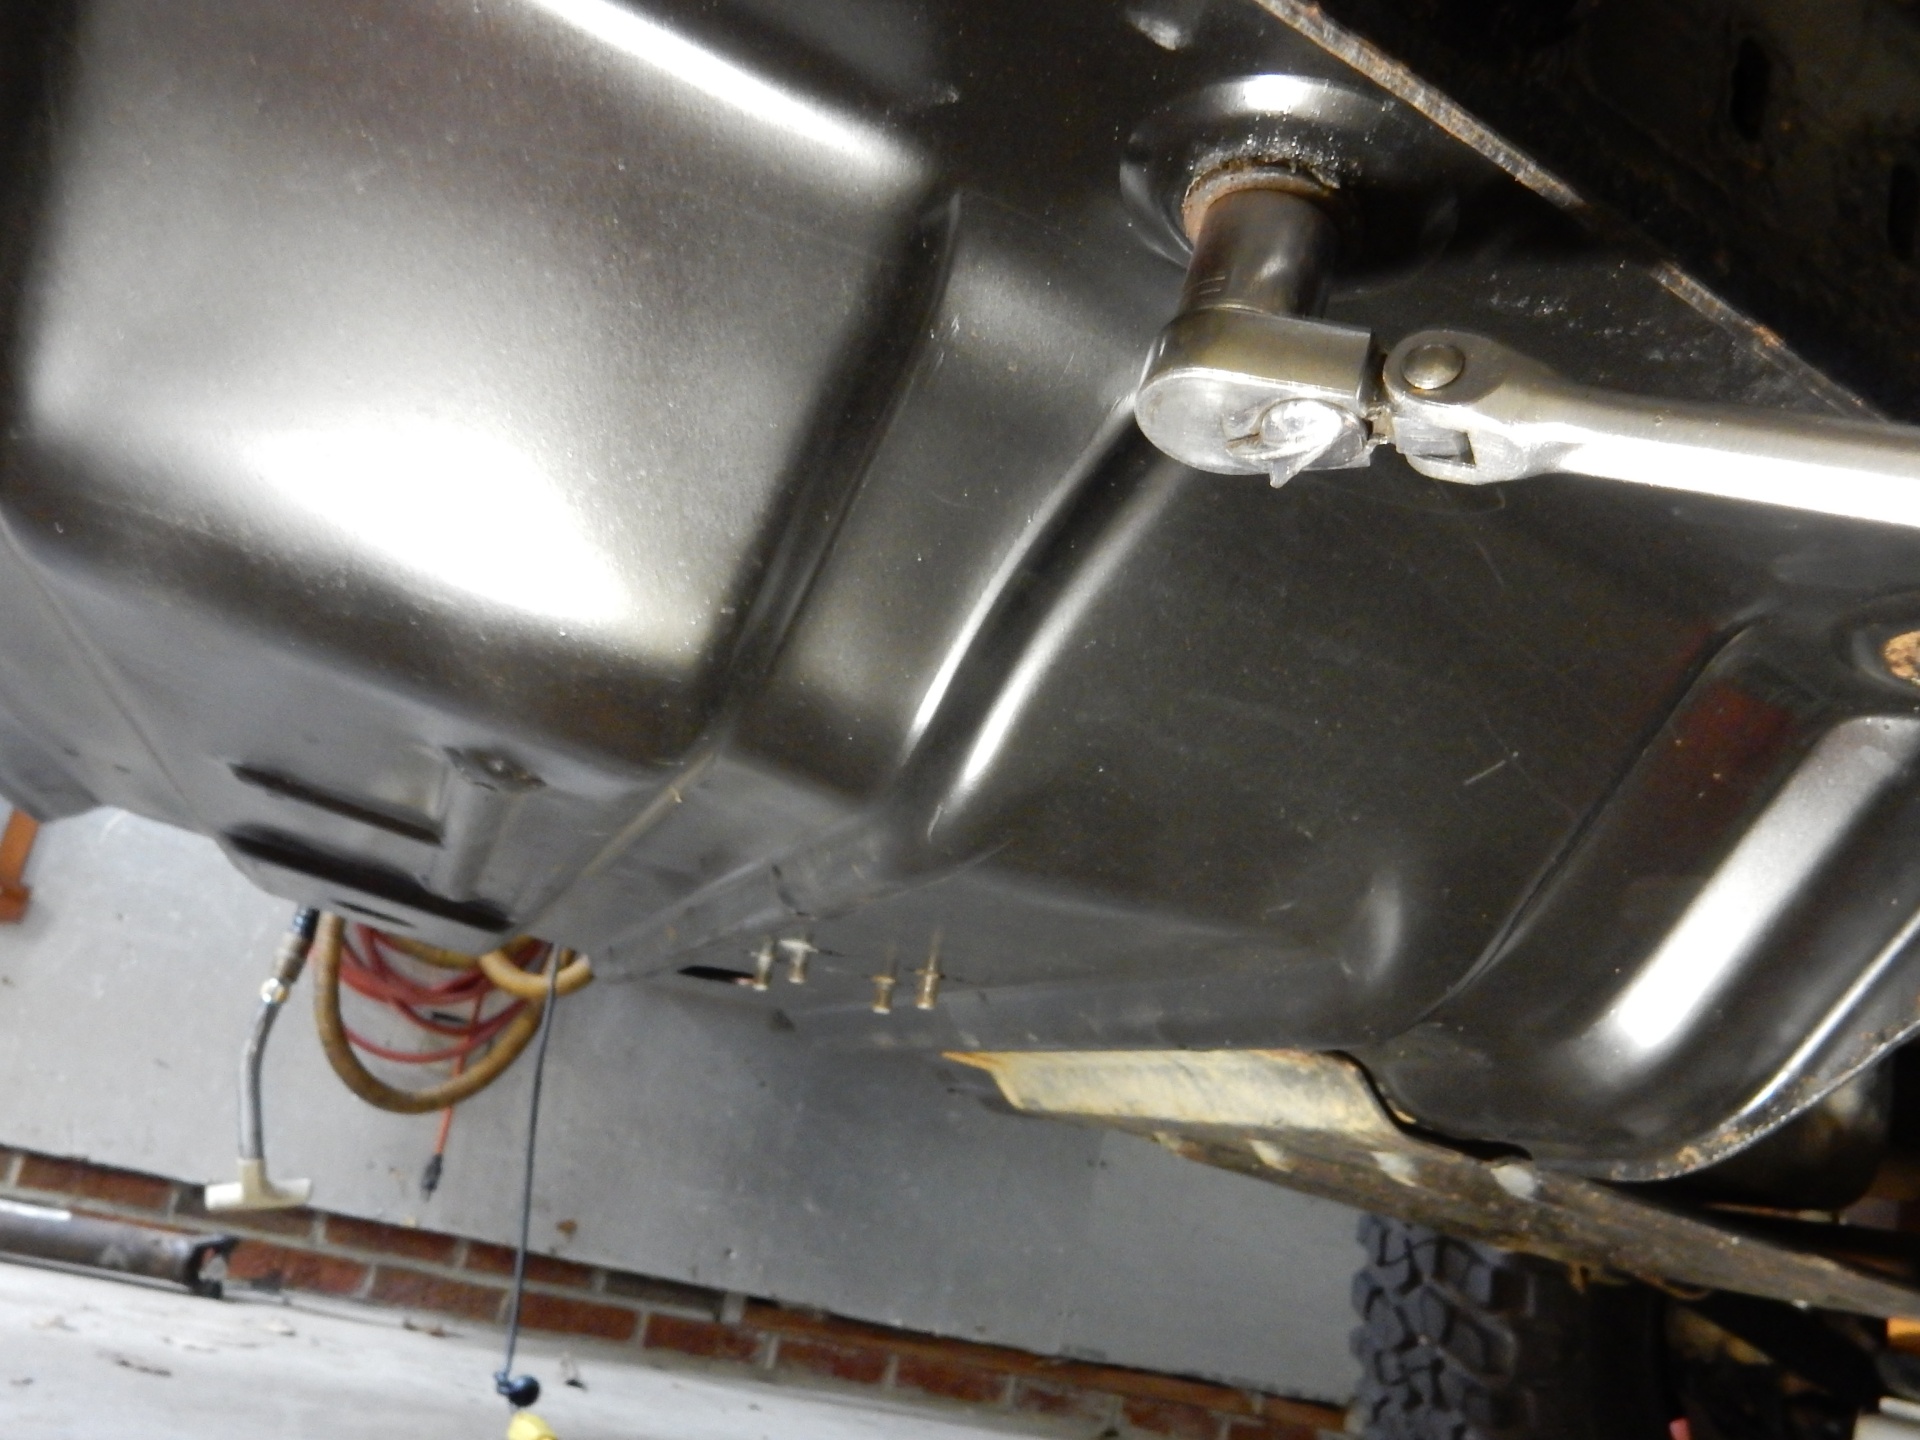
Disconnect the negative battery terminal. Safely raise the rear of the Jeep and support it on jack stands. Remove the rear driveshaft. Remove the skid plate and drain the transfer case.
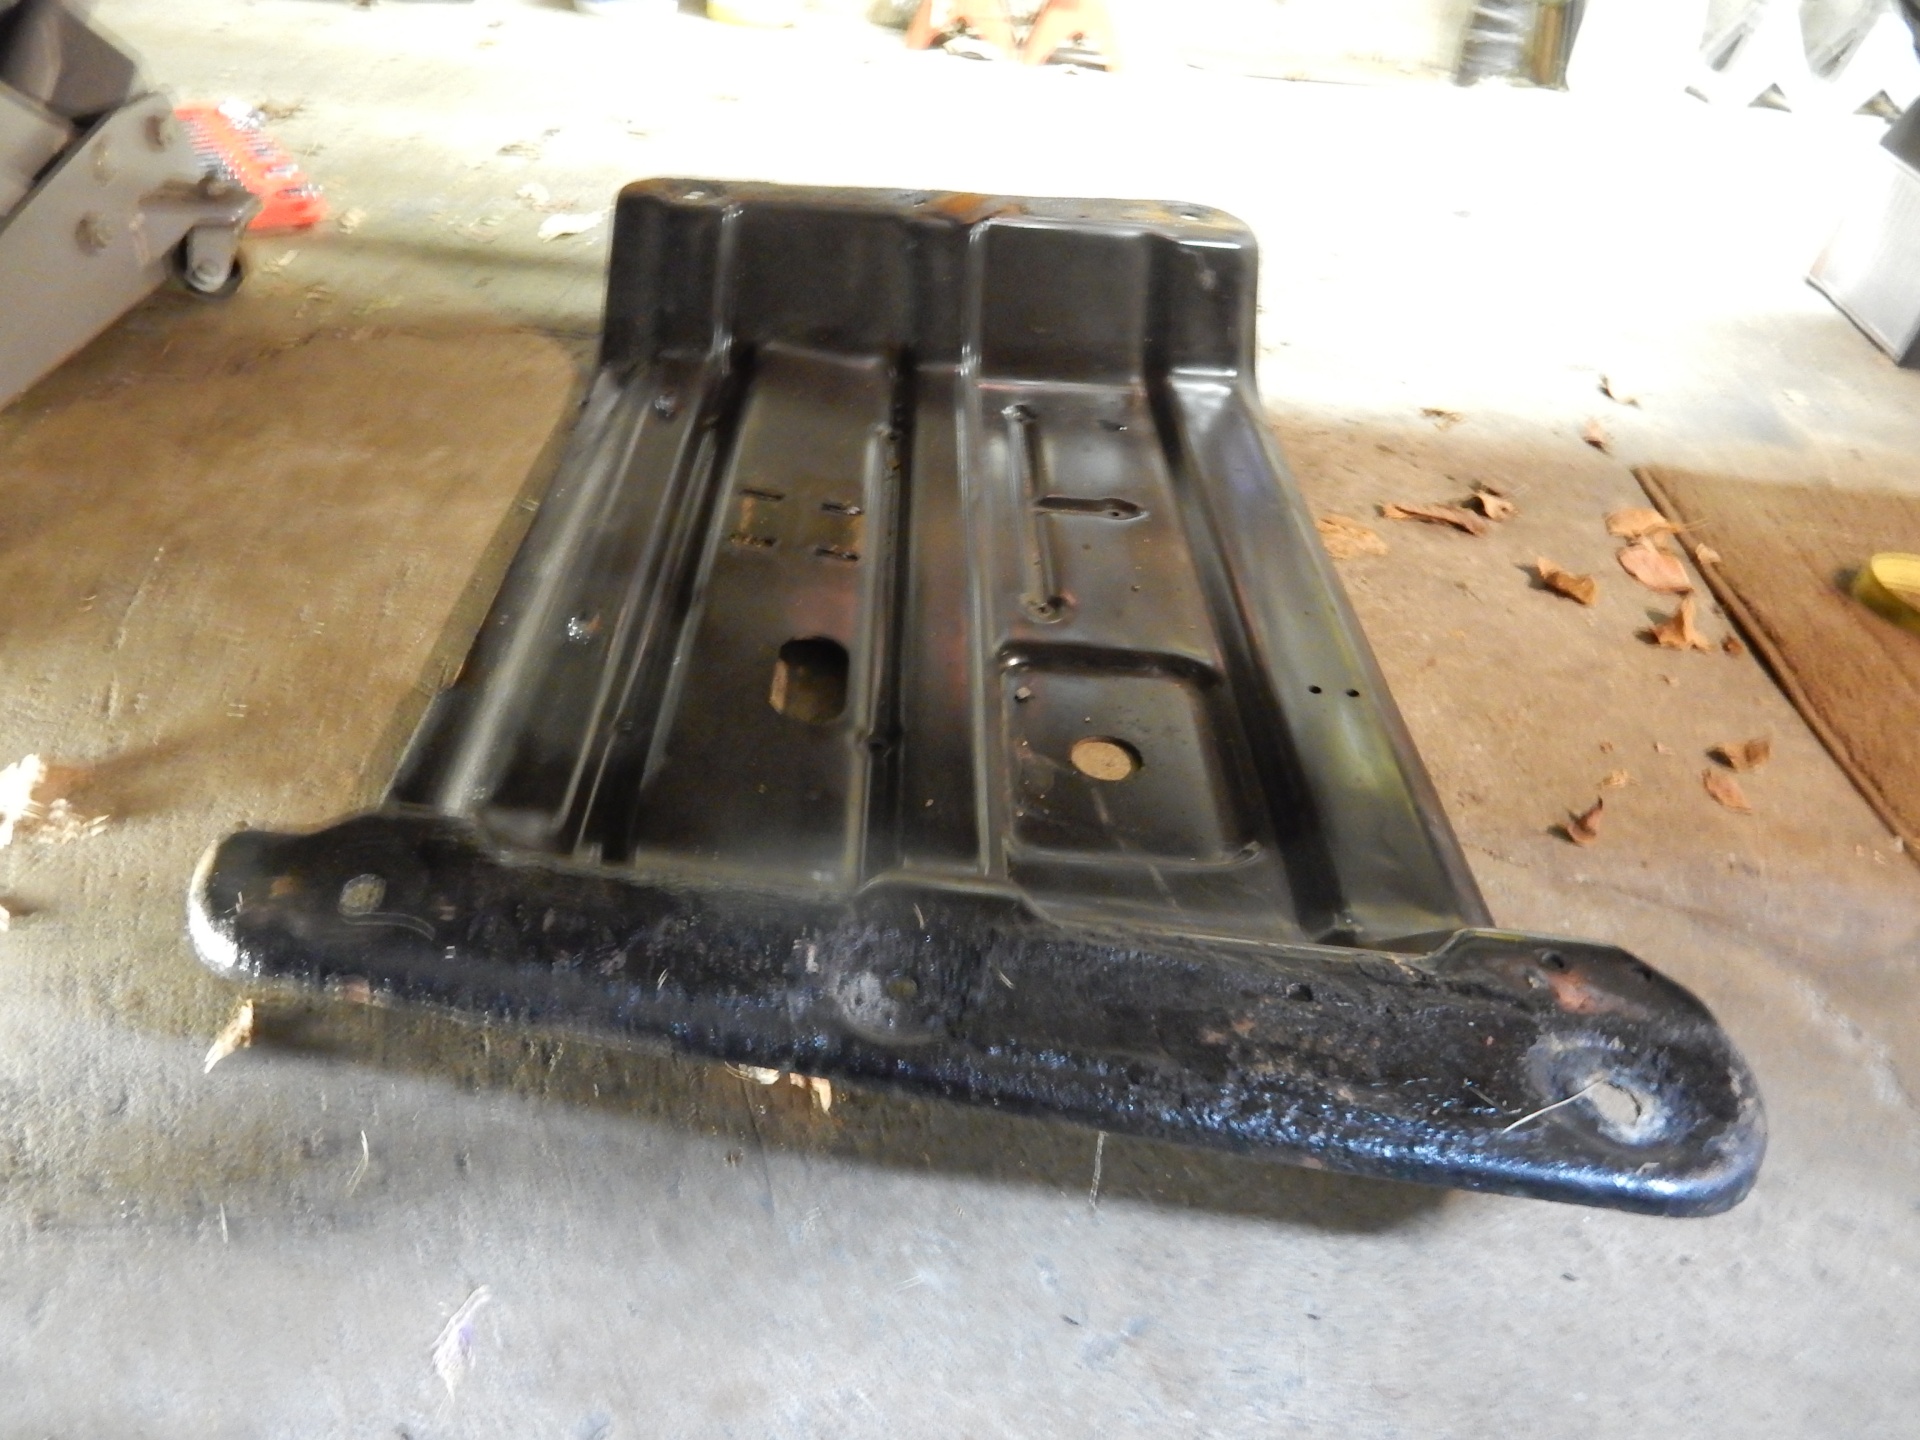
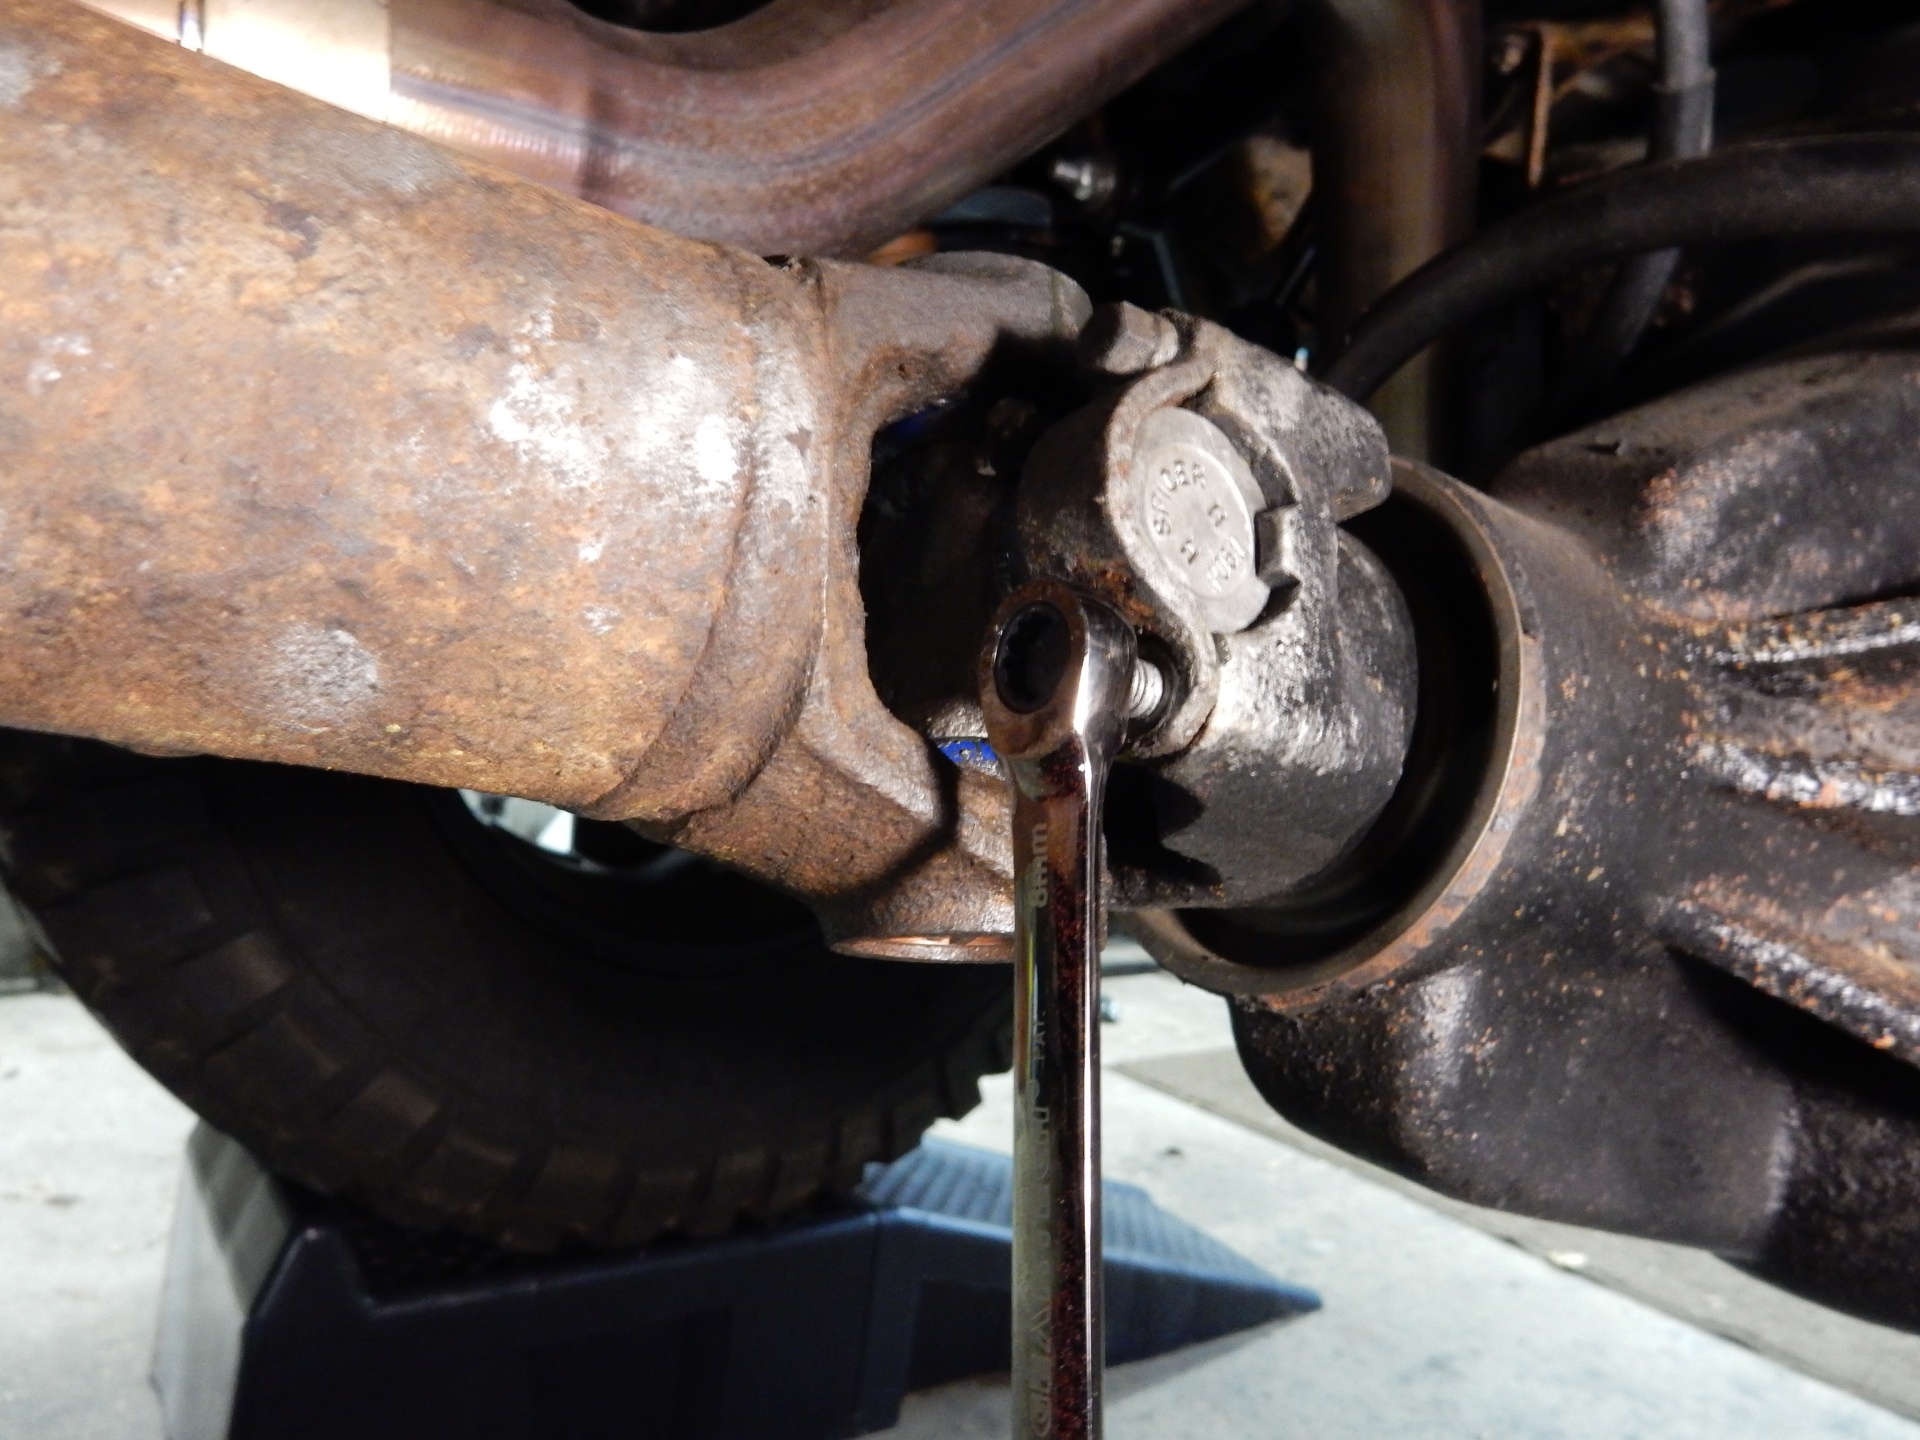
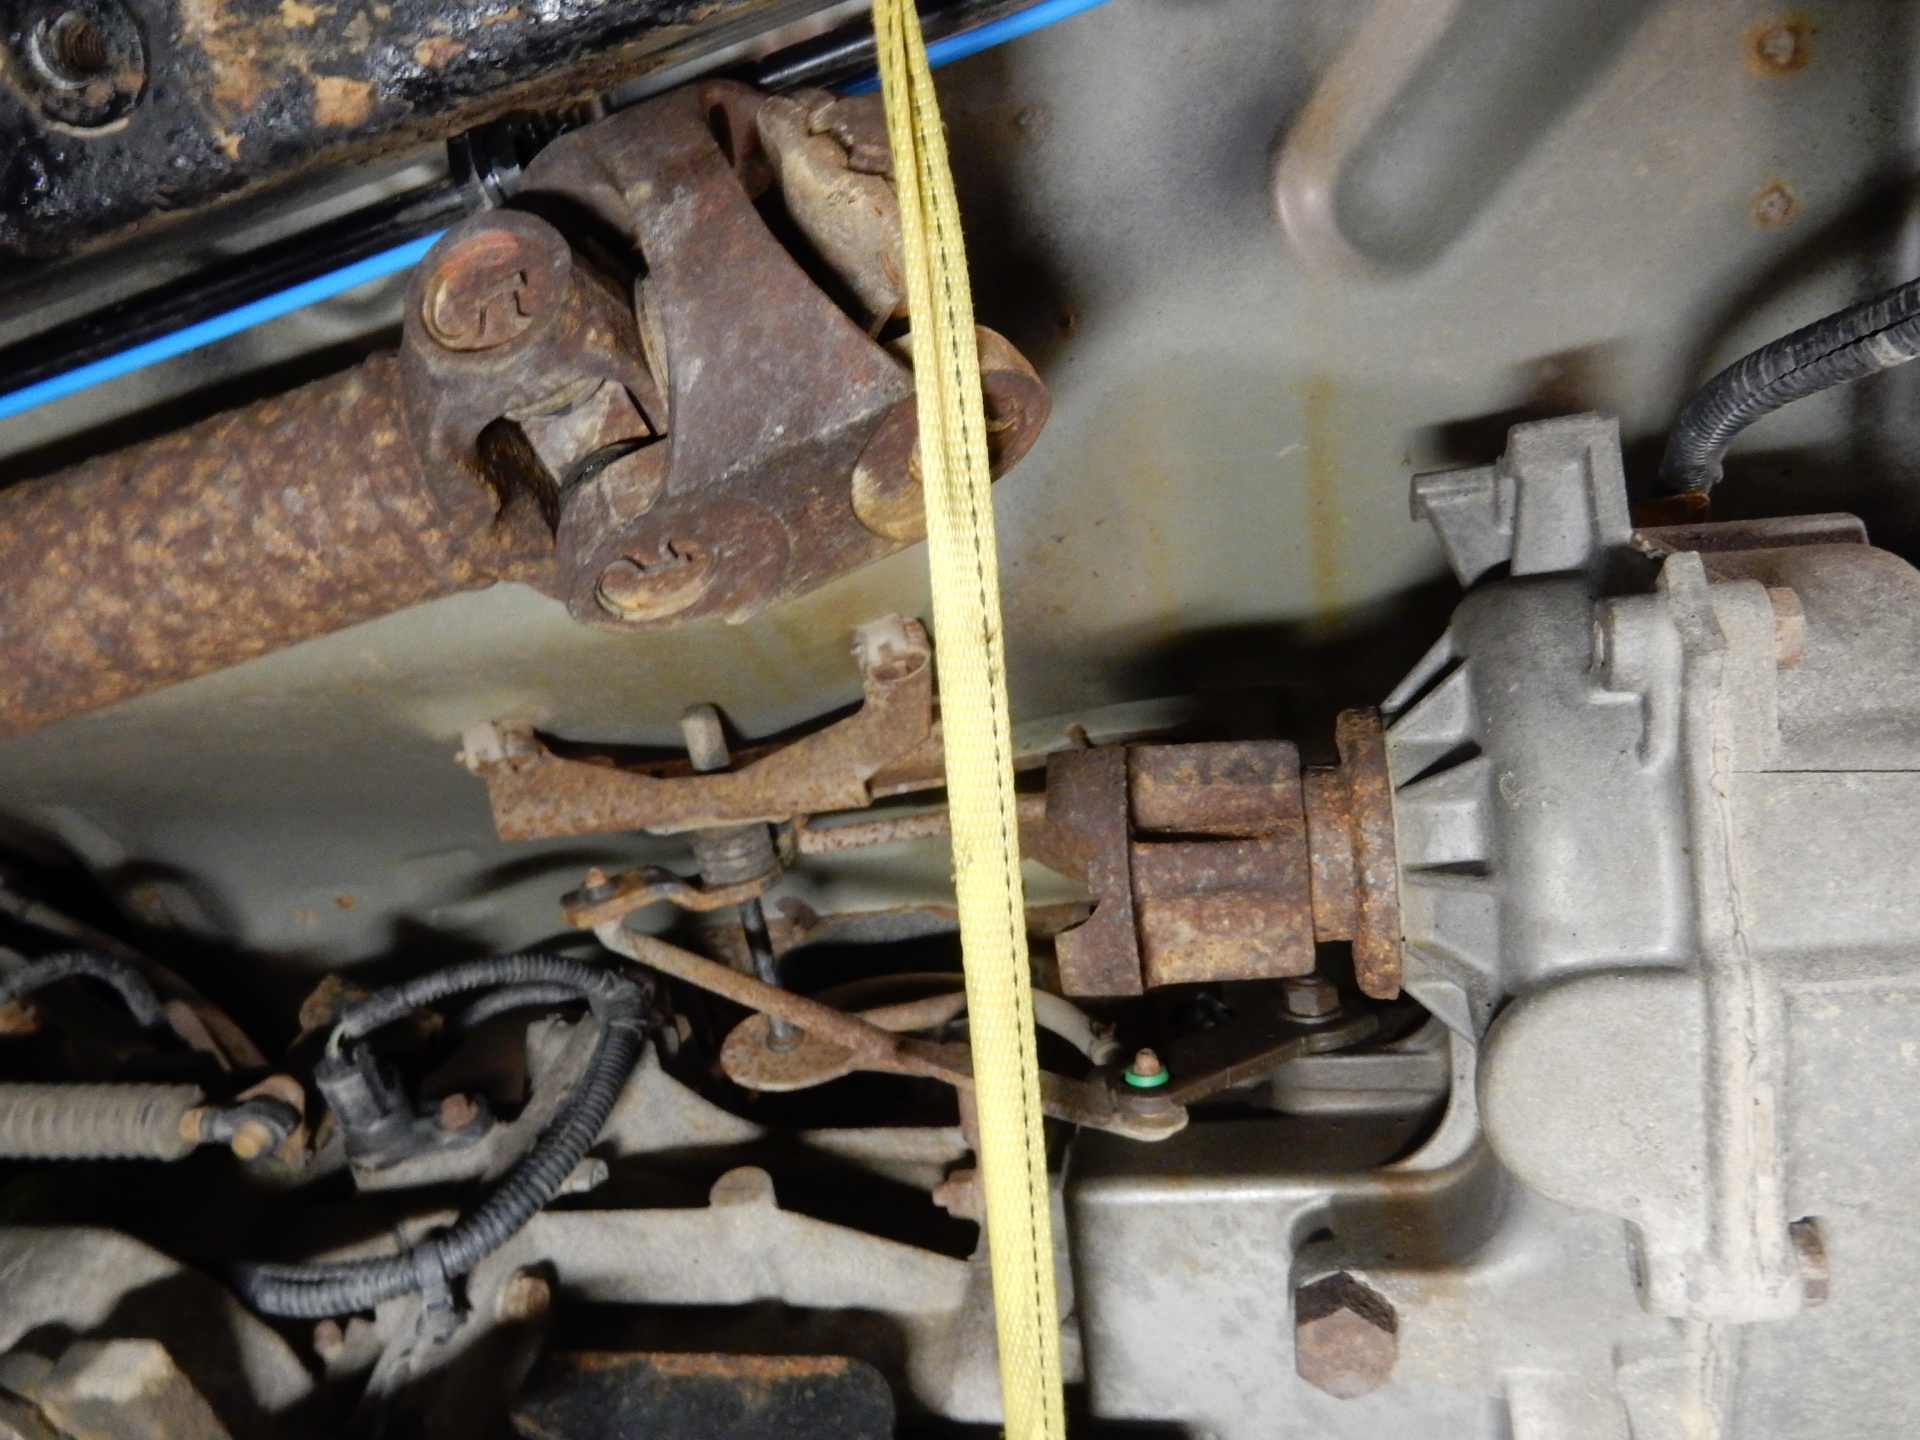
2. Remove the Skid Plate and Front Driveshaft:
Unbolt the rear driveshaft at the rear differential and pull the shaft from the transfer case. Unbolt the transfer case side u-joint of the front driveshaft. Support the front driveshaft out of the way.
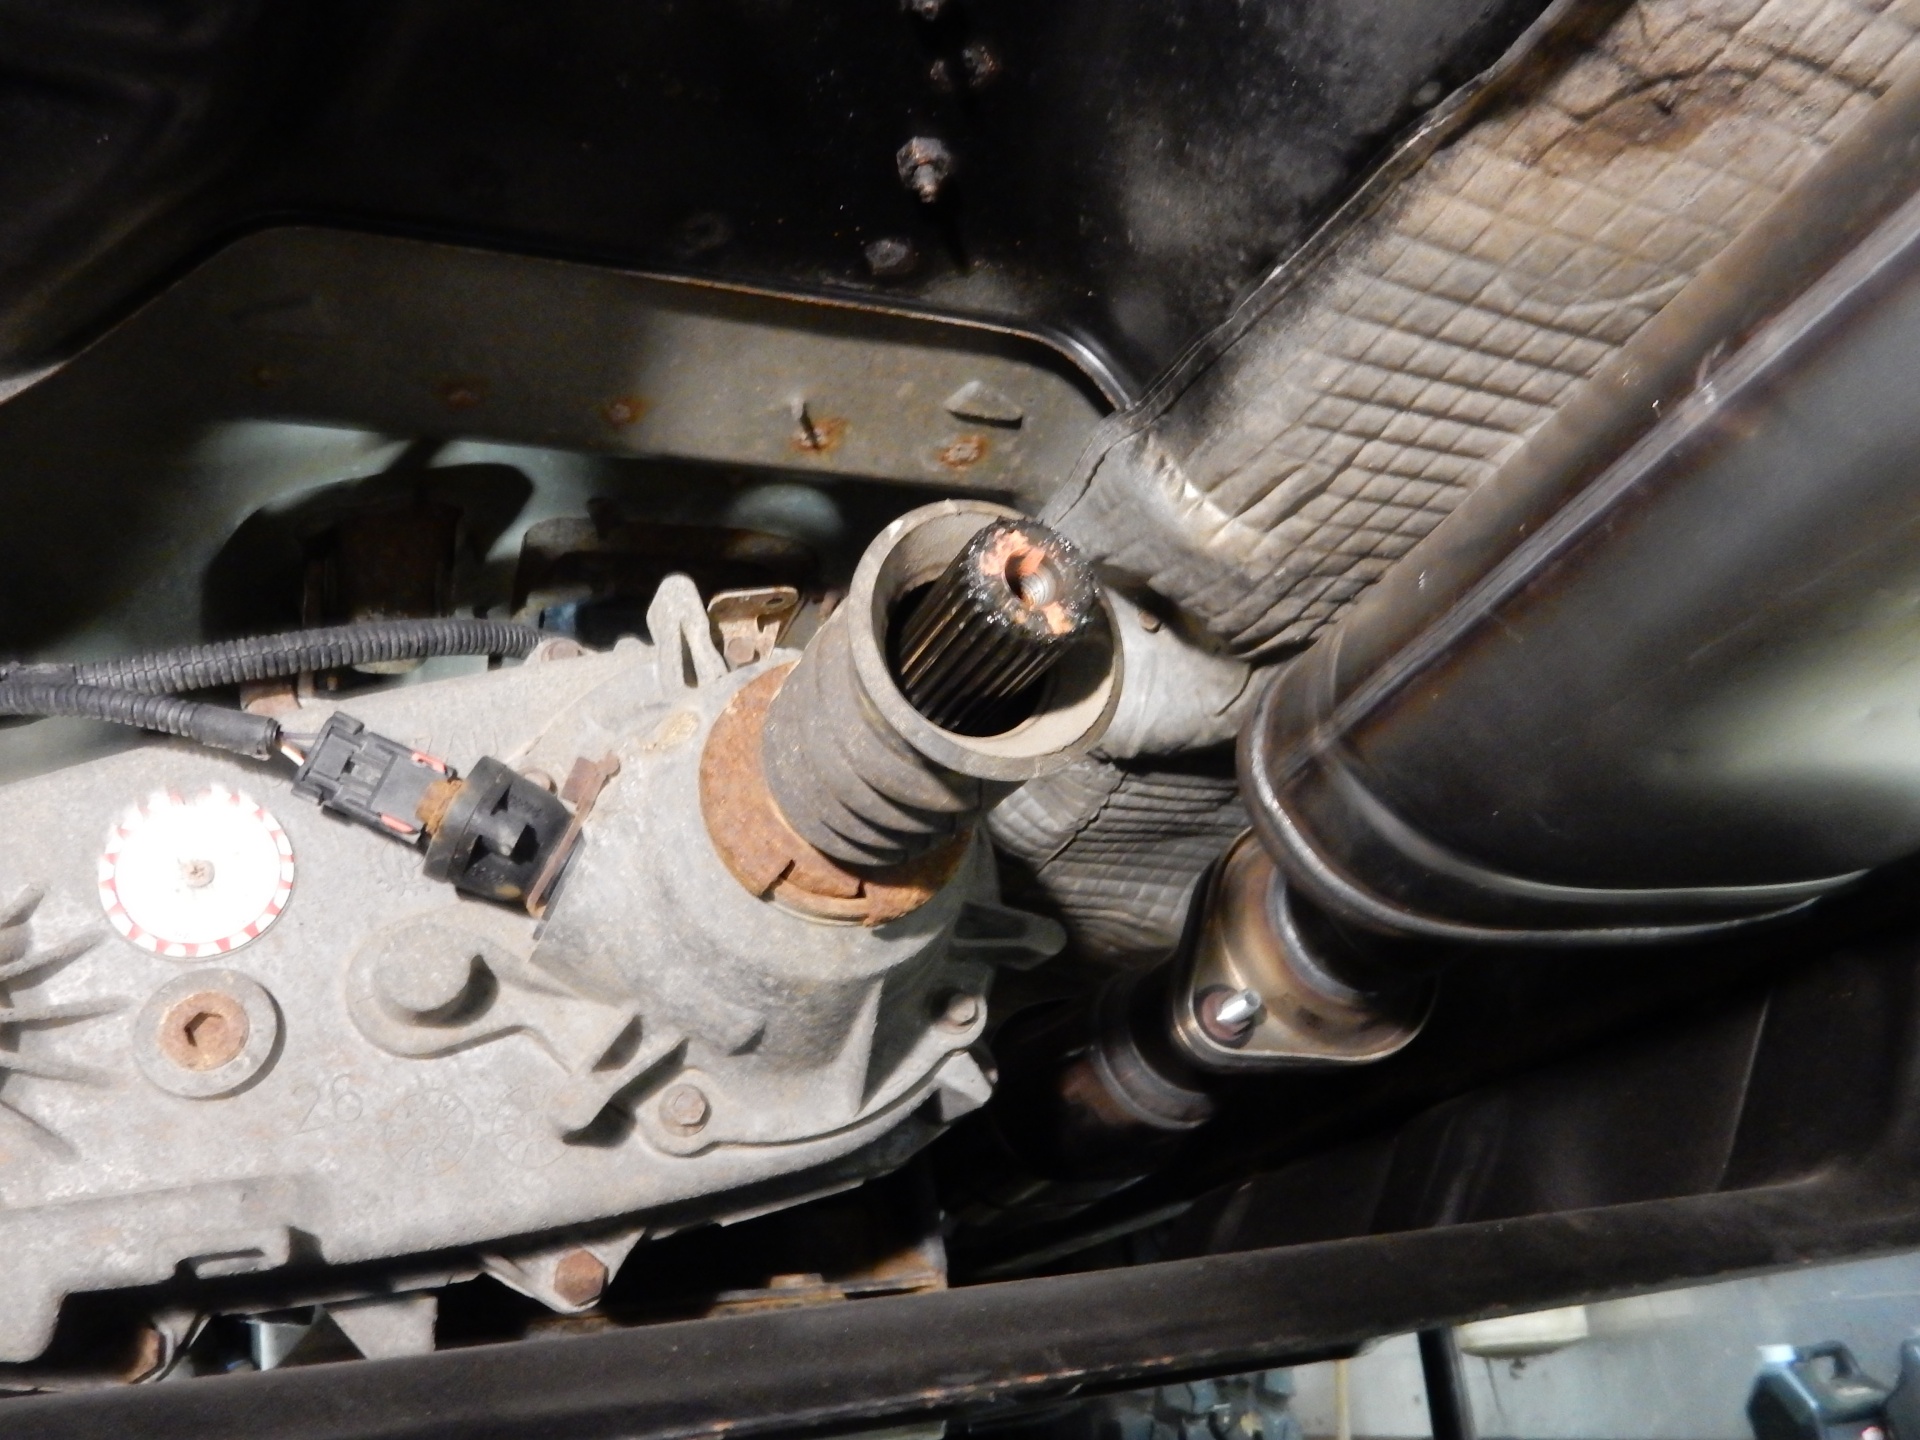
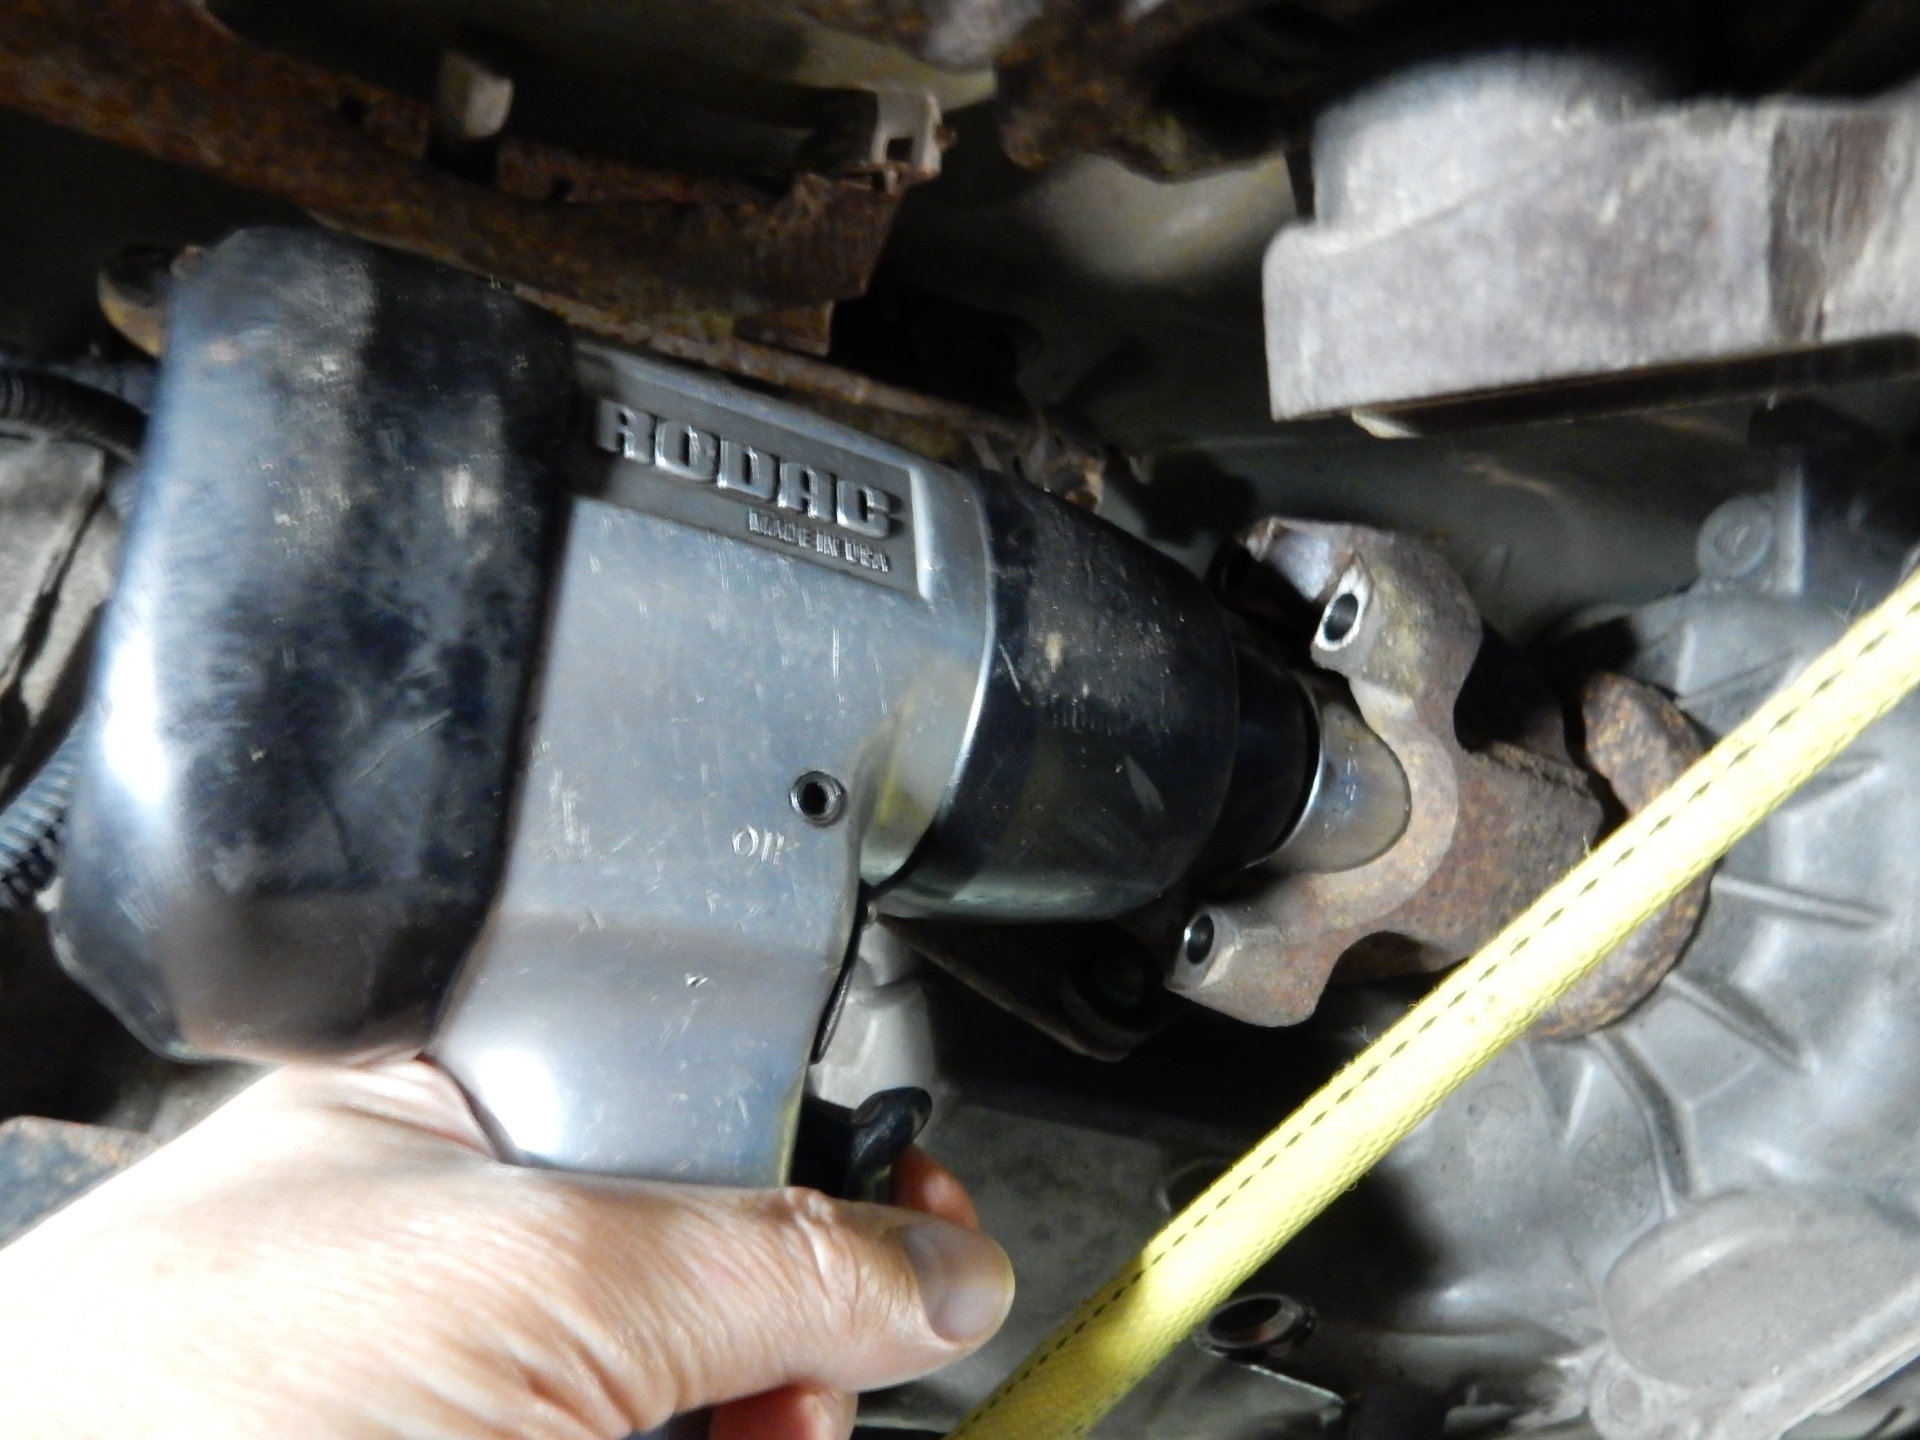
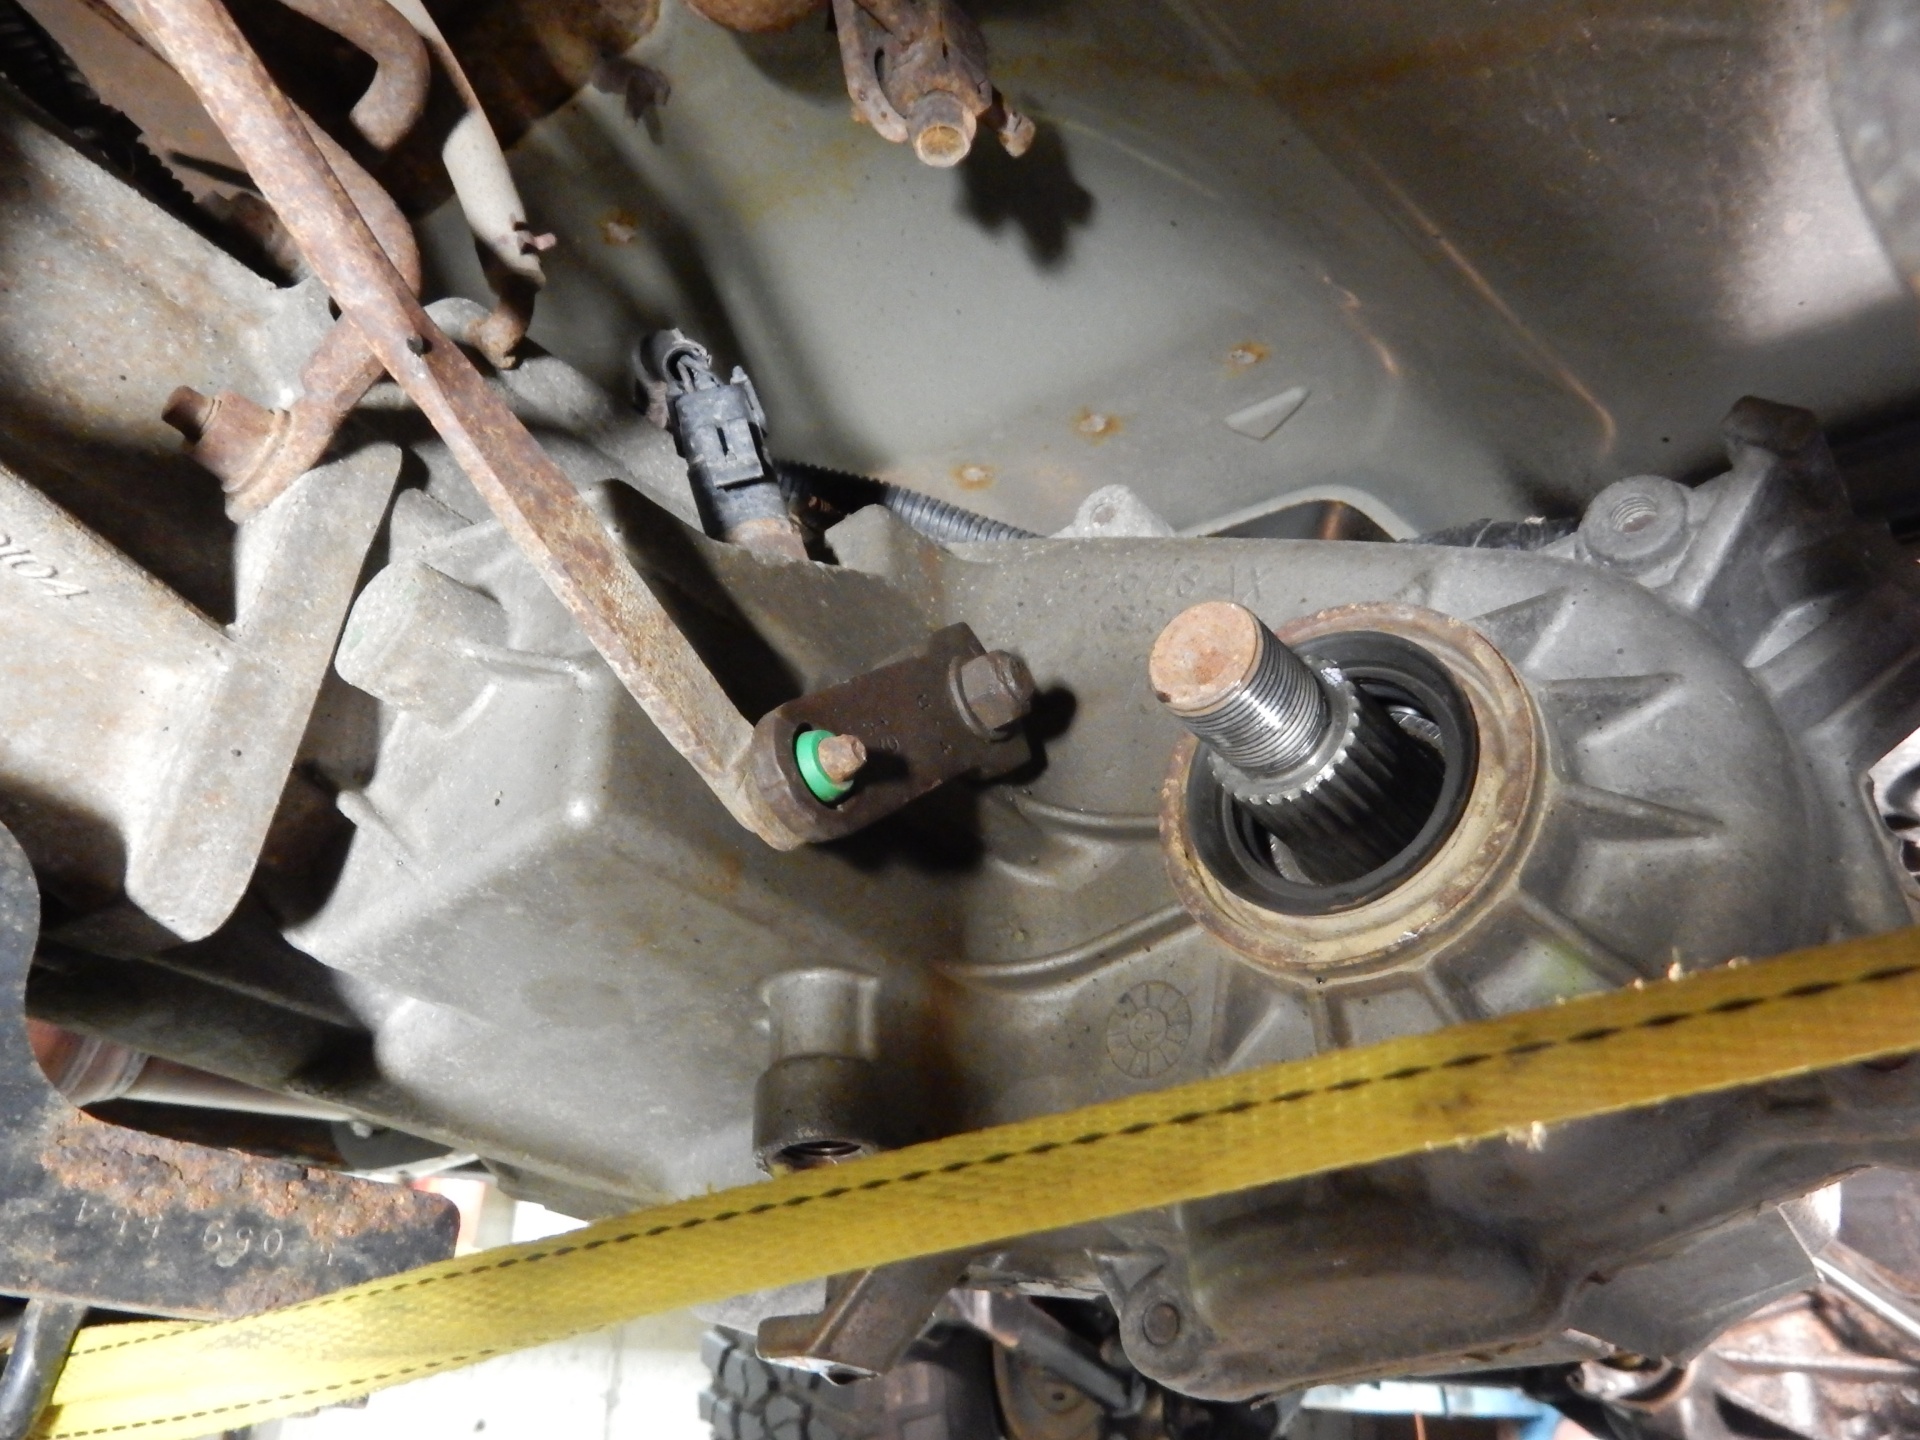
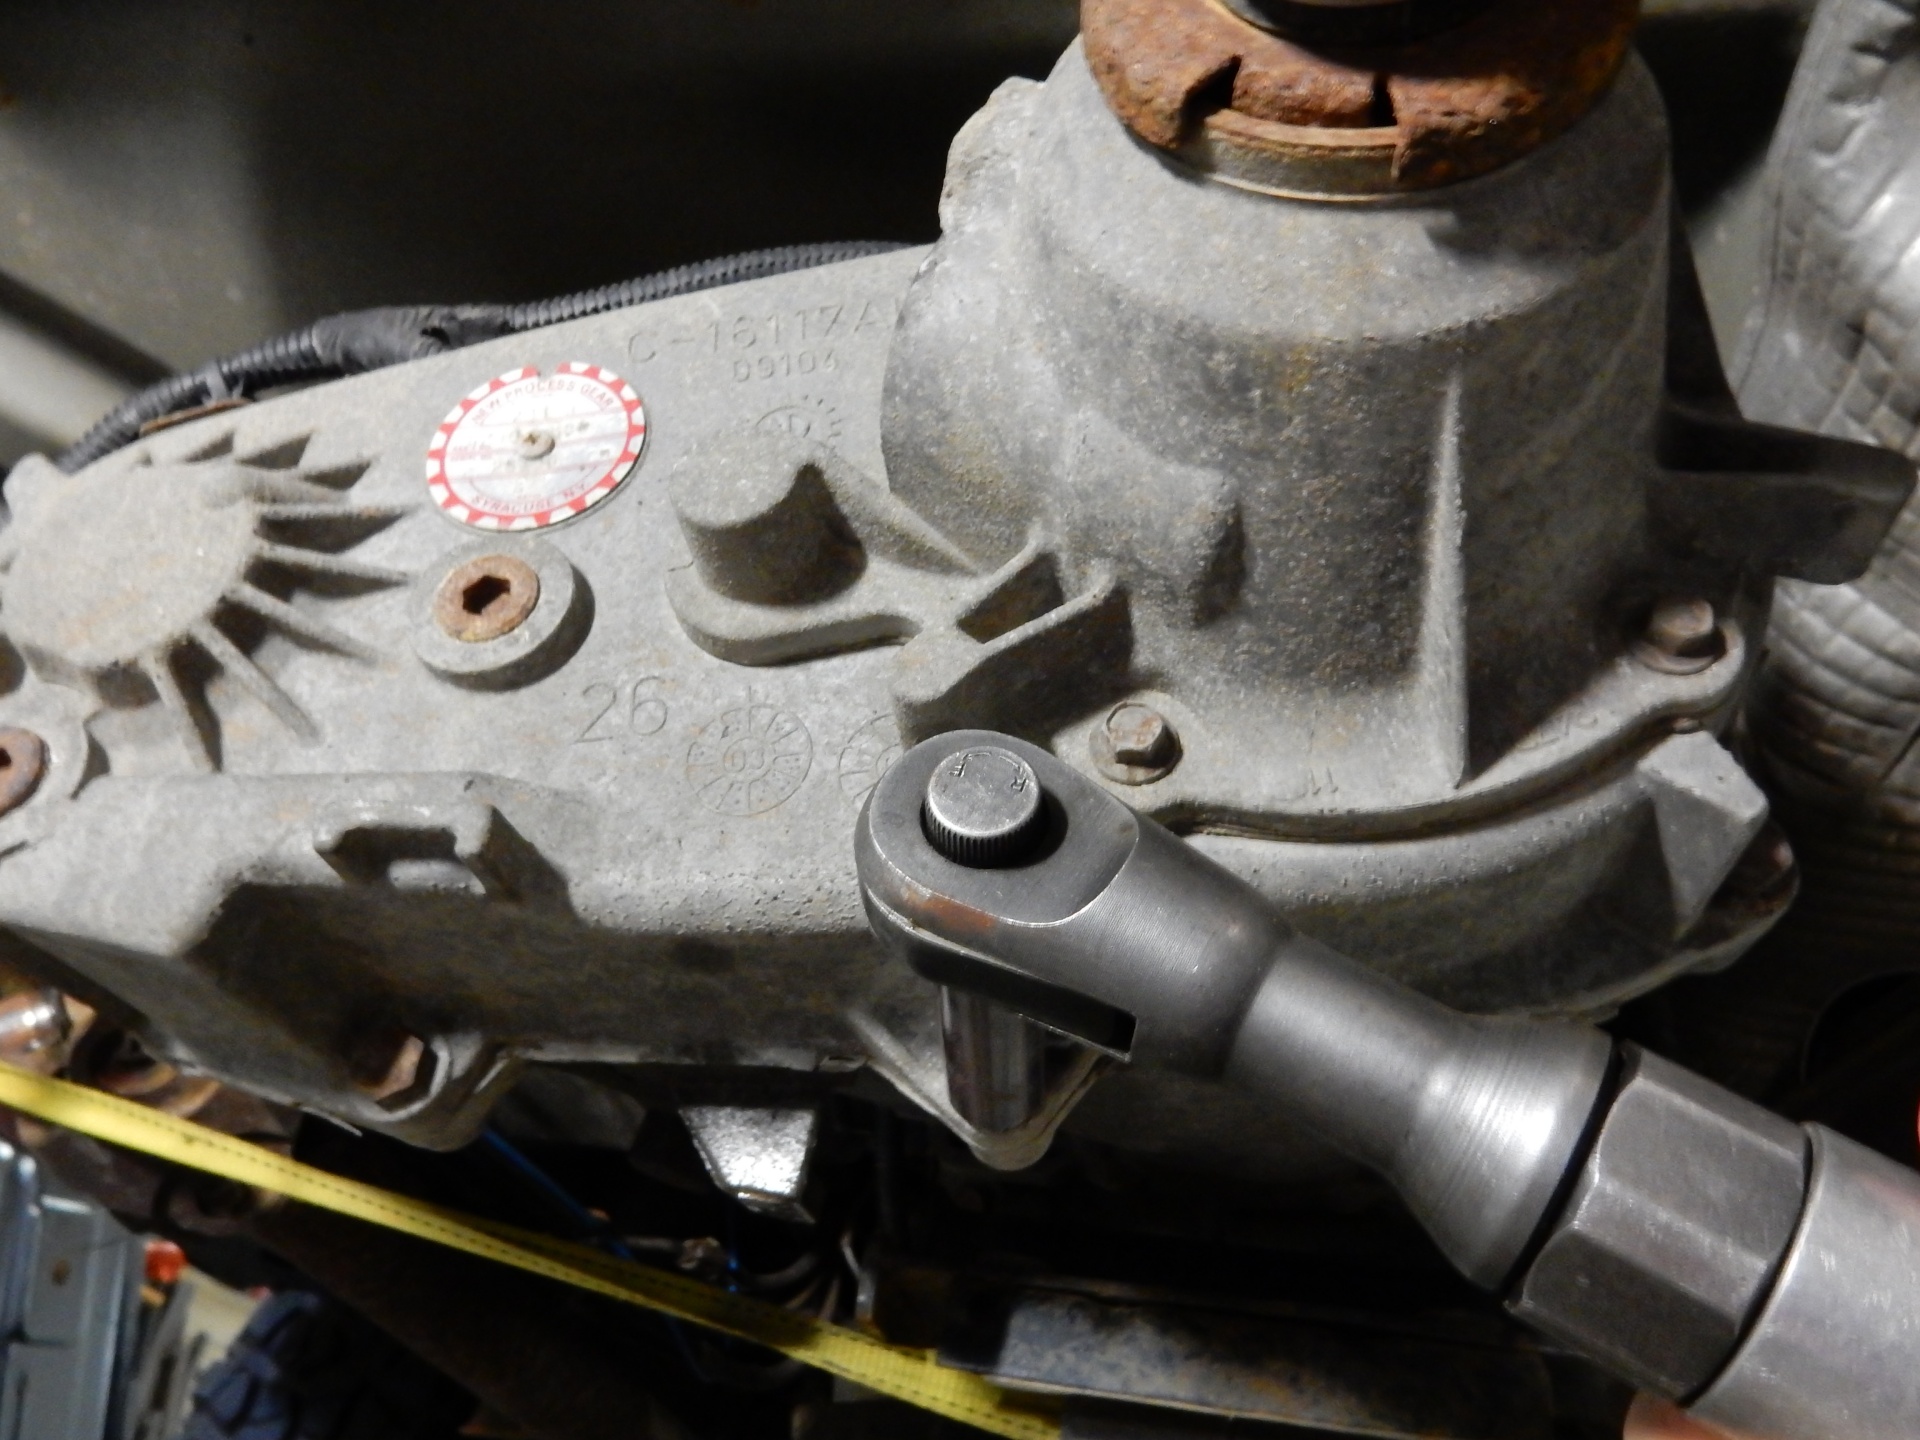
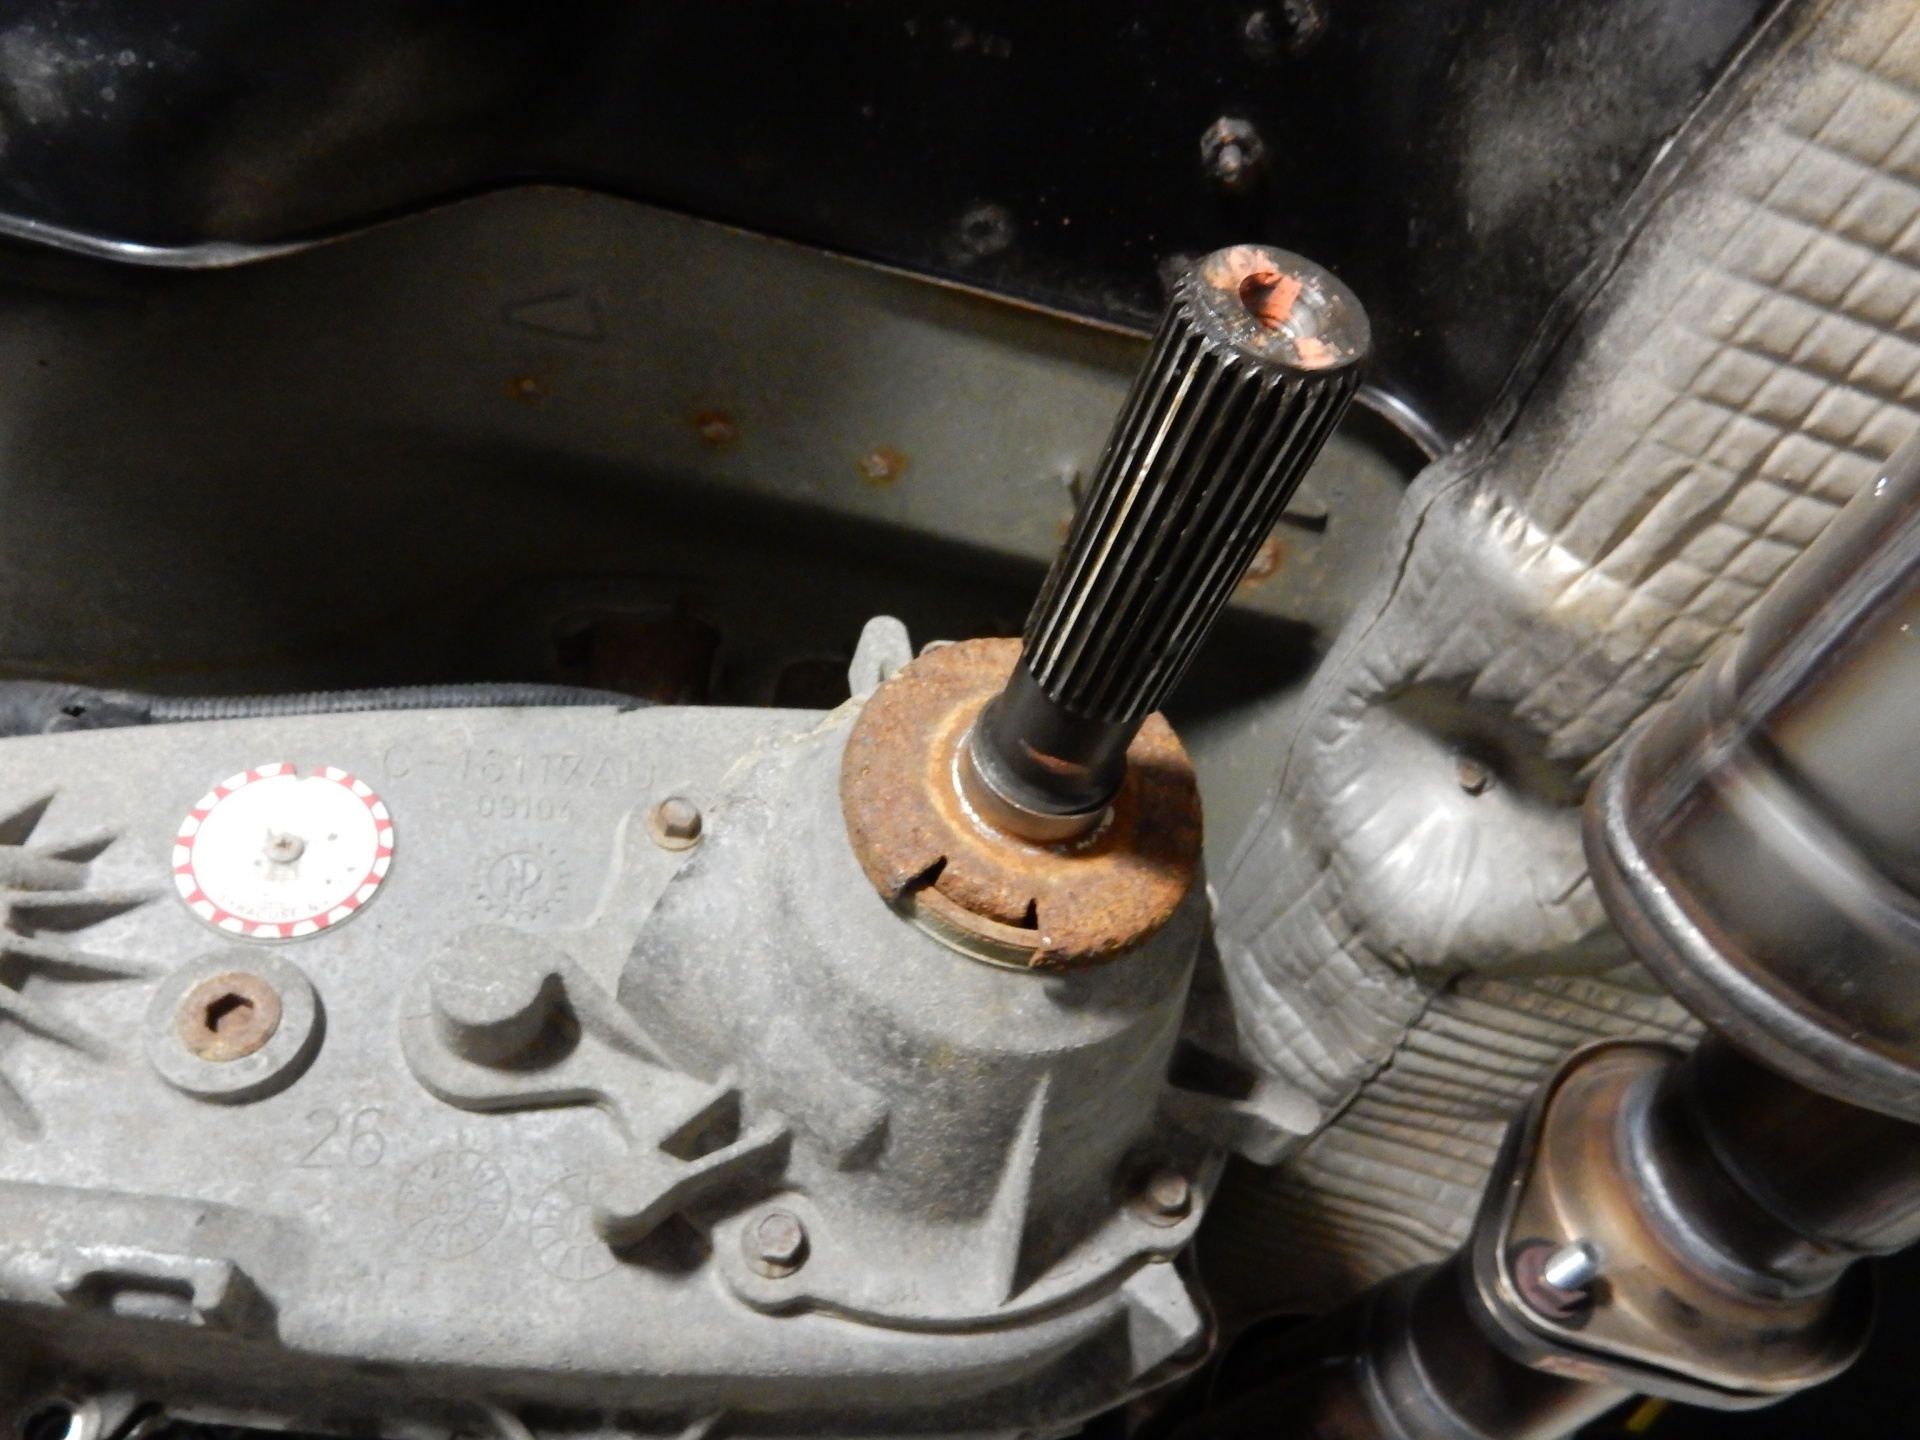
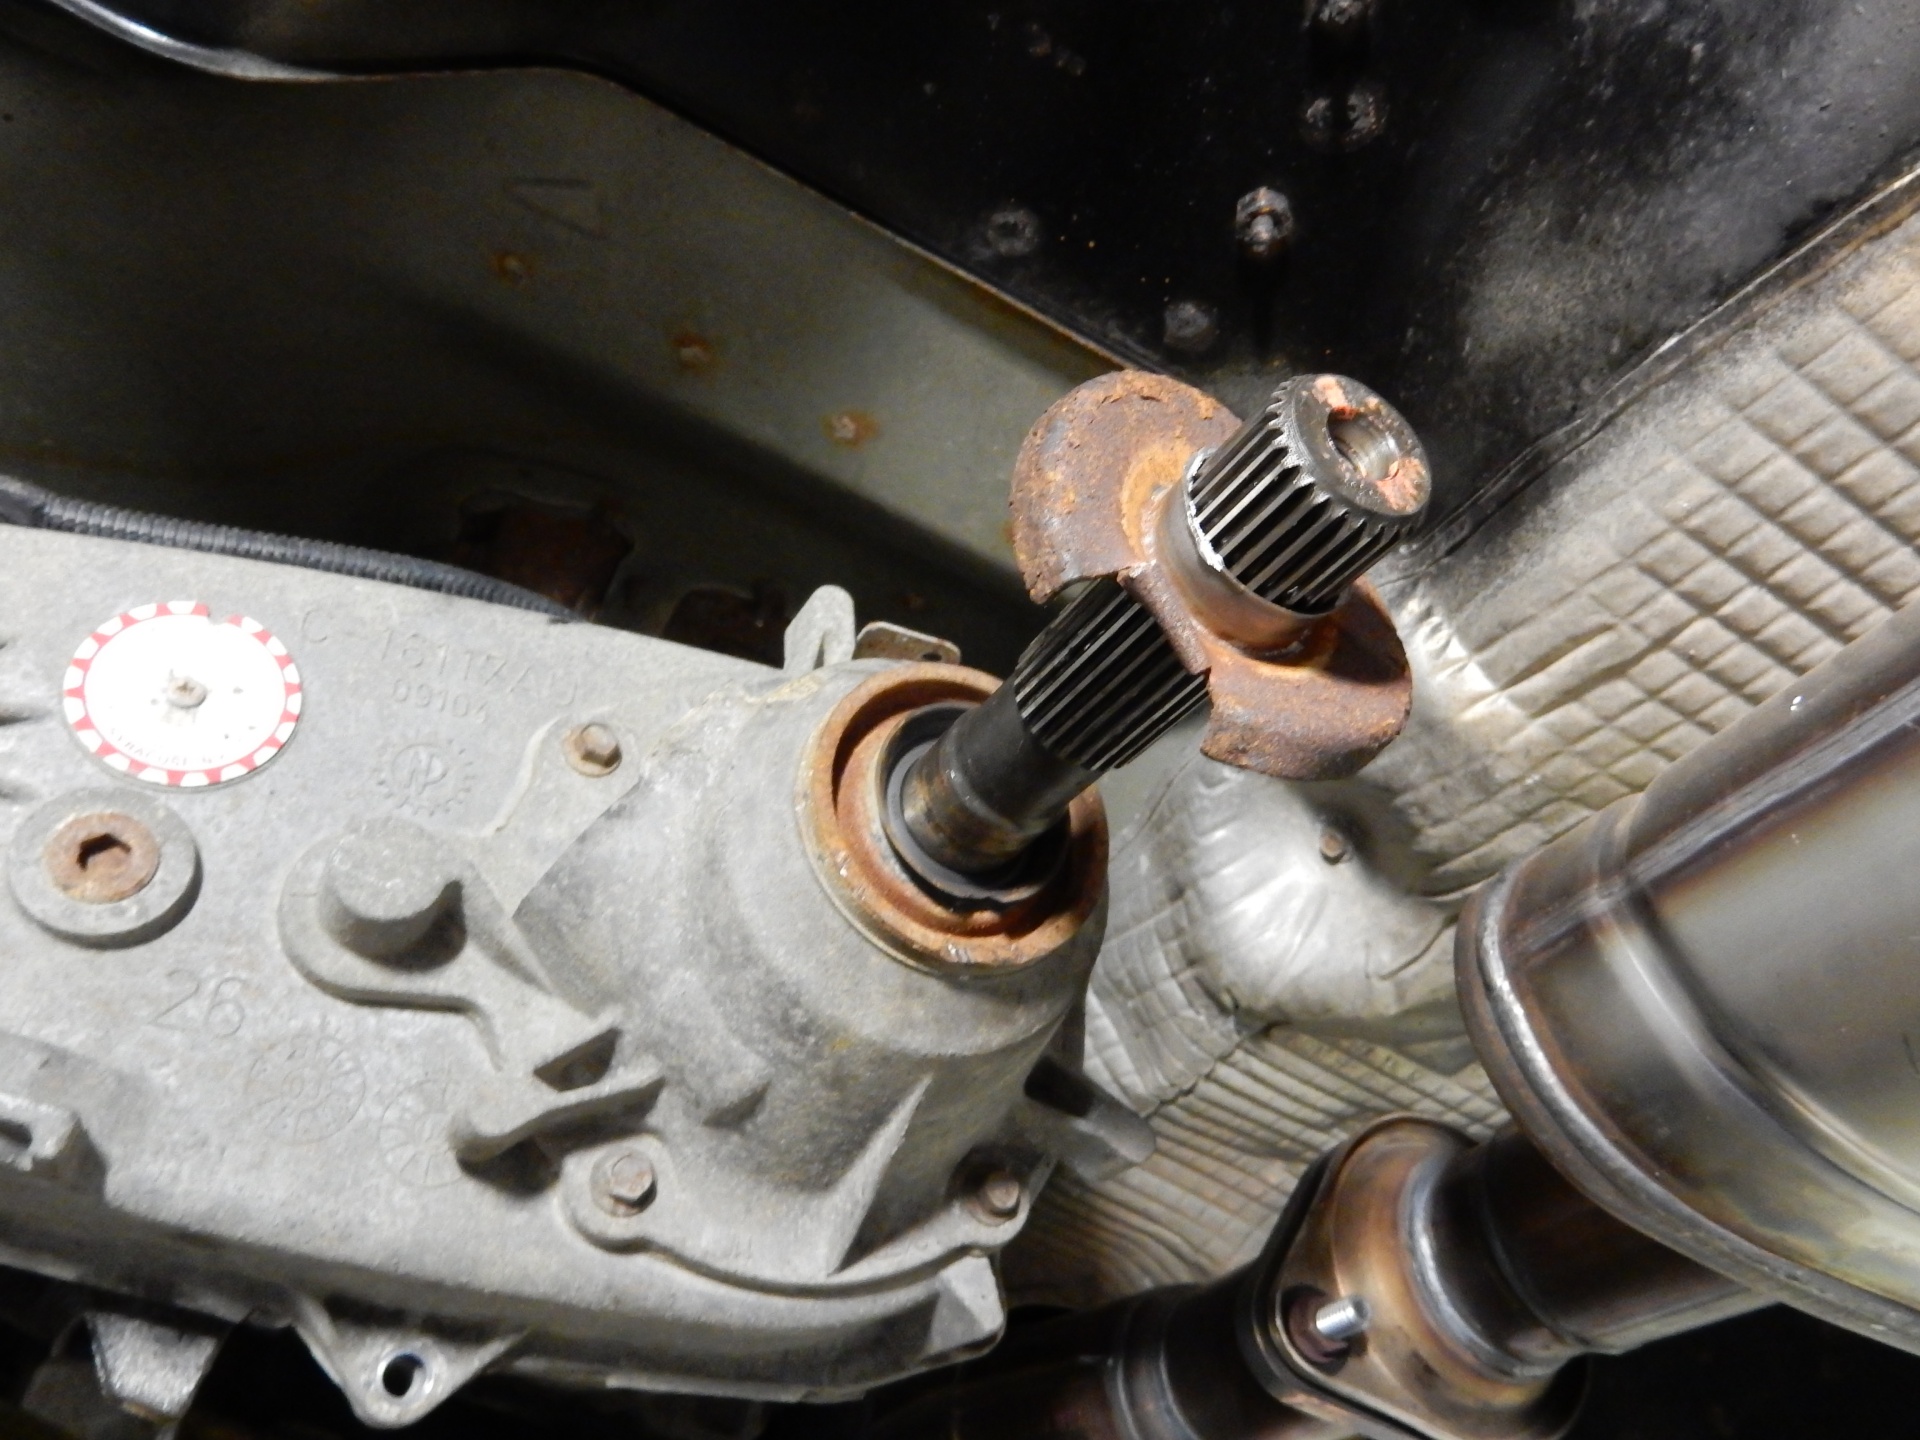
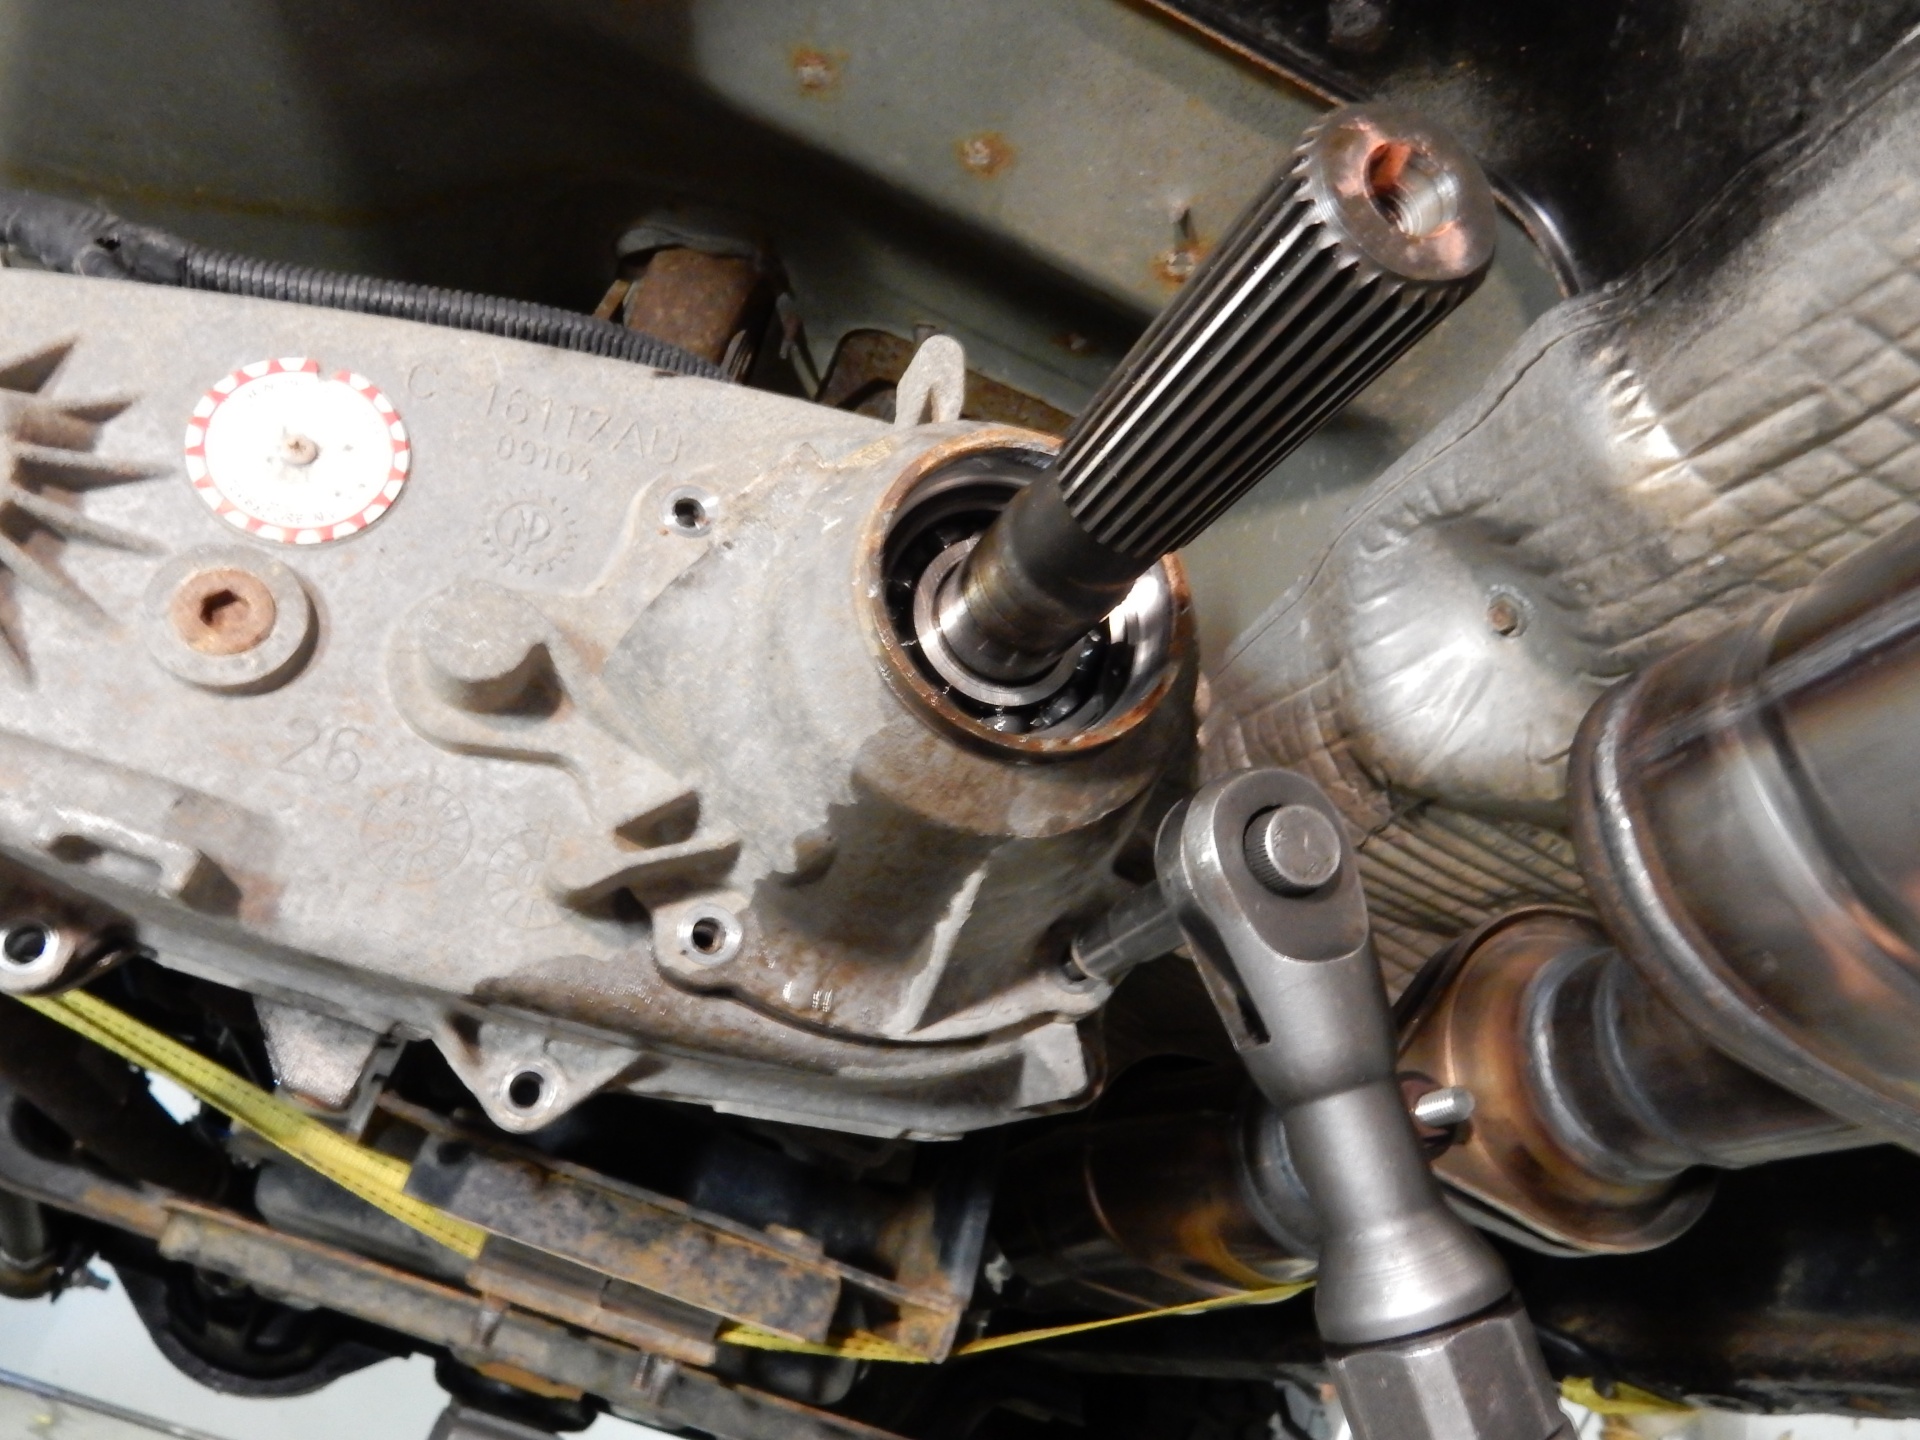
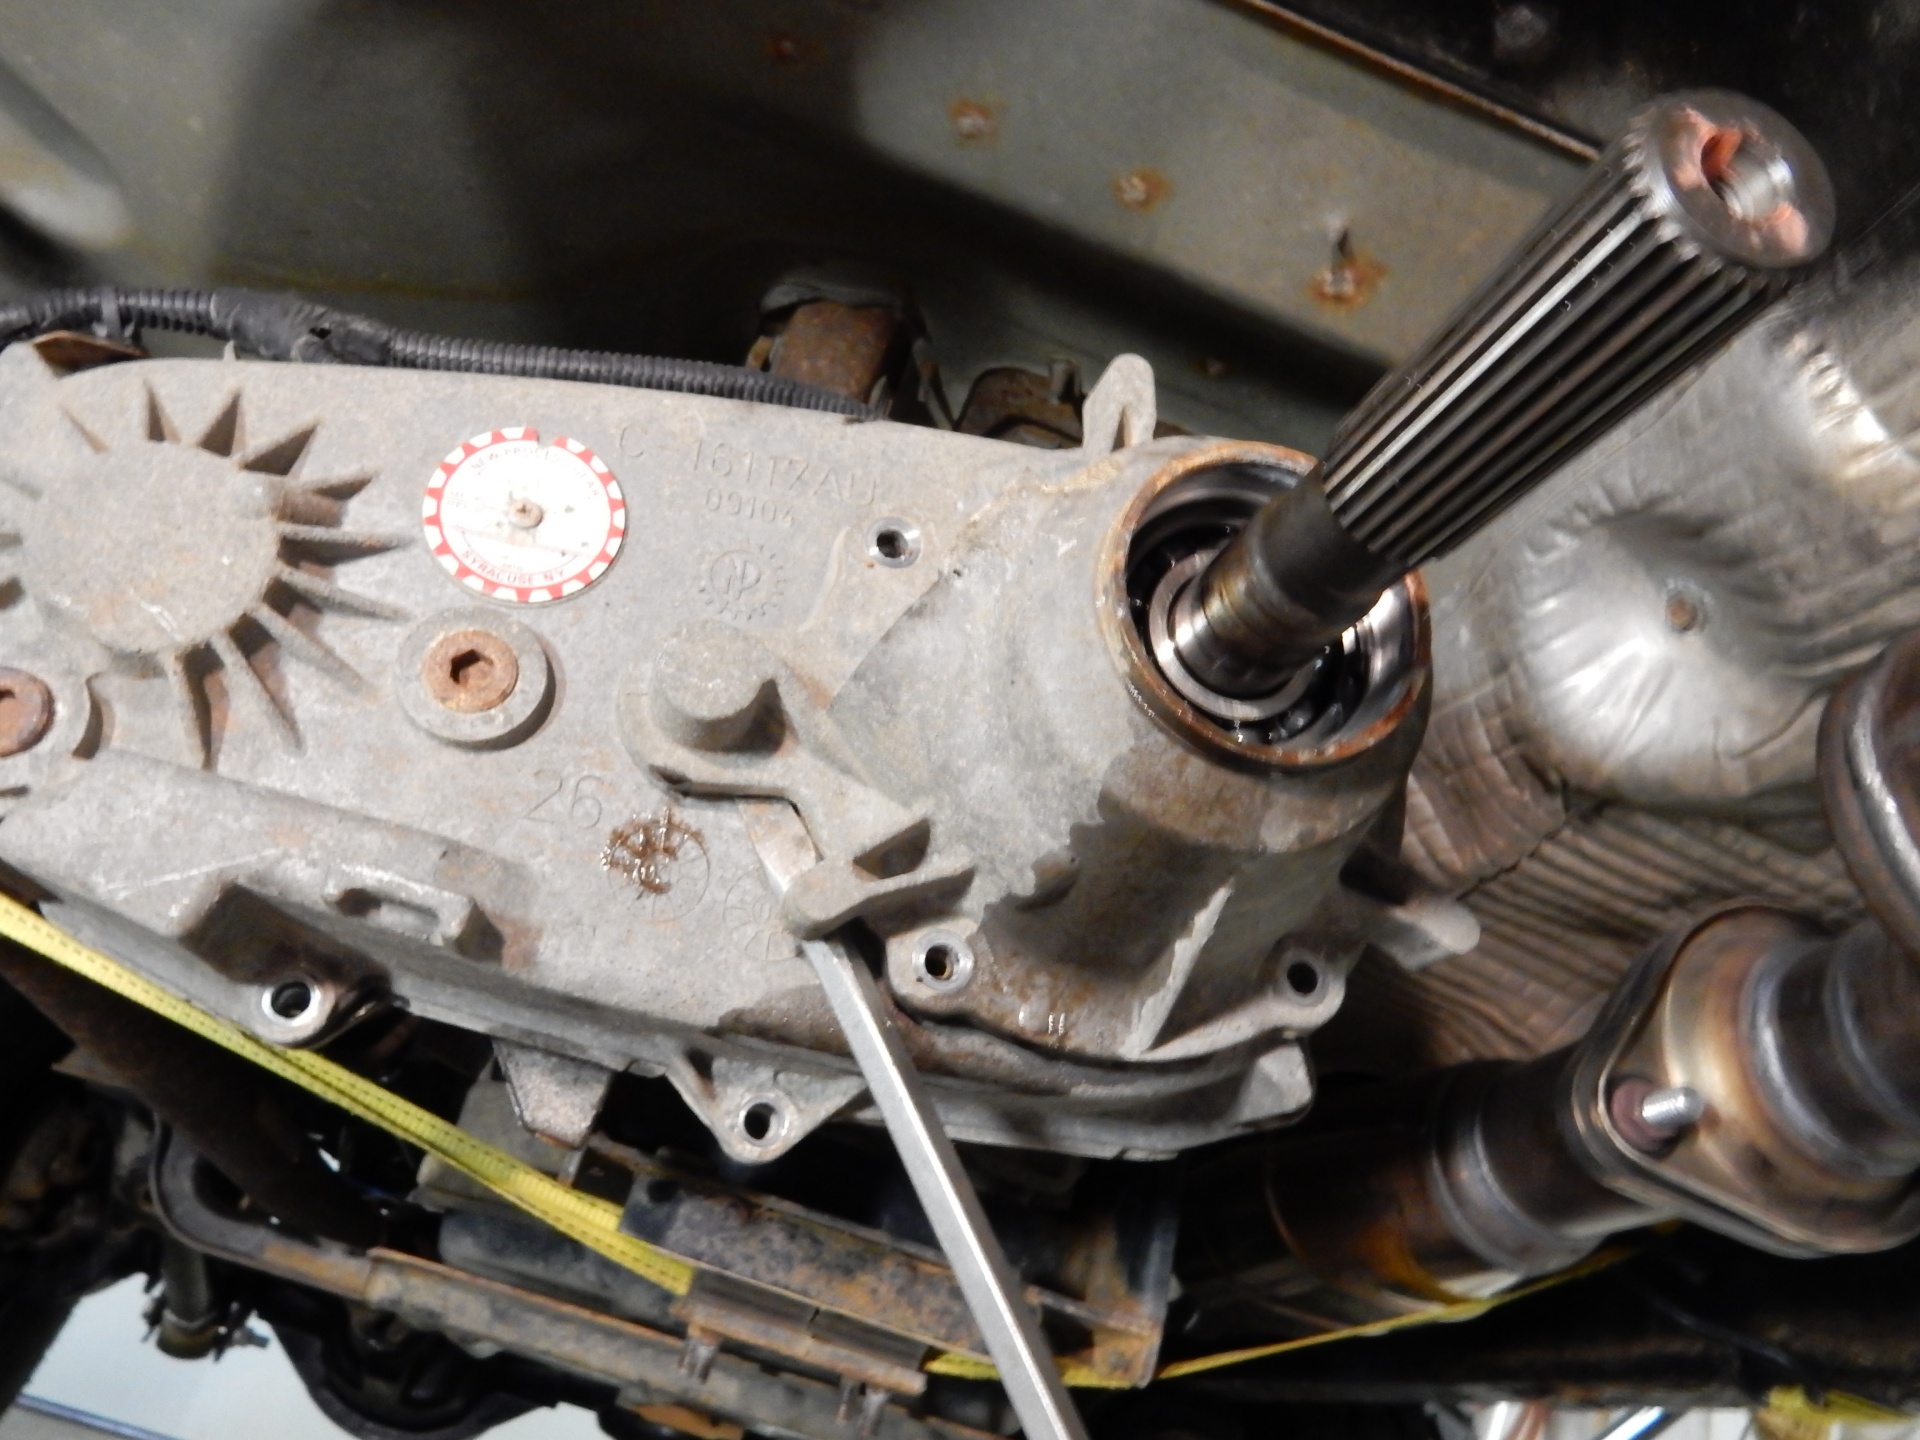
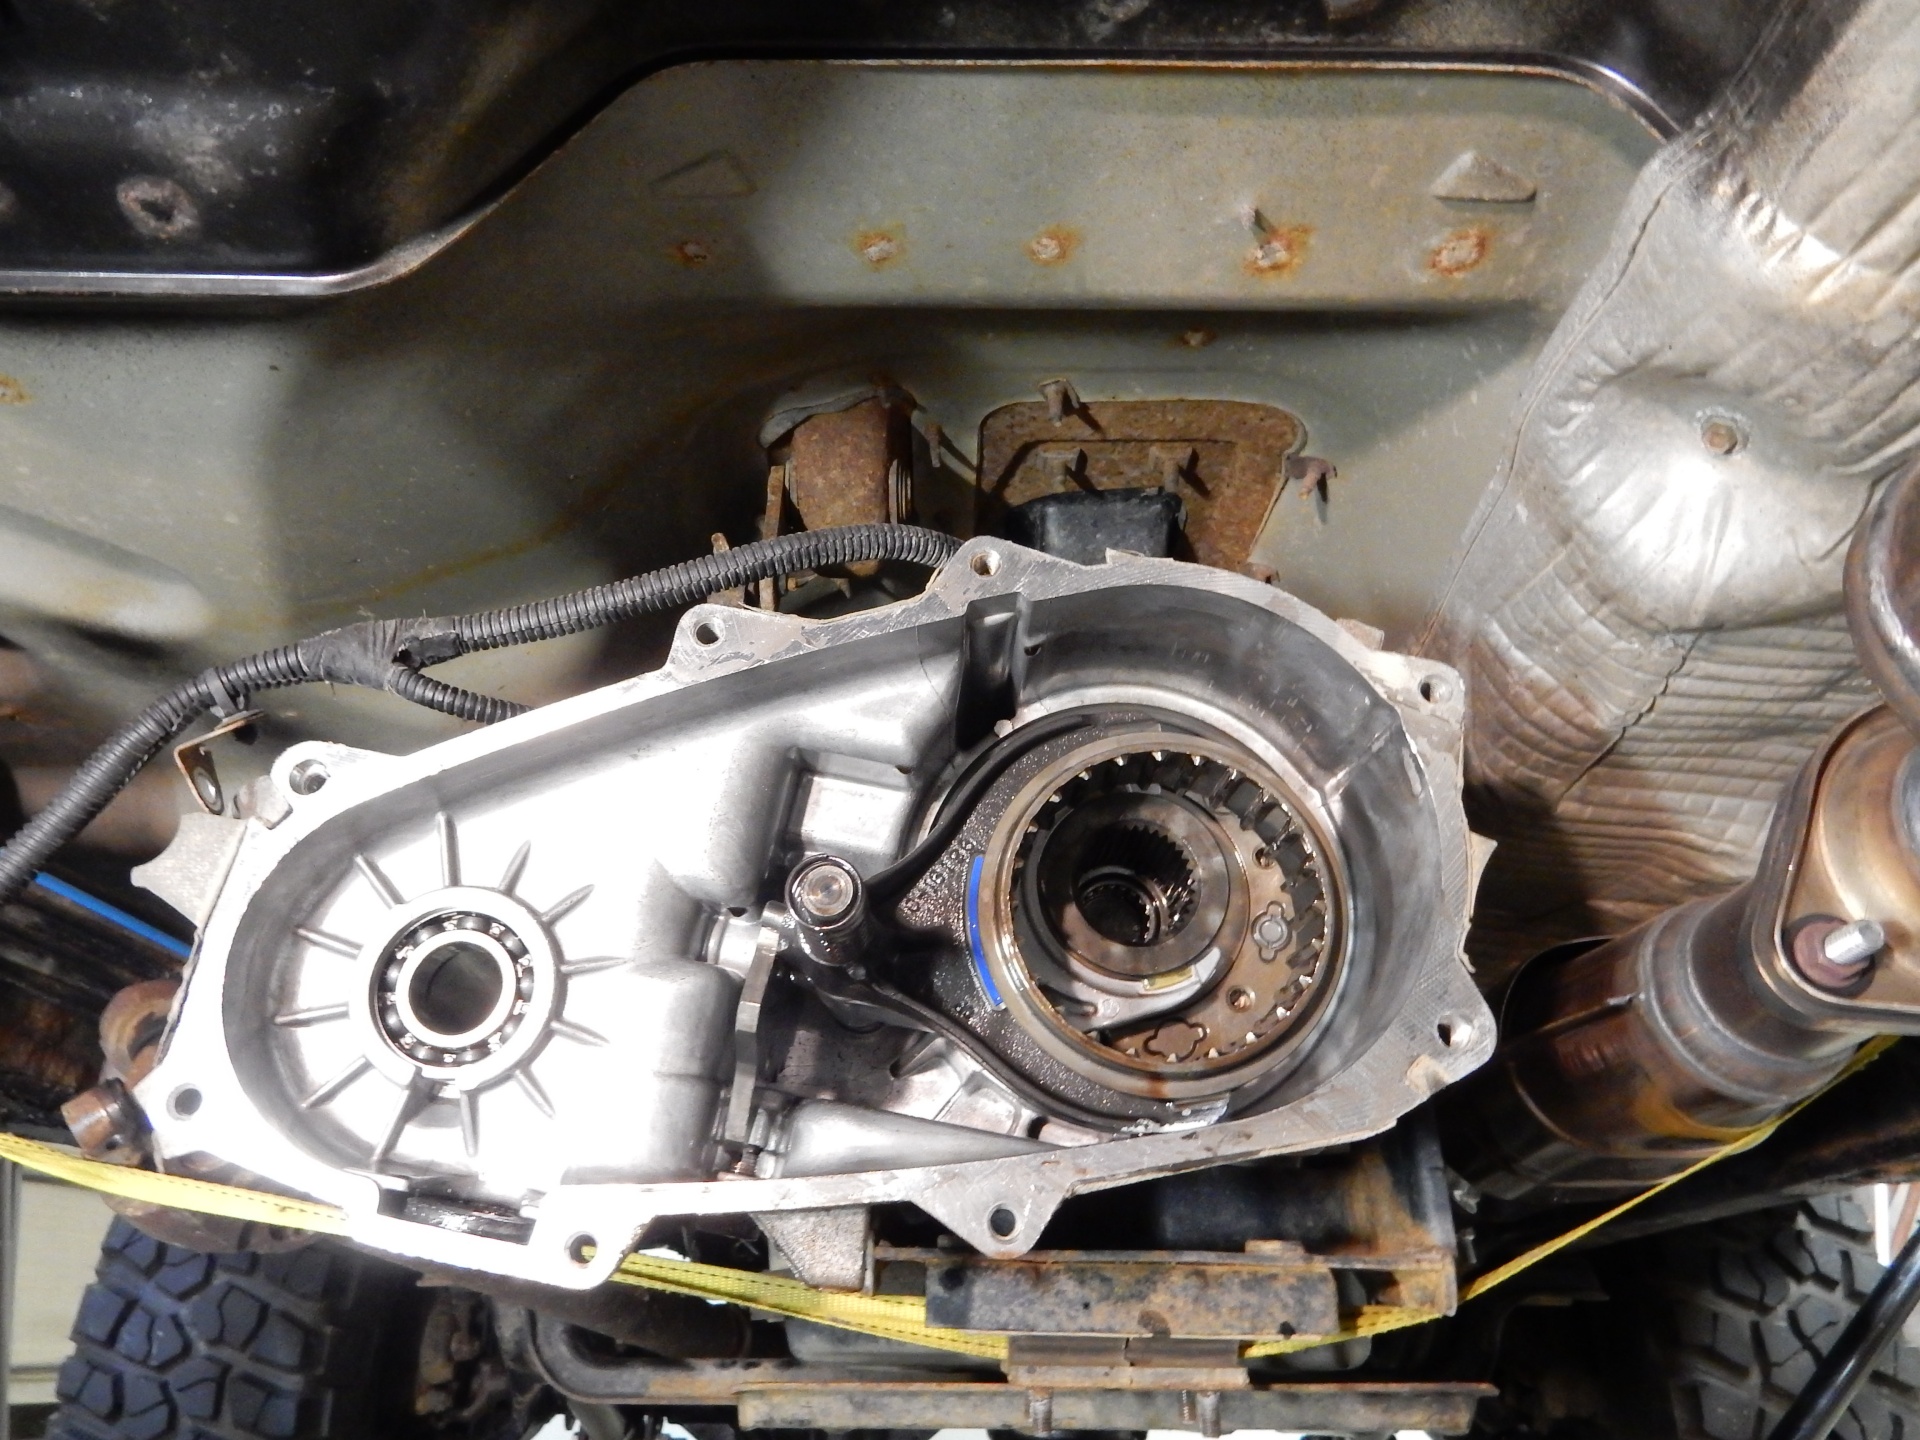
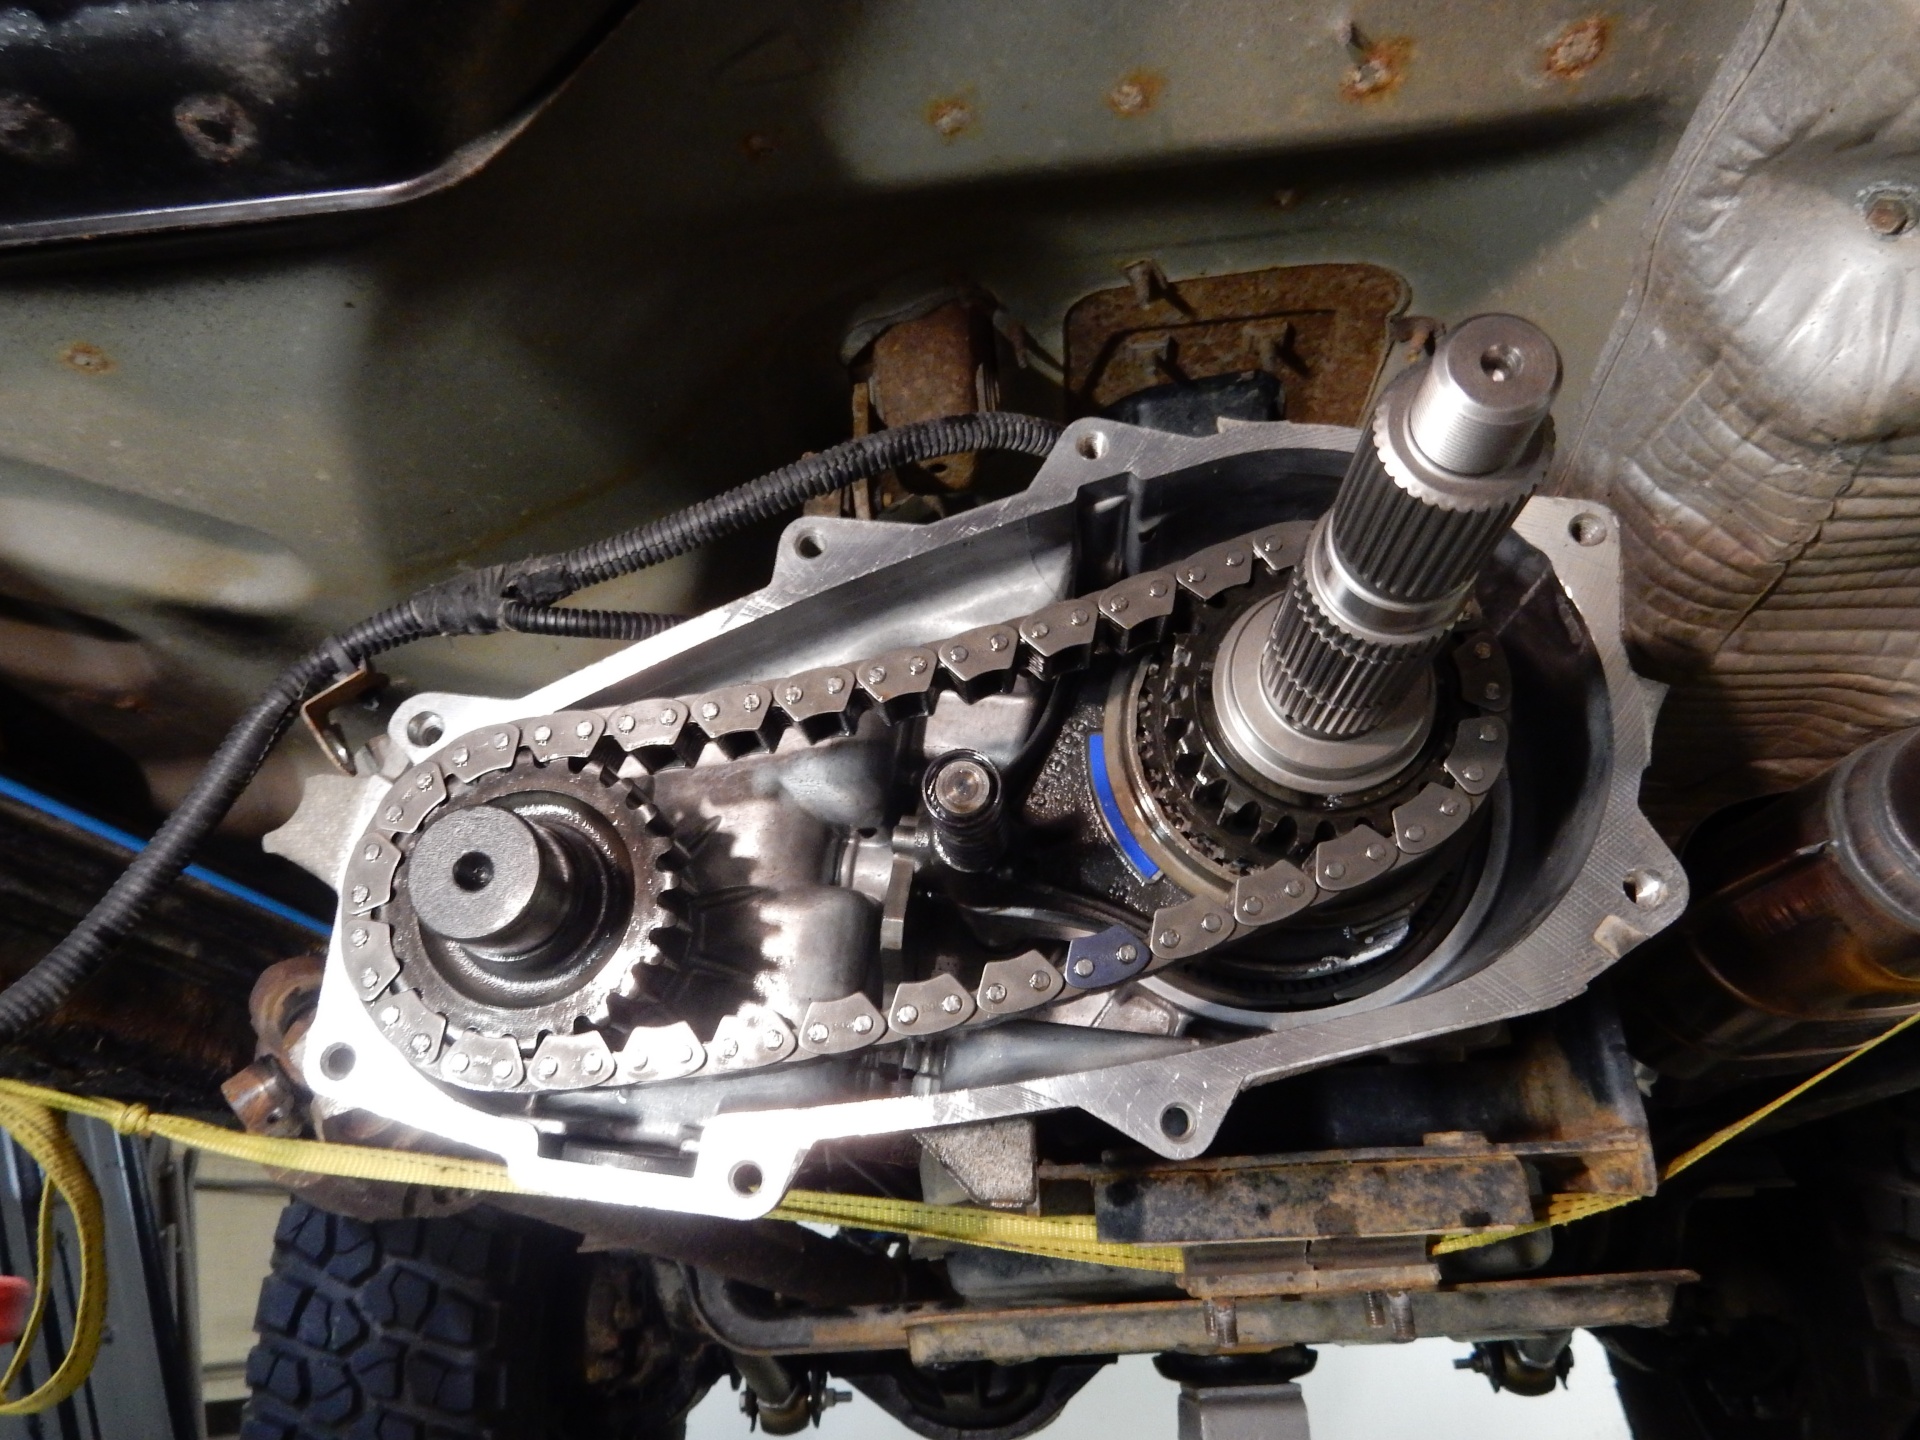
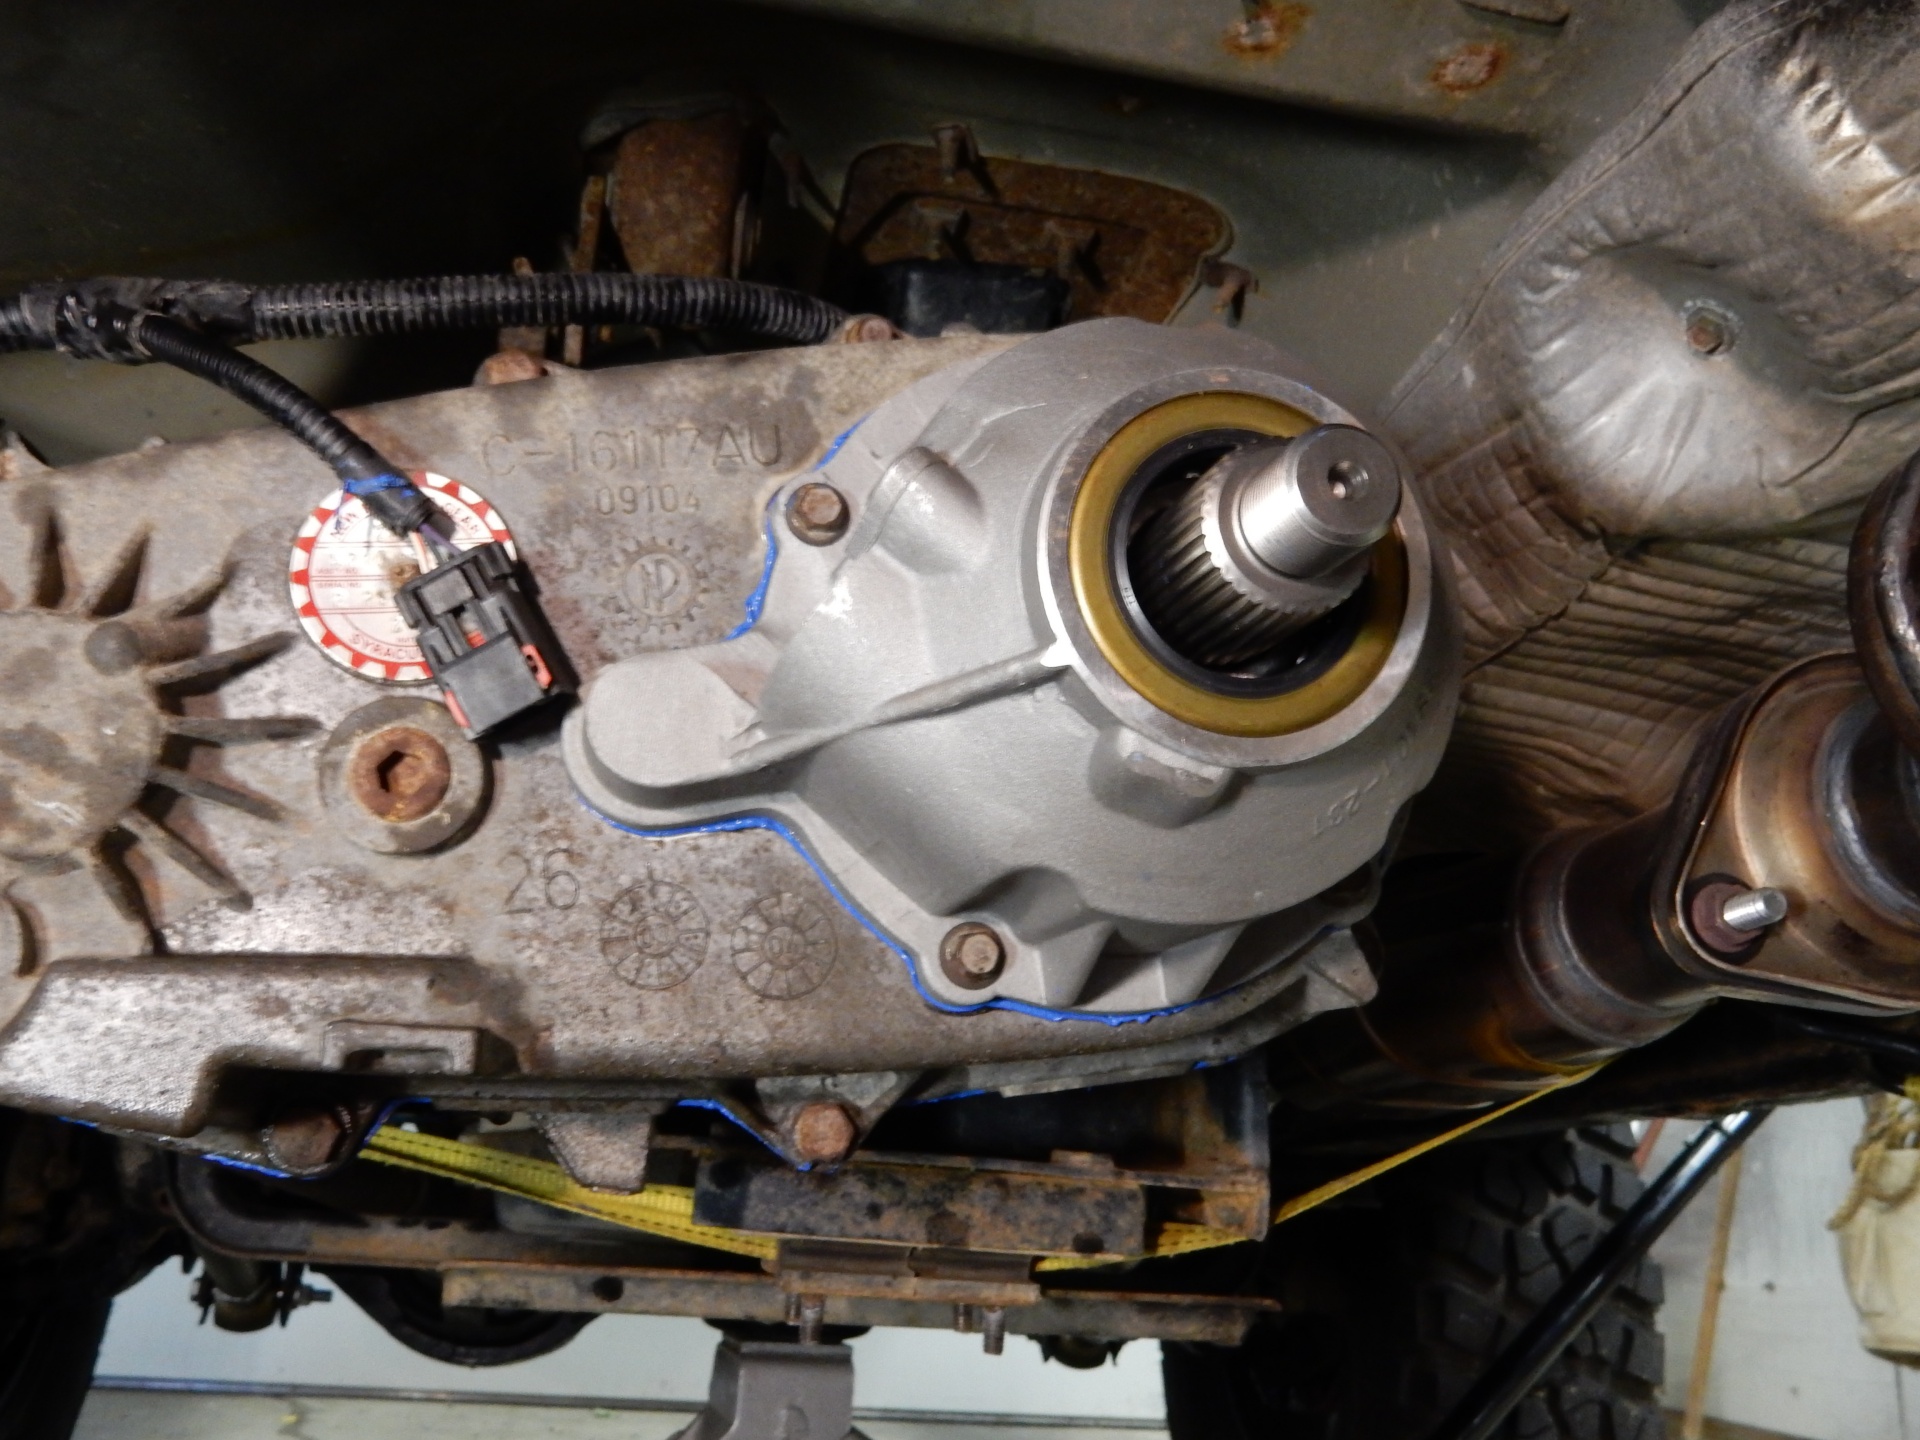
3. Open the Case:
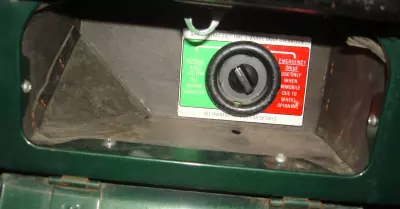
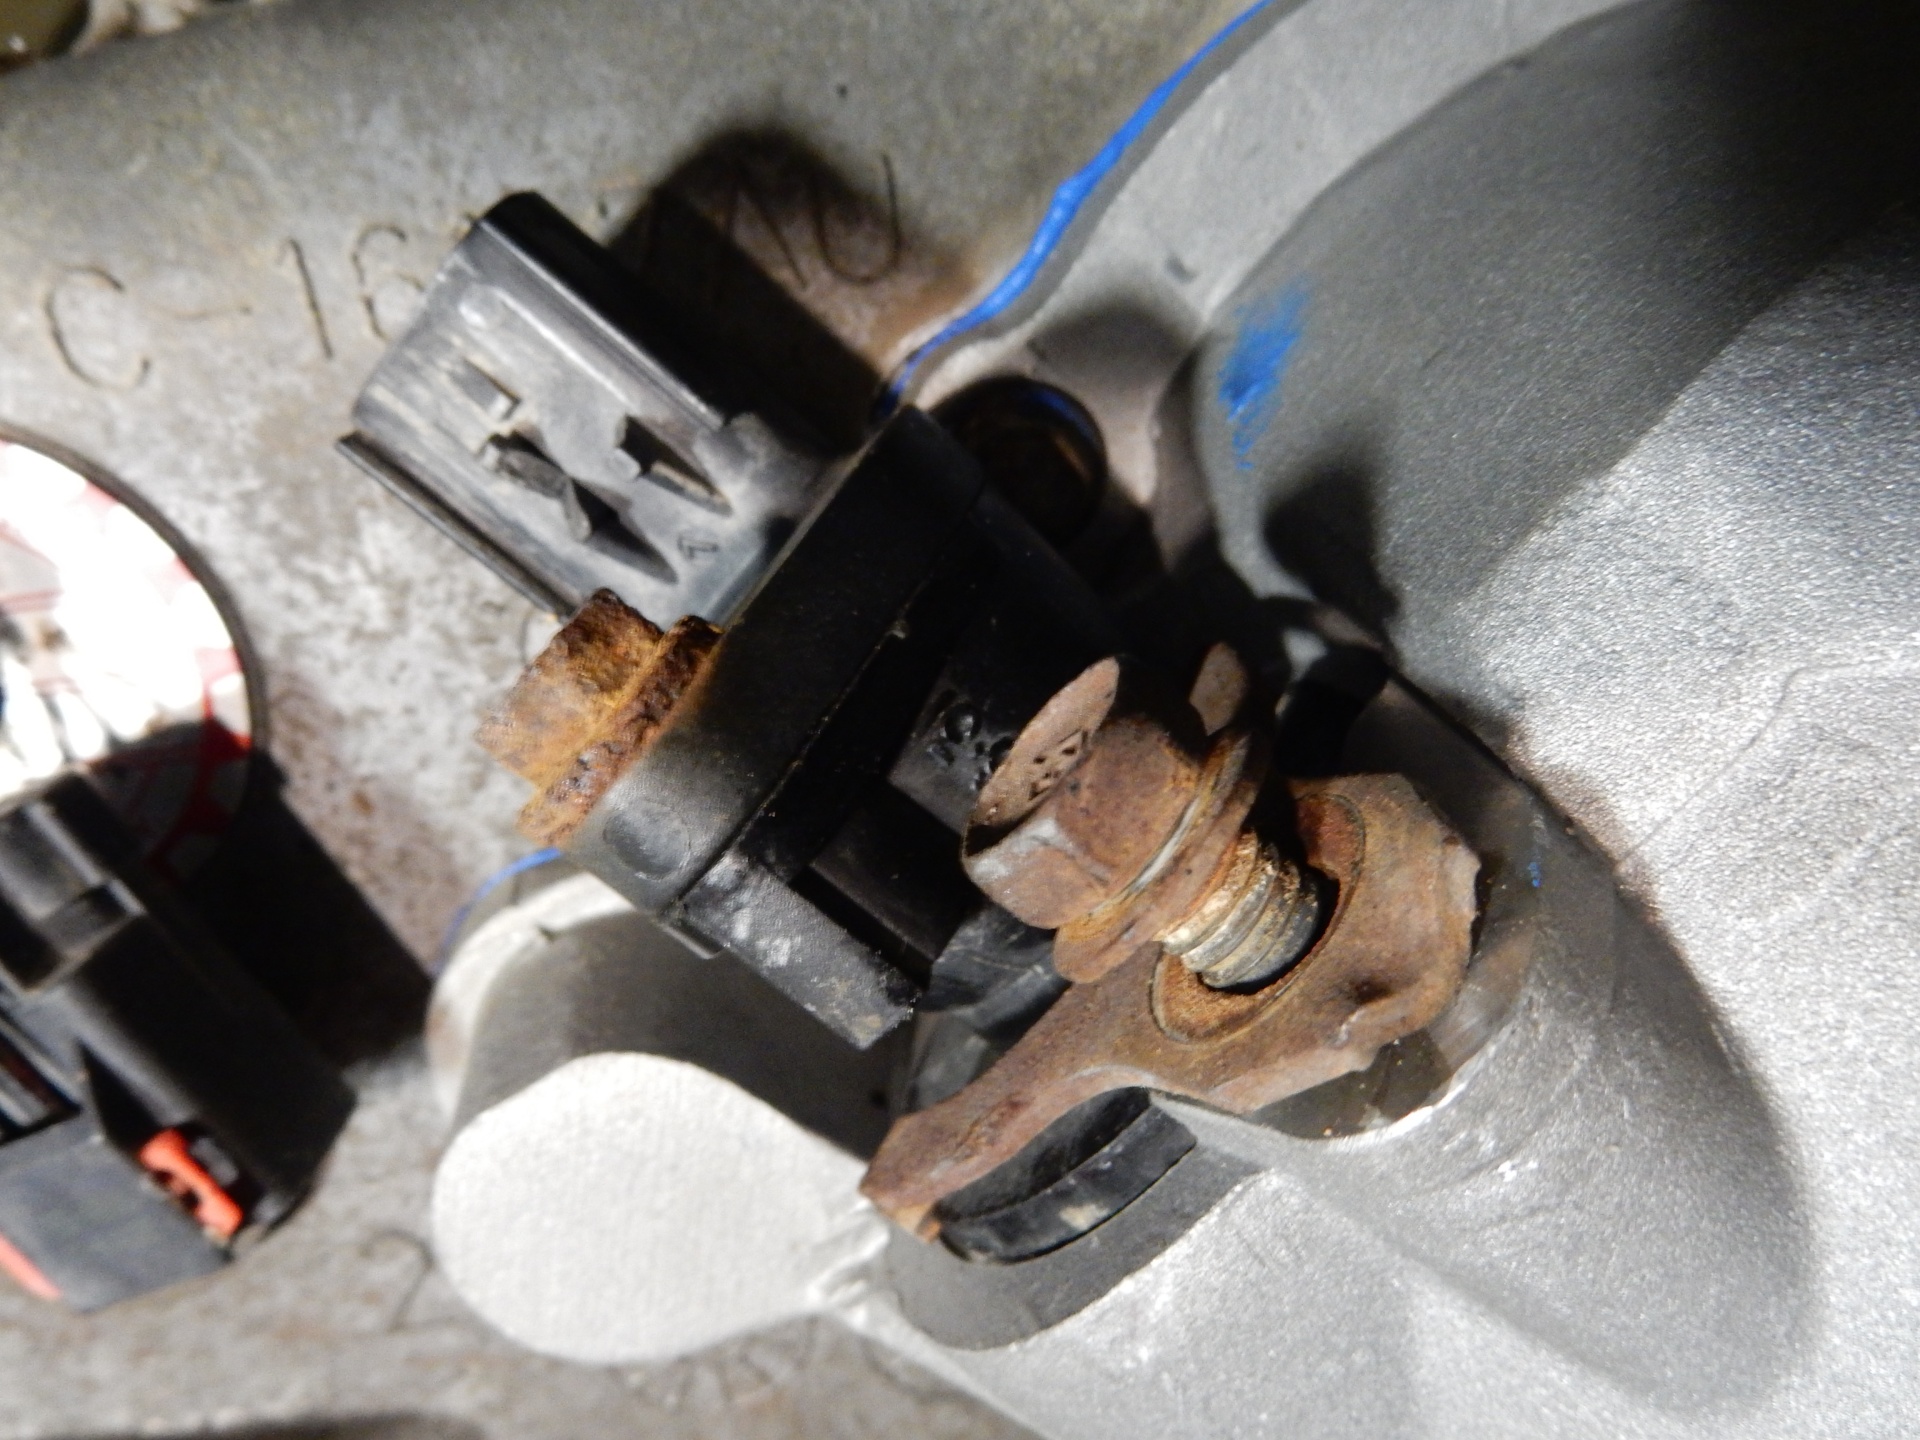
Unplug and remove the speedometer gear from the rear housing, set it aside. Remove the front drive yoke from the lower shaft. Begin removing the transfer case bolts that split the case in half. Pry out the rear dust shield and bearing seal.
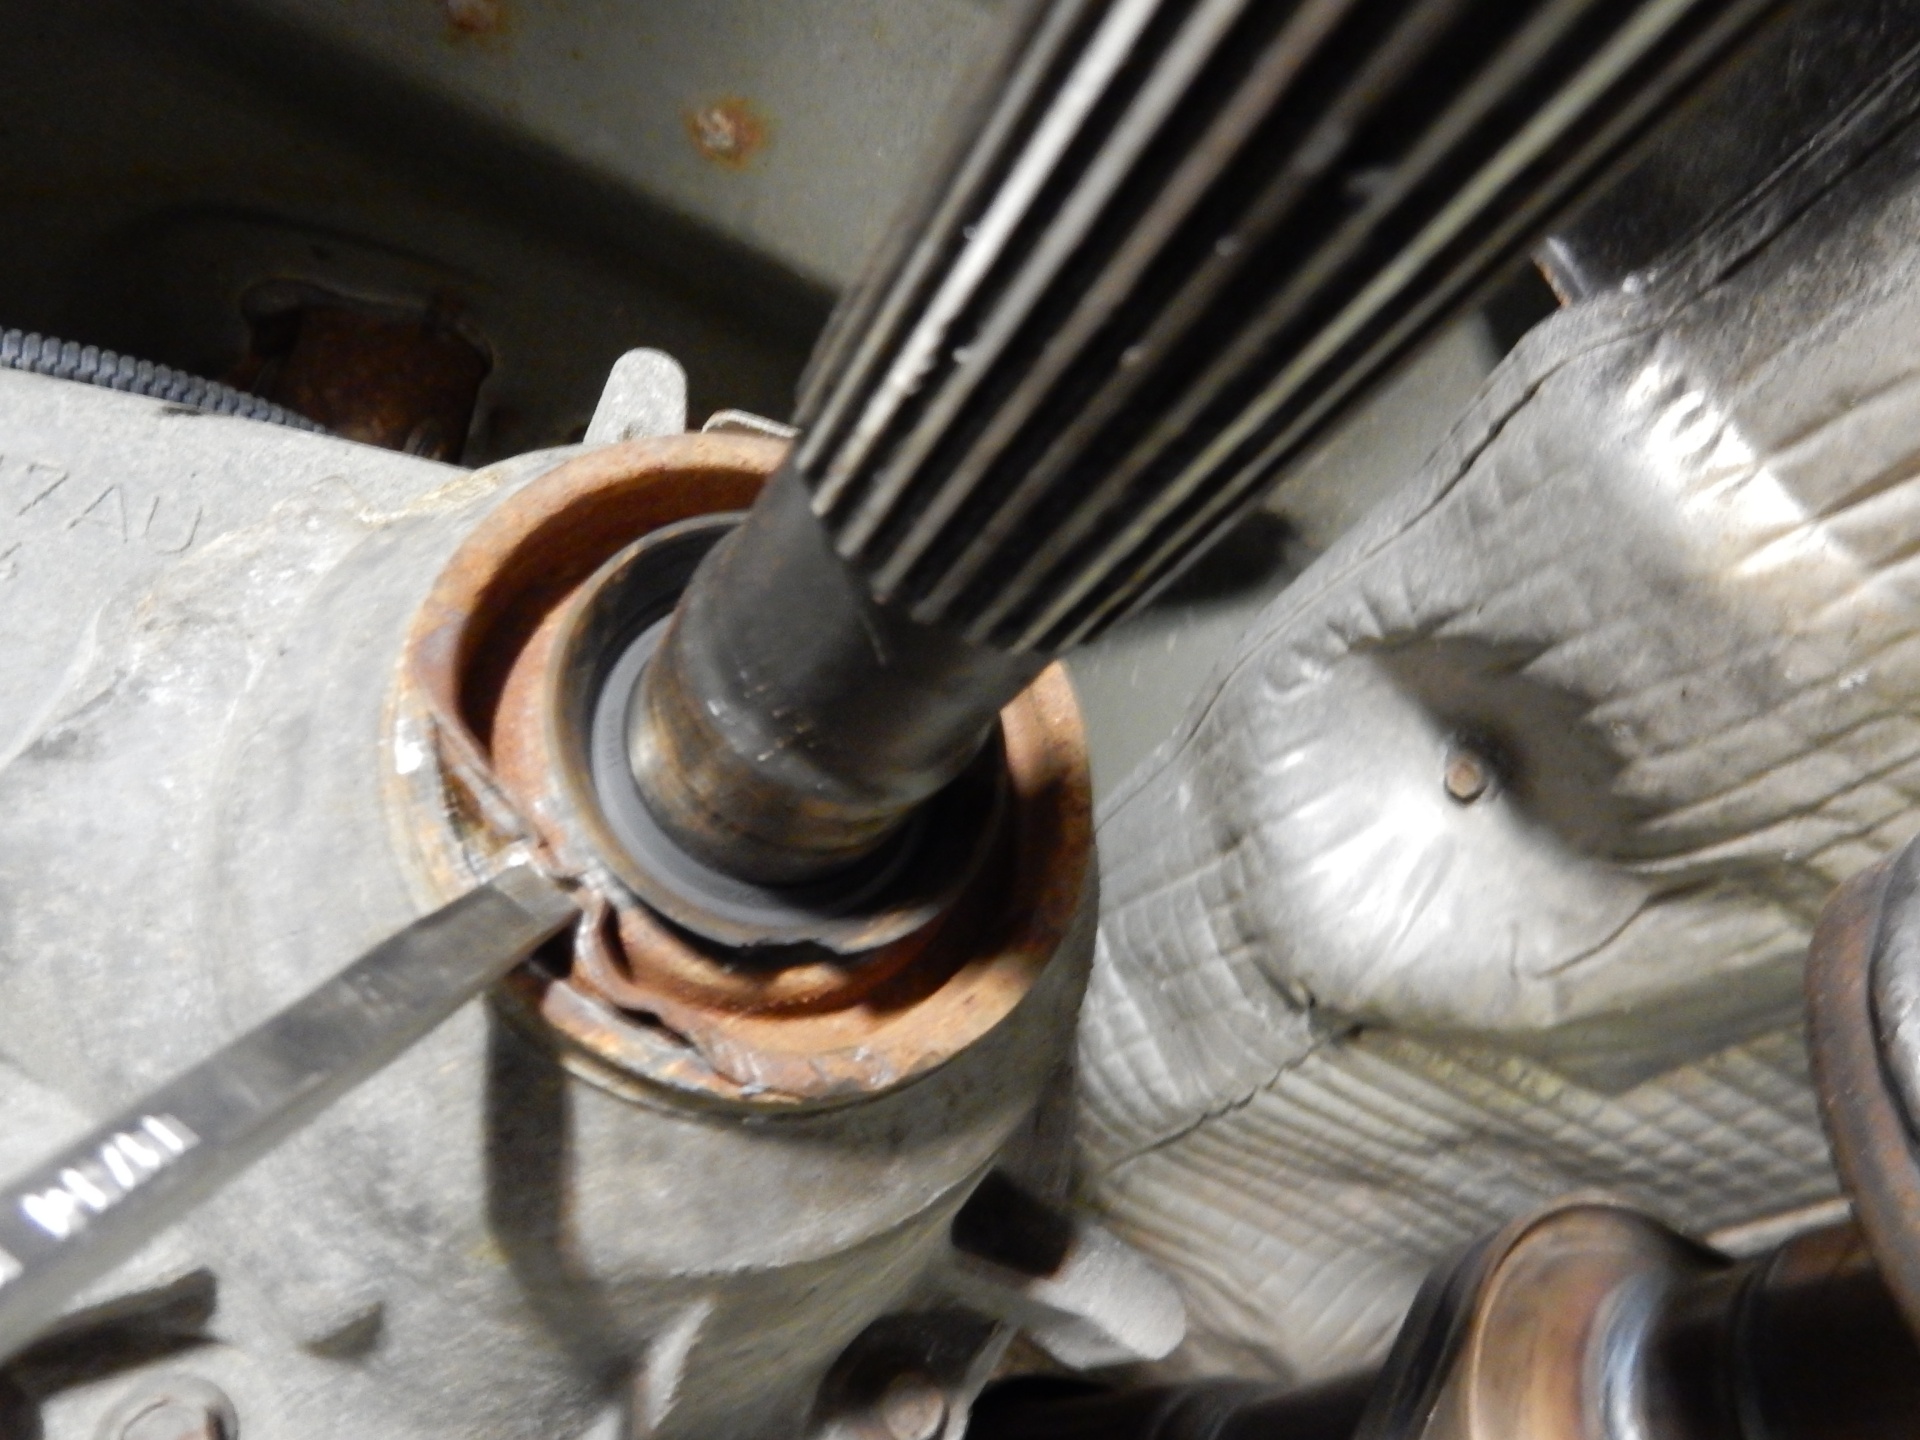
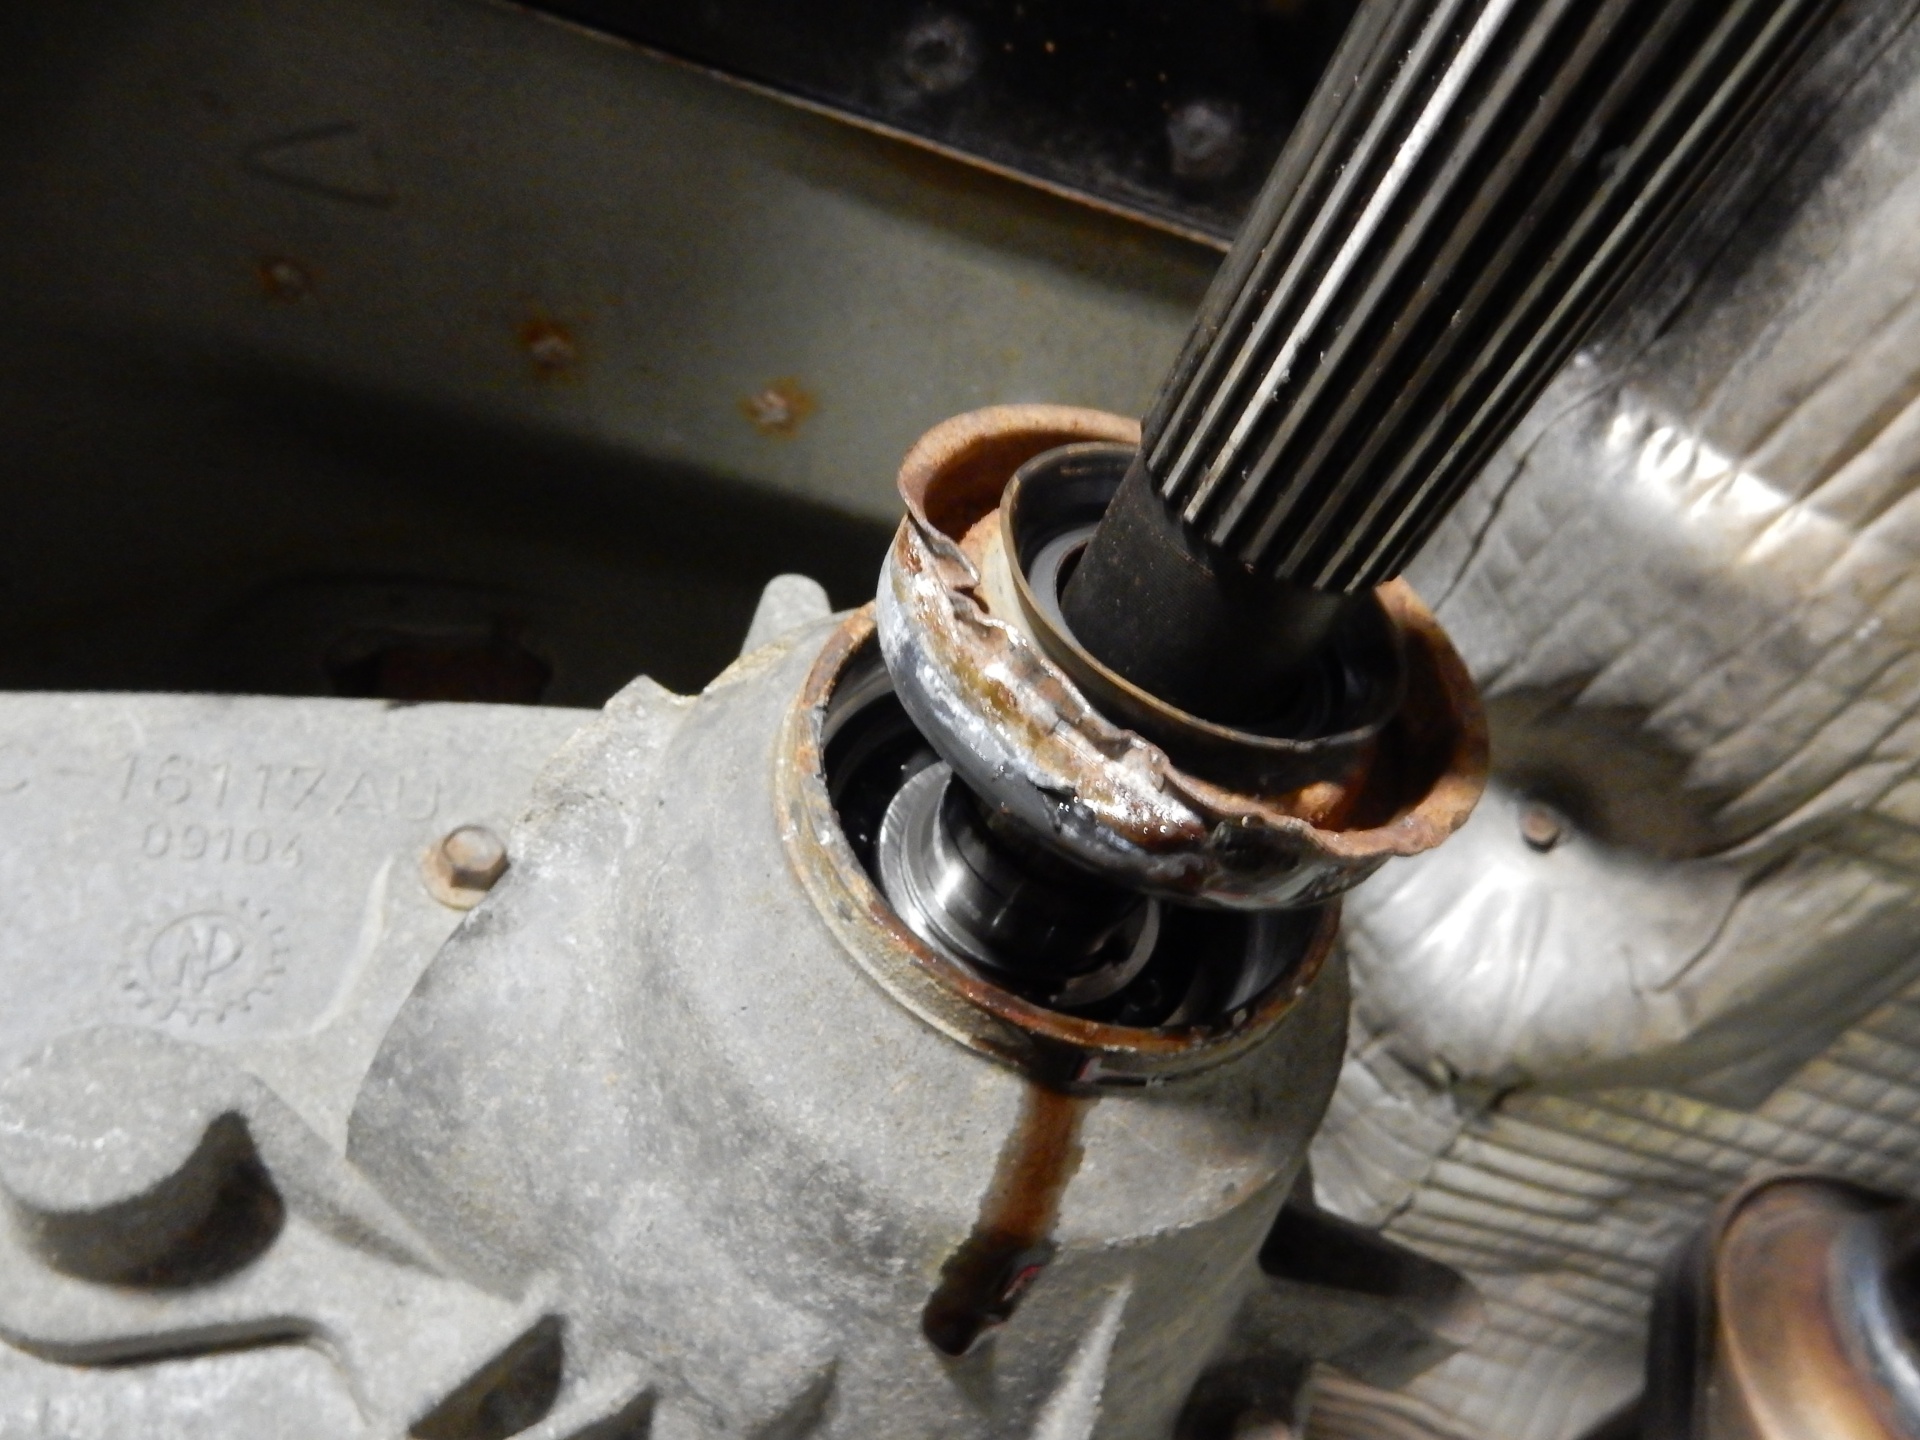
Remove the snap ring at the rear bearing. Pry the rear housing from the main case and remove it. Remove the rear half of the main case. You will see the inner parts.
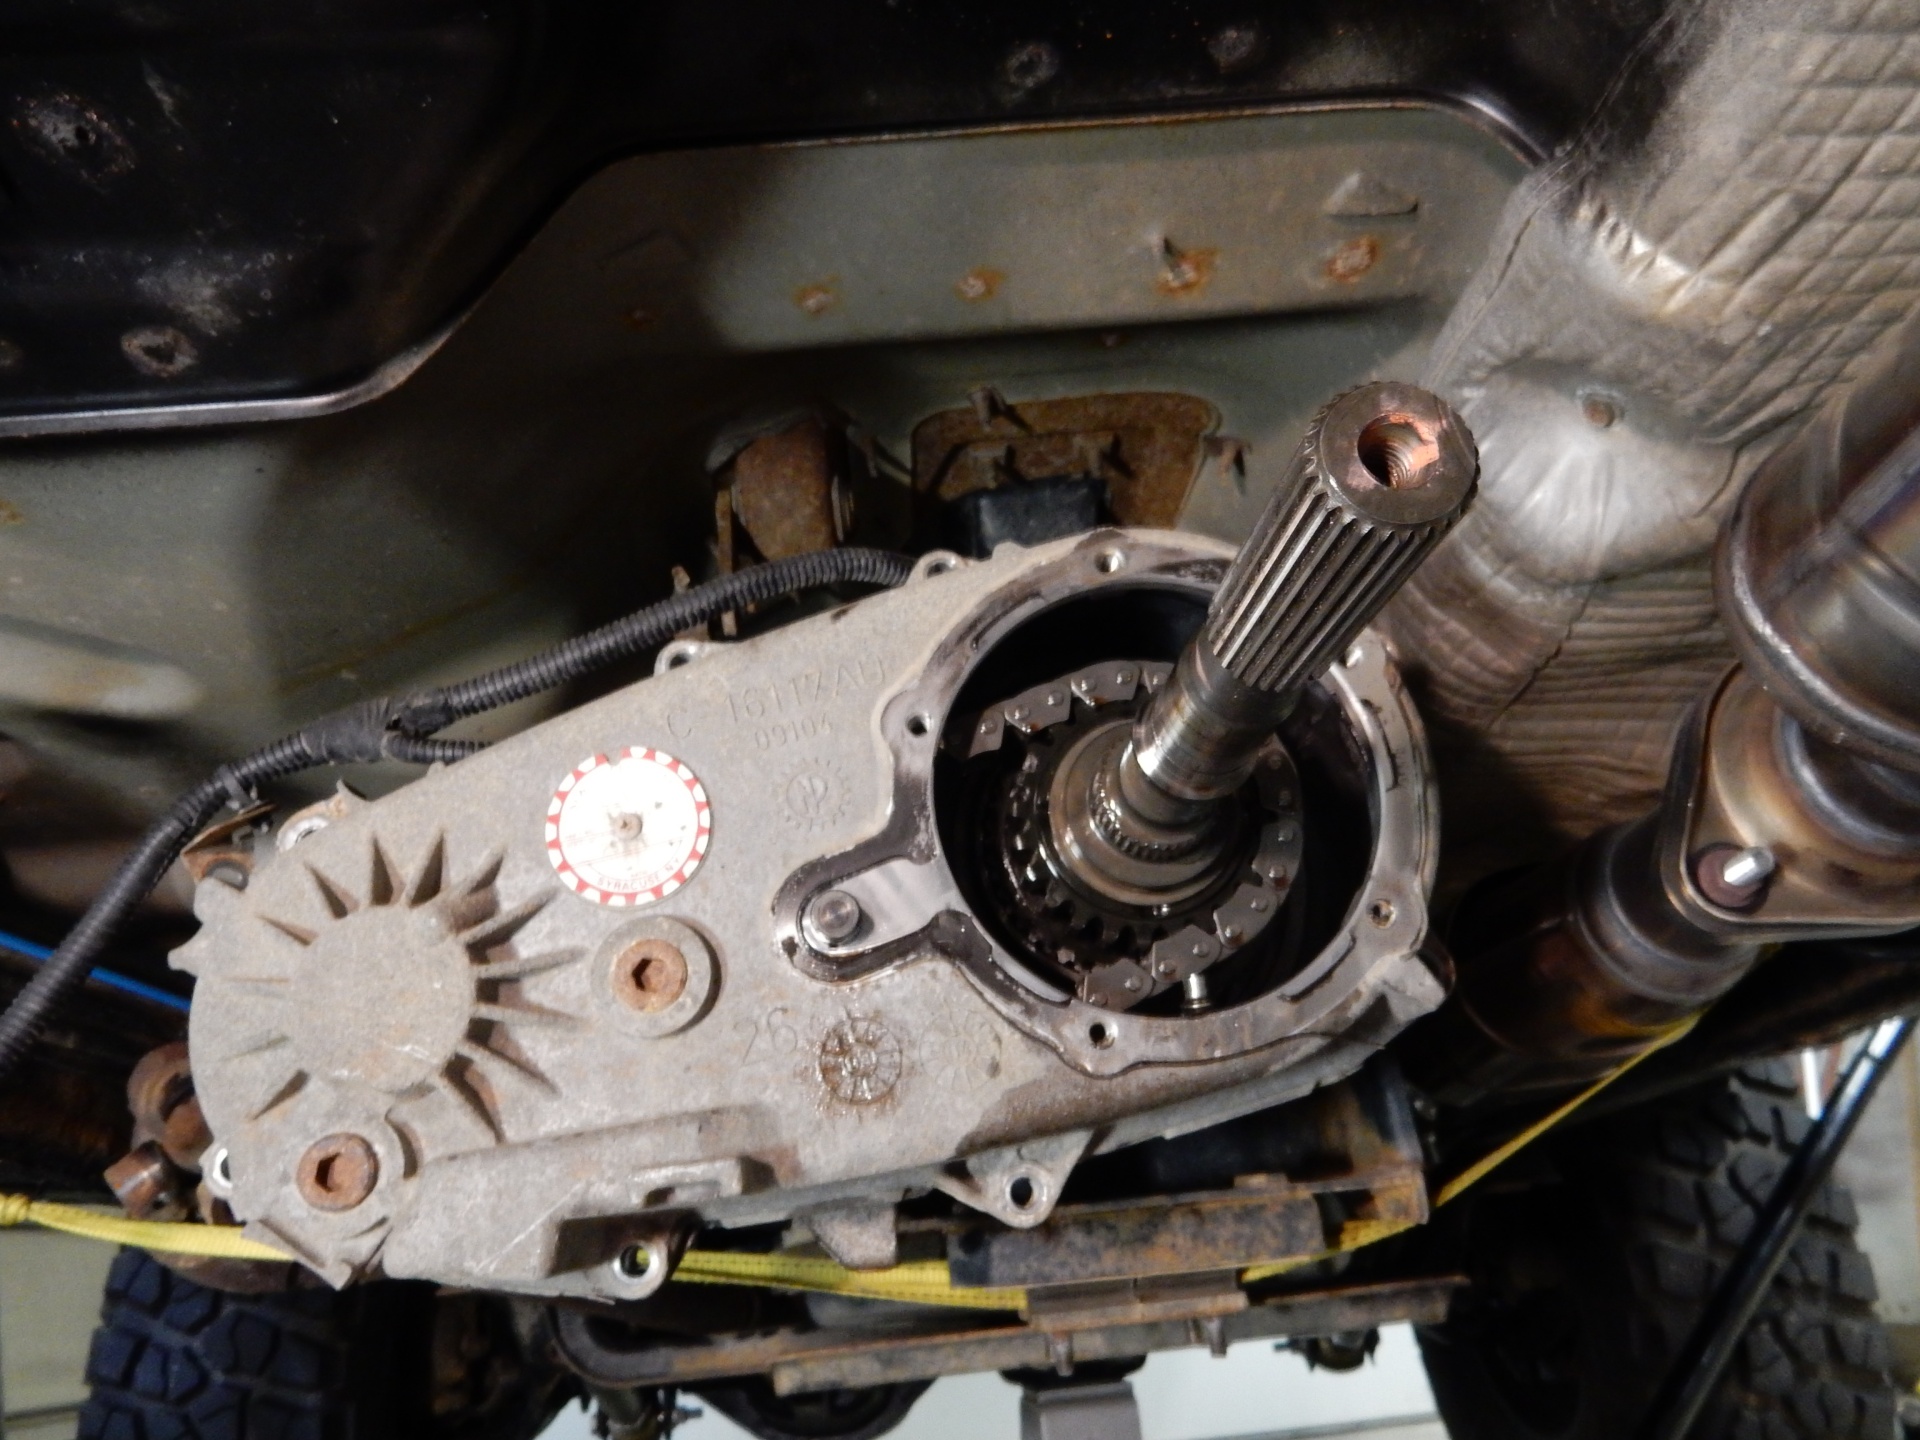
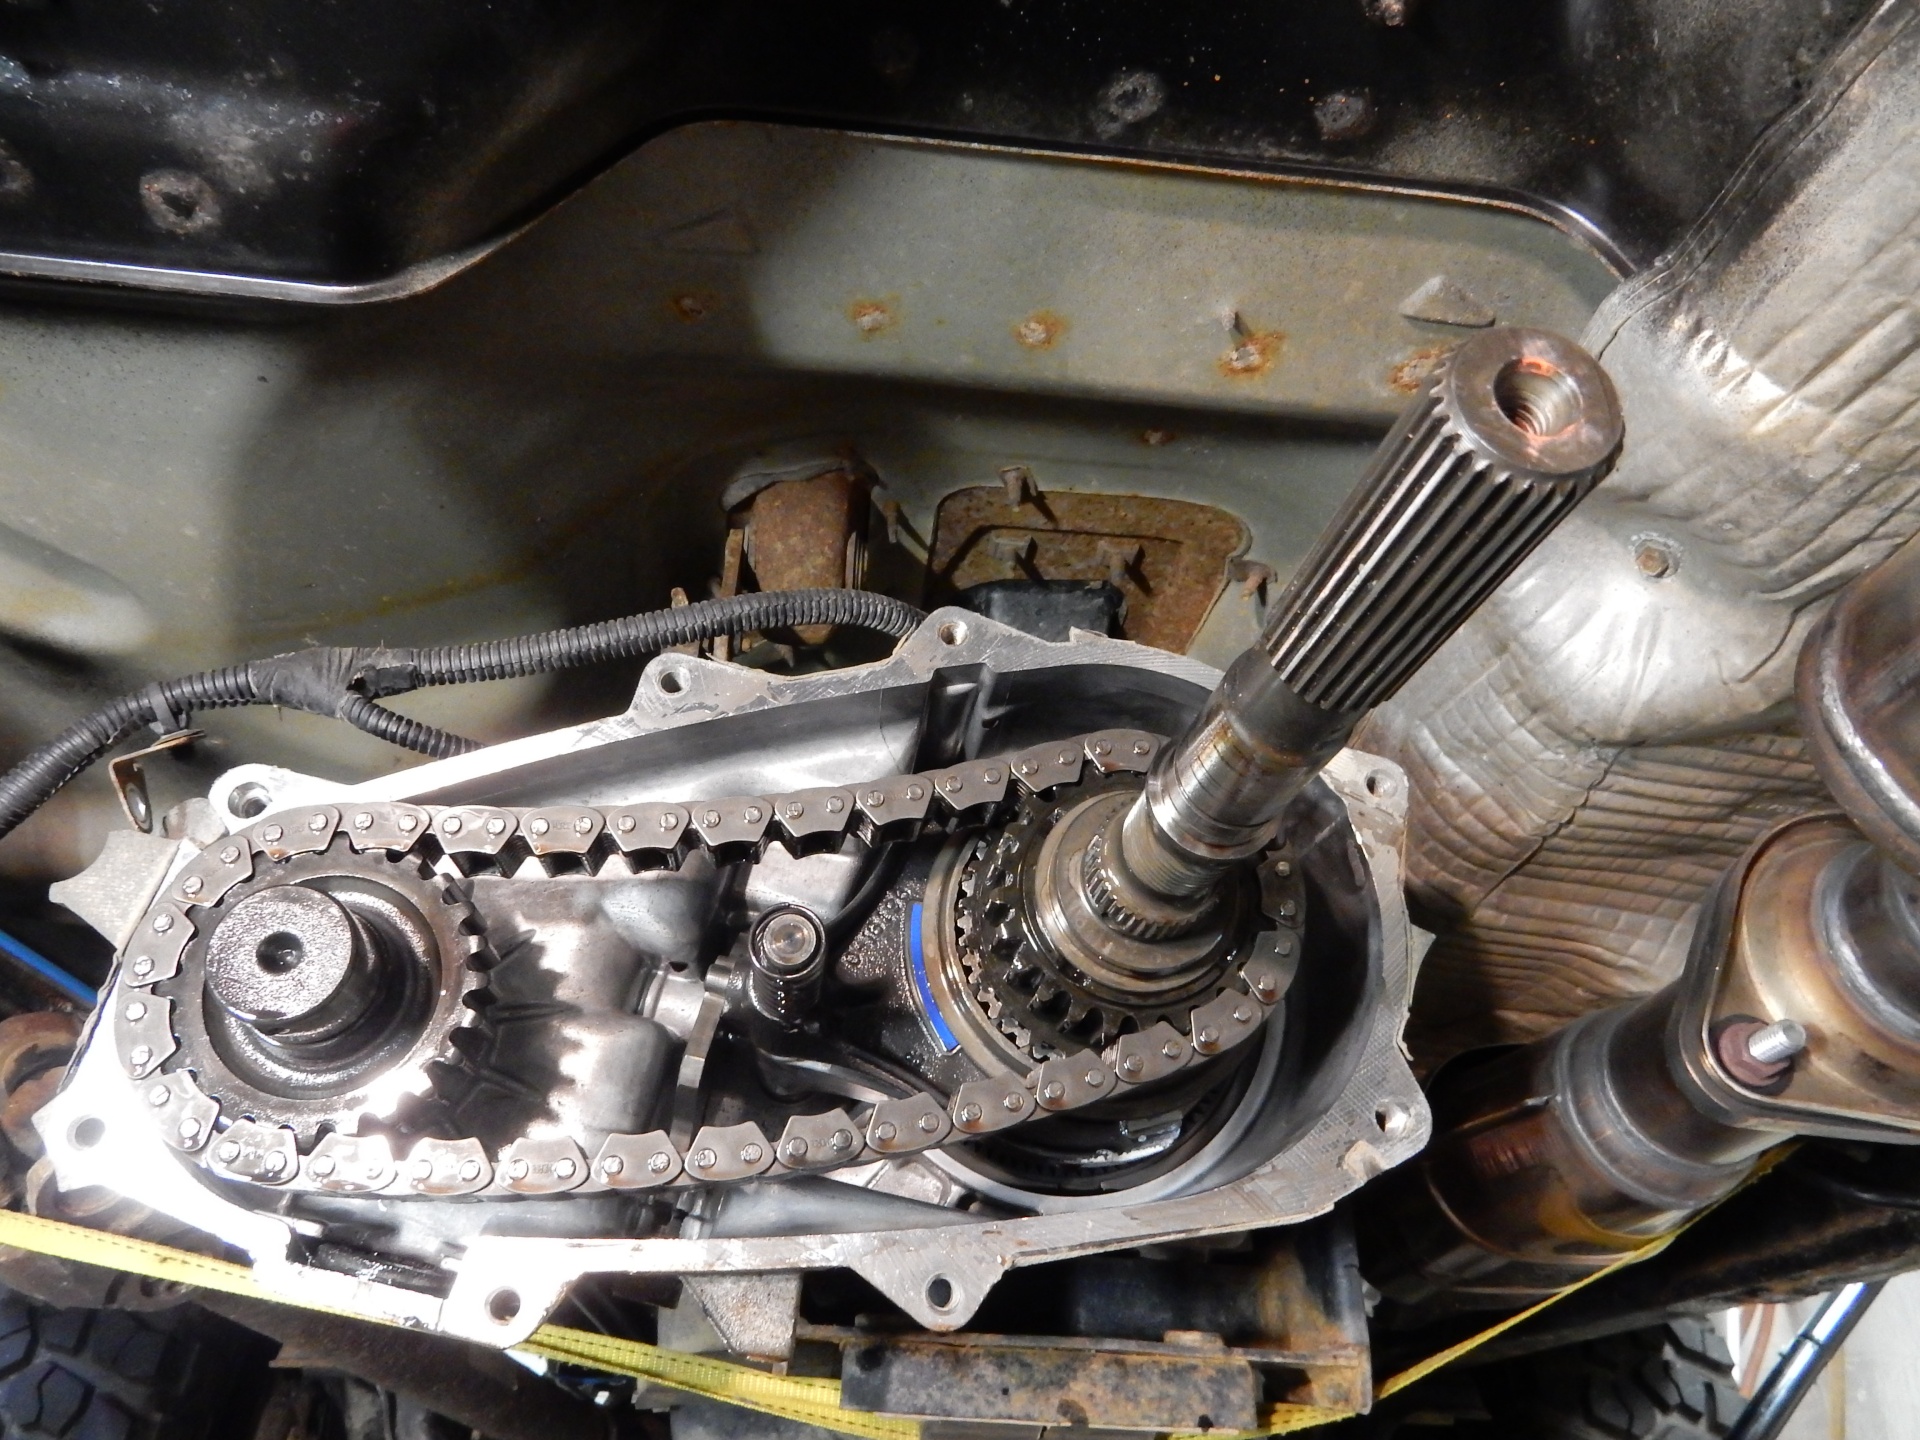
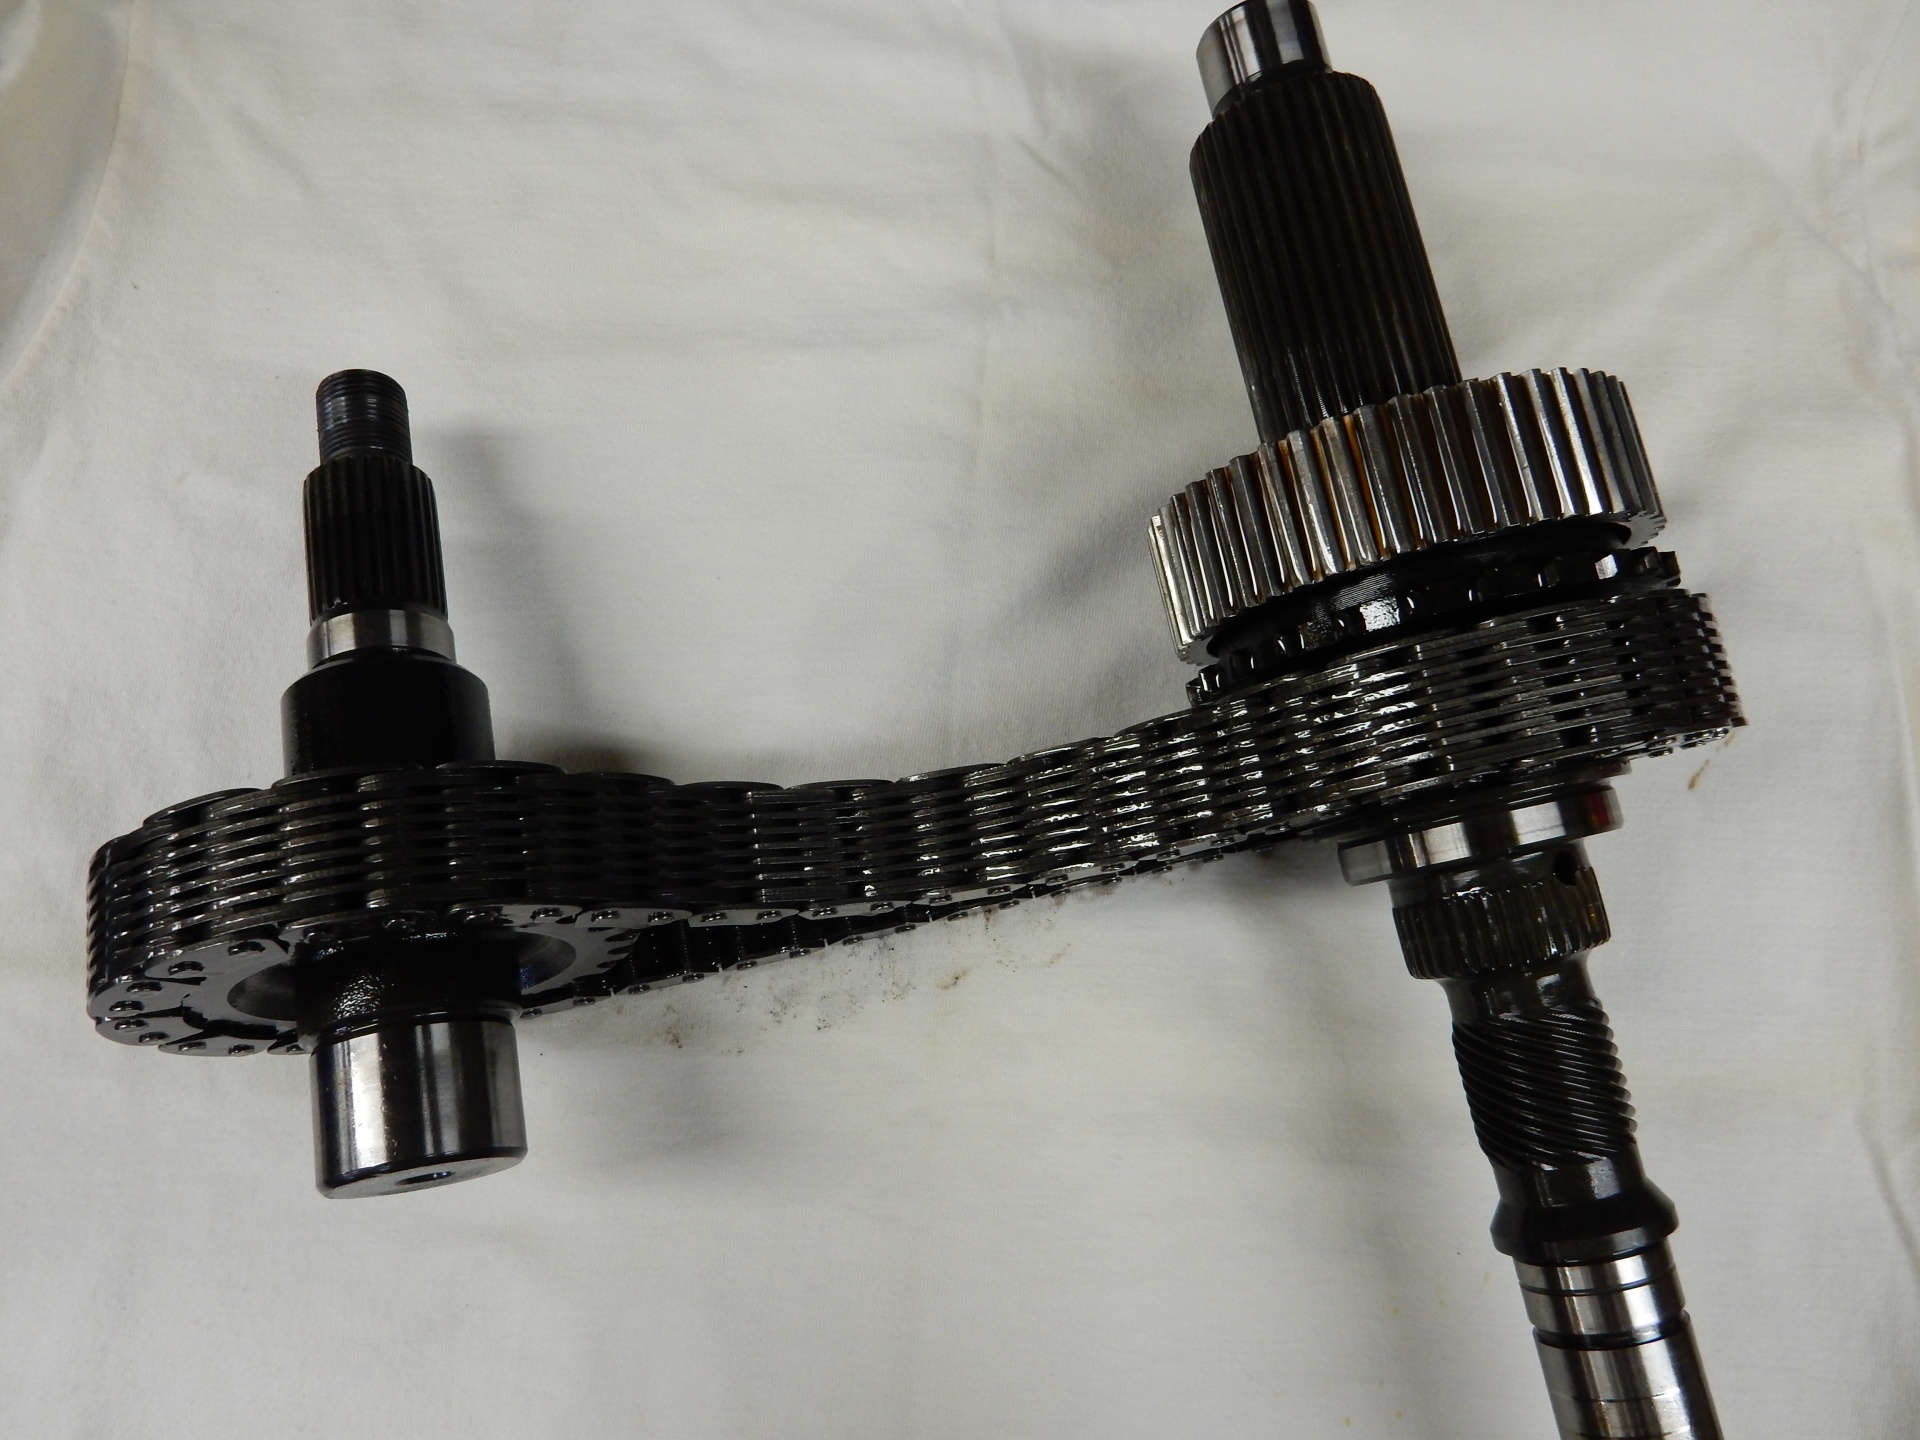
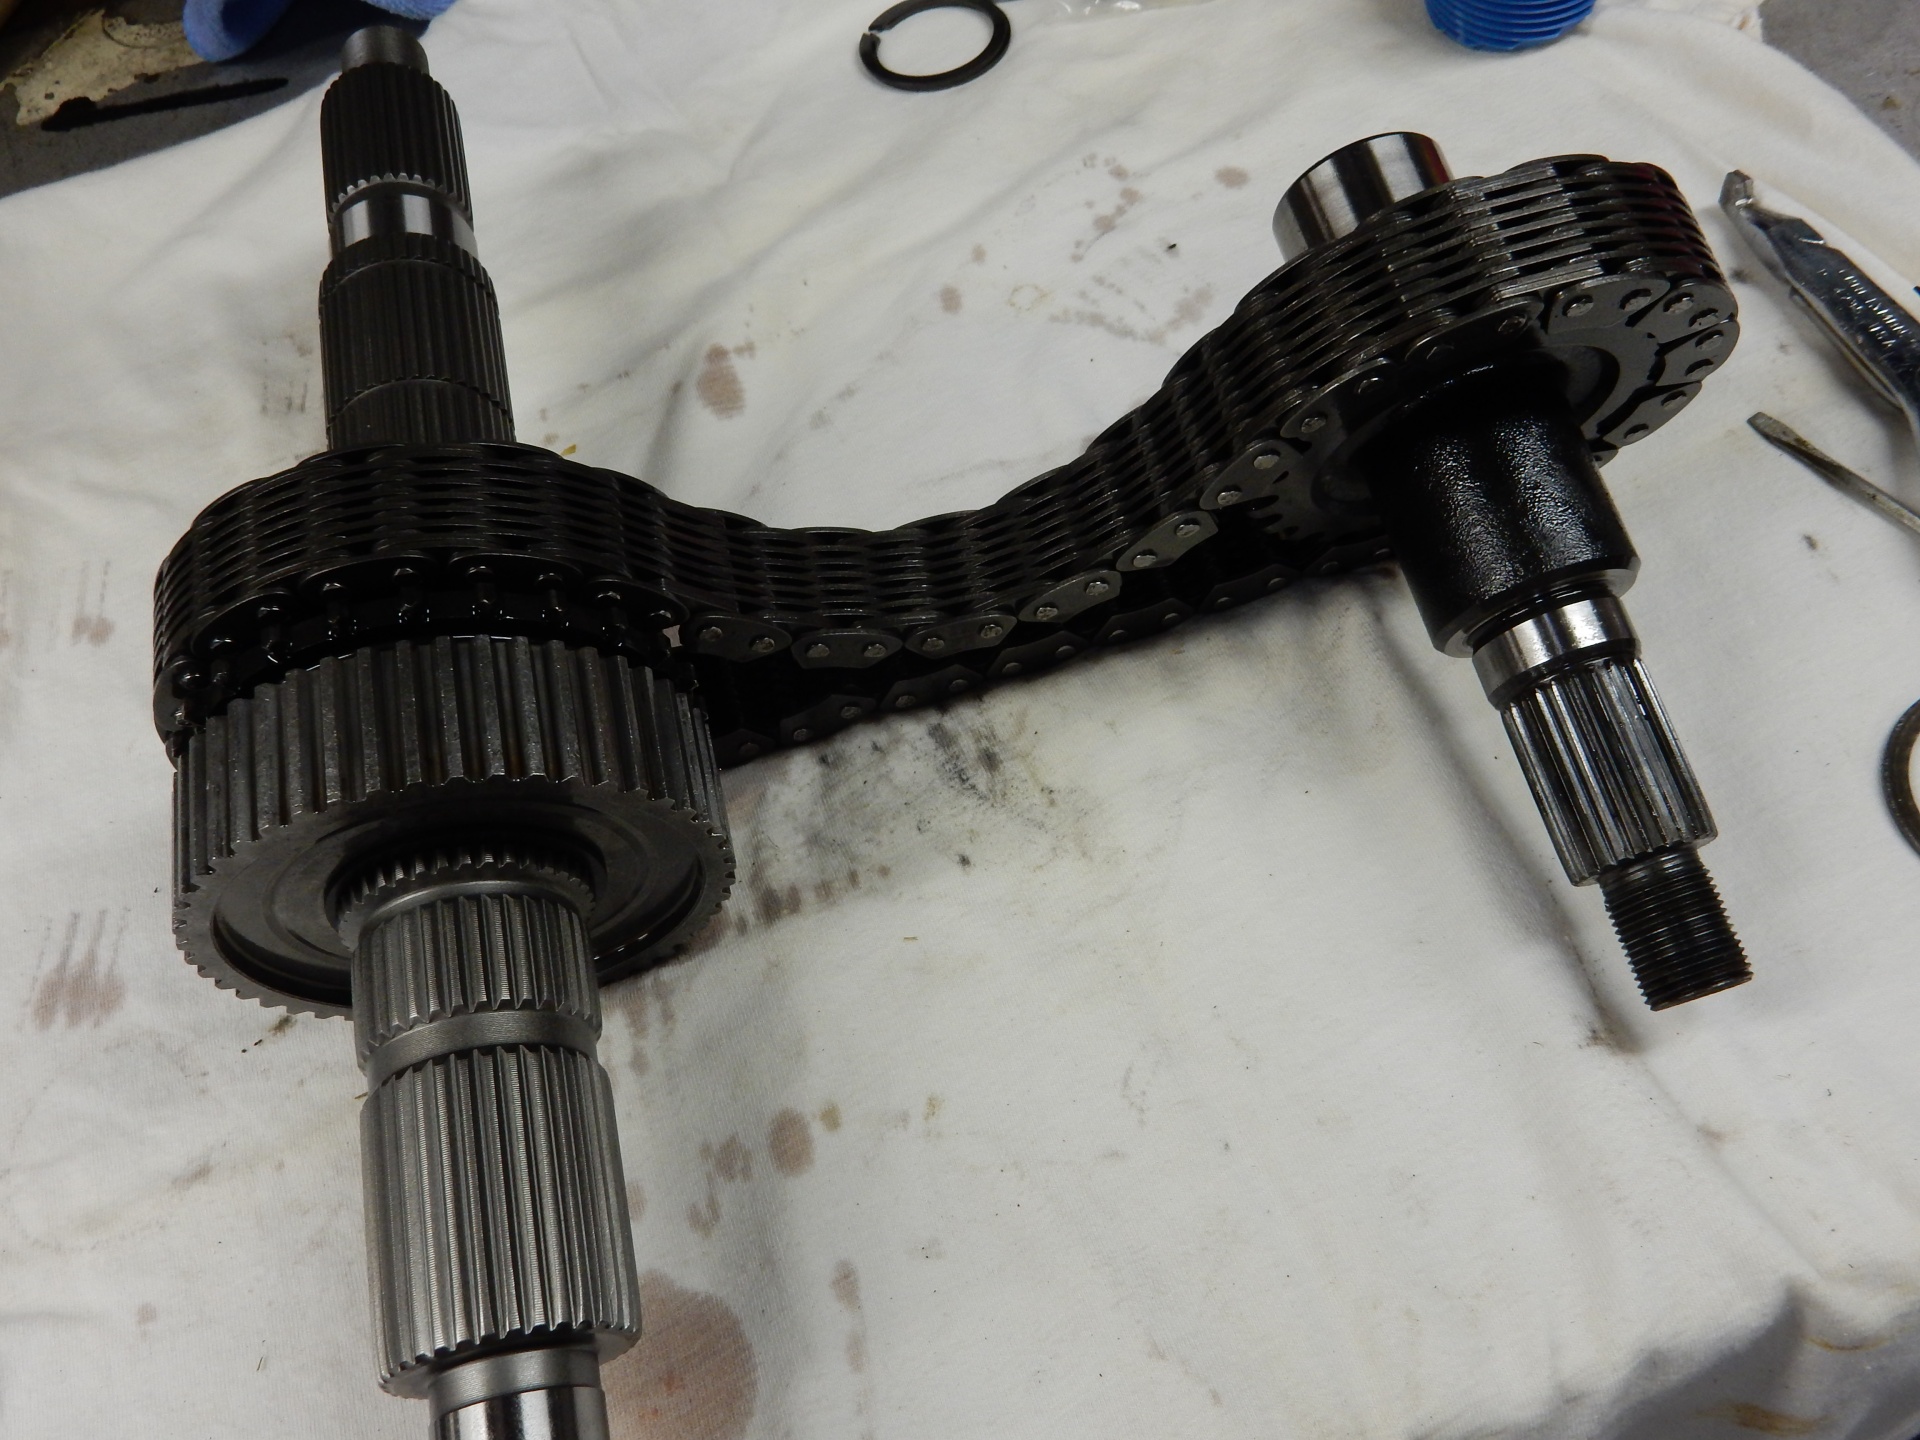
Remove the shafts and chain. Gently pull the upper and lower shaft out of the case with the chain. Move to a good working space.

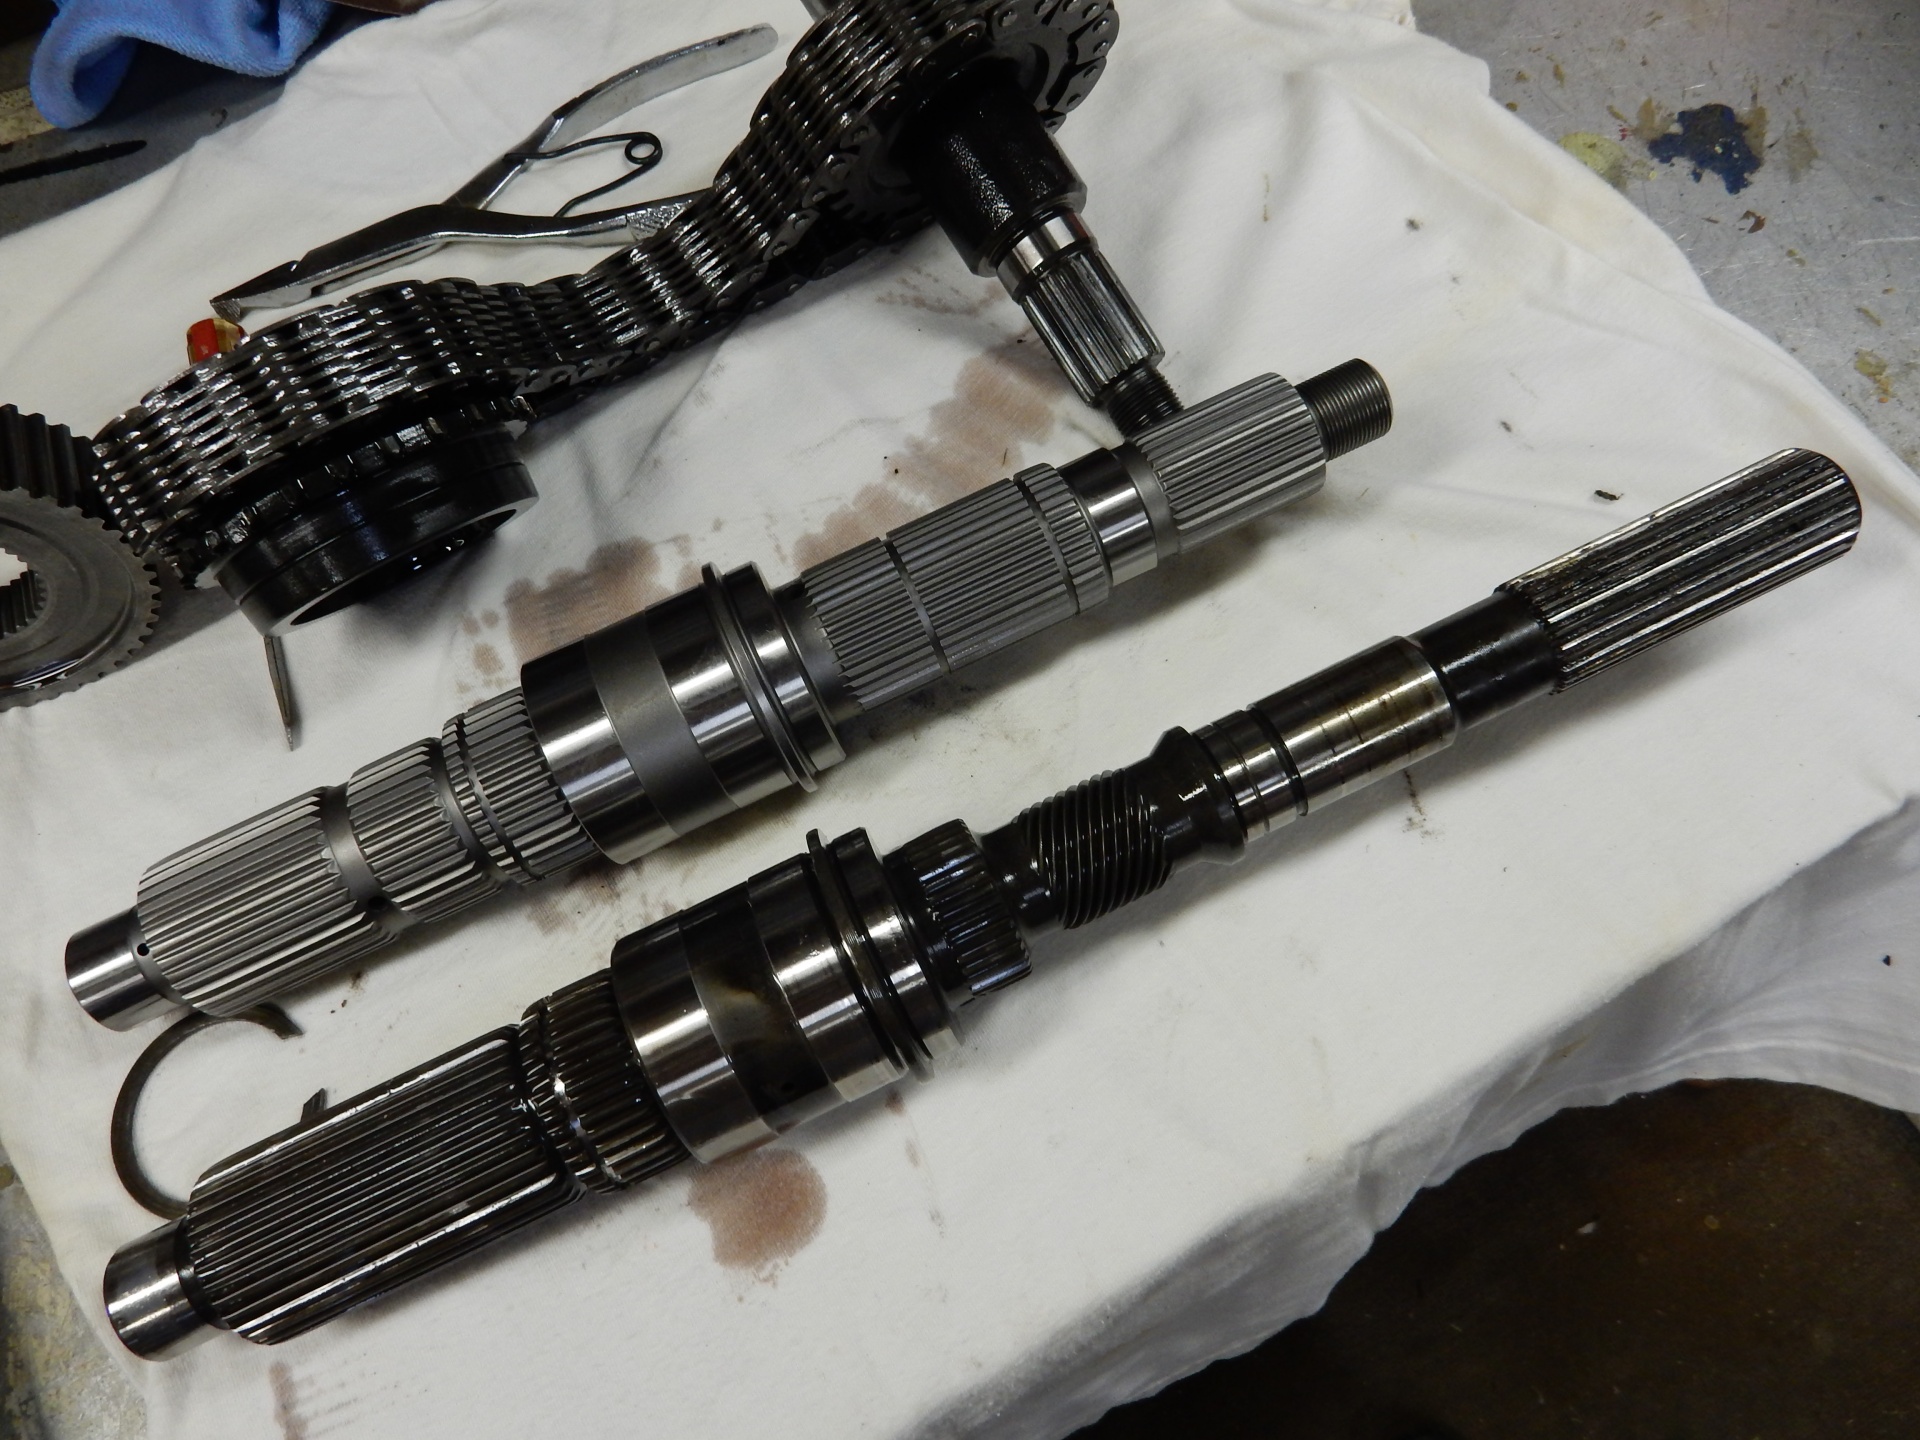
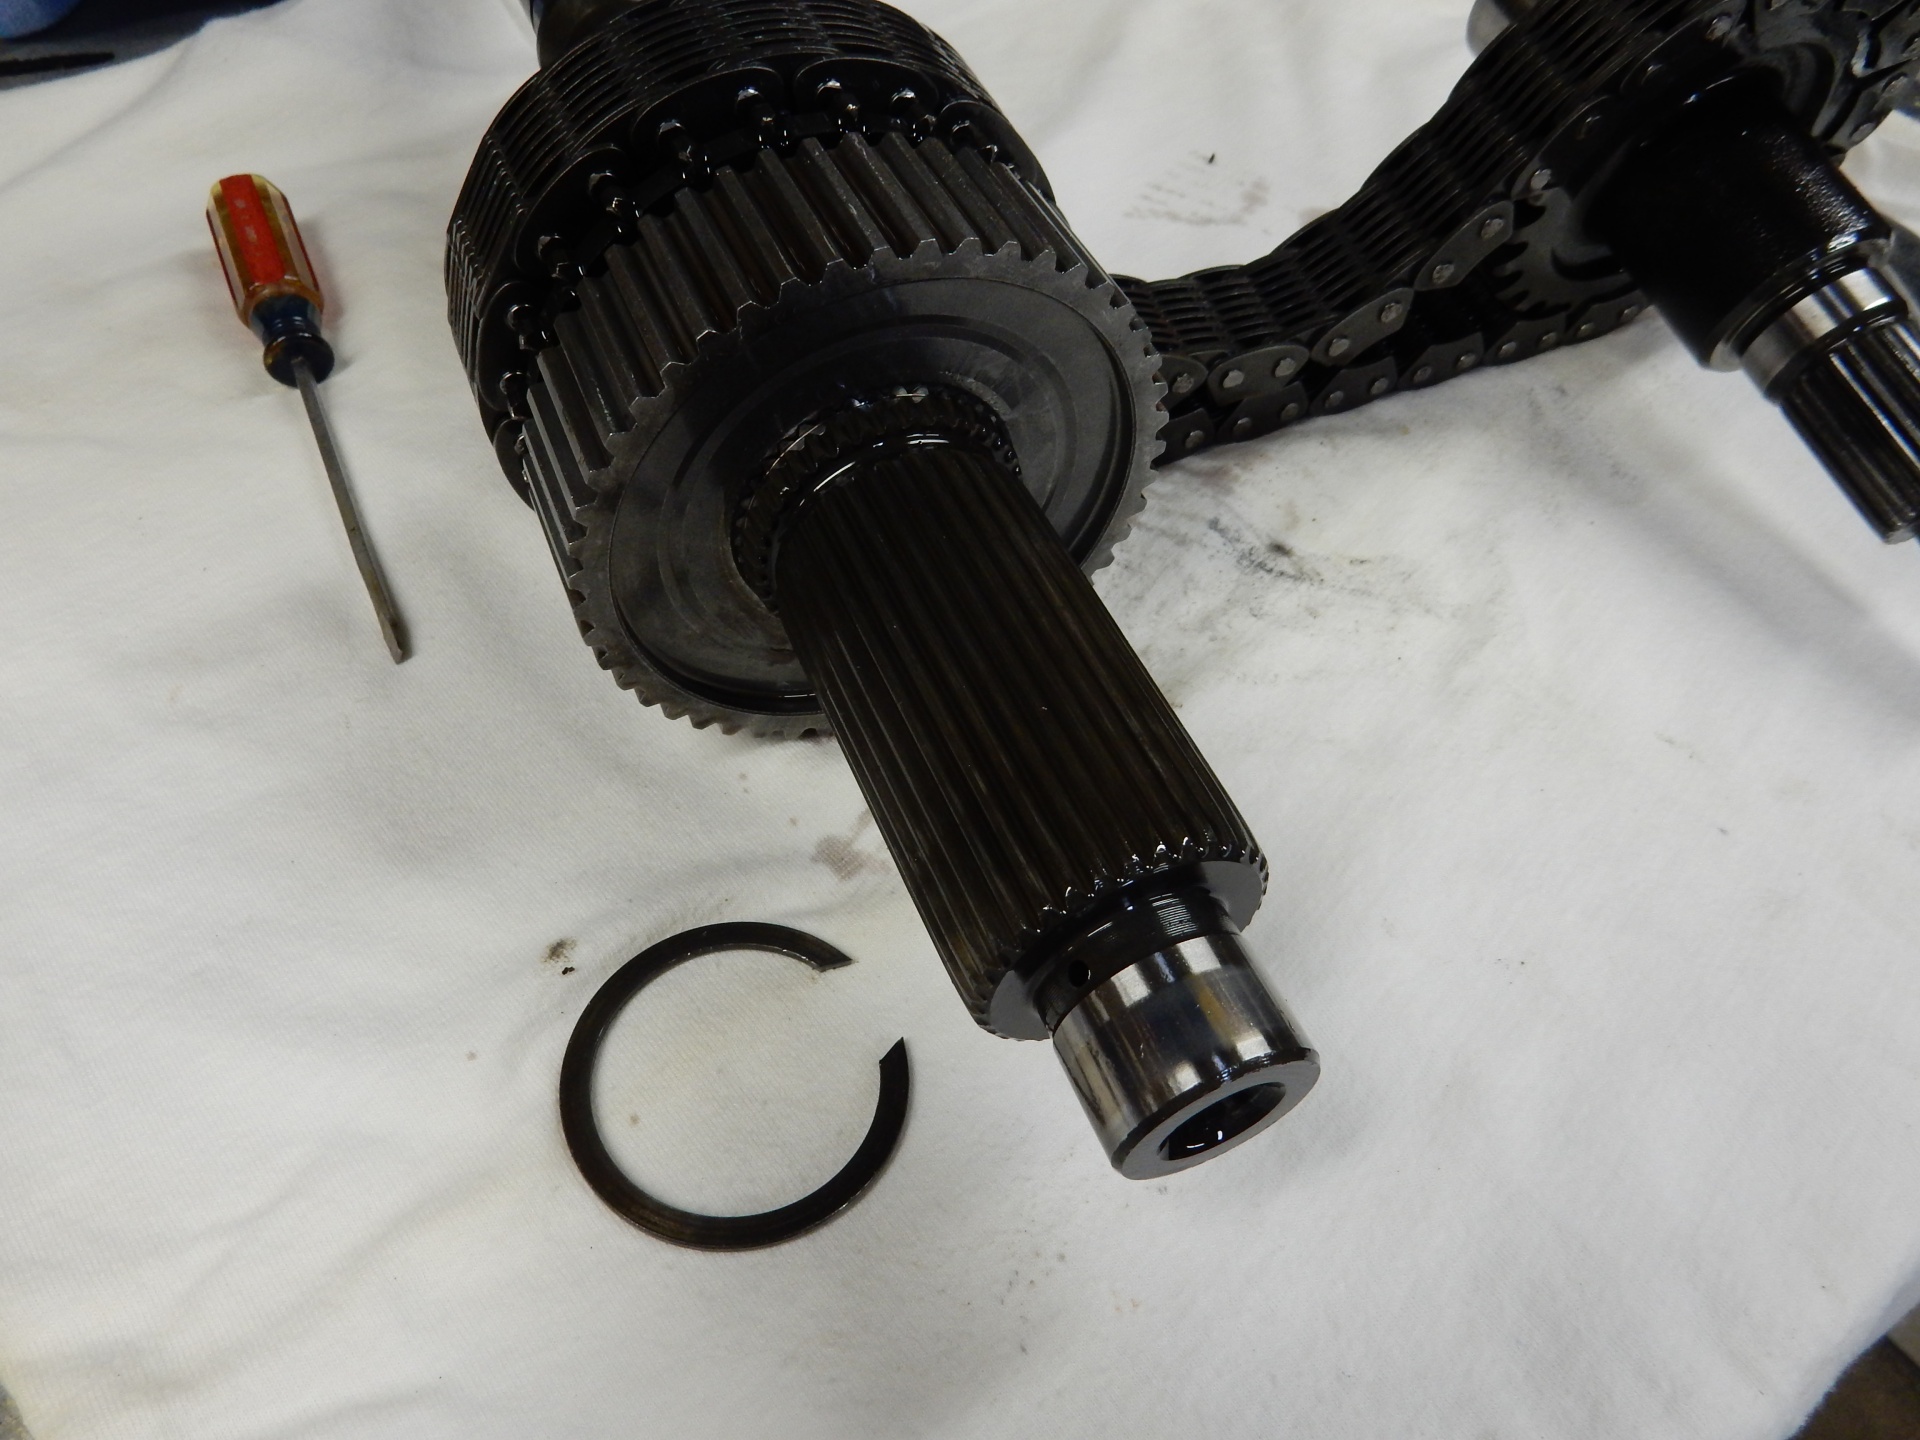
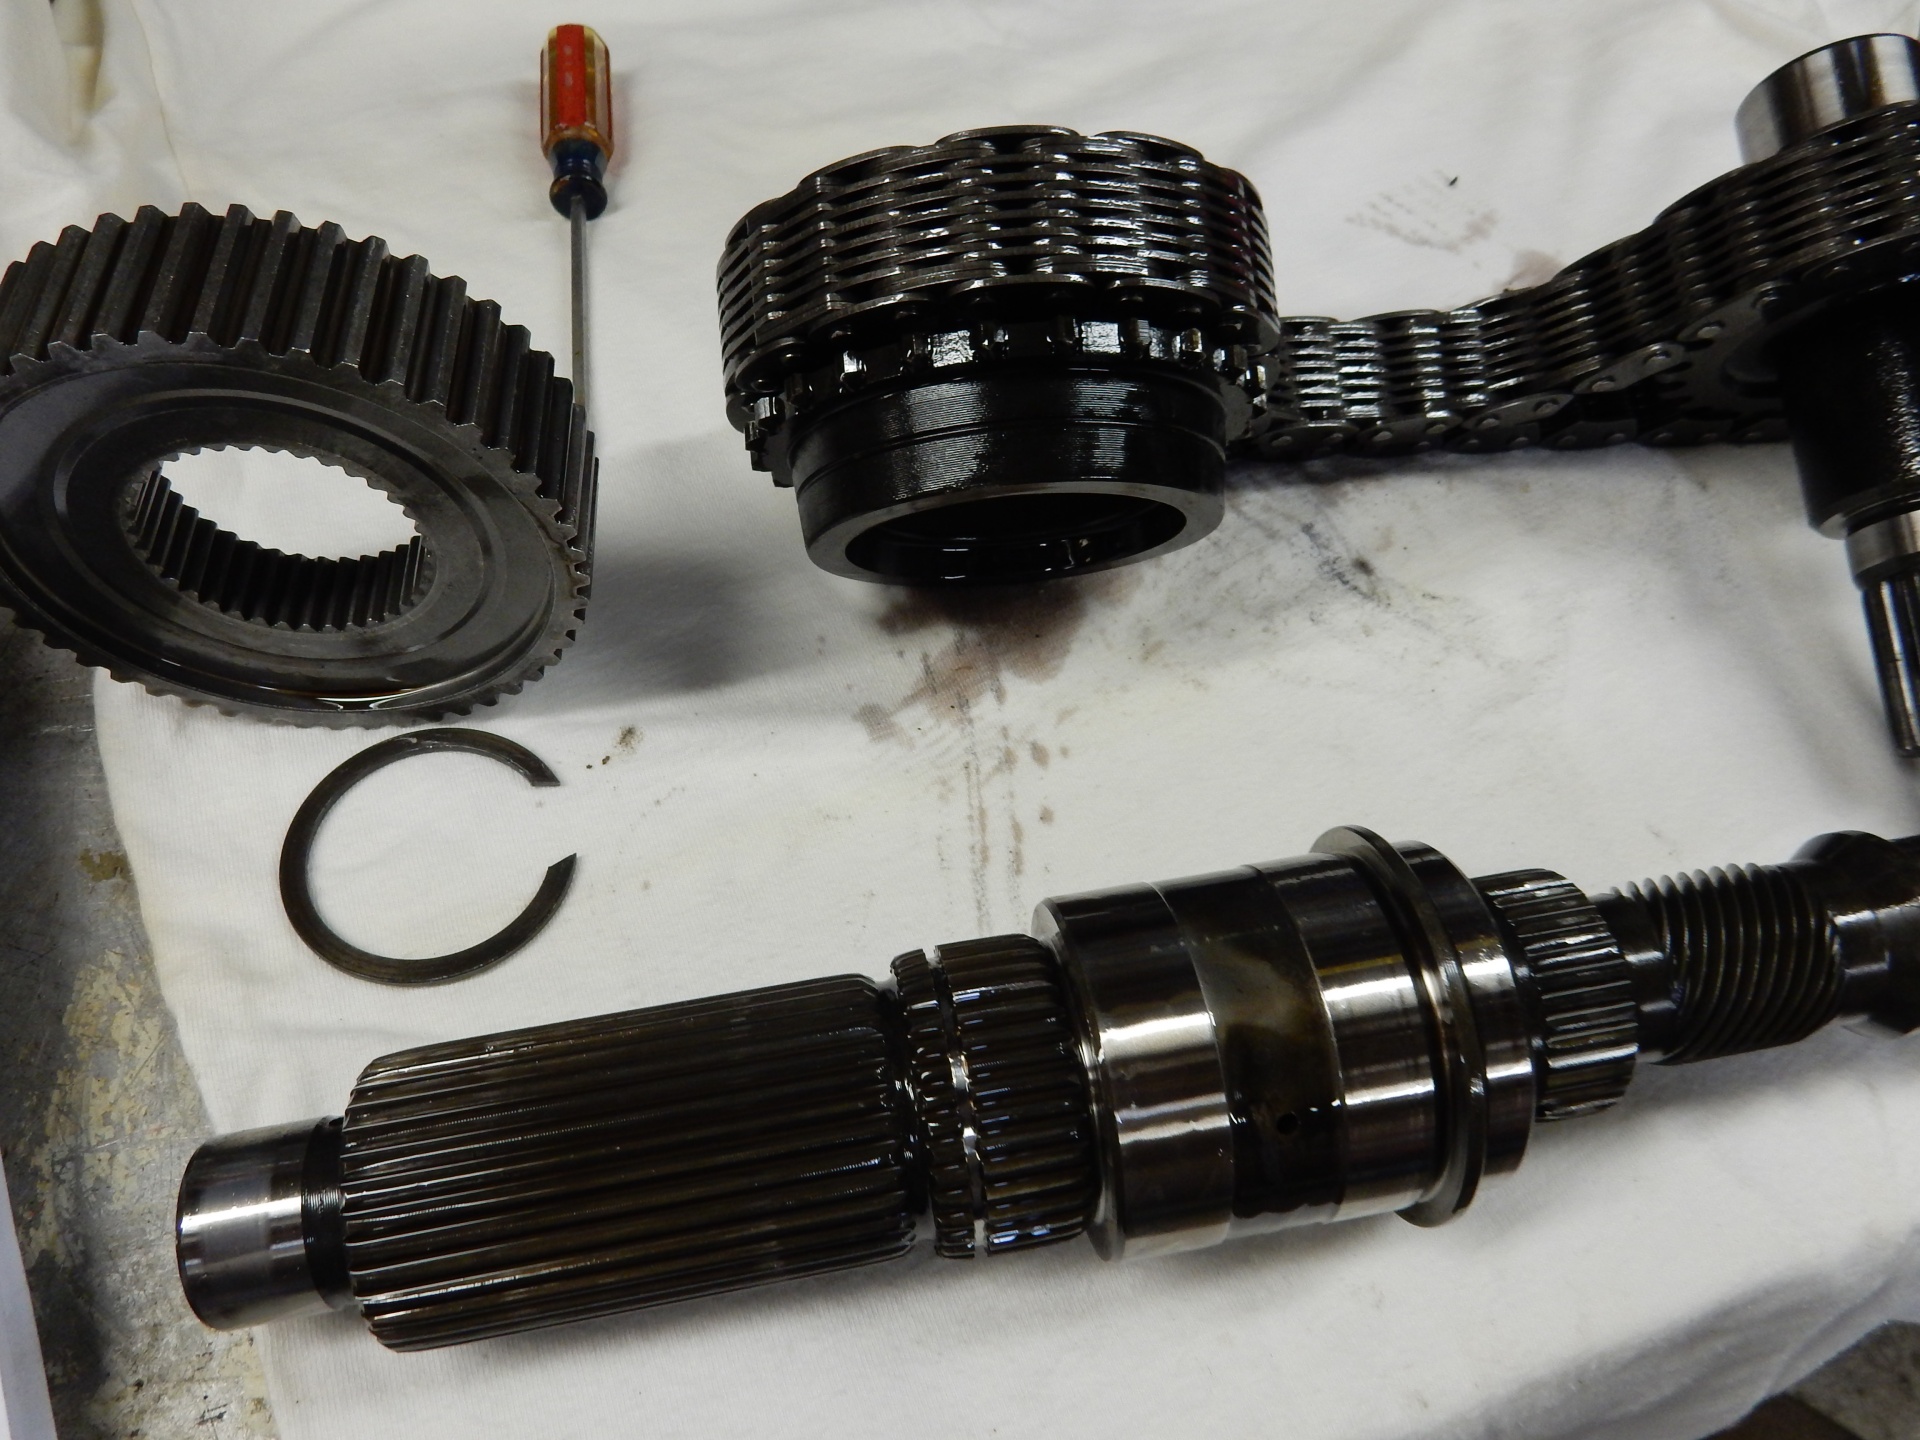
4. Install New Main Shaft and Tail Housing:
Swap in the new Teraflex main shaft per the instructions. It’s only a matter of removing a snap ring to allow the upper gear to come off the old main shaft. Install the gear on the new shaft and replace the snap ring.
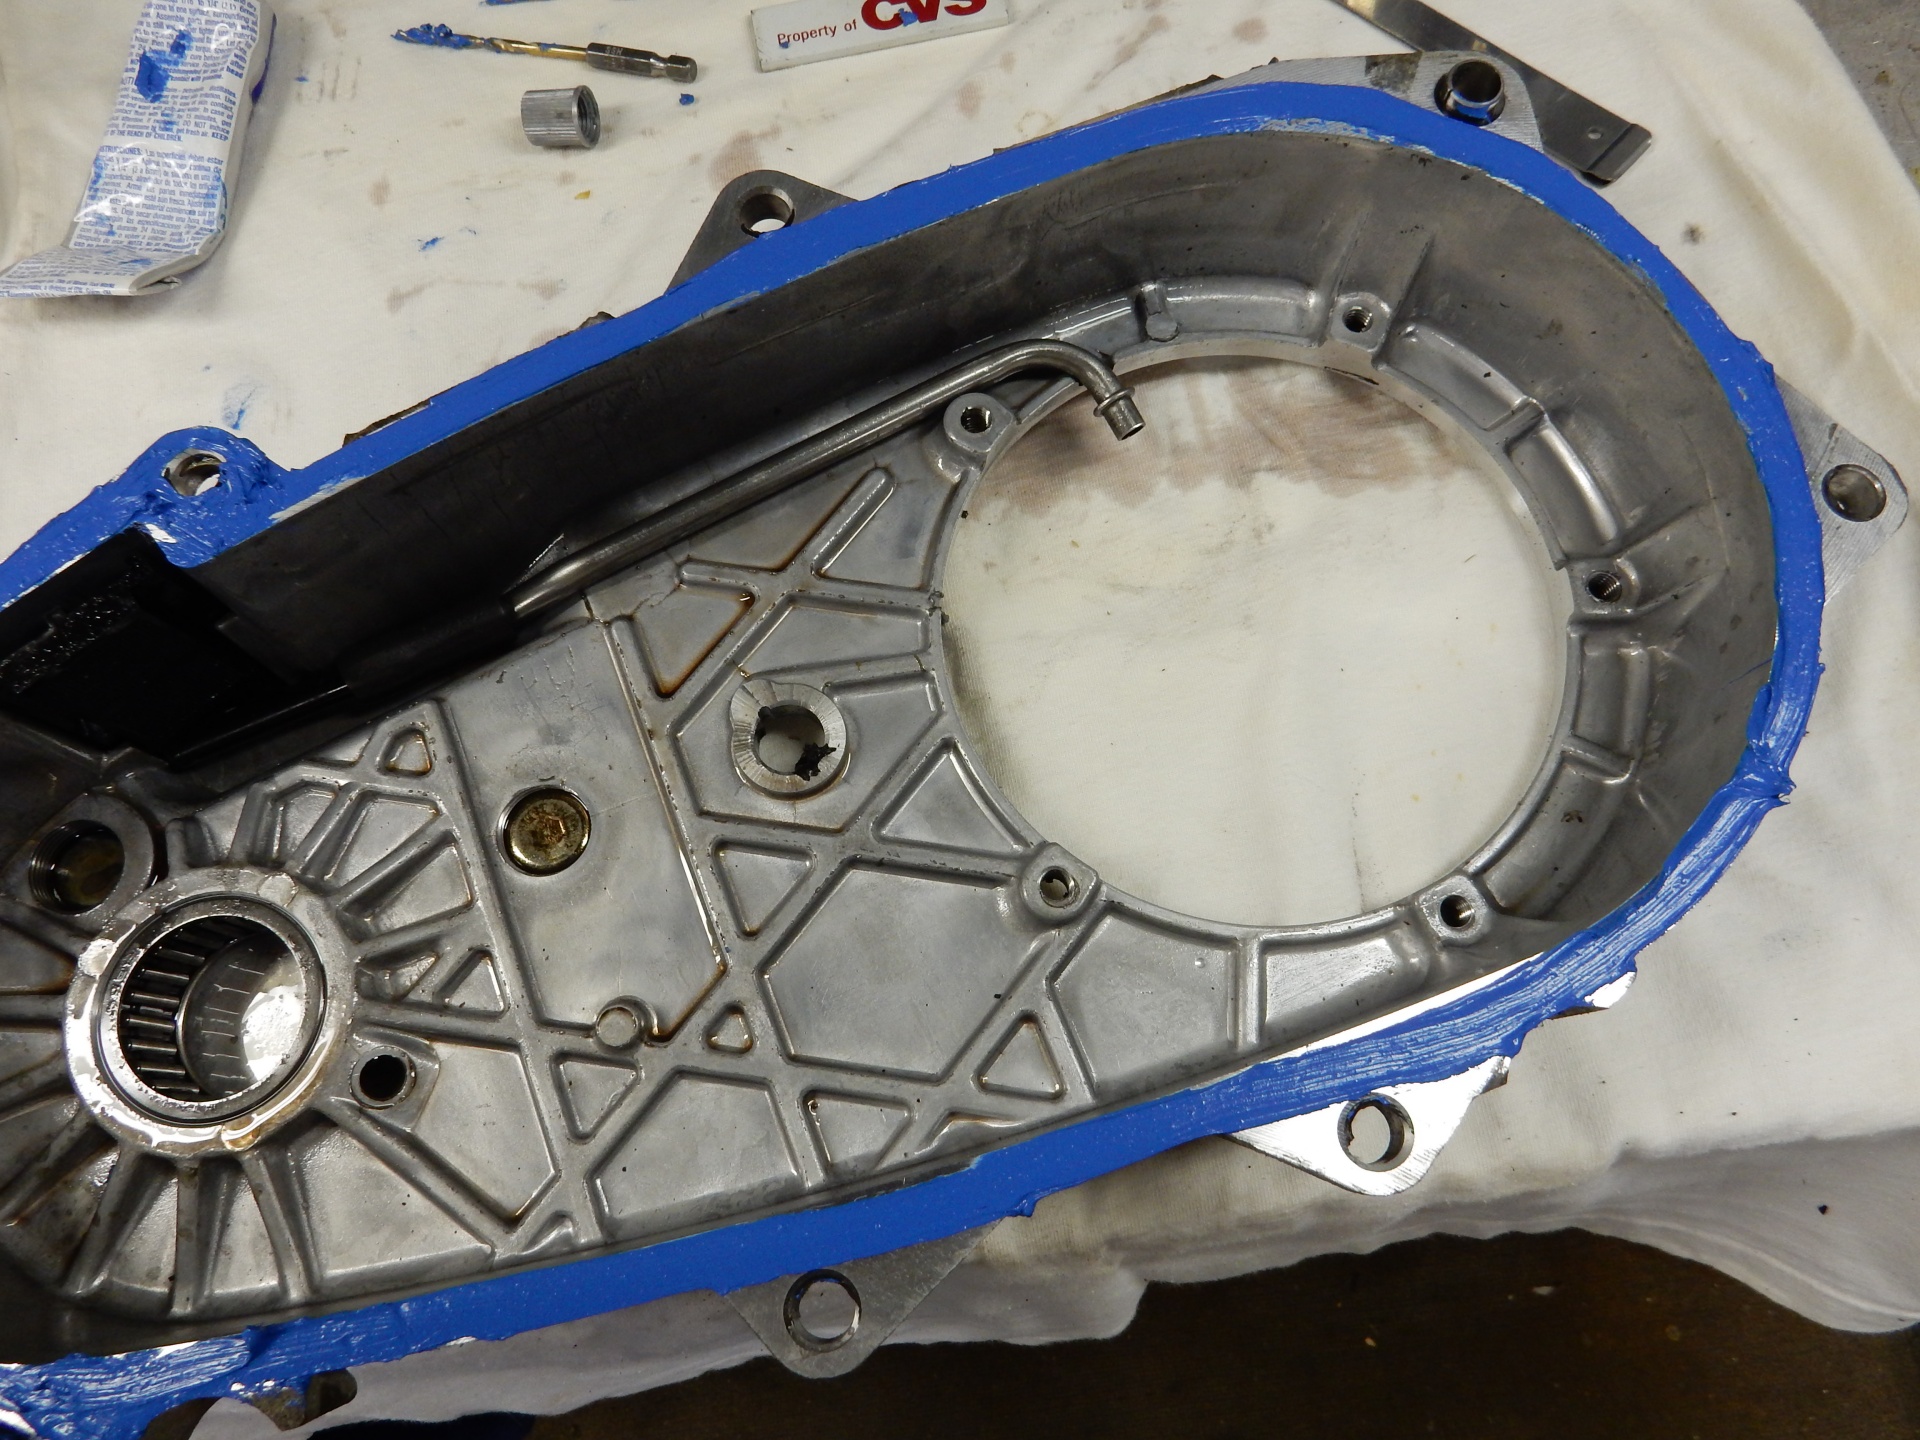
5. Reassembly
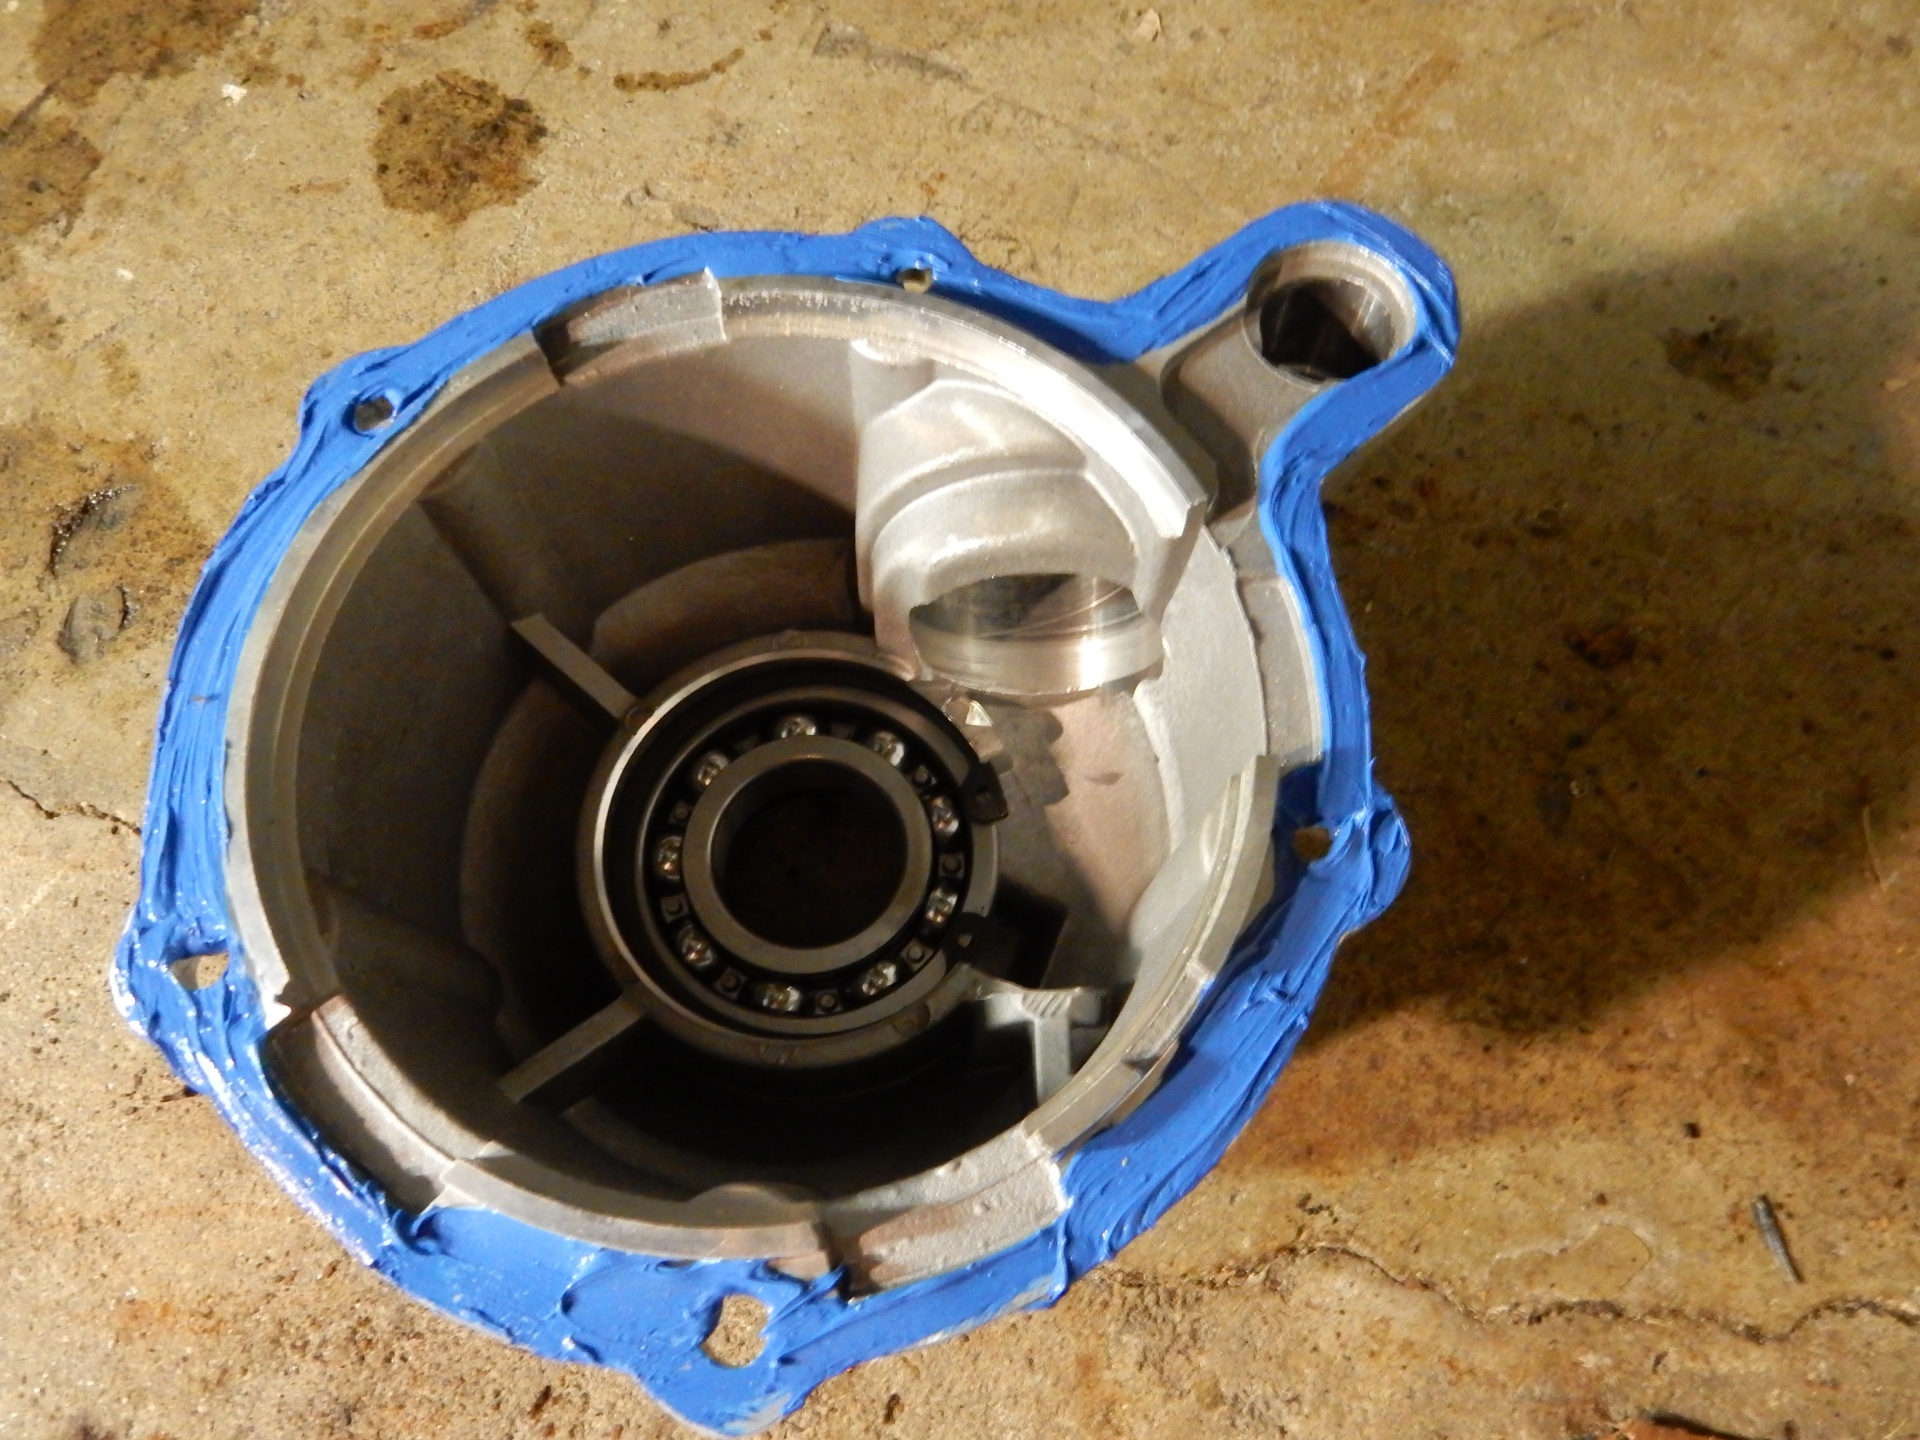
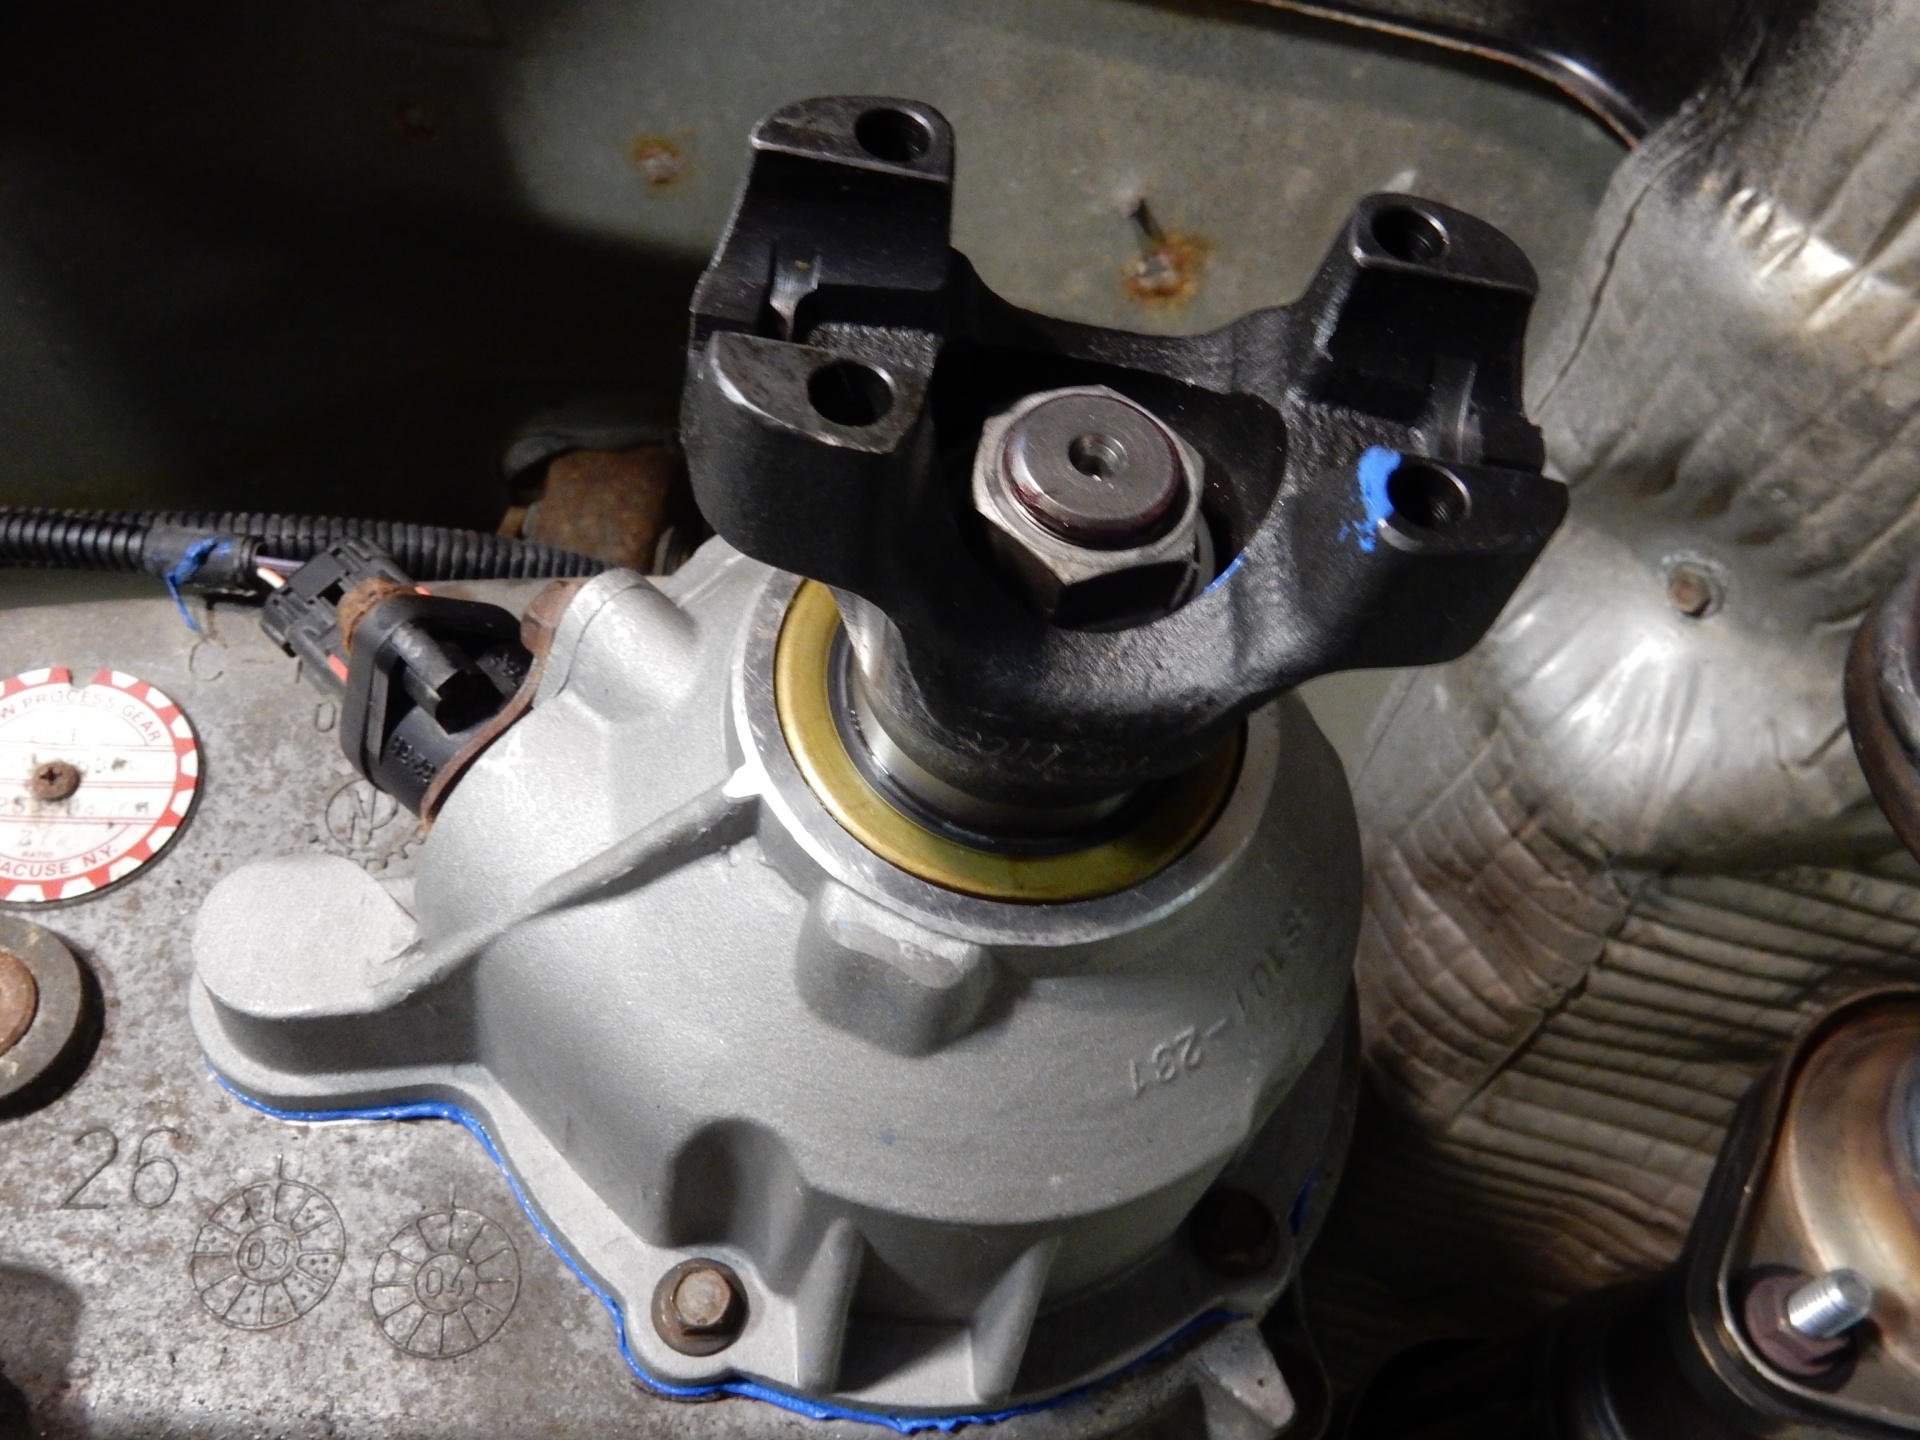
Install the whole shaft/chain assembly back into the transfer case. Check that things fit correctly and move freely. Reassemble the case with new seals and bearings. Use RTV to reseal the case halves. Install the new short tail housing.

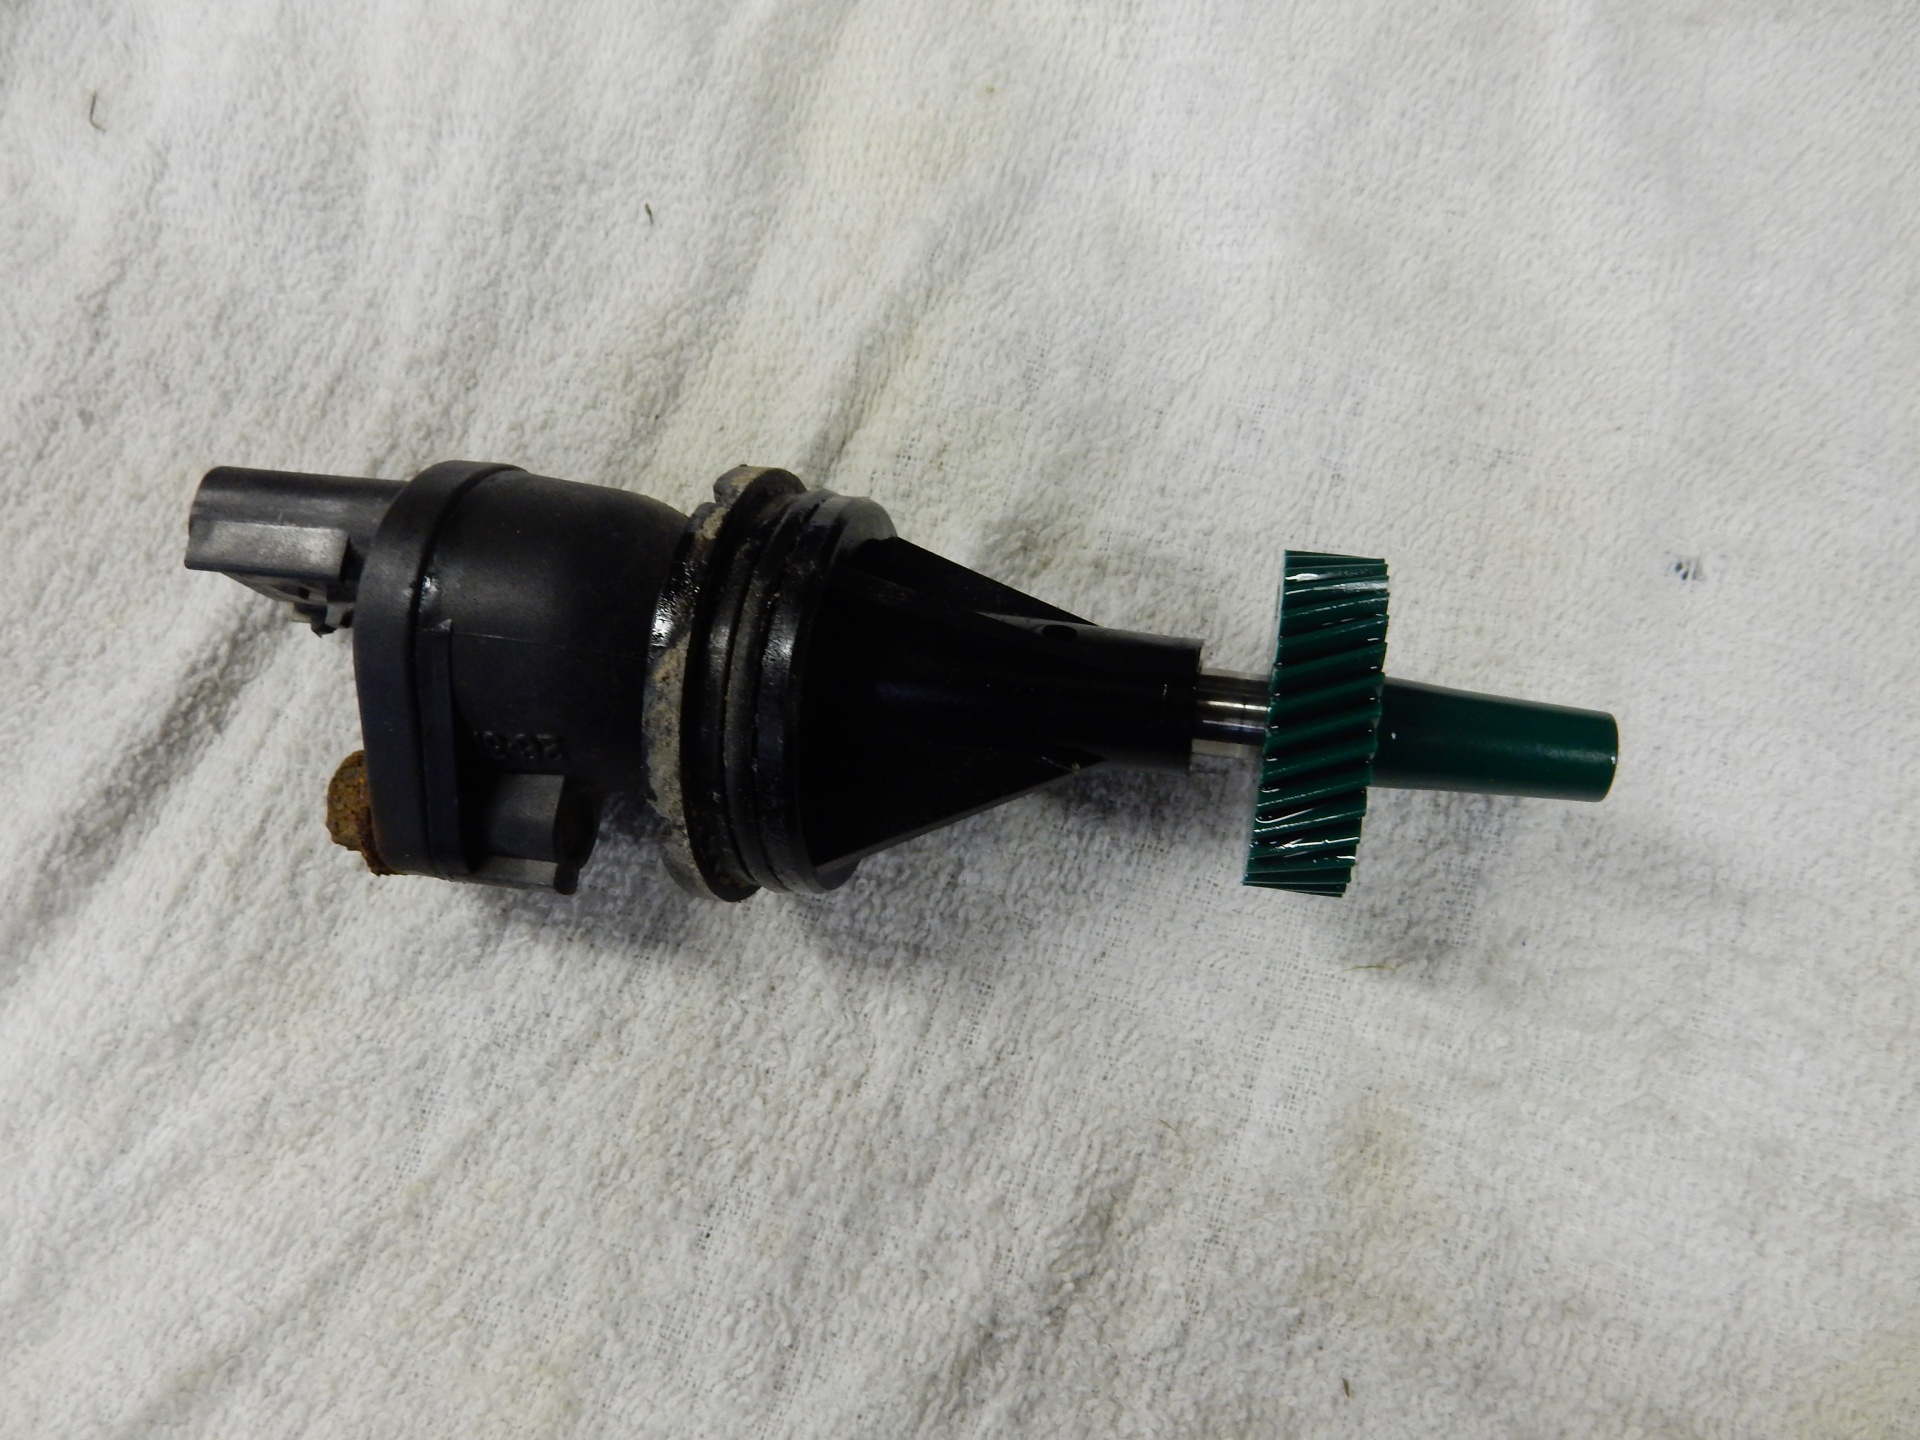
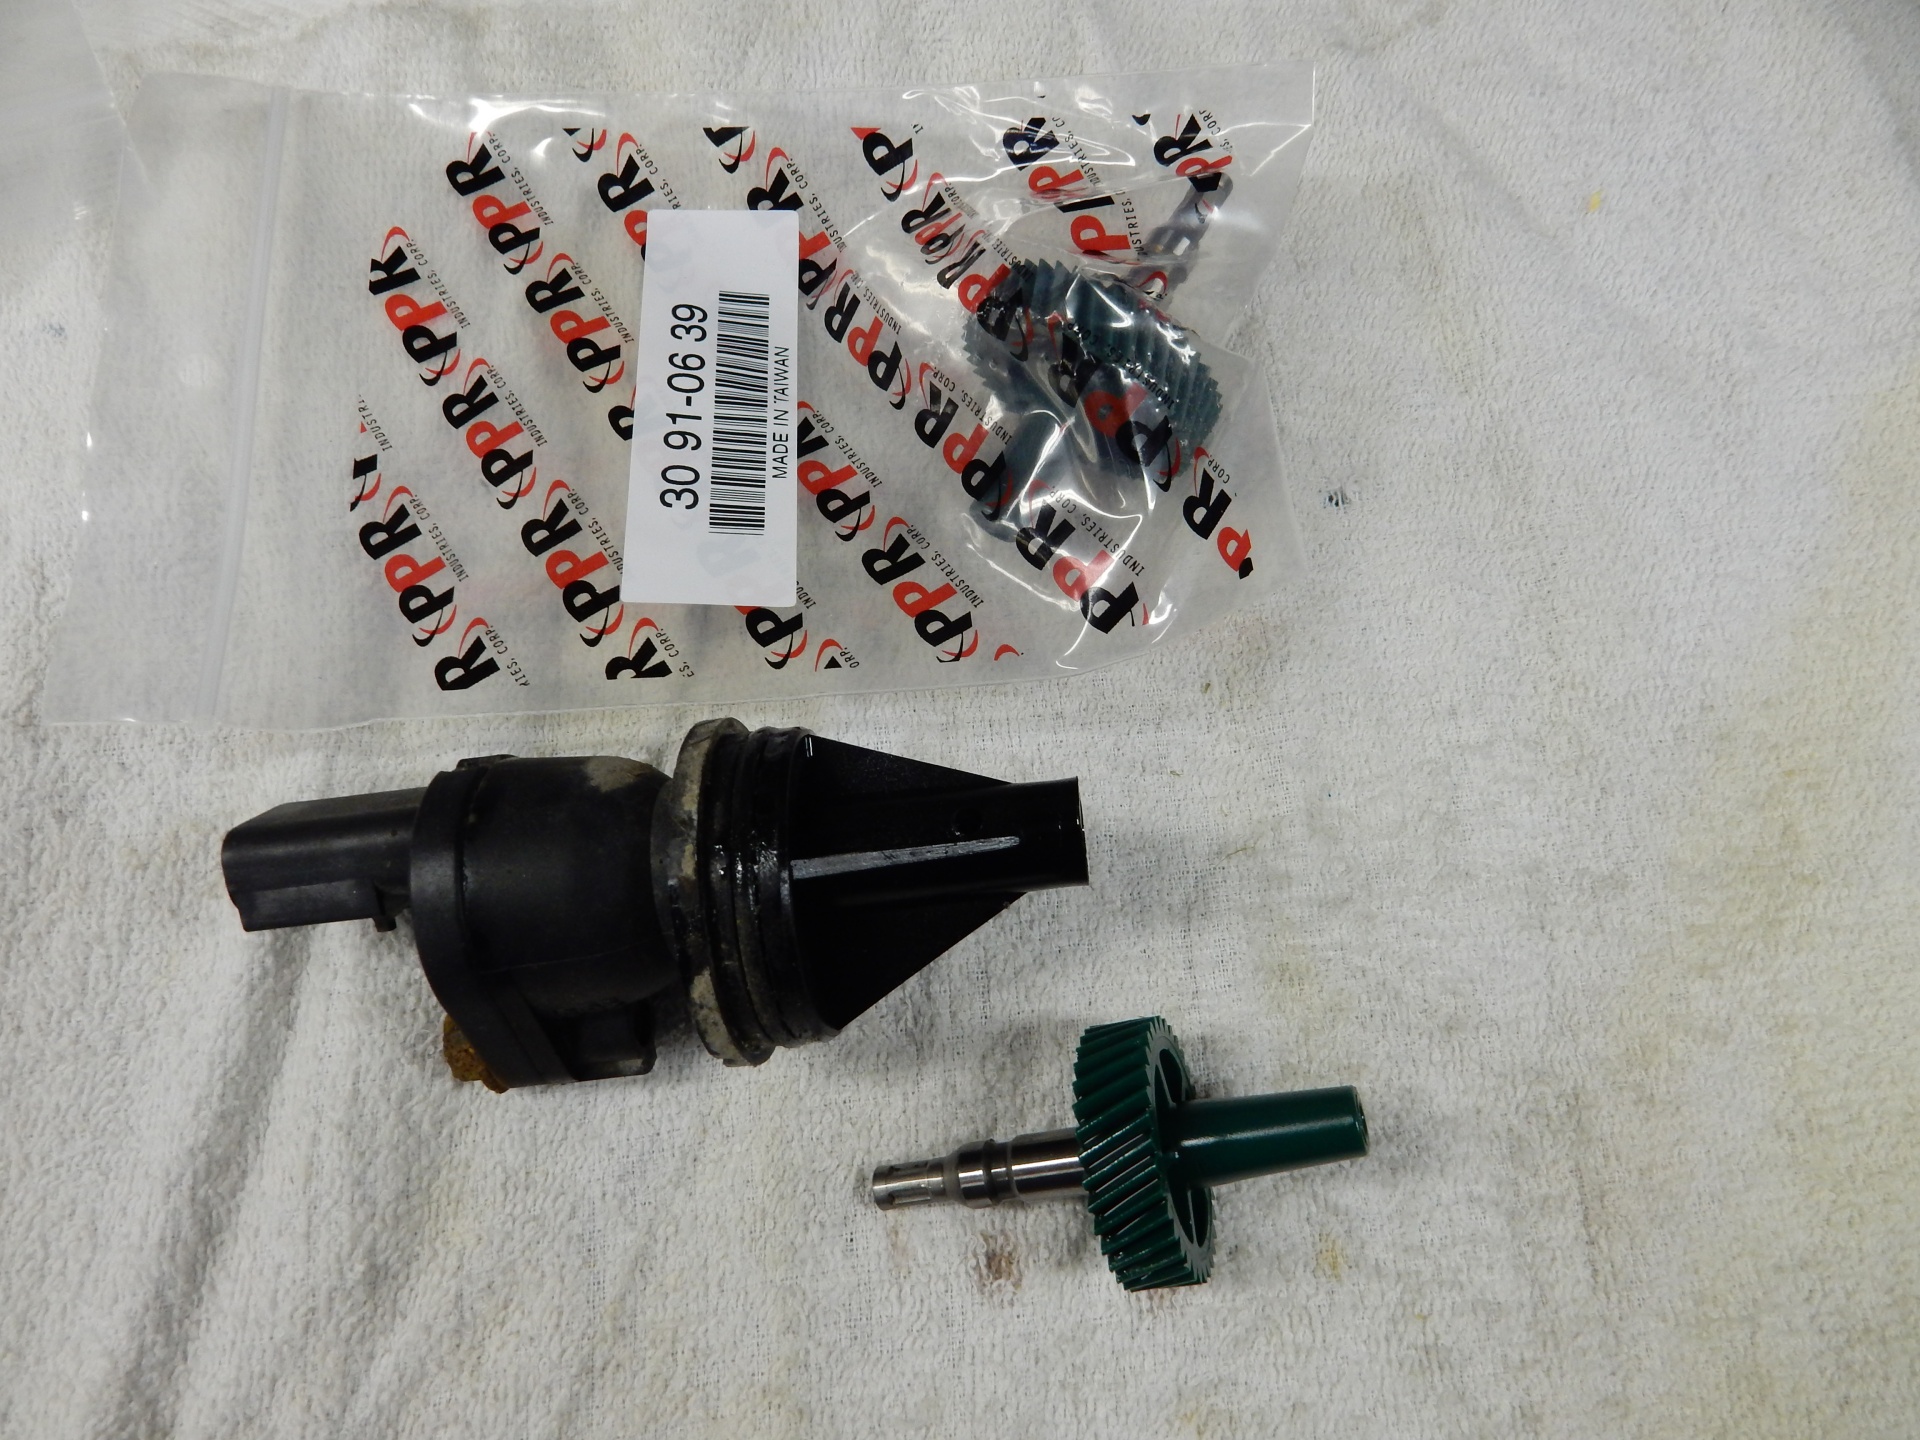
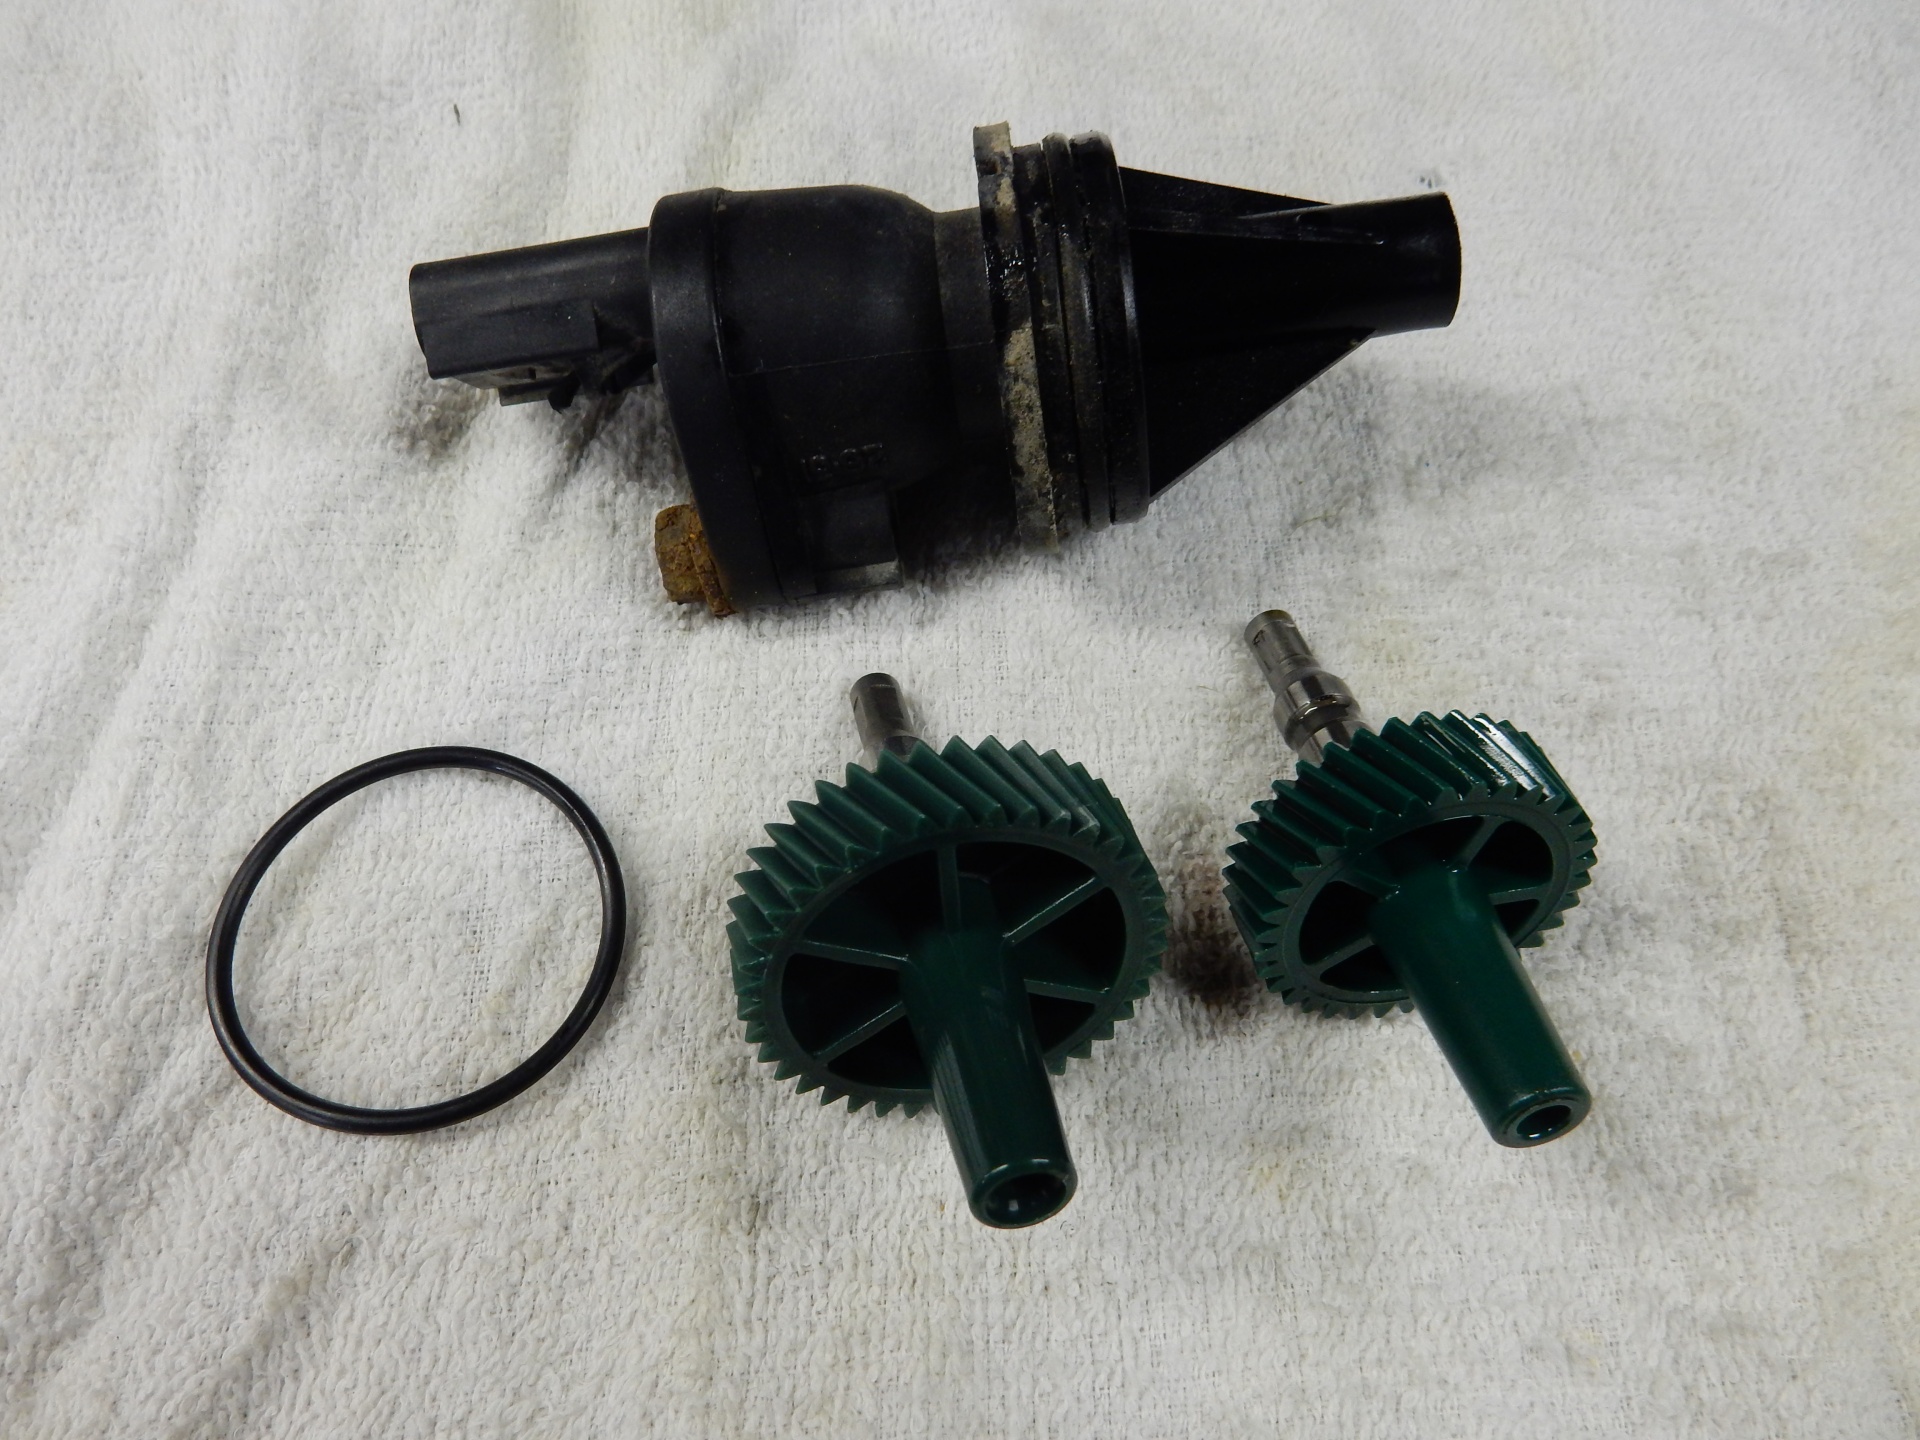
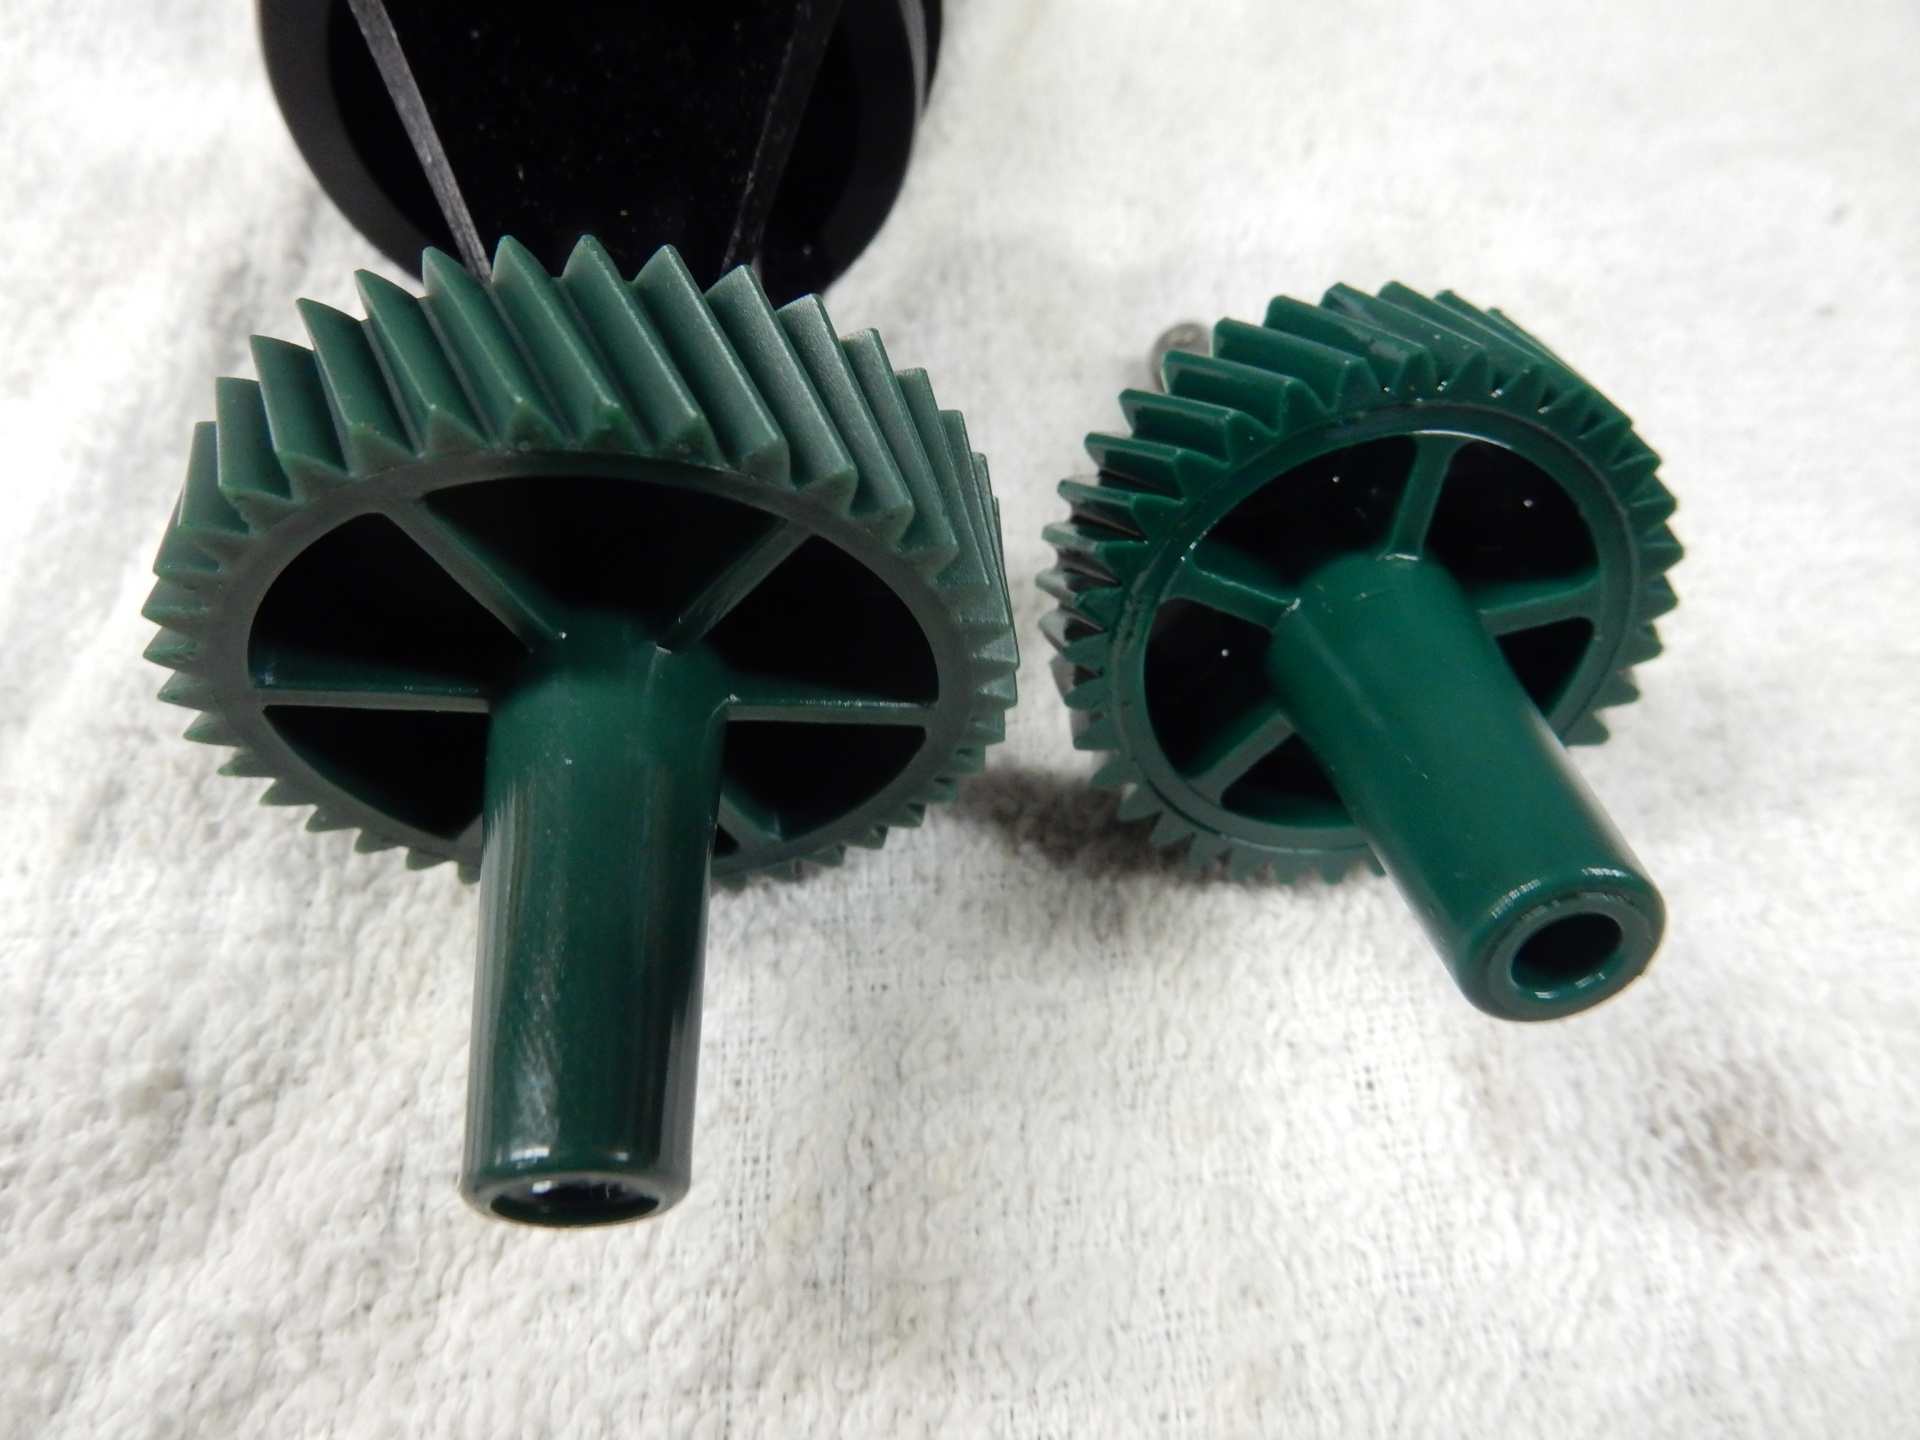
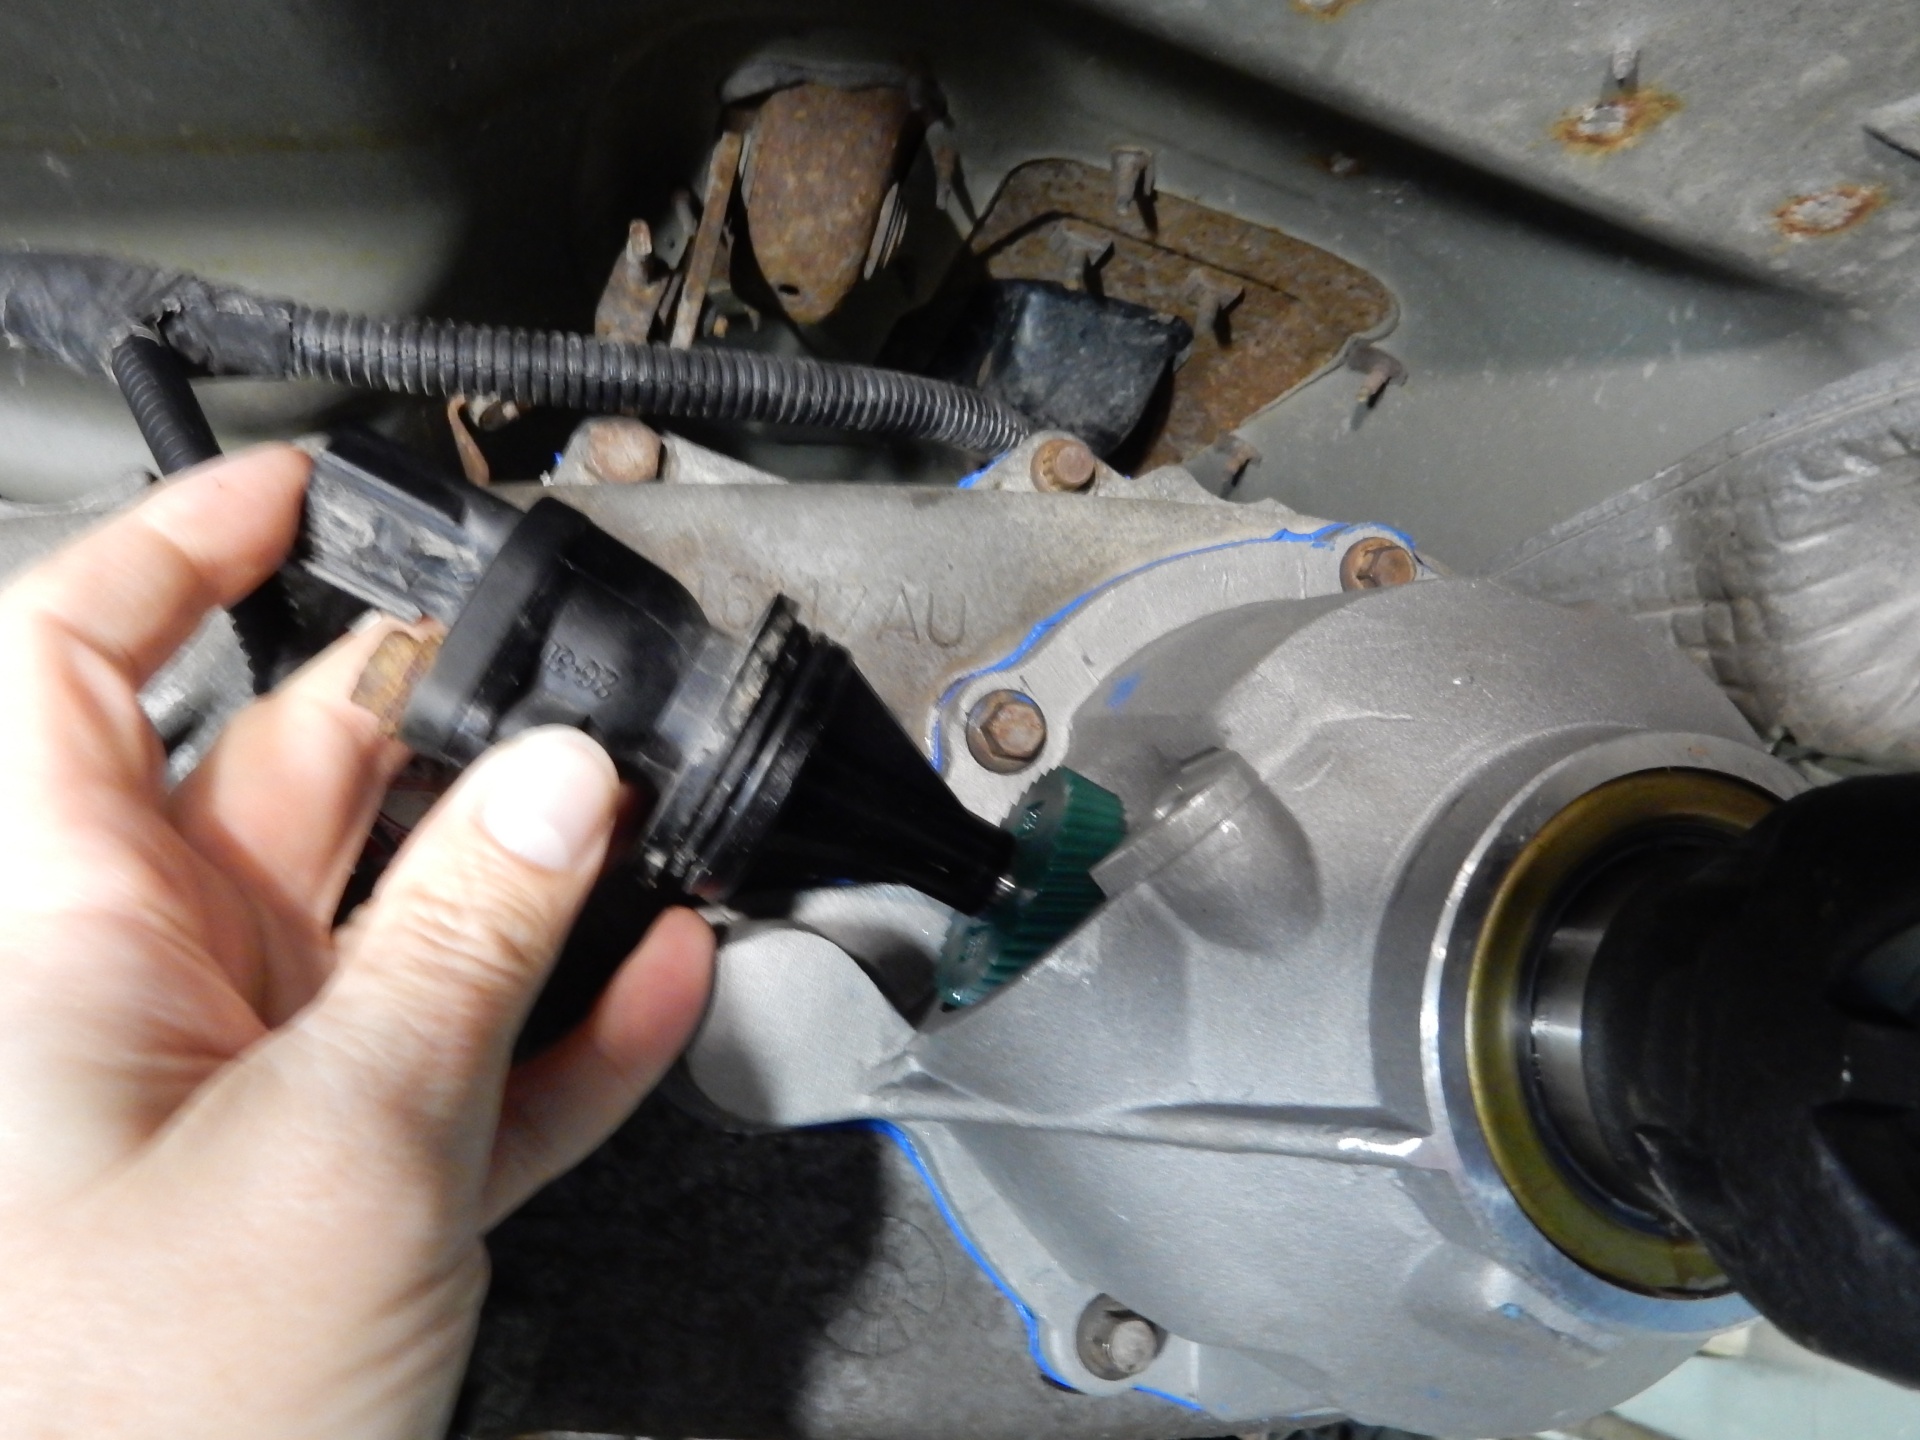
6. Speedometer Gear Replacement
We purchased a new speedometer gear that is a proper match to the new axle gear ratio and tire size. This is a great time to take care of this. The proper gear will correct the speedometer and make the Jeep’s automatic transmission shift properly. The 42RLE automatic that was in the 2004-2006 TJ was electronically shifted and depends on the speedometer sensor to determine shift points. Without this changed the Jeep was not great to drive. Install the new gear on to the shaft and reinstall the gear into the transfer case.
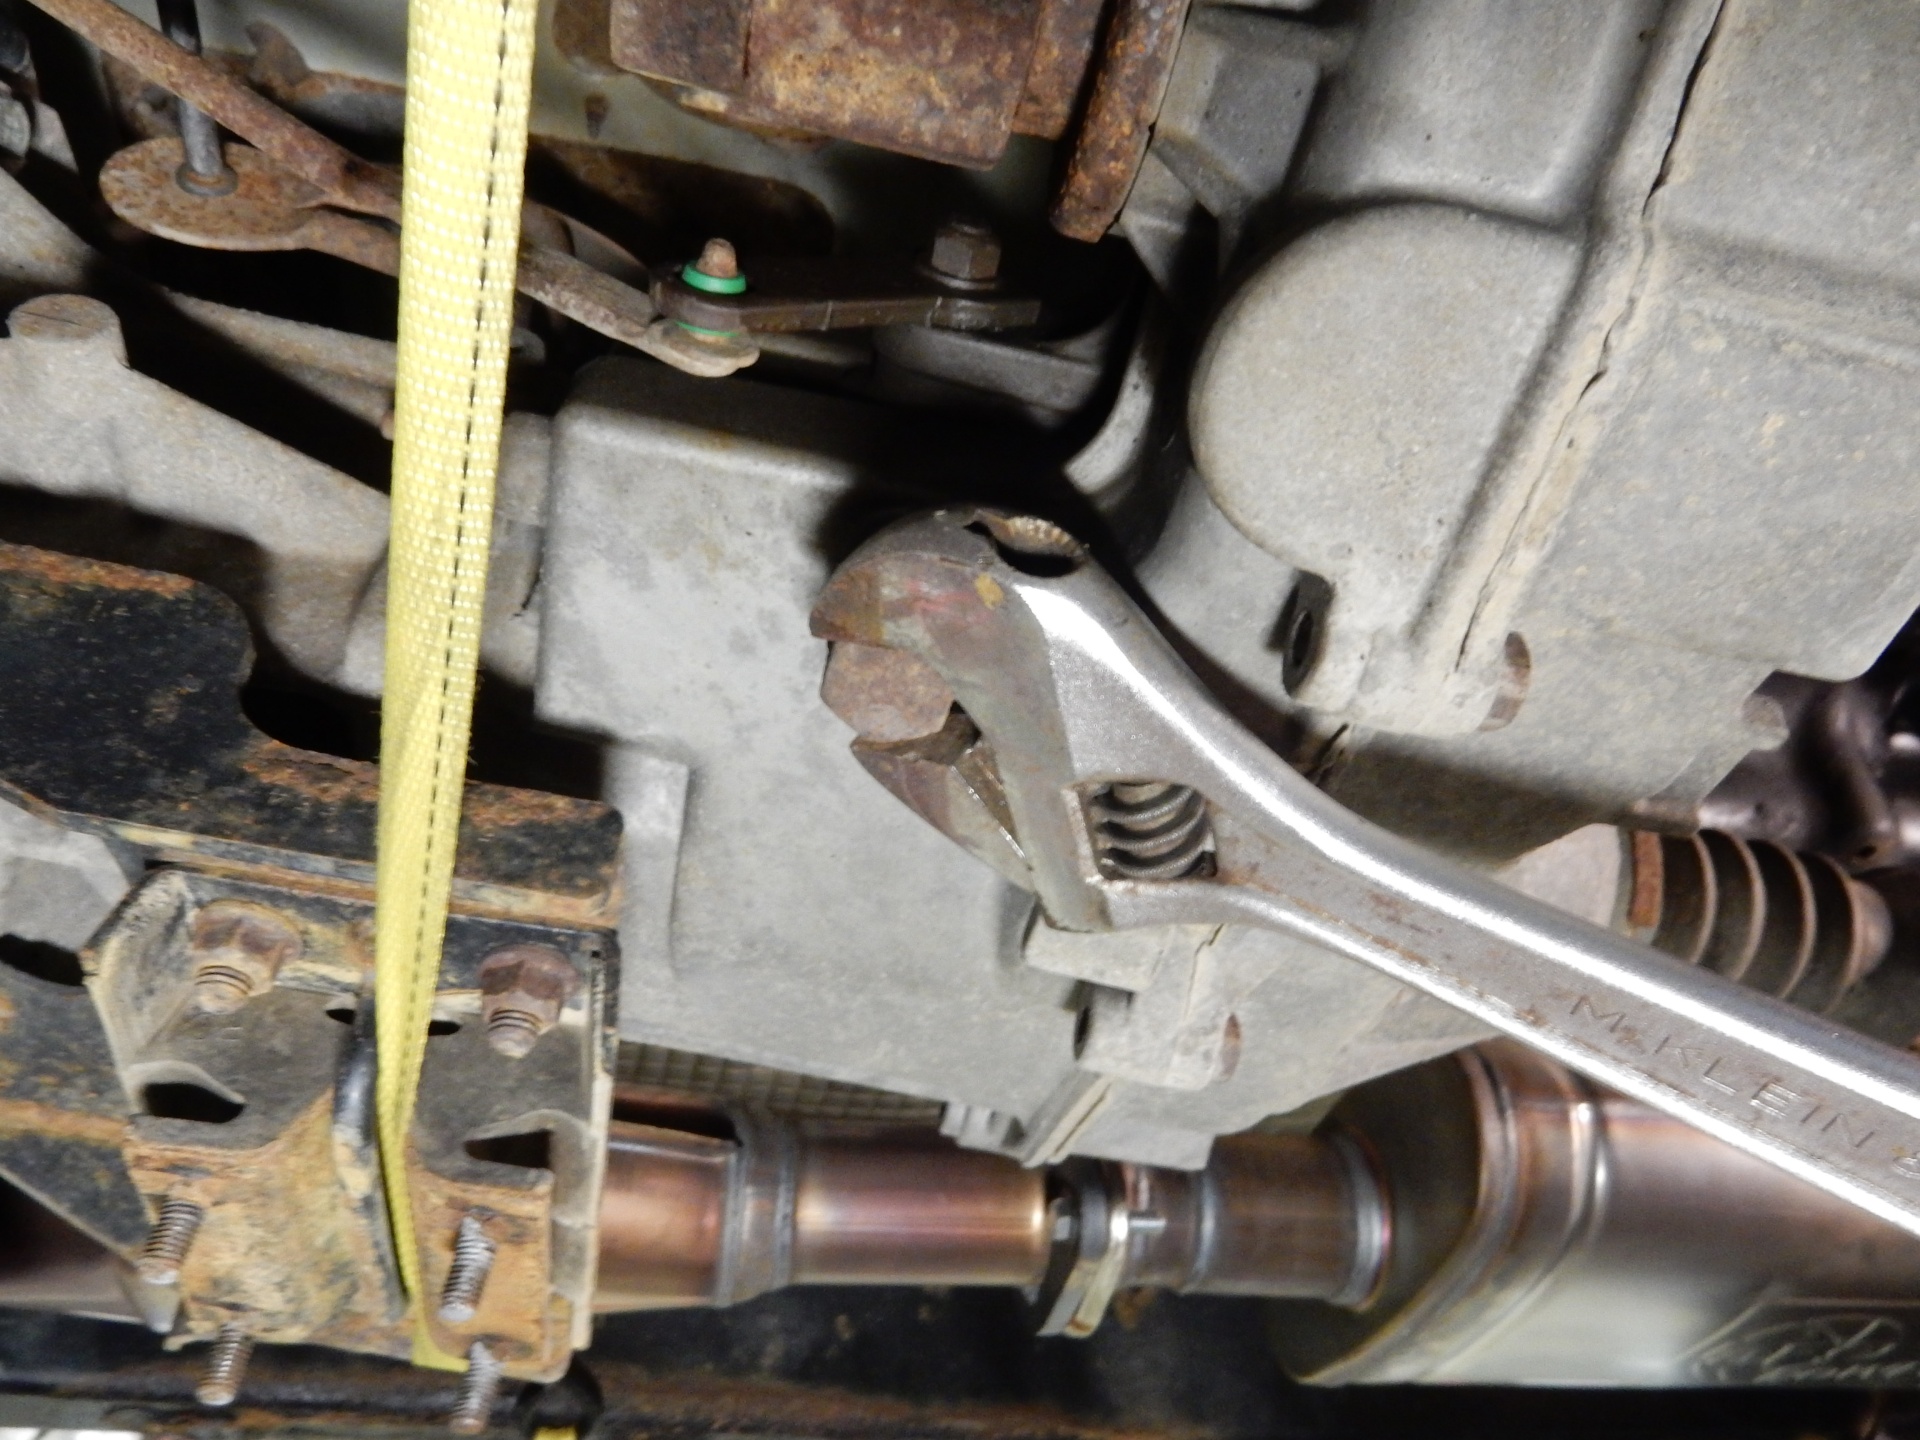
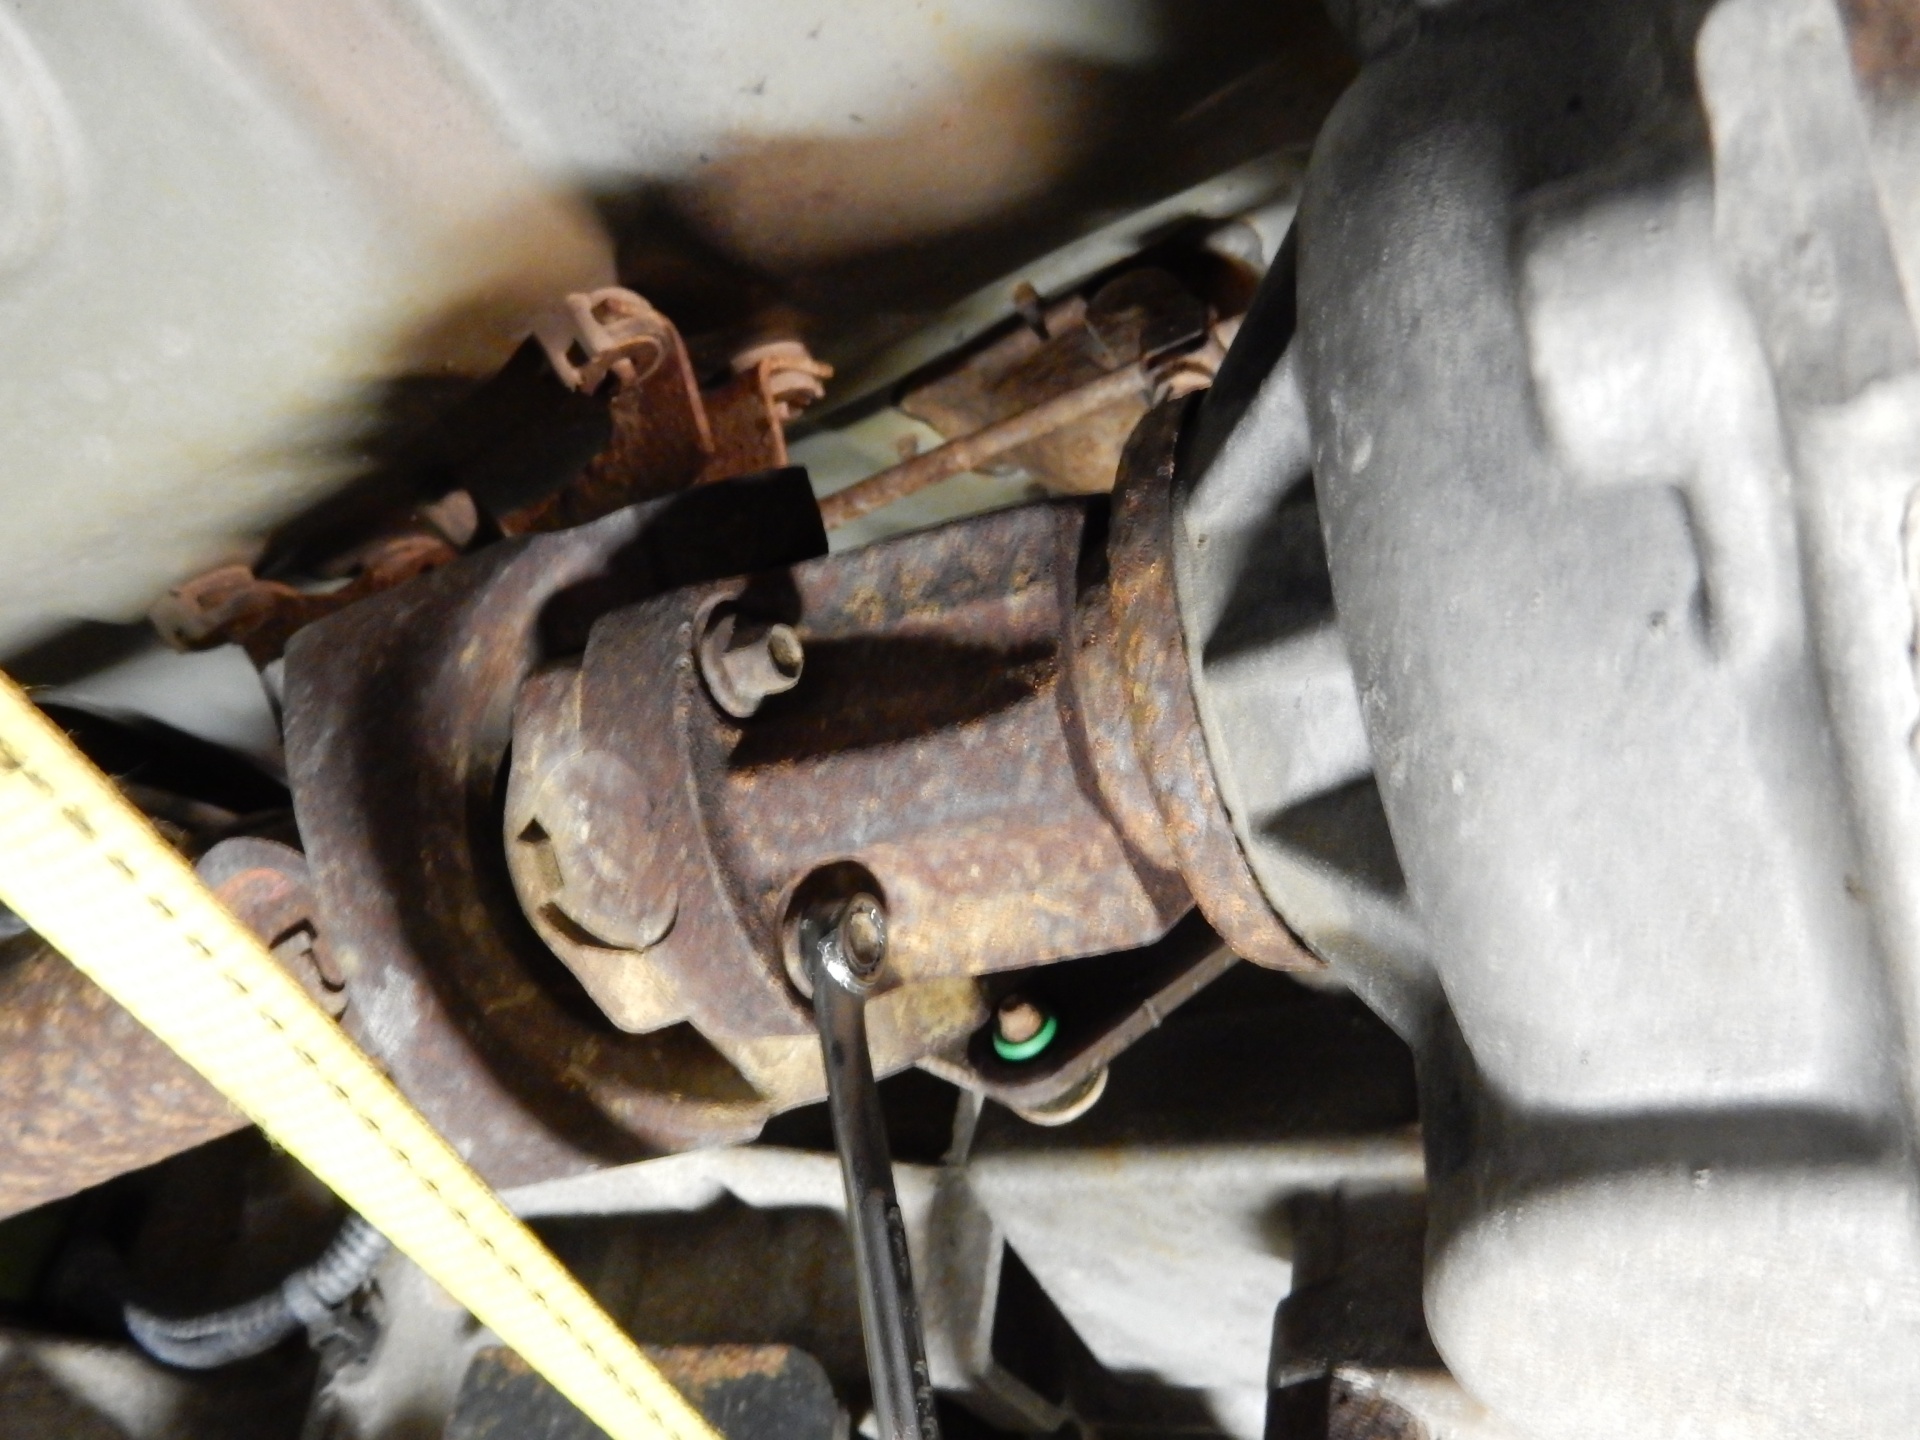
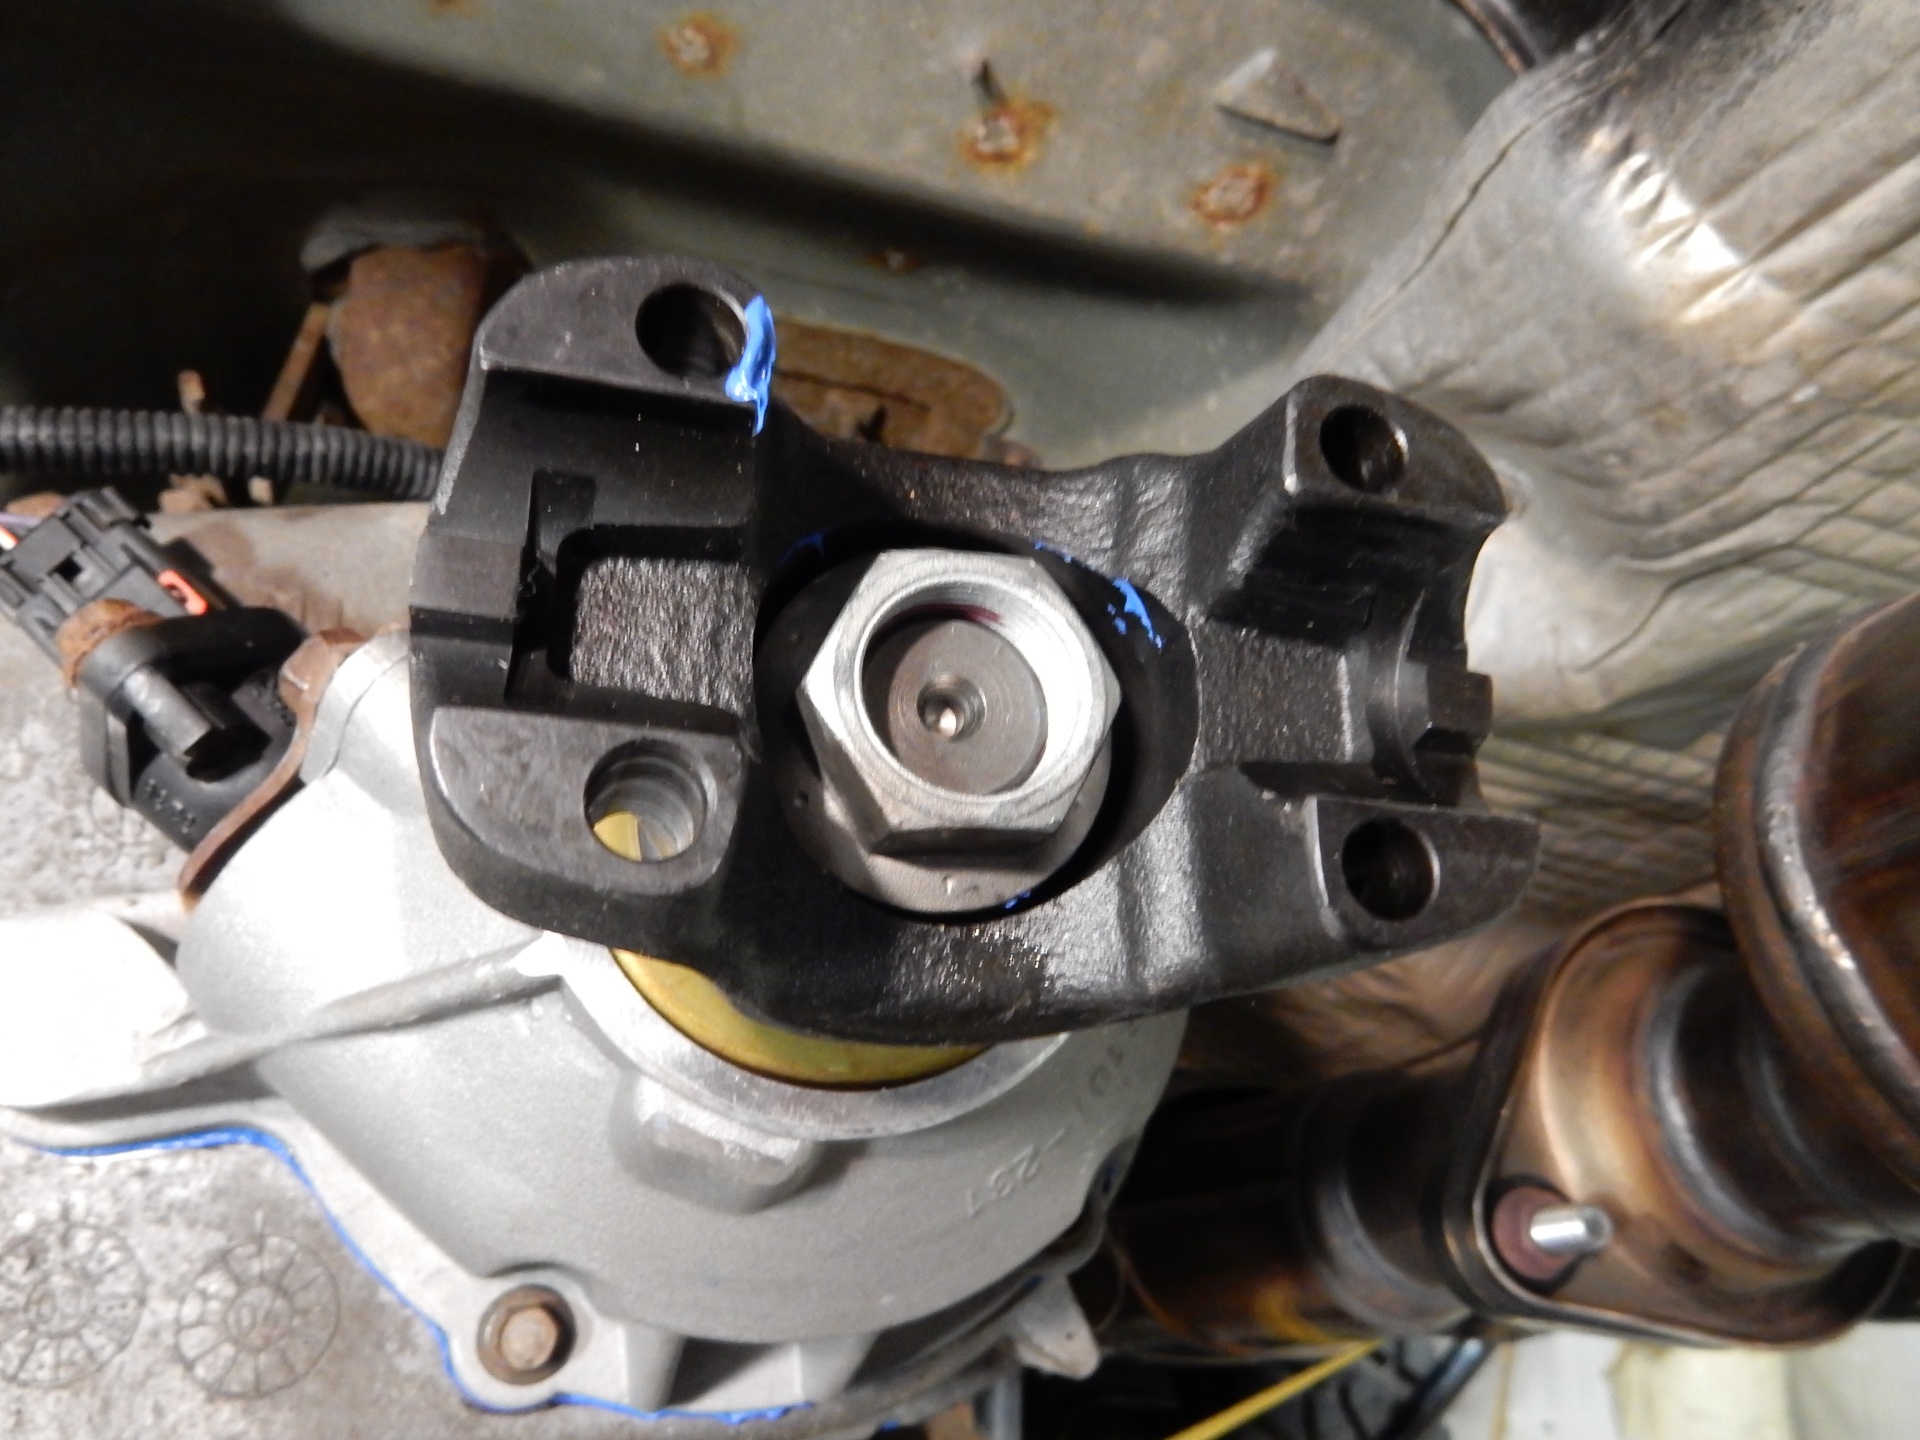
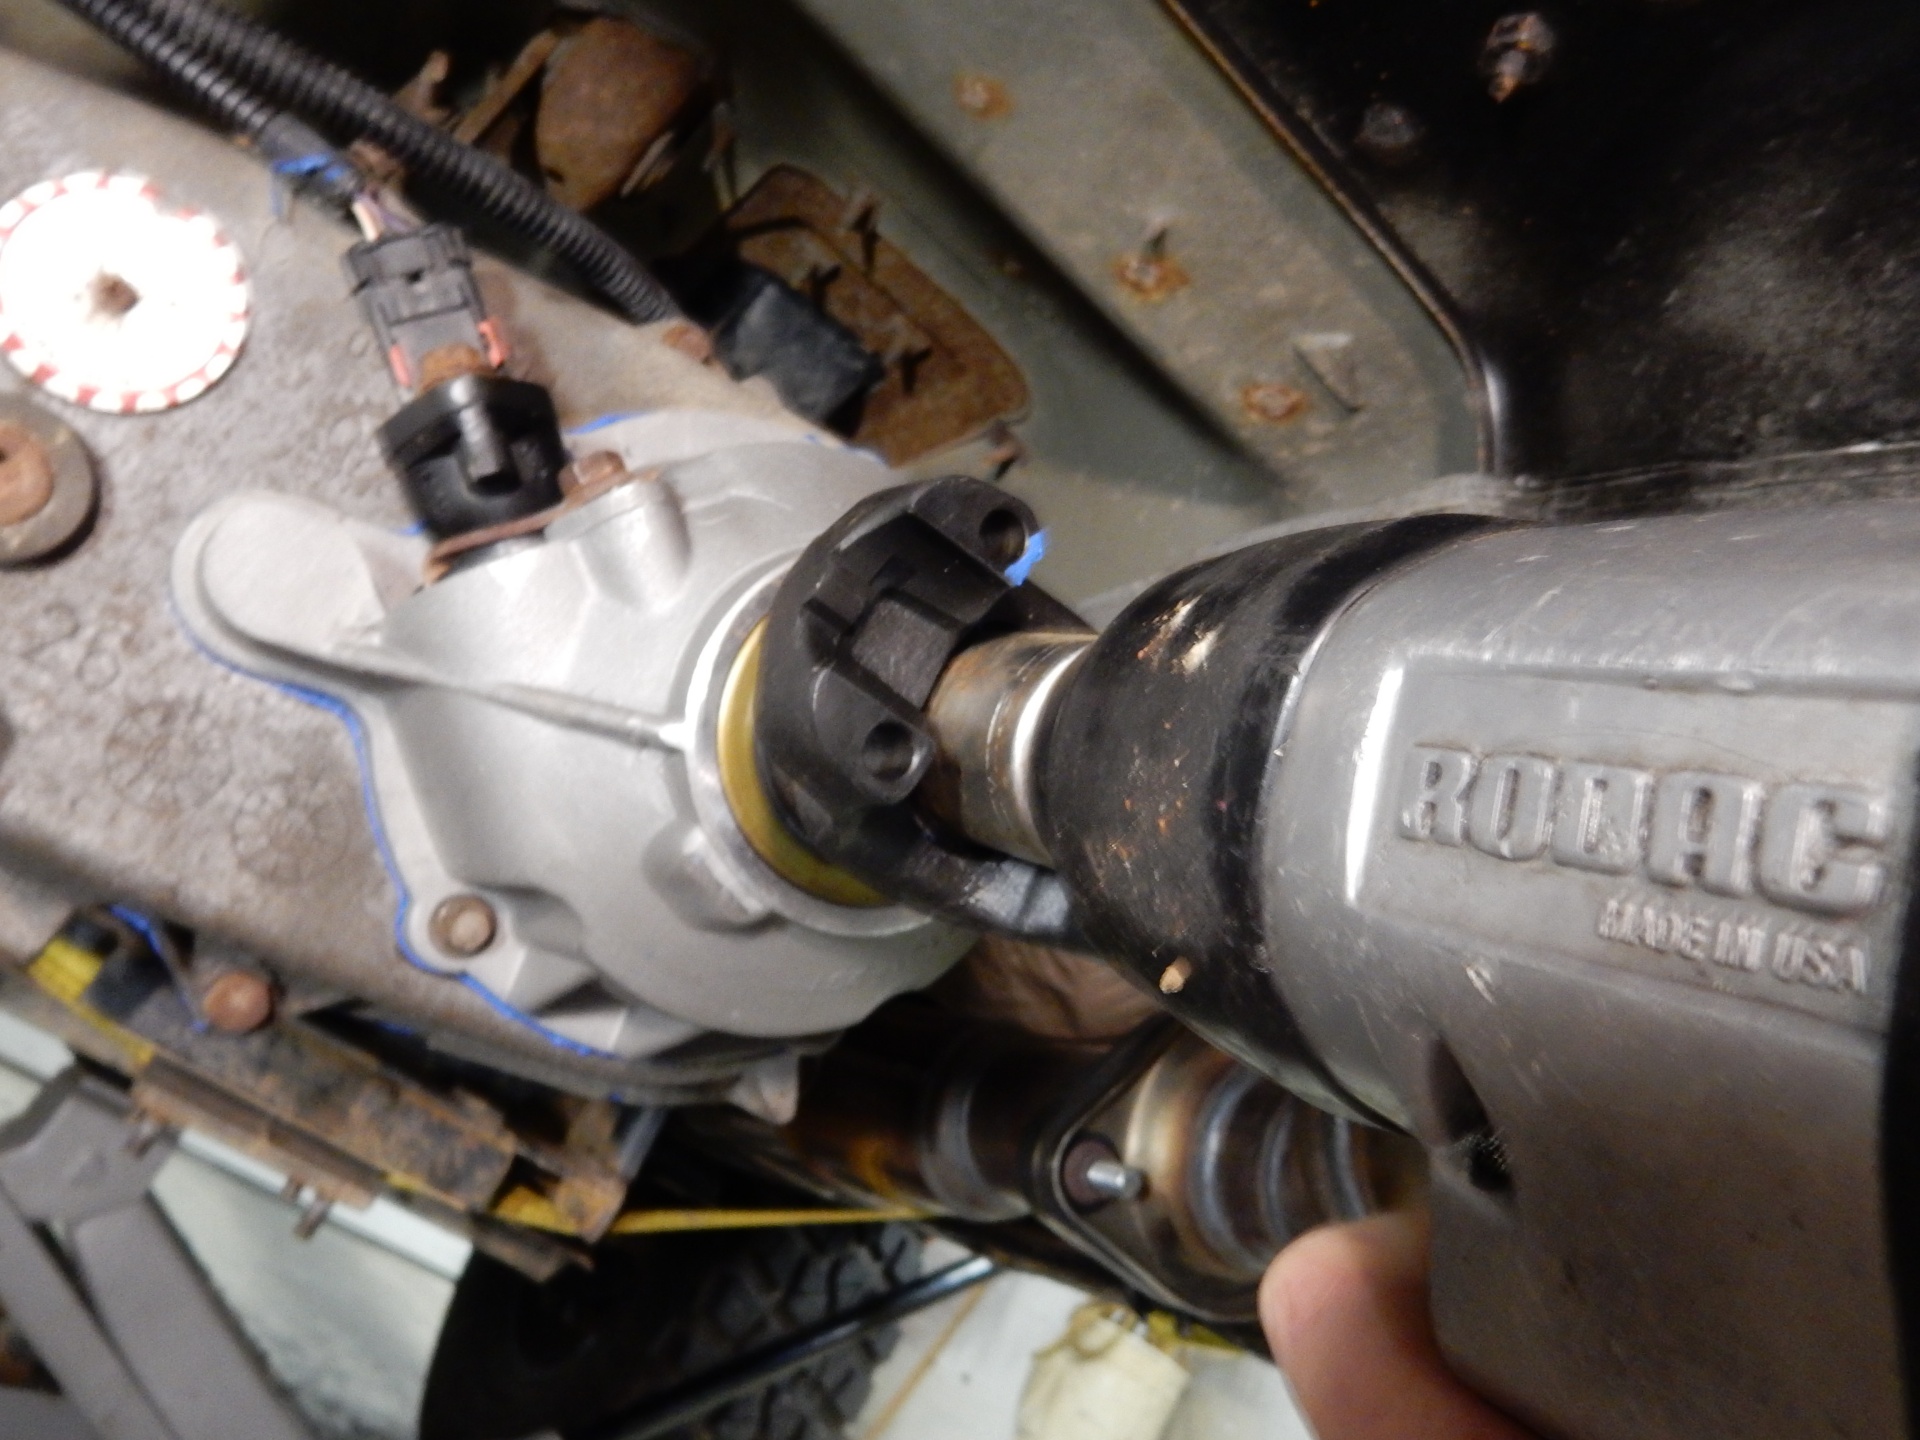
Install the new yoke and tighten to proper torque specs.
7. Refill, Torque and Wrap Up:
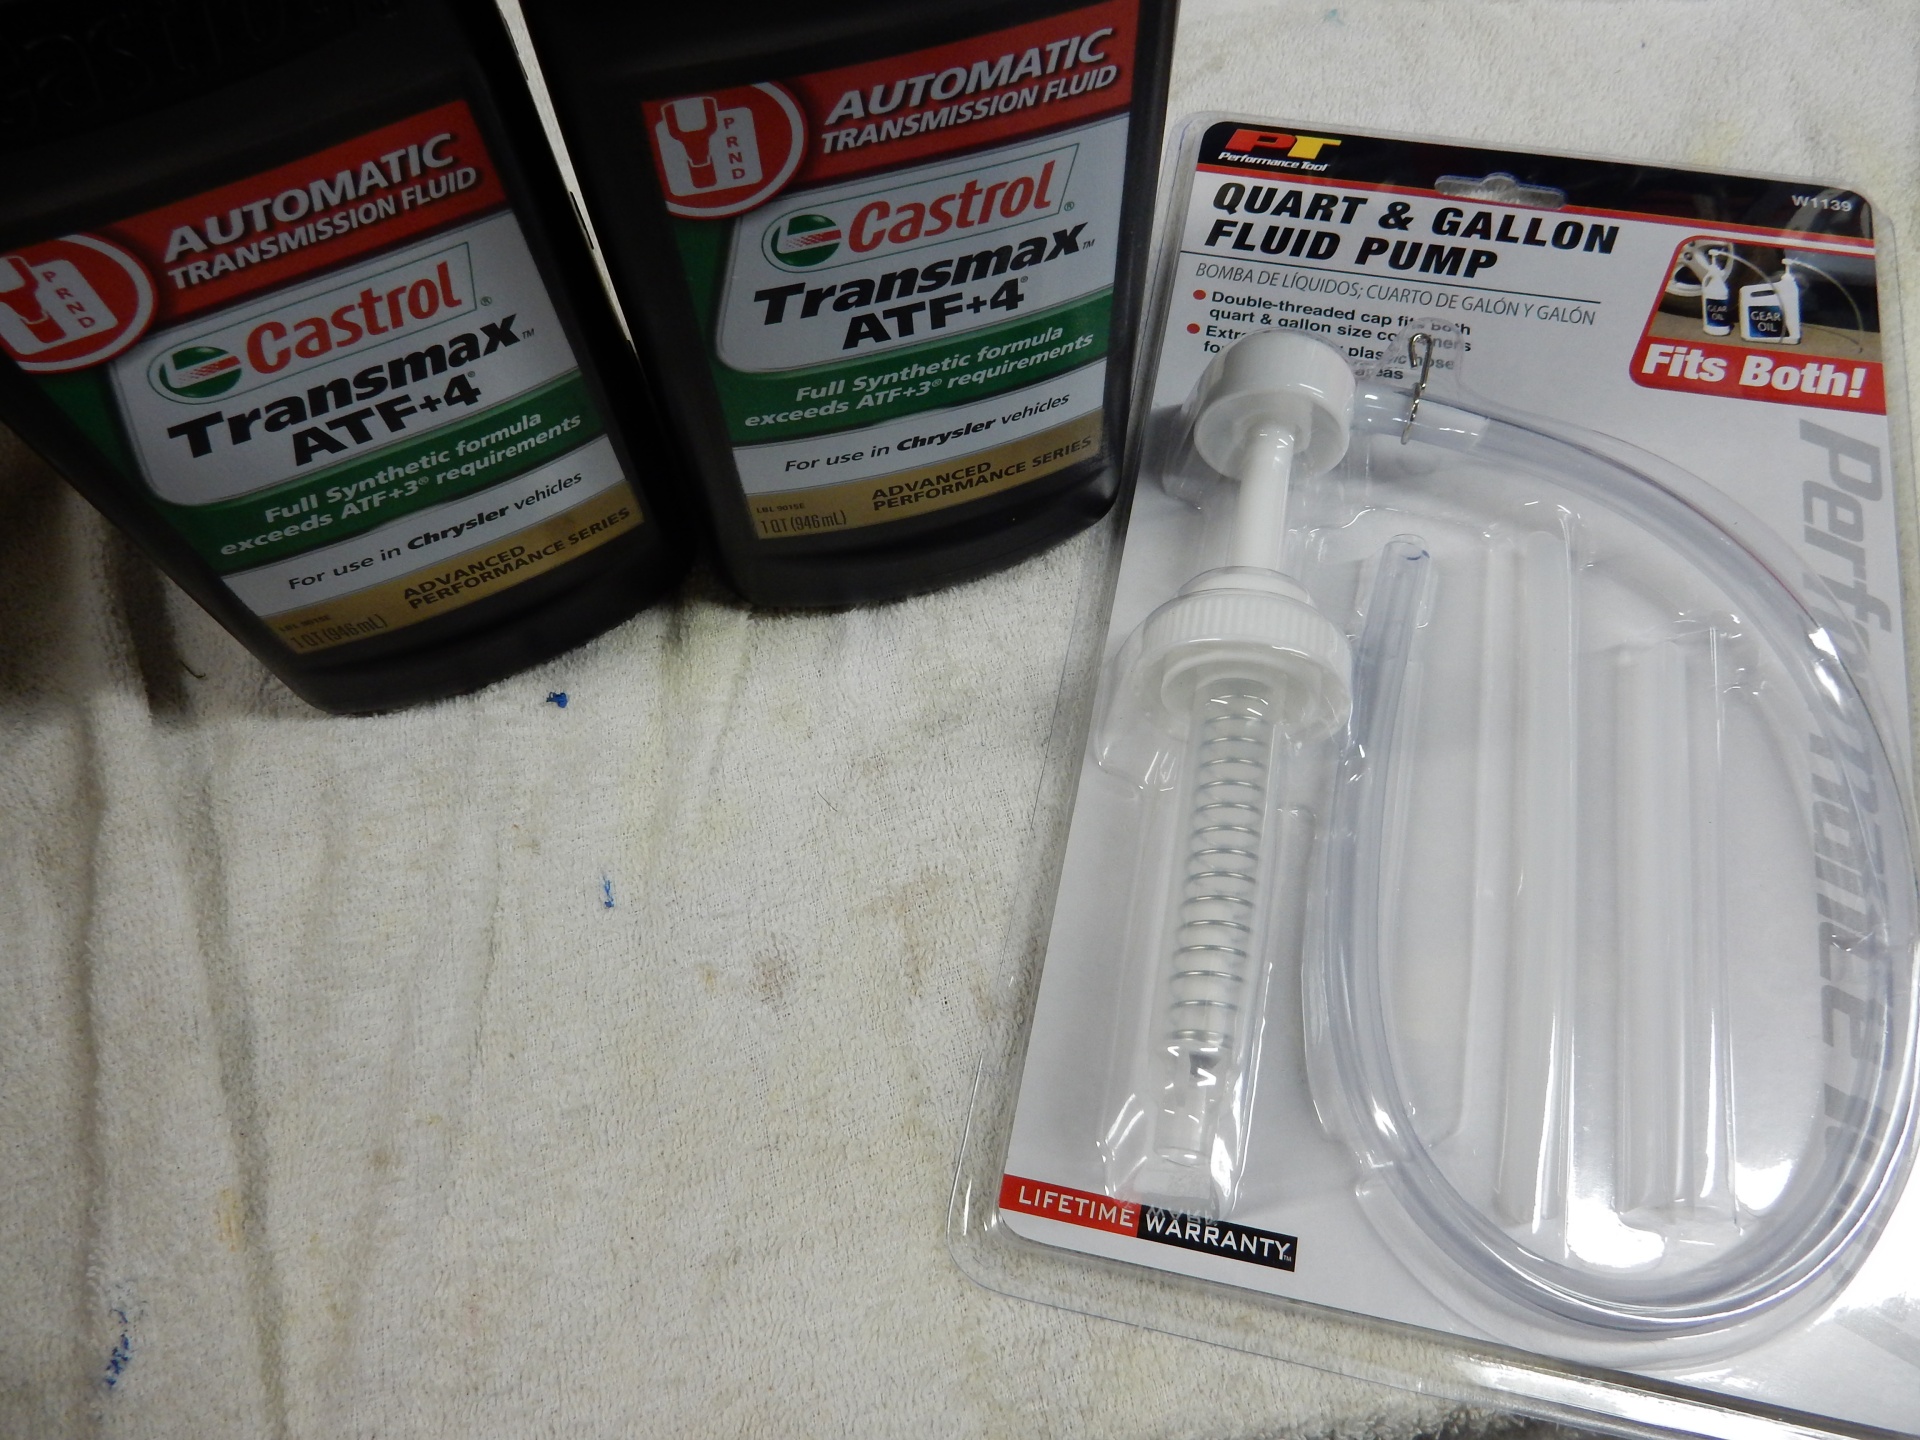
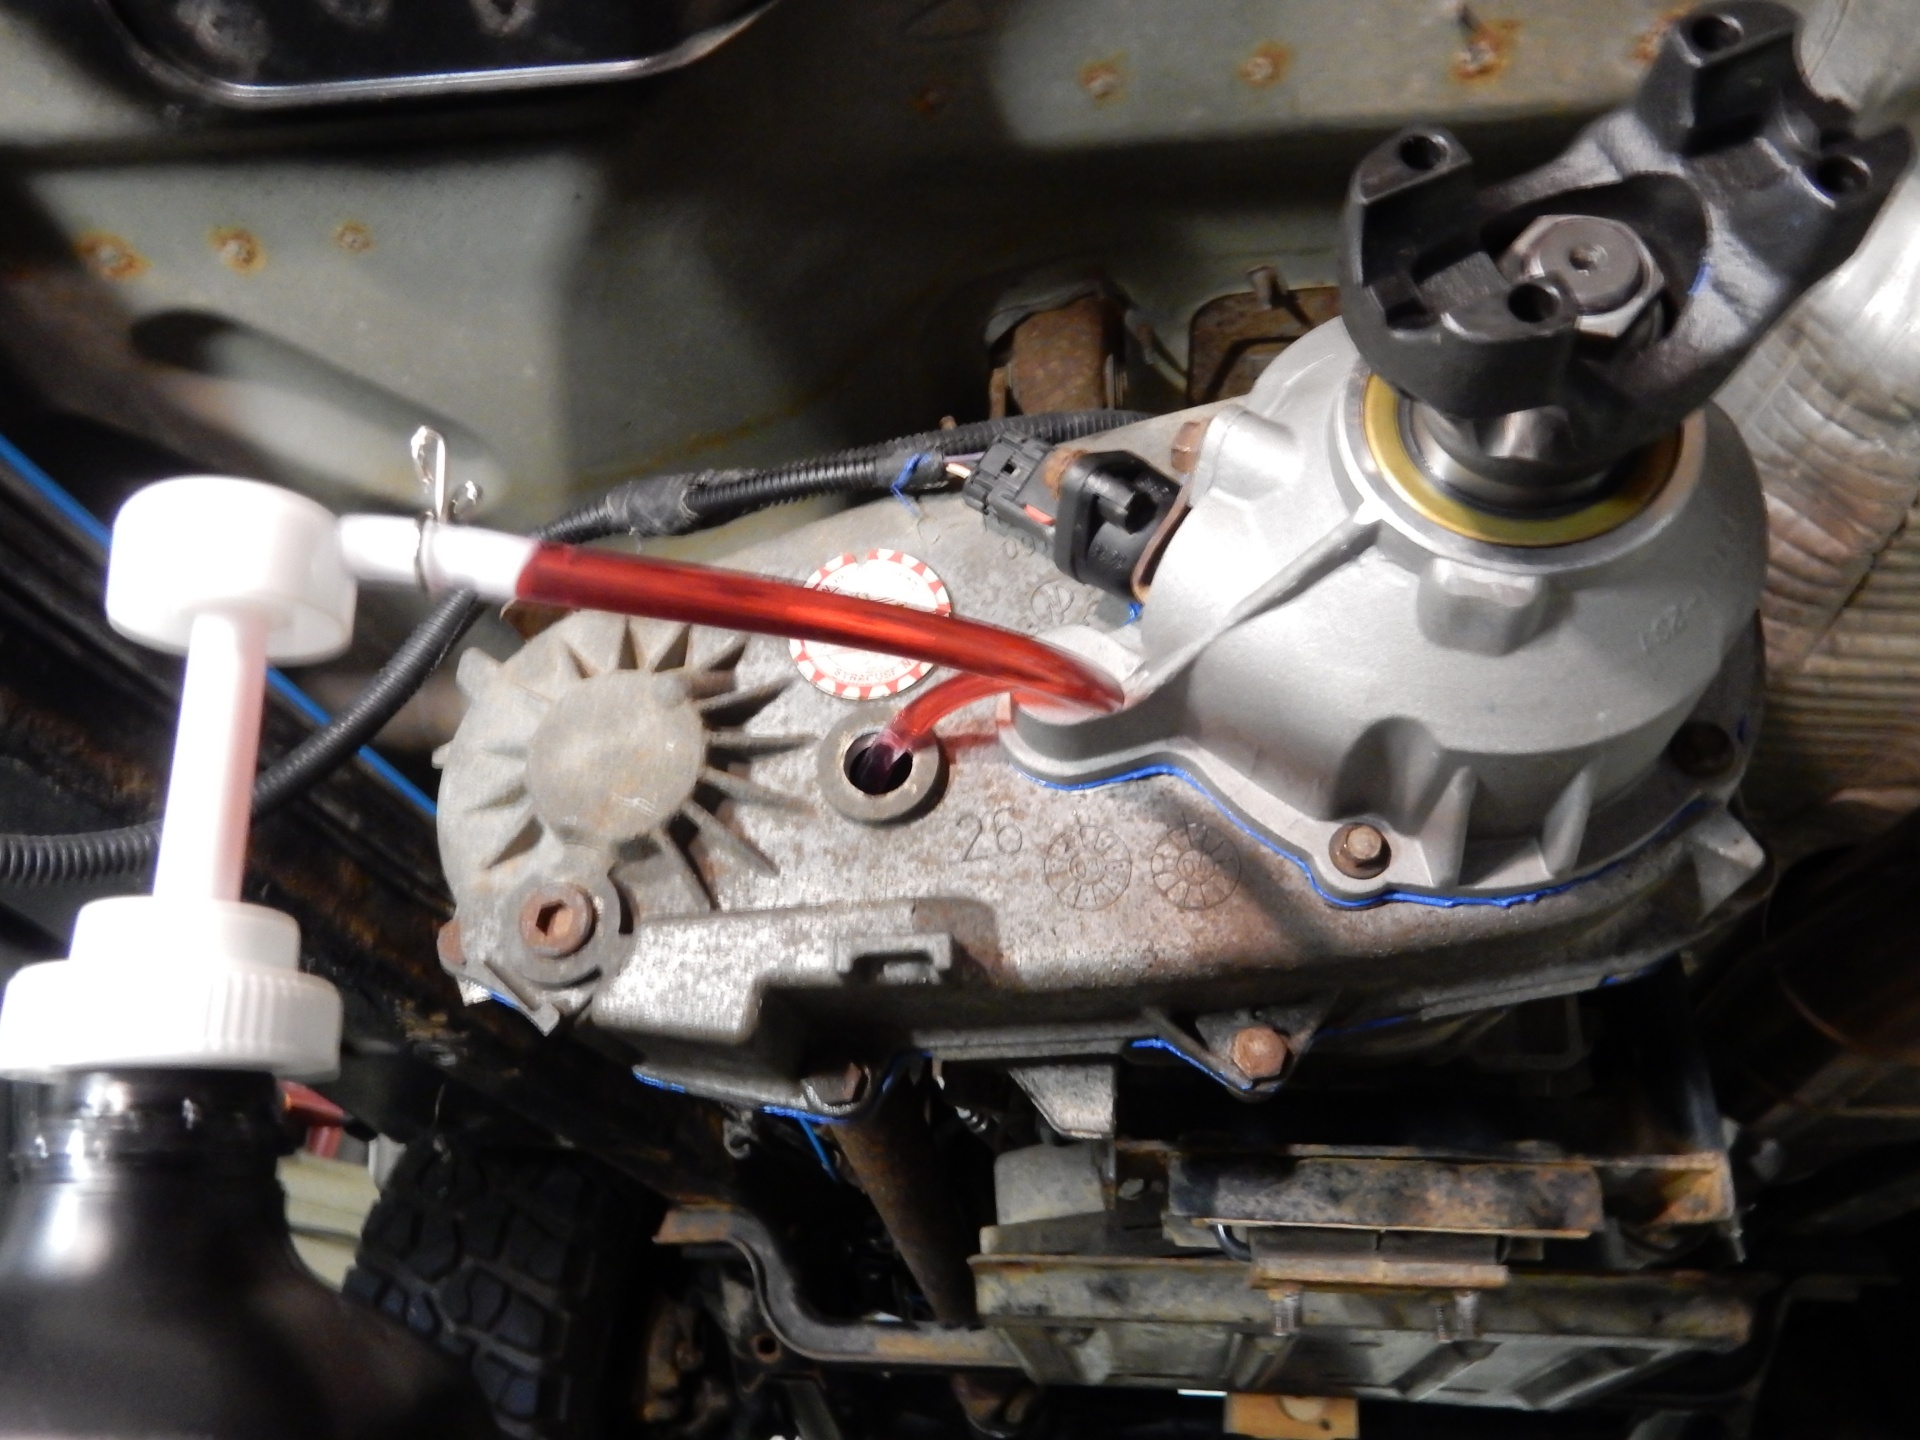
Reattach the front drive shaft. Fill the case with ATF+4, this is easier to do when the skid plate is still removed. Using a fluid pumper keeps the mess down. Make sure and torque everything to spec. Install the skid plate.
8. Measuring for a New Driveshaft:
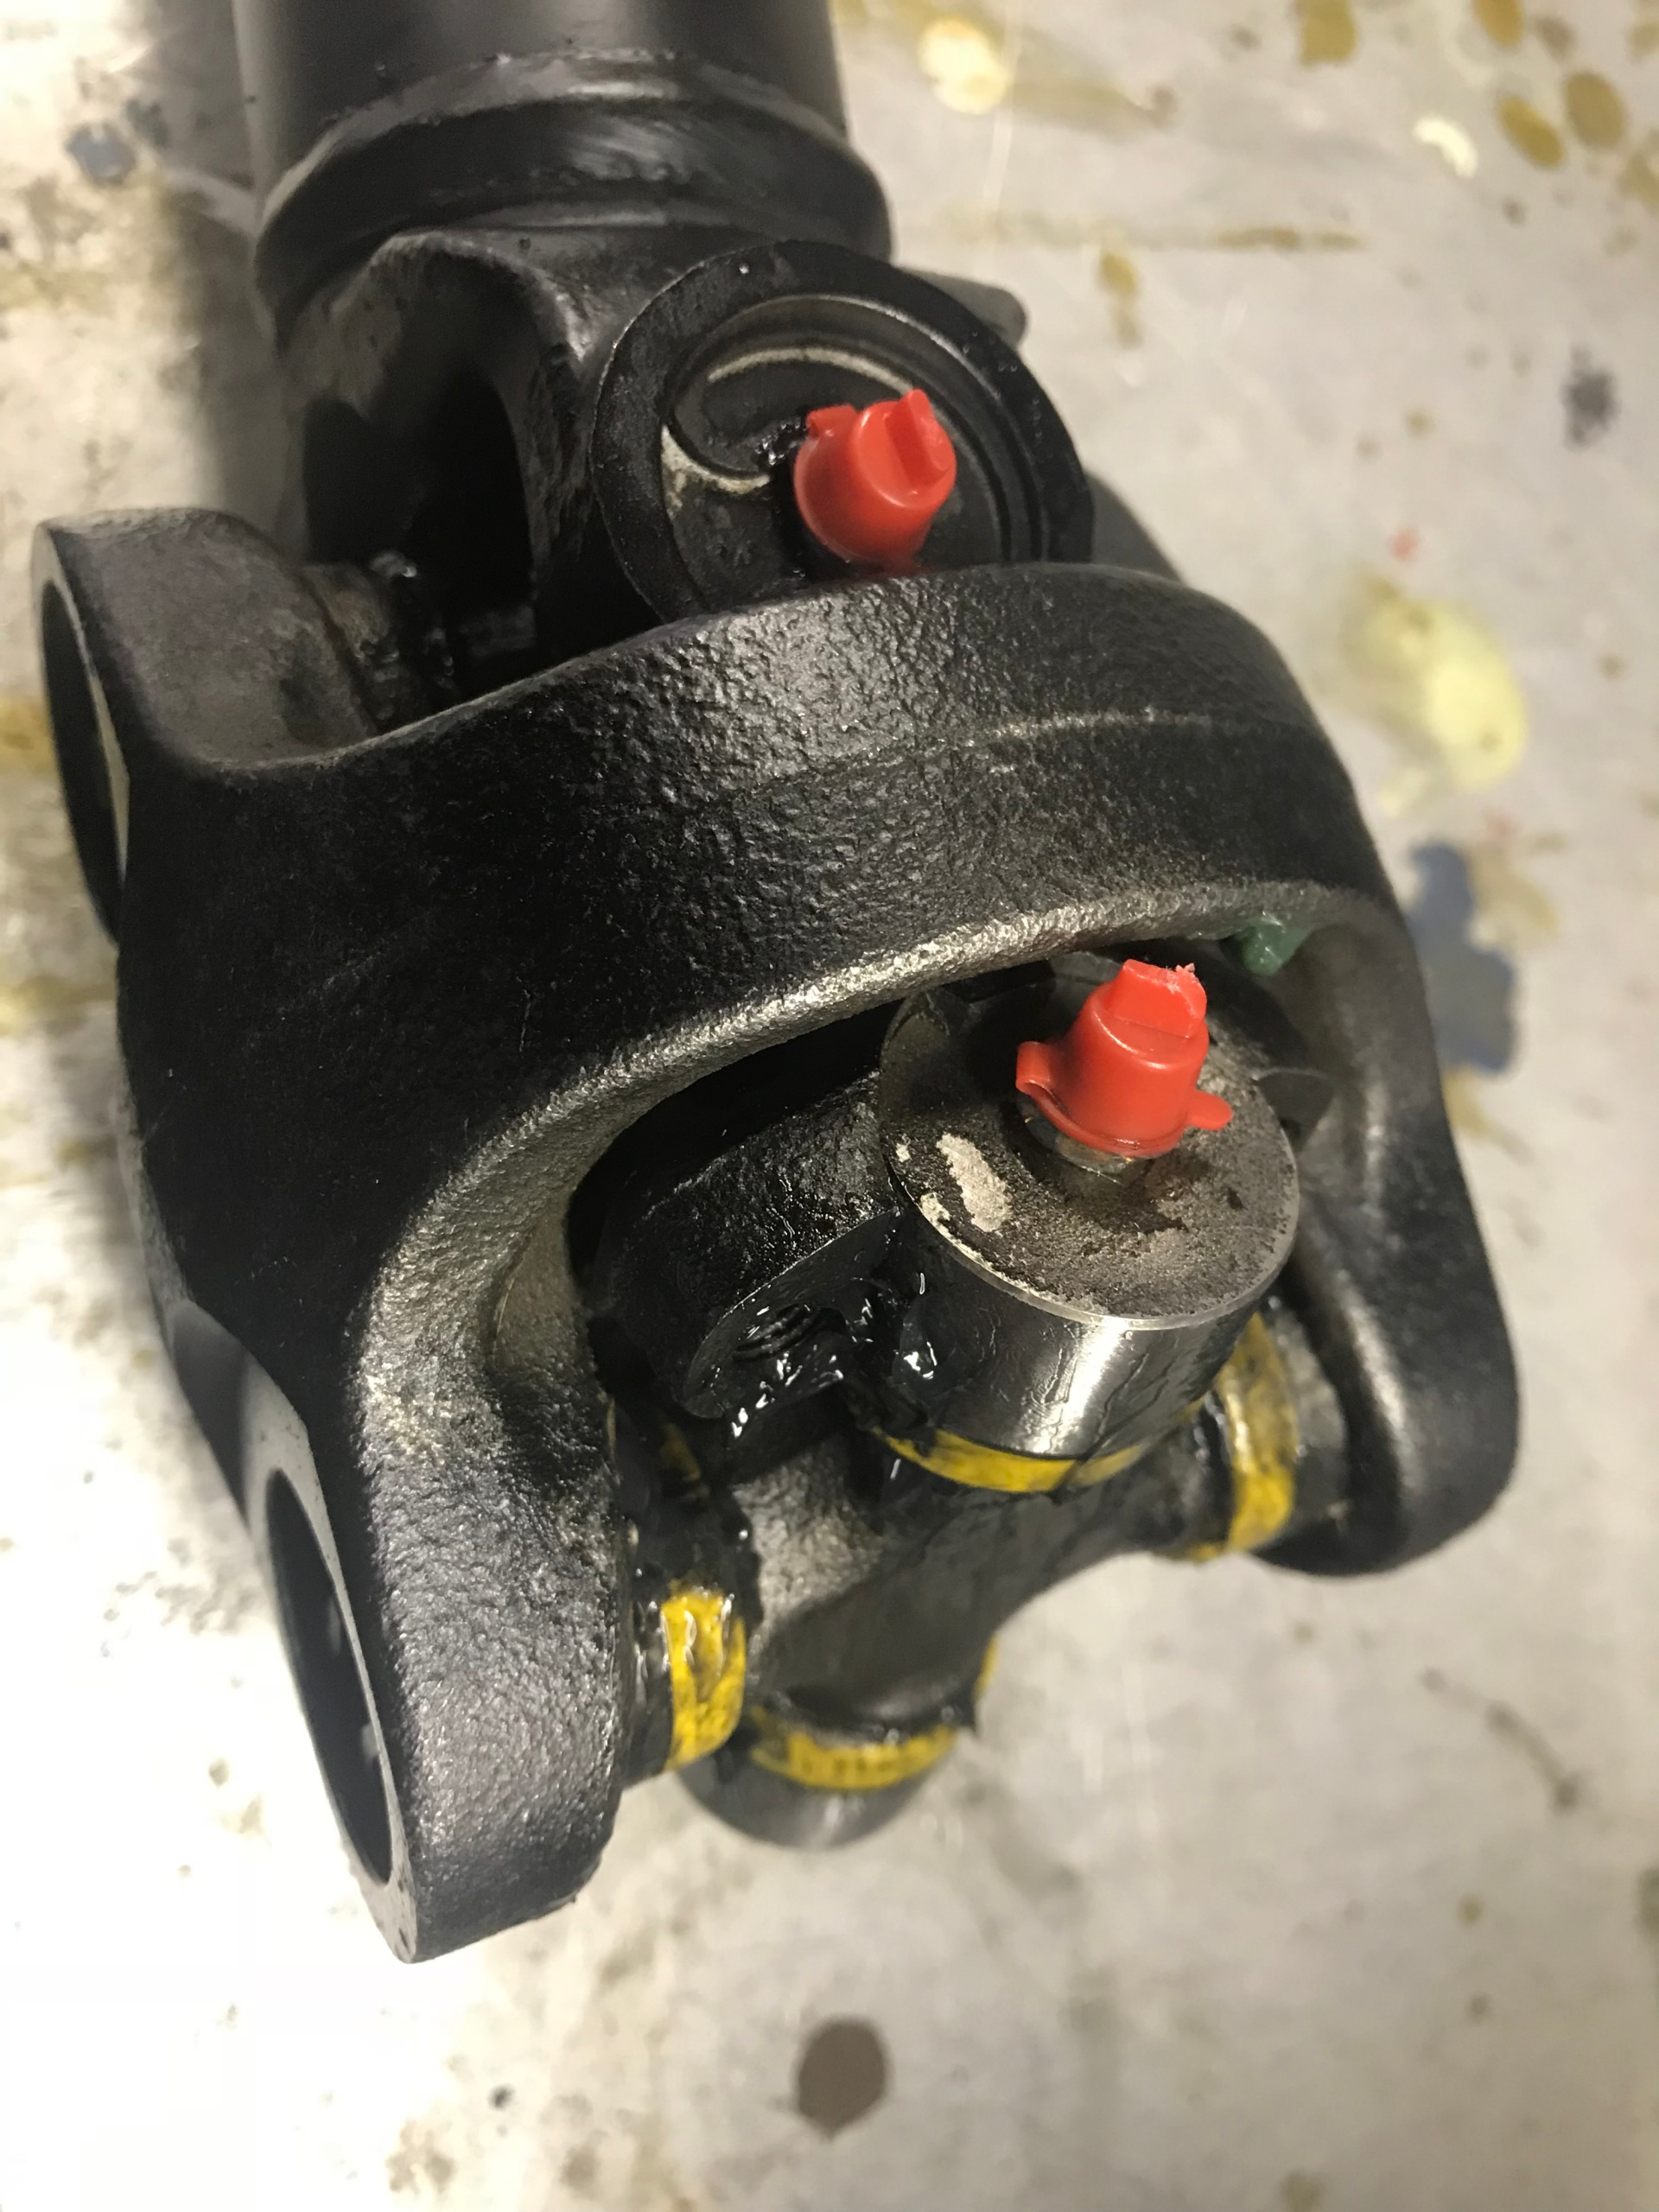
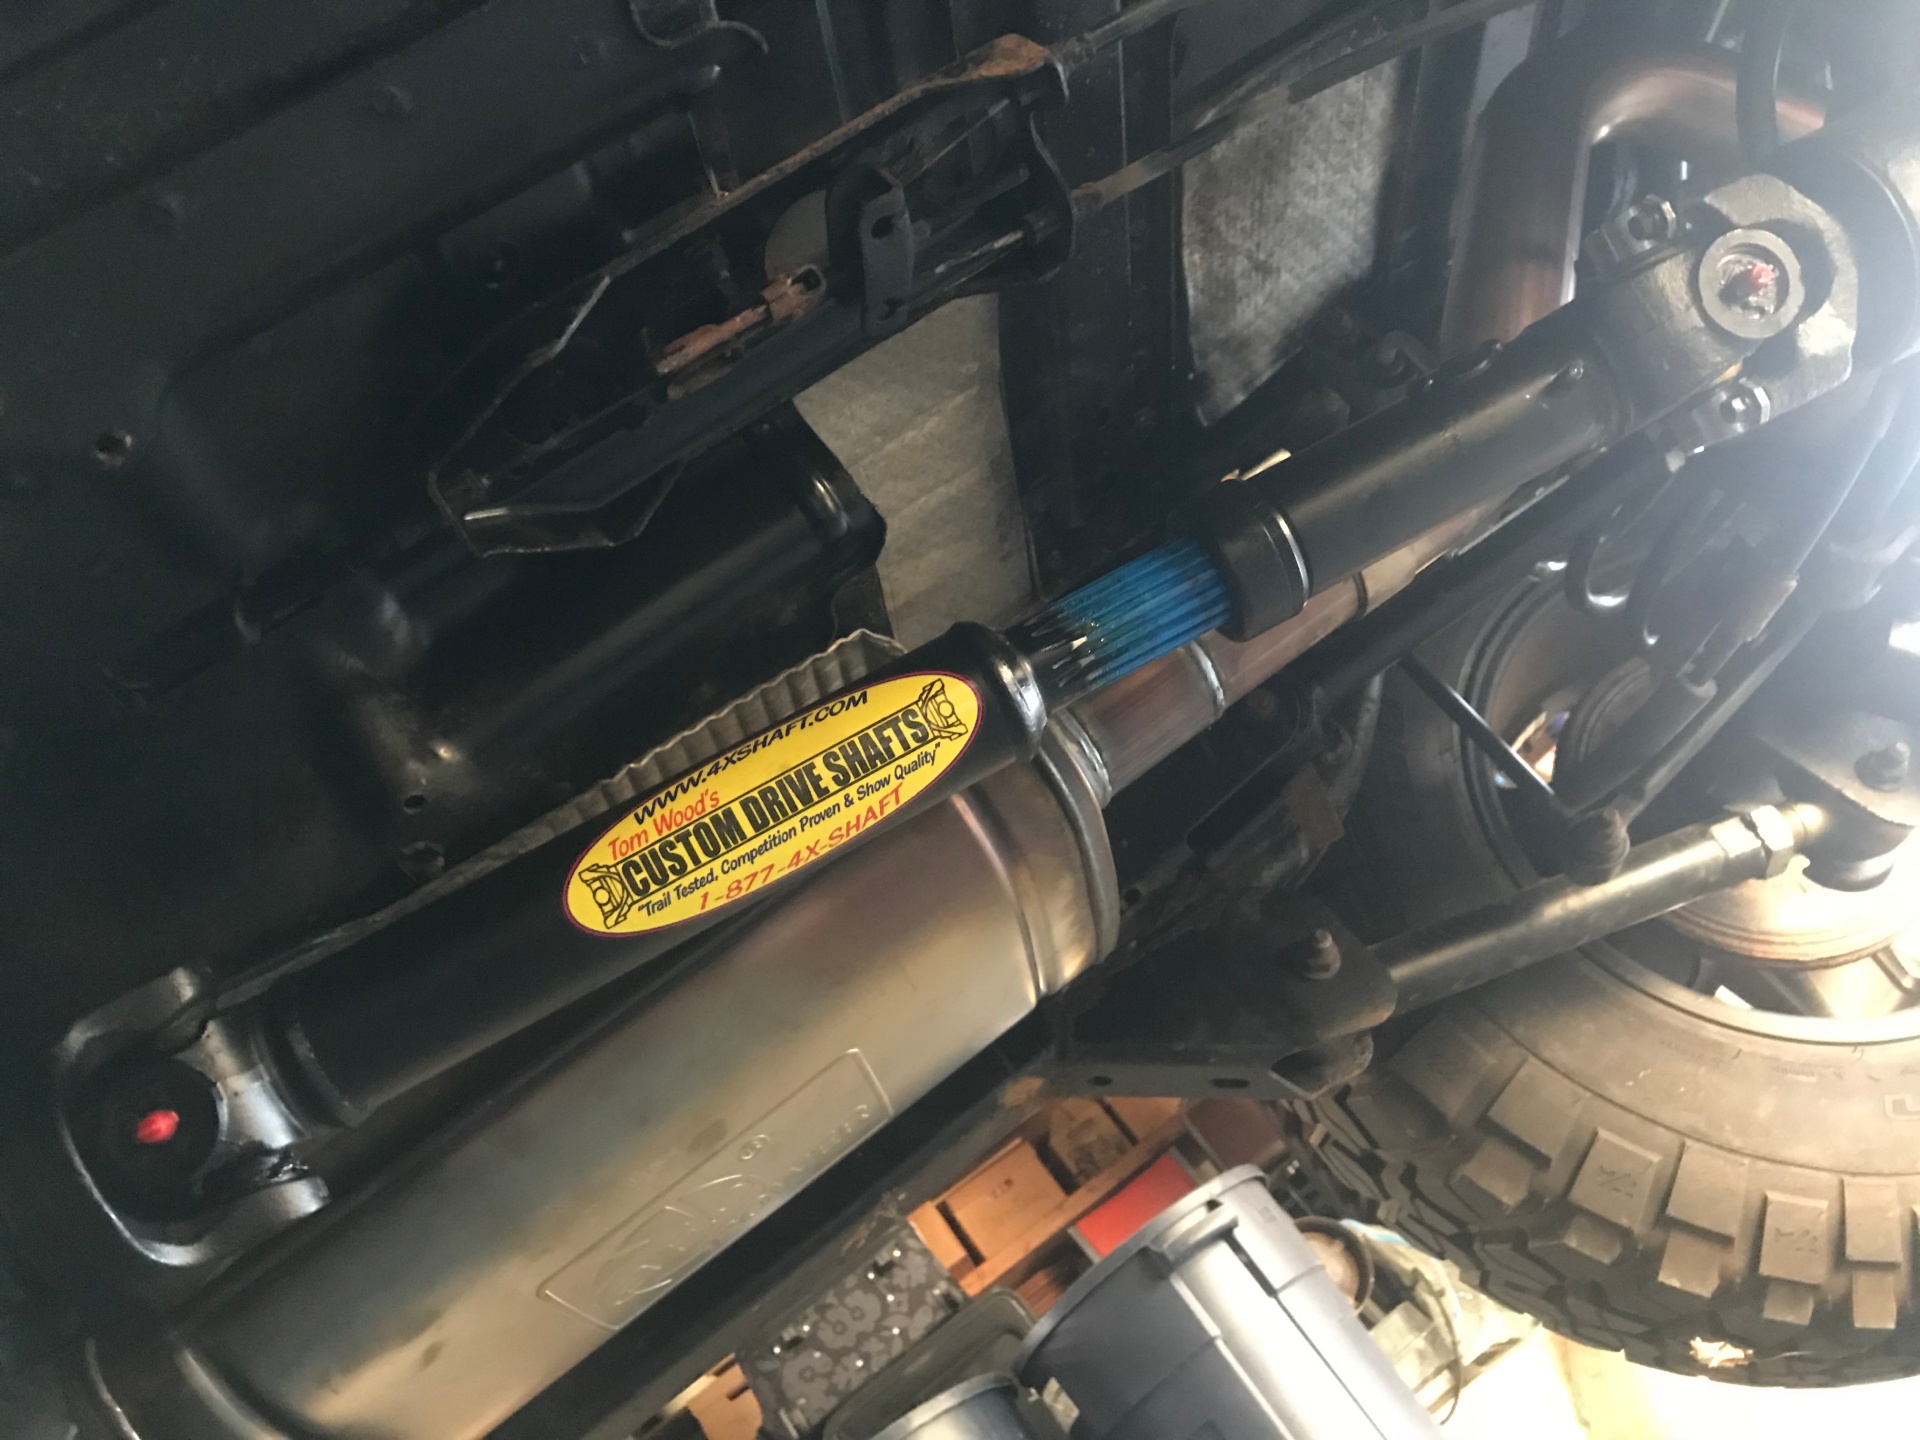
With the Jeep on its own weight measure the distance from the fixed yoke to the rear axle yoke. This measurement is used to order a CV-style driveshaft built. Once it arrives, bolt it in and double-check angles.
9. Test Drive
We actually did this before the new rear driveshaft arrived. The Jeep was put in 4wd and some gentle street driving was done to make sure there were no strange sounds. All seemed good and there was no leaks.
10. New Driveshaft
The new Tom Woods driveshaft arrived and it fit perfectly in place. We checked all the fasteners that we recently touched and the project was complete. There’s been no vibration and operation of the new shaft is smooth.

Final Thoughts
Installing a Teraflex SYE is a commitment, but it’s worth the effort if you’re serious about your TJ’s drivetrain. This upgrade addresses vibration issues, increases strength, and future-proofs your Jeep for larger lifts and tougher trails. While the install dives into transfer case internals, the result is a quieter, smoother ride and a critical step forward in the evolution of a trail-ready TJ.
If you’re planning a suspension upgrade, bigger tires, or just want to eliminate driveline slop, the Teraflex Slip Yoke Eliminator is a well-engineered, trail-tested solution that belongs in the garage sooner rather than later.