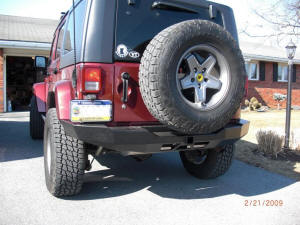
 After a small incident that left Christine’s only plastic part left on her JK with a nice dent in it she felt it was time to replace that rear bumper with something more substantial. Wanting an integrated hitch was important along with good looks that keeps the style of the JK.
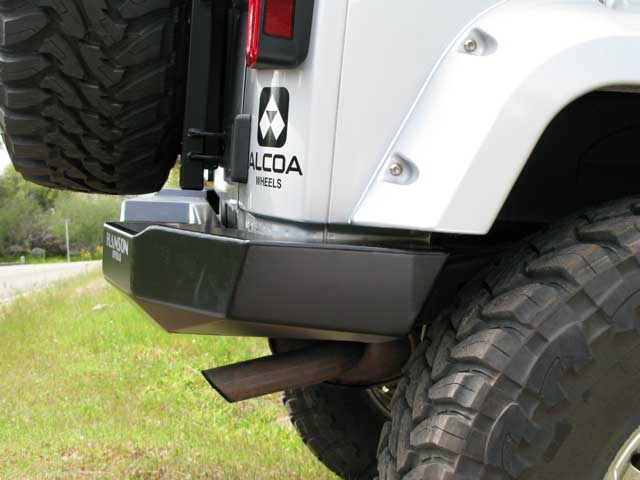
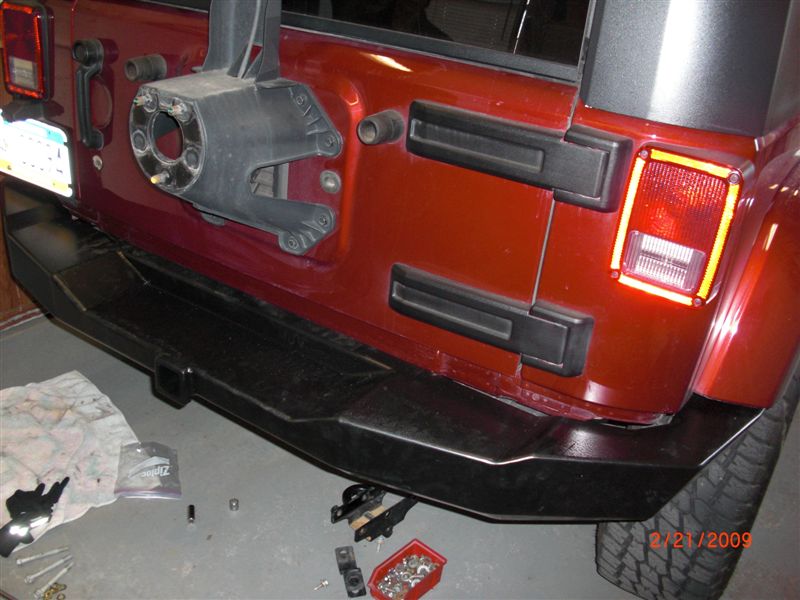
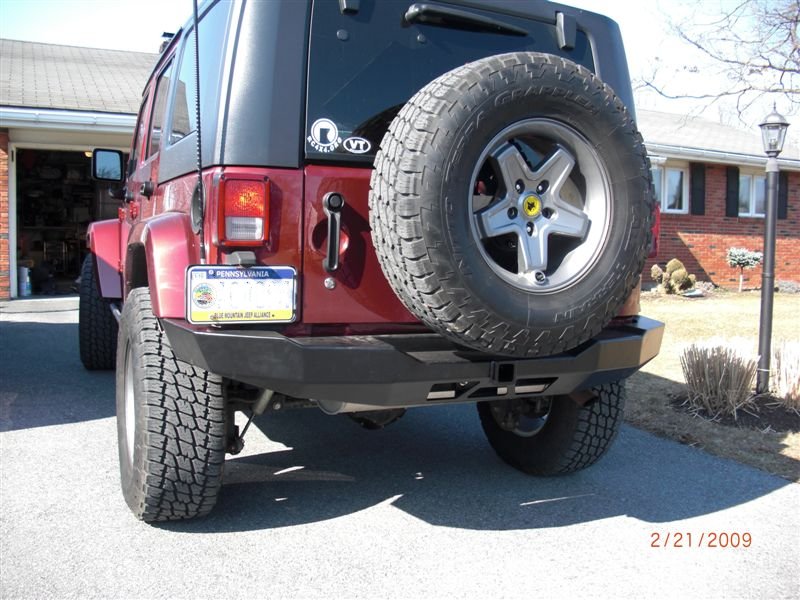
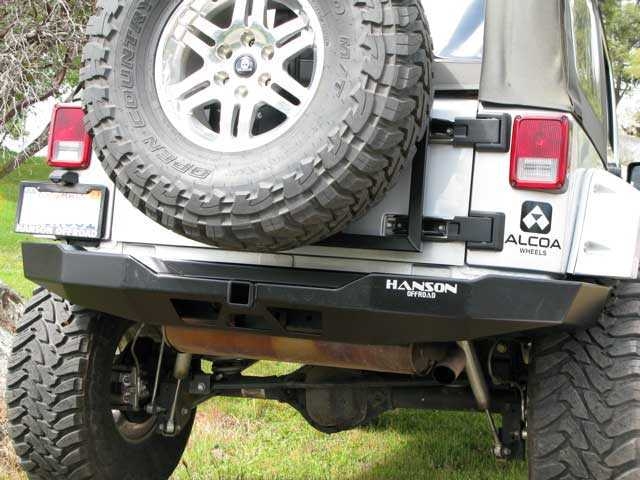 Hanson Offroad manufactures a stylish bumper for the JK that includes a “frenched-in” 2 inch receiver hitch. The bumper isn’t massive and gaudy like some JK bumpers available. The combination of sturdy construction and multiple angles adds strength and optimizes departure angles. This bumper wraps around the rear body with a thinner profile than stock bumpers. Powder coated in black semi-gloss finish. Hanson’s rear bumper works w/stock size tires.
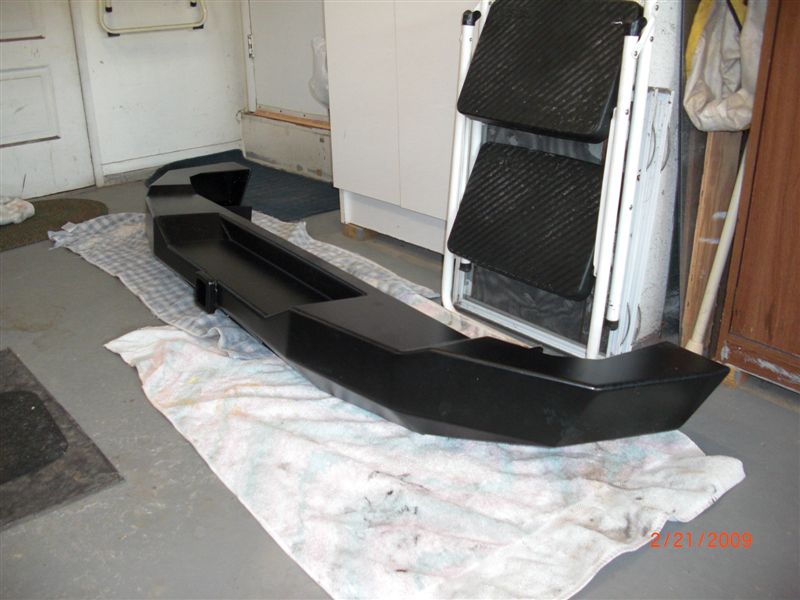
The bumper arrived in a crate the resembled a coffin. The bumper was very well packaged in the wooden box and had what seemed like two dozen screws holding it shut. Inside the bumper was wrapped in plastic and encased in spray foam.
After unpacking the bumper and inspecting it we began the installation.
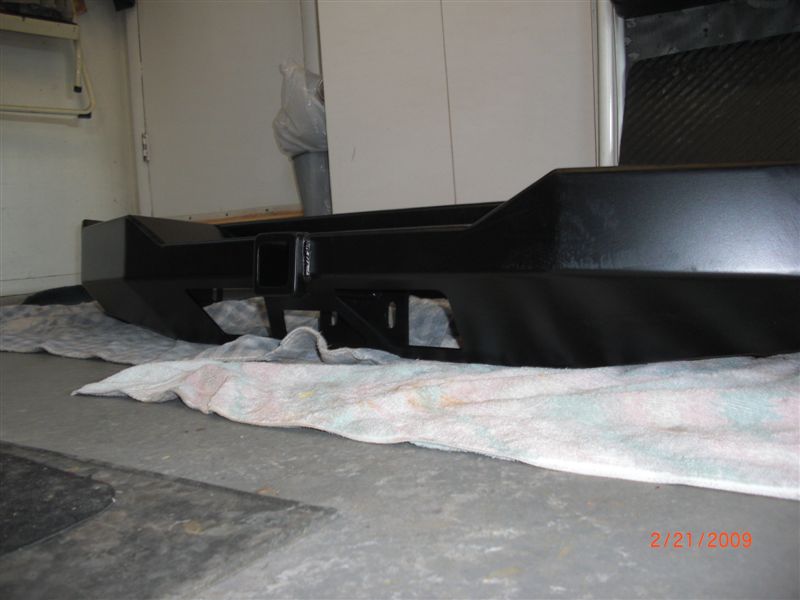
We could not seem to locate any installation instructions but we knew what we were doing. The factory JK bumper was unbolted from the frame along with the factory rear tow hook.
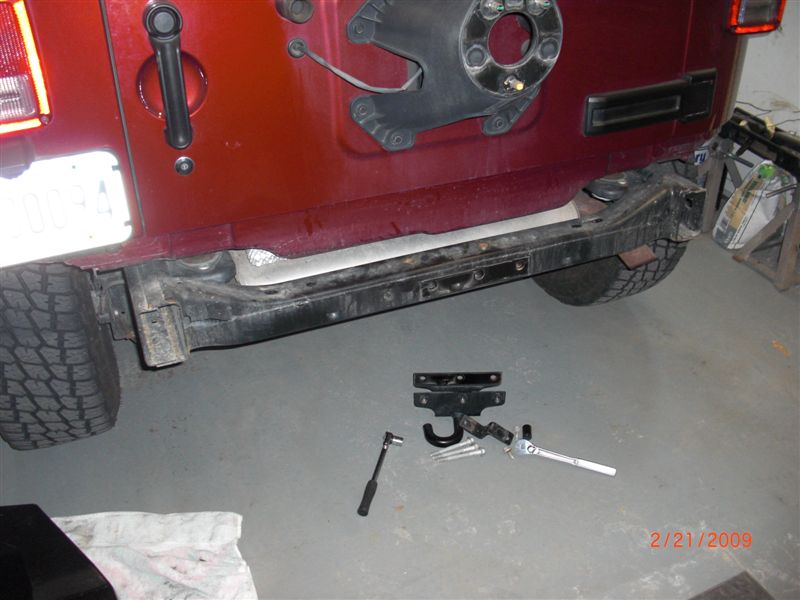
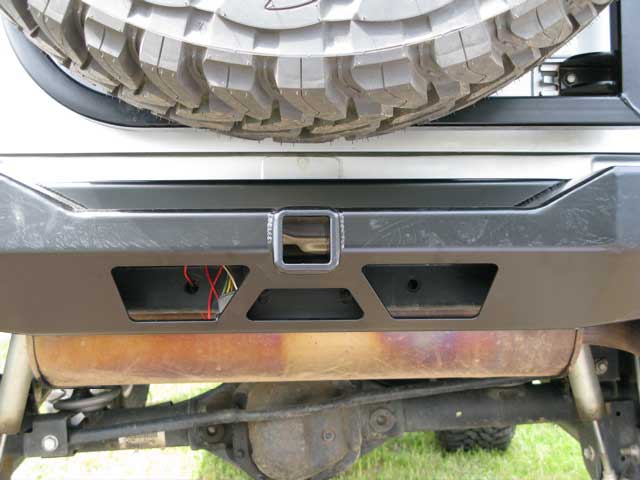
With help holding the bumper in place thread in the bolts on the side frame rails then install the rear bolts below the receiver. Use washers to shim the bumper between the rear cross member. Level the bumper and tighten the bolts.
TIP: We substituted the smallish washers that came with the bumper with larger ones. The 3/8″ bolt washers that are used below the receiver are small and the slotted holes are rather large not giving a lot of surface to hold onto.
OOPS: After we completed the installation it was discovered that the spare tire would not fit.
![]()
Hanson does state that the stock tire does fit and we thought that the “not-too-much-larger-than-stock” tires on Christine’s Jeep would fit…but it was about 1/2 inch too big. We made a quick call to OK Auto and picked up a Warrior spare tire spacer which moved the spare up 2 two inches and solved the spare problem.
In general, this is an easy installation with a minimal amount of tools and can be completed in about 1 hour. The bumper is very clean in it’s design and retains the styling of the JK.