Installing Camber Adjustment Shims.
This installation can vary slightly from Jeep to Jeep. The jeepfan.com 78 CJ-5 is equipped with Warn Heavy Duty front hubs which are quite different from the standard 5 and 6 bolt hubs typically found on a CJ. The process is similar after the hub is removed. In addition brake caliper mounts vary in different years of CJ’s but the process is similar.
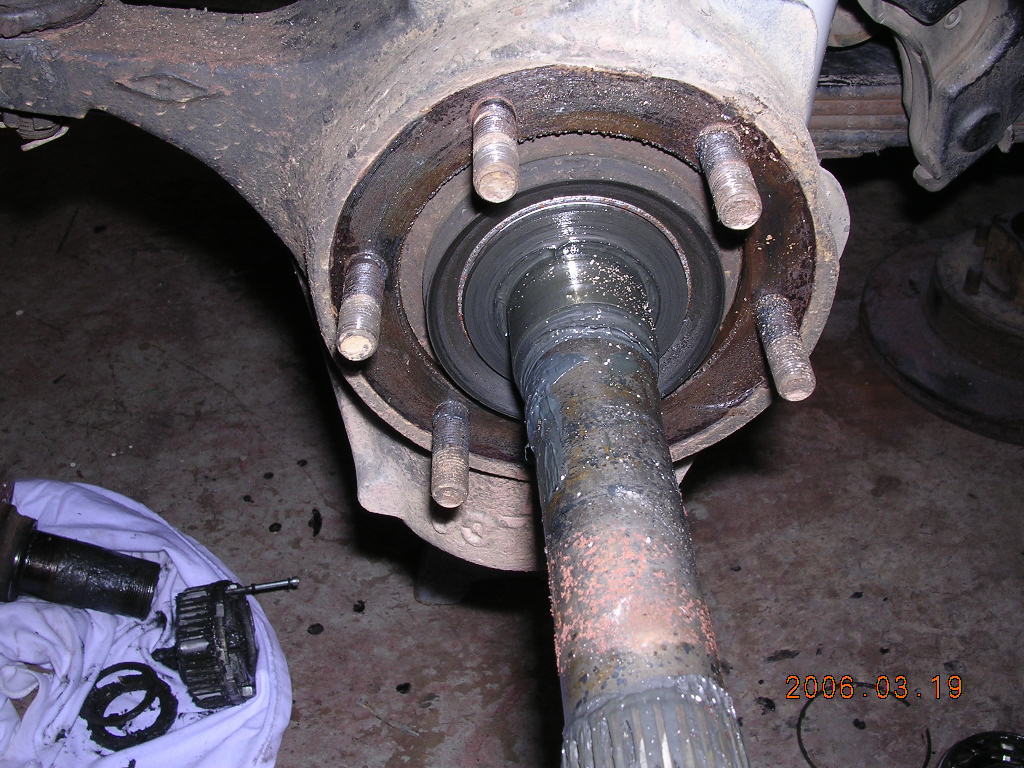
Secure the Jeep on jack stands, remove the wheels. Remove the brake caliper and move to the side. Open the front hub and remove the outer wheel bearing nuts and washers. Remove the wheel hub/rotor assembly.
 opening the hub |
 using a wheel nut socket to ease removal |
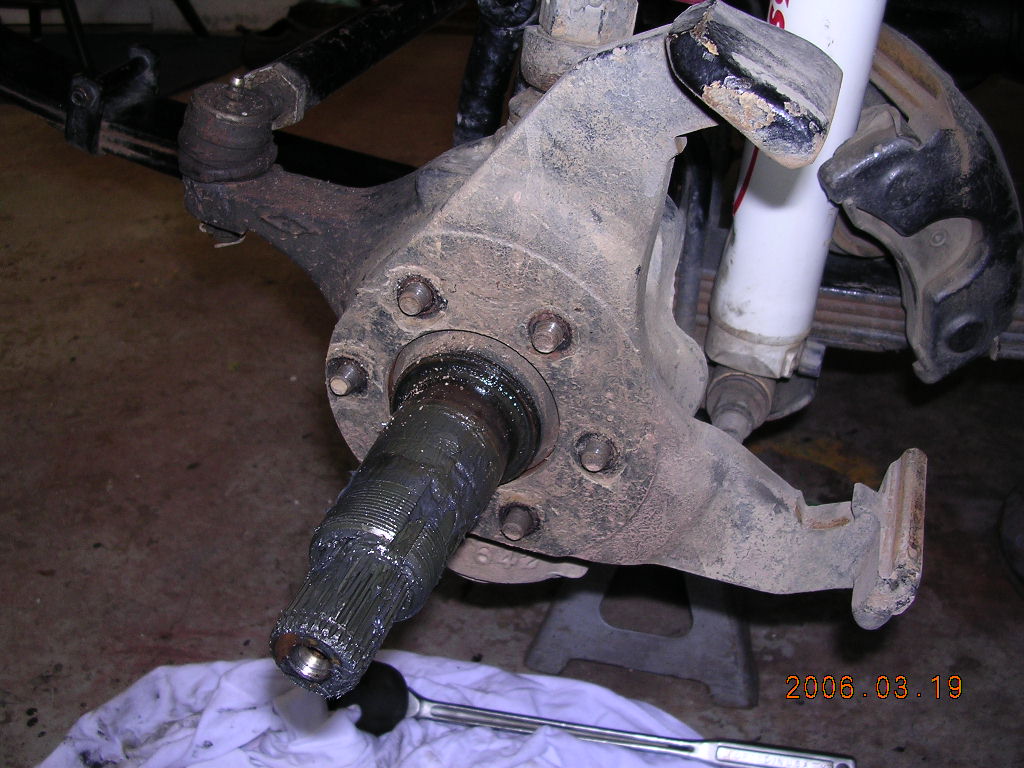
Remove the spindle then unbolt the brake caliper mount and backing plate. Remove them both.
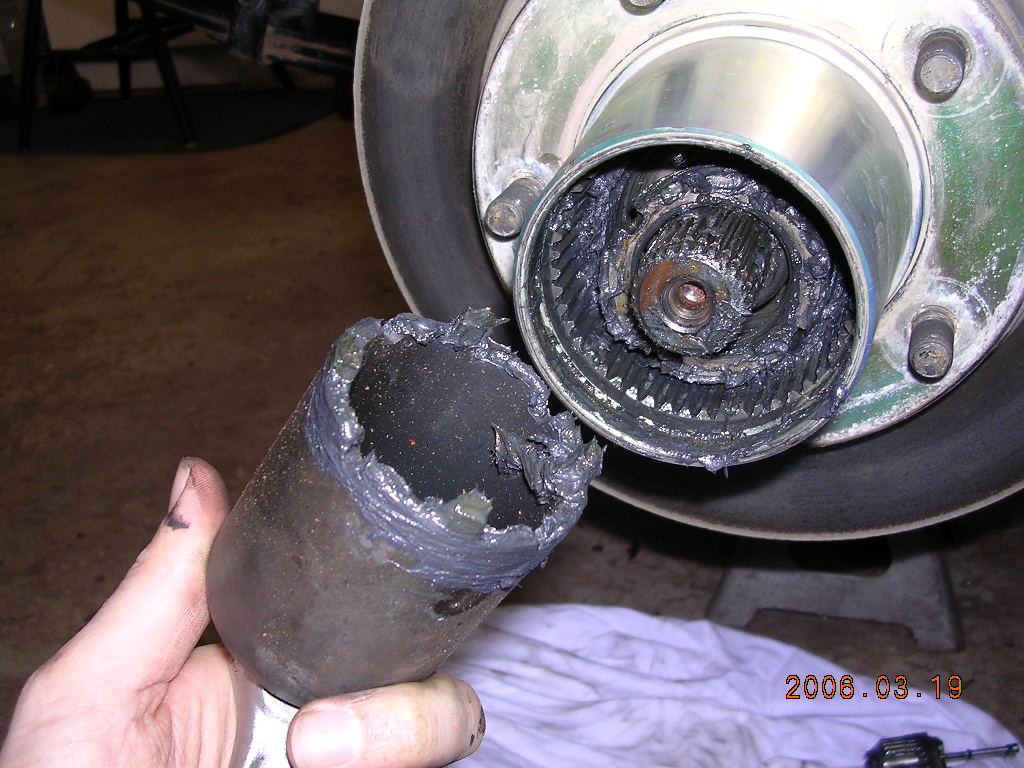
 hub/rotor removed |
 remove caliper bracket (76-79 CJ) |
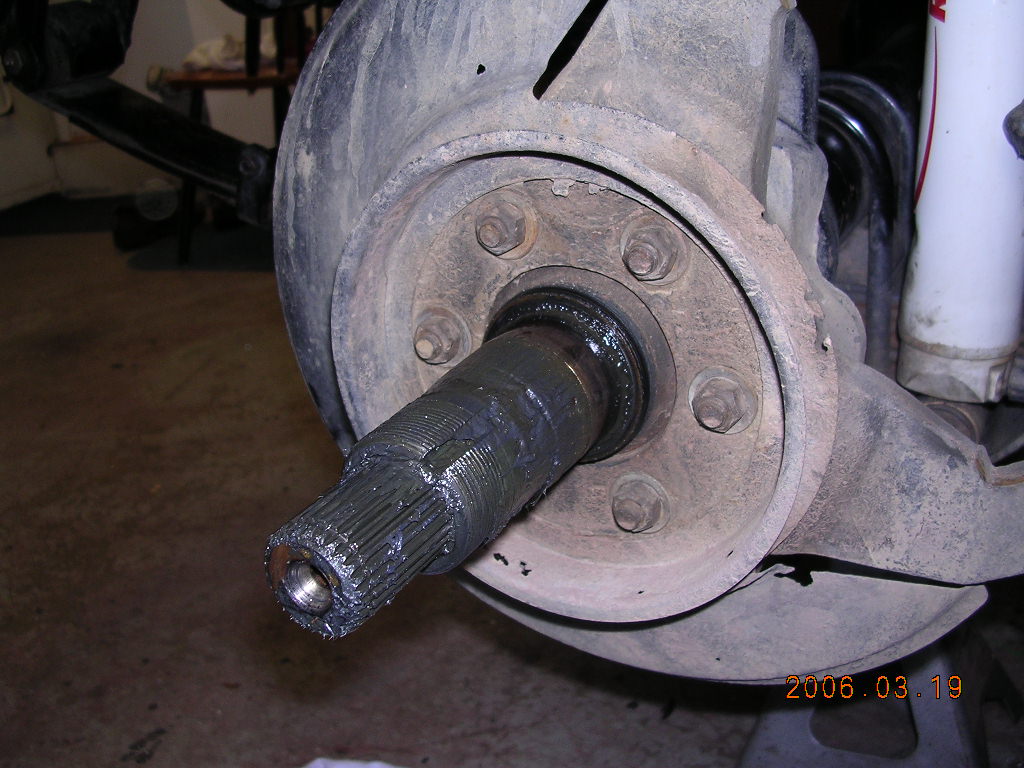
 spindle removed |
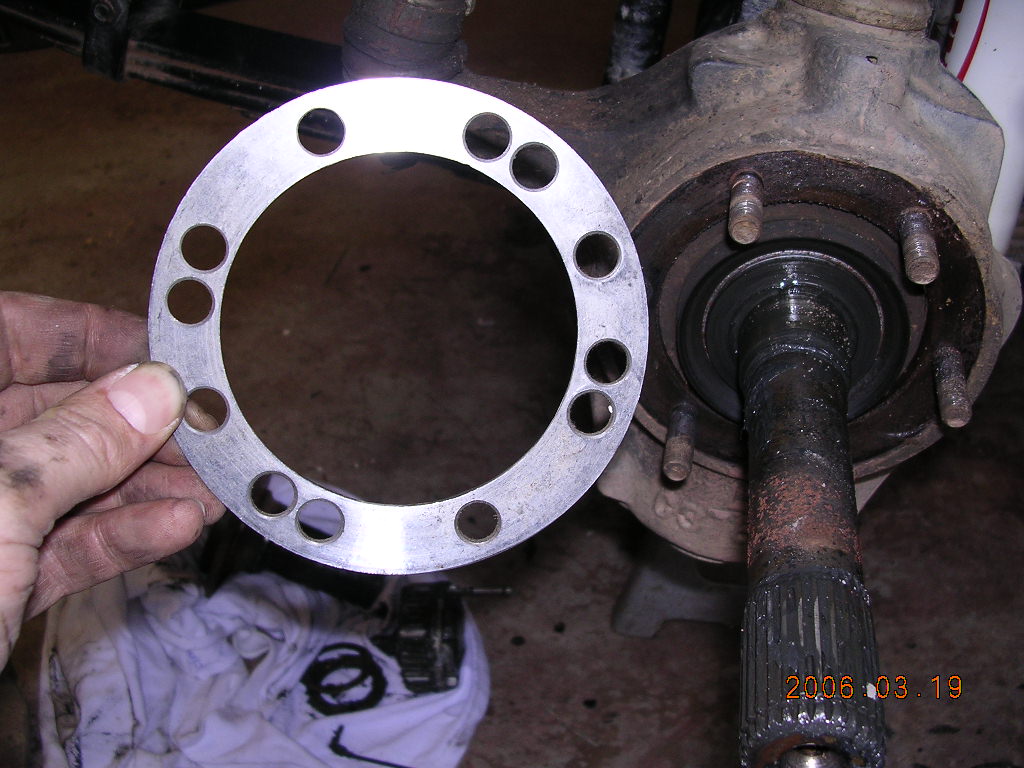 install camber corrector |
Install the camber shim making sure the wider side is on the top for adjusting negative camber or at the bottom to adjust positive camber.
After you reinstall the spindle and caliper bracket (the caliper bracket shown in the article is only found on 76-79 CJ’s) this is a good opportunity to check the camber using a level across the spindle surface. It should read close to level (assuming your Jeep is level) This is also a good opportunity to check and repack the wheel bearings, also check the bearing seal. See the article Replacing Your CJ Front Brakes for more info on bearing packing and replacing the seal.
![]()
shim installed behind the spindle (arrows)
Reassemble the entire area following the reverse procedure. After the Jeep’s wheels are on check the camber angle using the procedure listed above. Hopefully you figured it correct and the wheels look parallel to each other seen from the front.
Check the toe in. Correcting the camber will affect the toe-in adjustment. See Adjusting your Jeep’s Toe-In.
Also see. Toe, Caster, and Camber – What does it mean and how to adjust it – Jeep Steering Alignment 101