• Skip to main content
  • Skip to header right navigation
  • Skip to after header navigation
  • Skip to site footer
Jeepfan.com

Jeepfan.com

serving the Jeep community since 1997

  • Projects & Installs
  • Offroading & Events
  • Technical & Info
  • Readers Jeeps
  • Jeep Racing
  • Products
  • Ask
  • jeepfan.com 2022 4xe
  • jeepfan.com 2018 JL
  • jeepfan.com 2004 TJ Unlimited
  • jeepfan.com 1978 CJ-5
Home » Projects & Installs » Barricade Trail Force HD Front Bumper Install – Part 2

Barricade Trail Force HD Front Bumper Install – Part 2

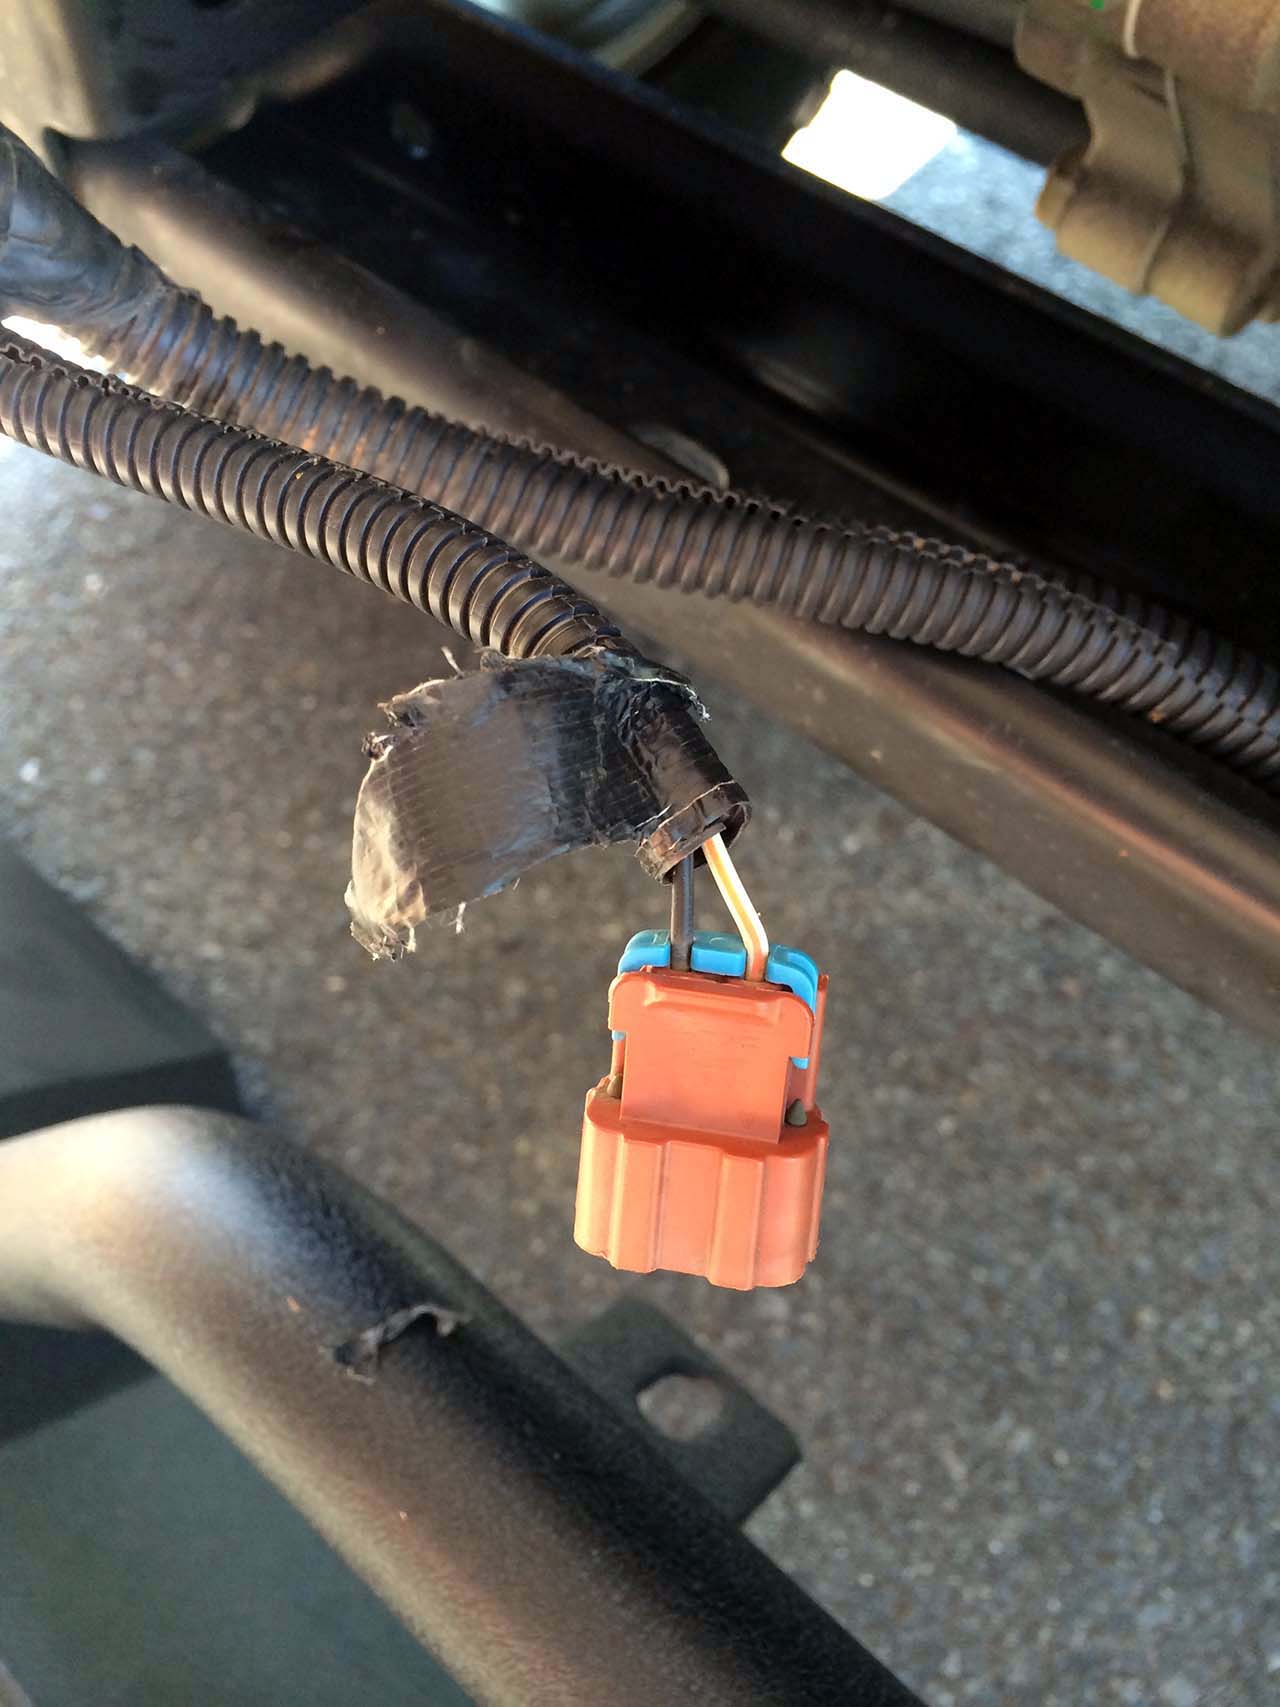
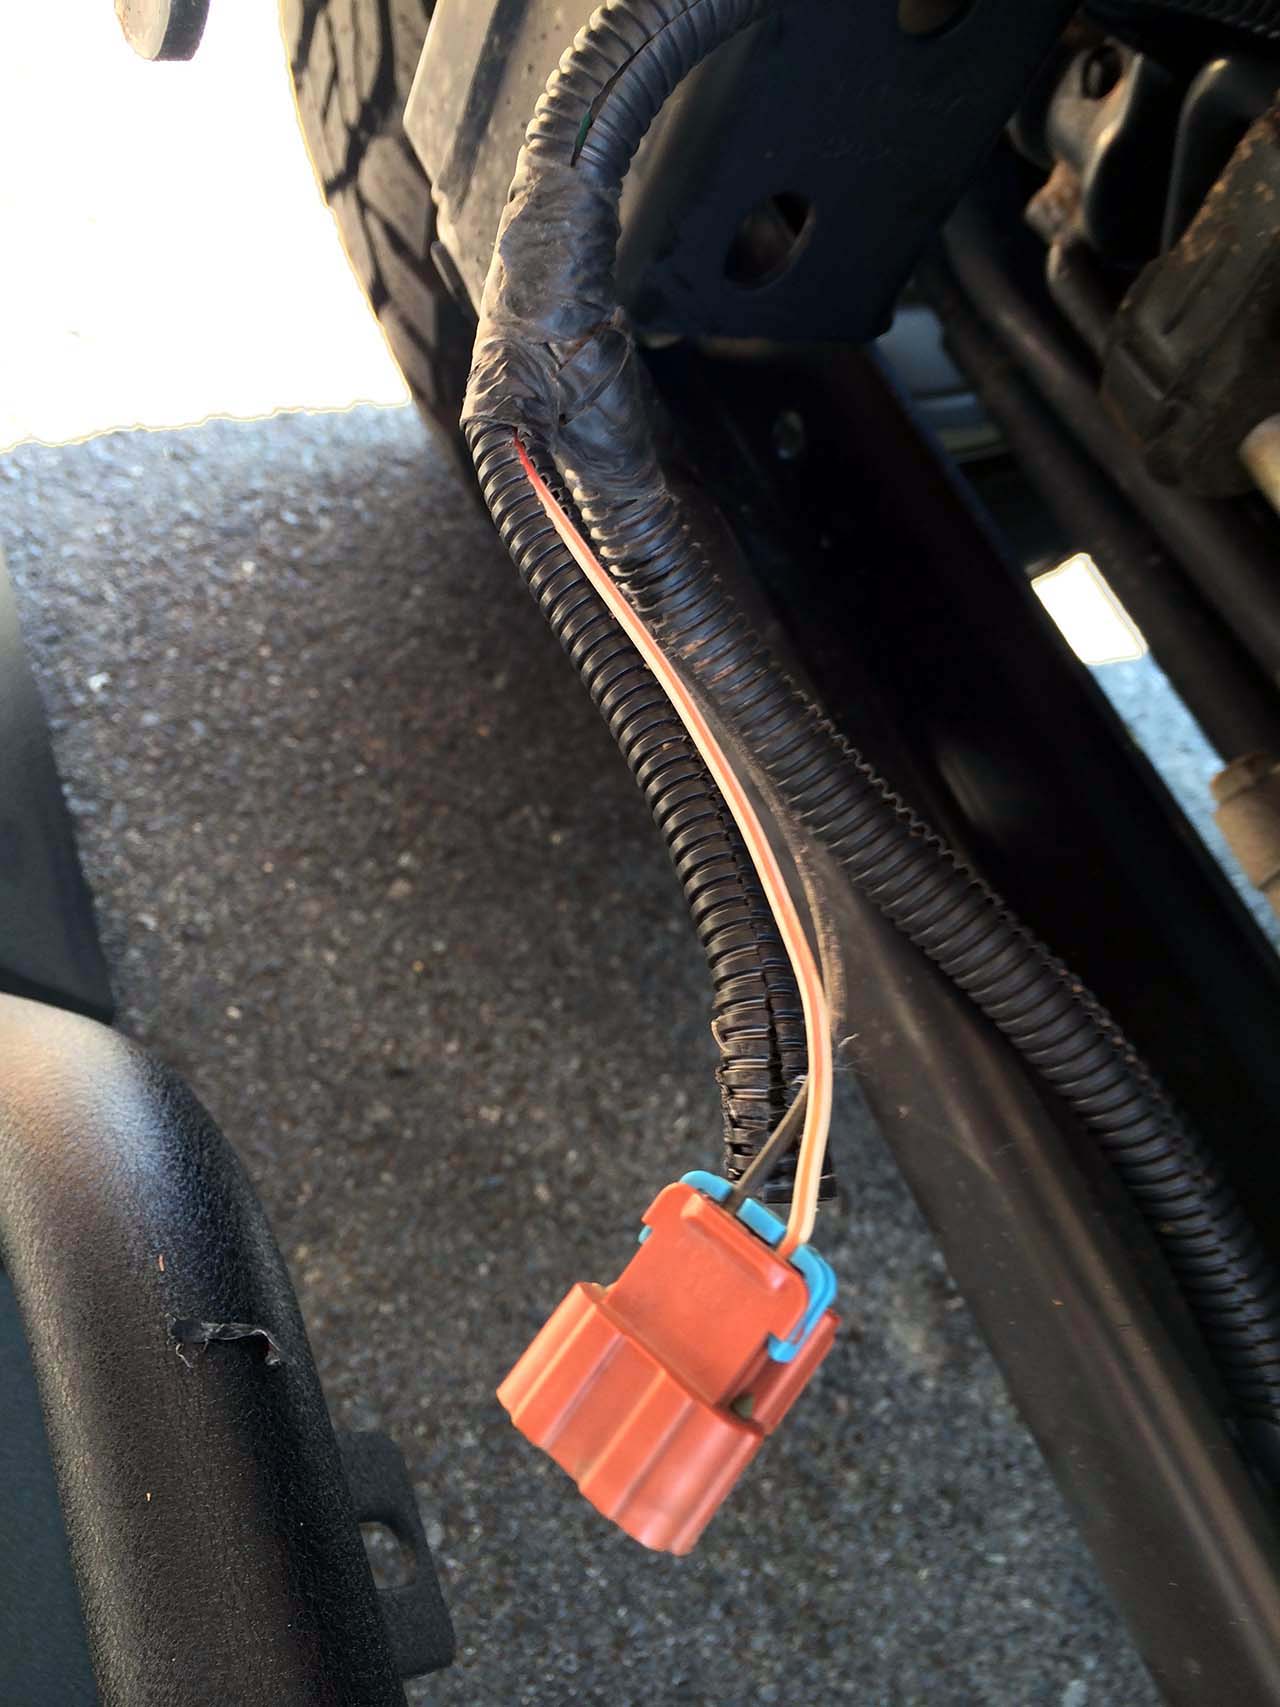
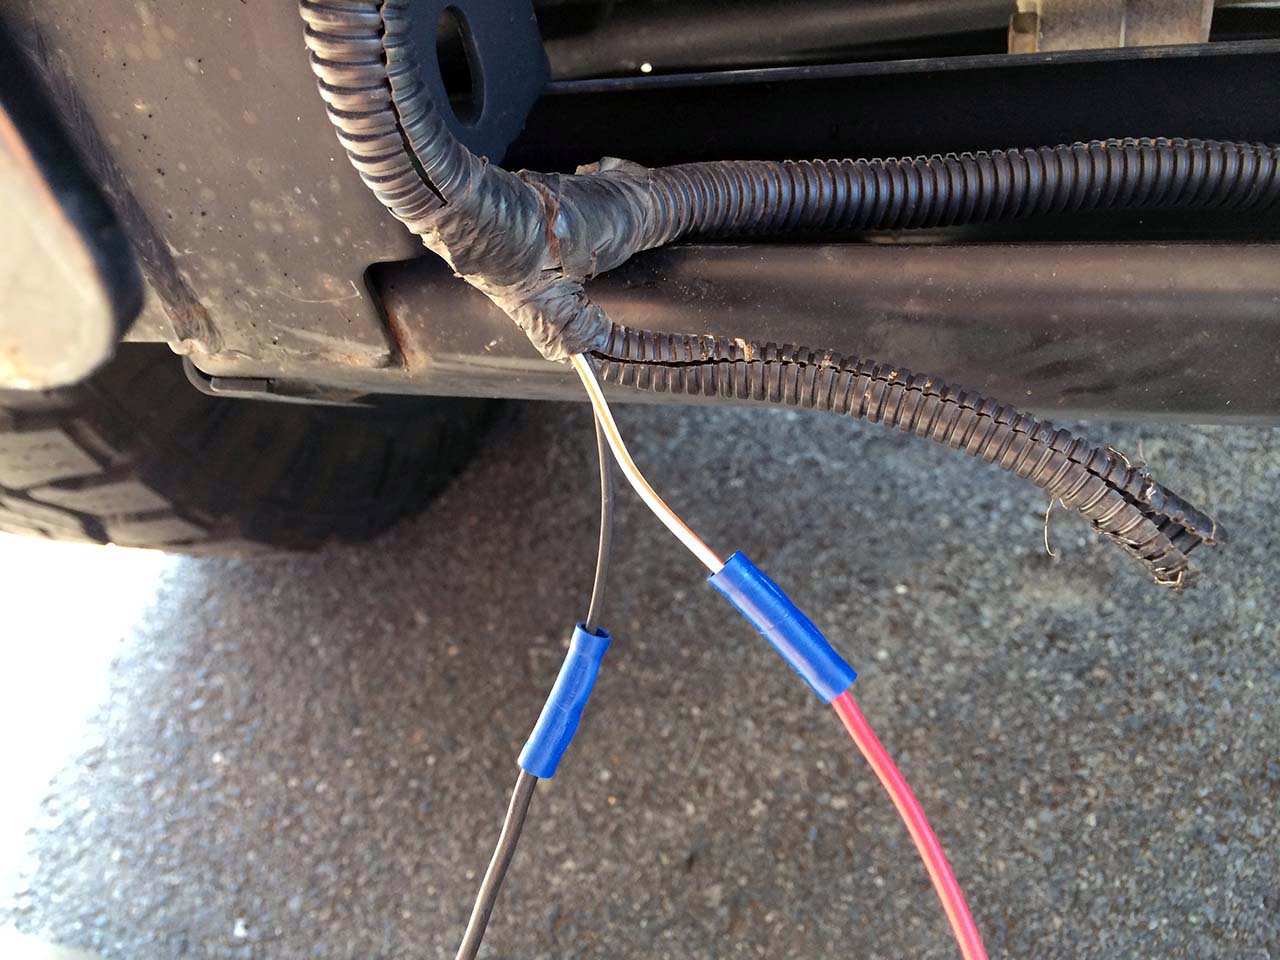
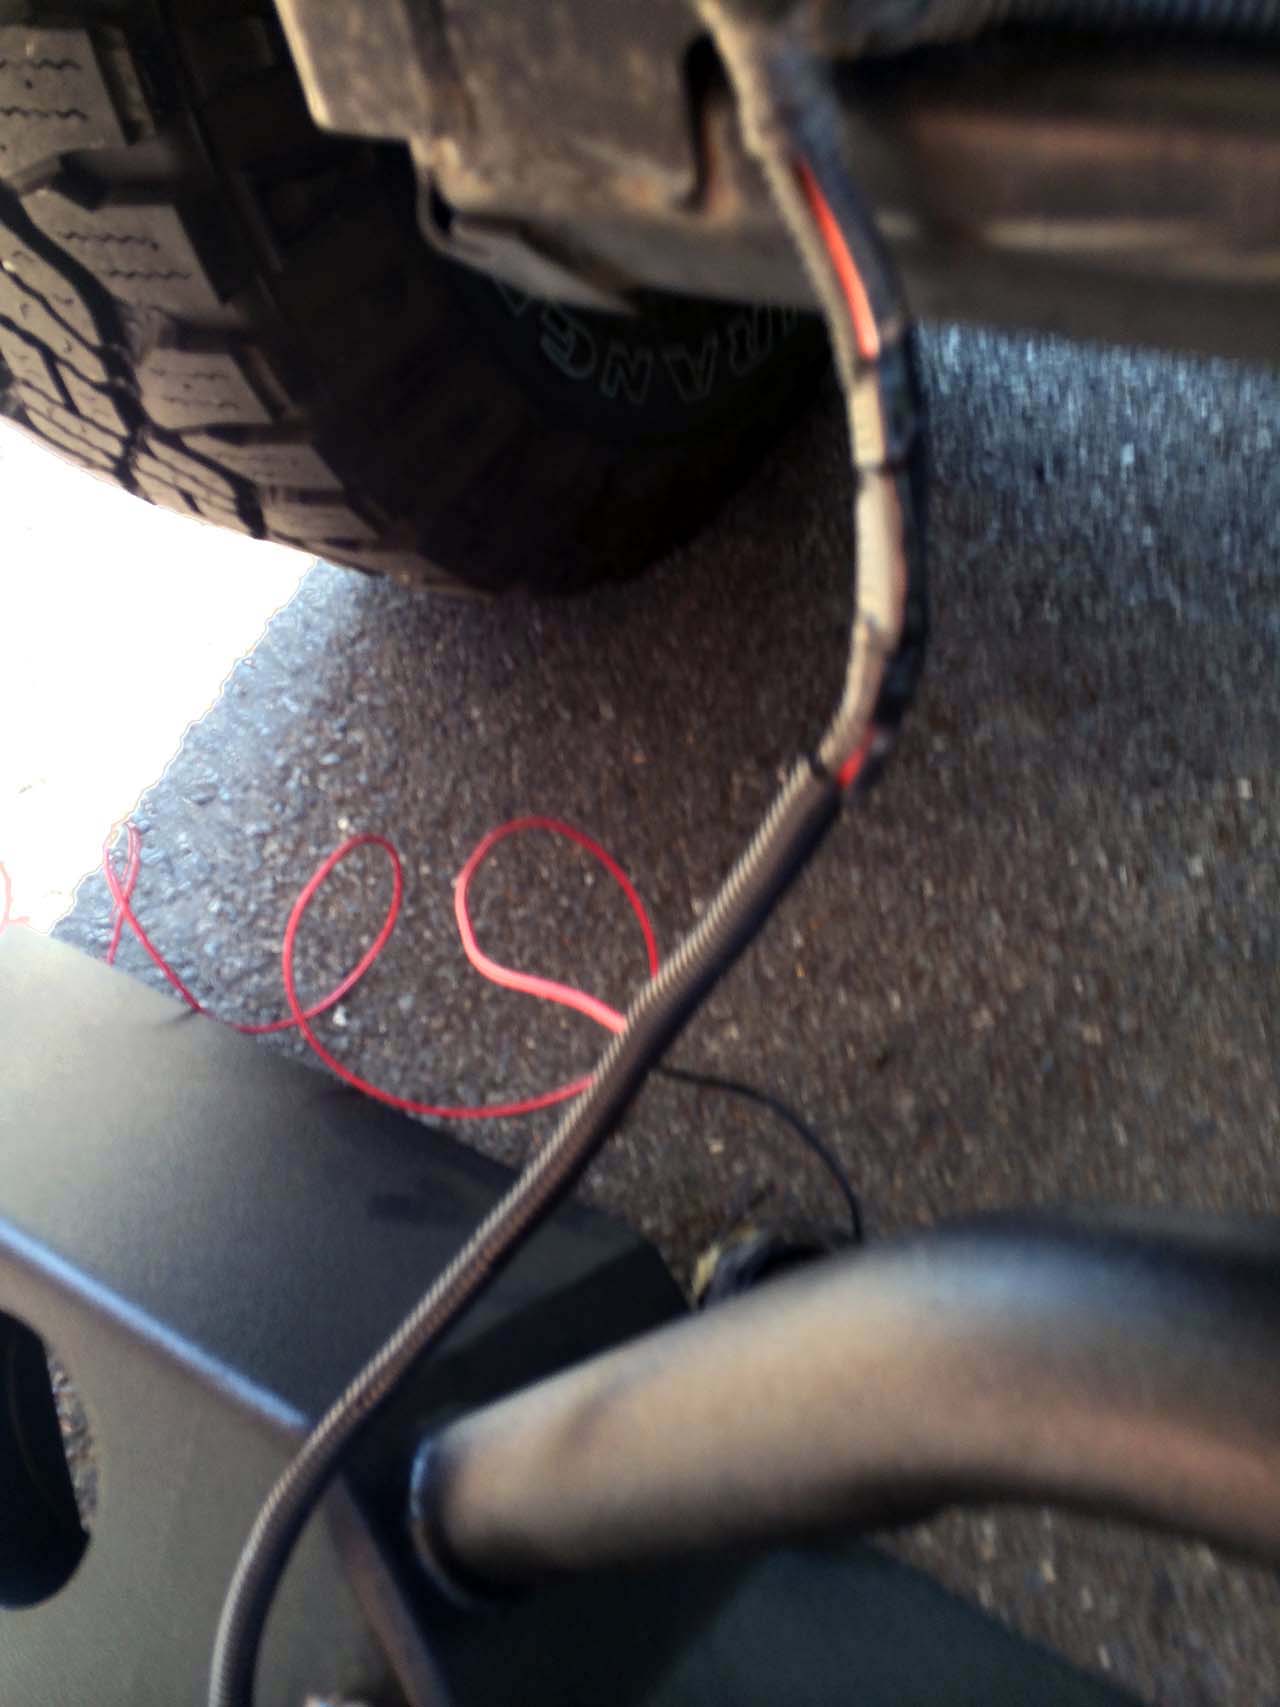
Continuing on from part 1 – Wiring.  We are now at the point of (probably) needing to extend the factory driving light wiring to reach the new light location.  We cut the tape and pulled the wires from the wire wrap.  Then cut the wires a few inches from the plug and crimped on a barrel to some wire.  Make sure the wire is at least the same gauge as the factory.  Mount the new bumper to the Jeep temporarily to determine the needed distance of the splice and attach the plug end of the wire.  We added some new wire wrap to keep it neat and safe, tape up ends of the wrap.  We ran the wires over the top of the frame and used wire ties to secure the harness to the lower cross member.

Get personalized content recommendations and answers drawn from our website. Simply type your question or topic of interest, and our AI assistant will help you find relevant articles, tips, and insights. You can also have a natural conversation to explore topics in more depth.

Barricade_Front_Bumper_Install_JK_009
factory plug – remove tape

Barricade_Front_Bumper_Install_JK_010
cut wires

Barricade_Front_Bumper_Install_JK_013
spliced wire

Barricade_Front_Bumper_Install_JK_014
tape connectors

Barricade_Front_Bumper_Install_JK_015
wire wrap

Driving Lights

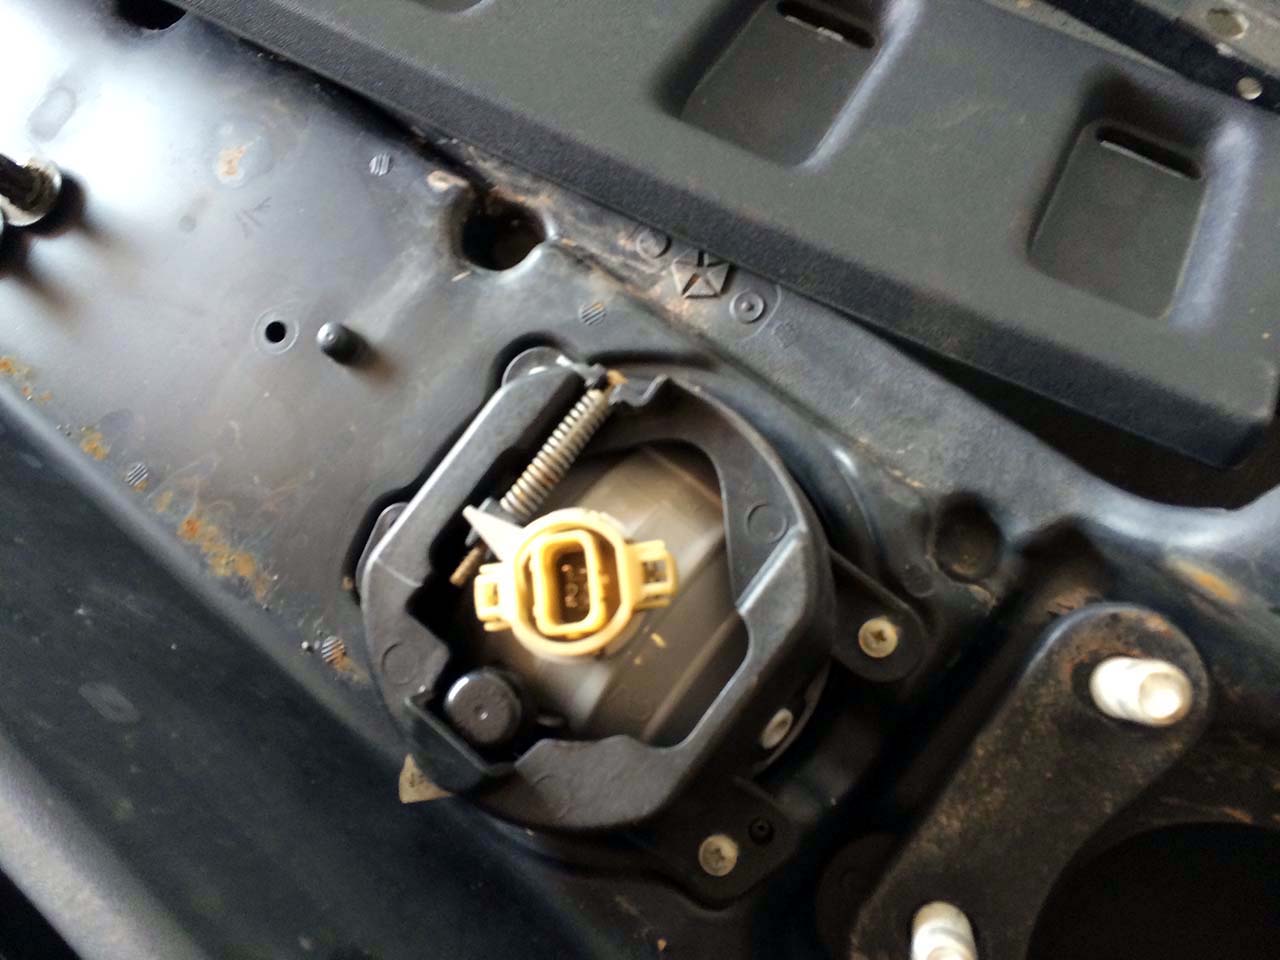
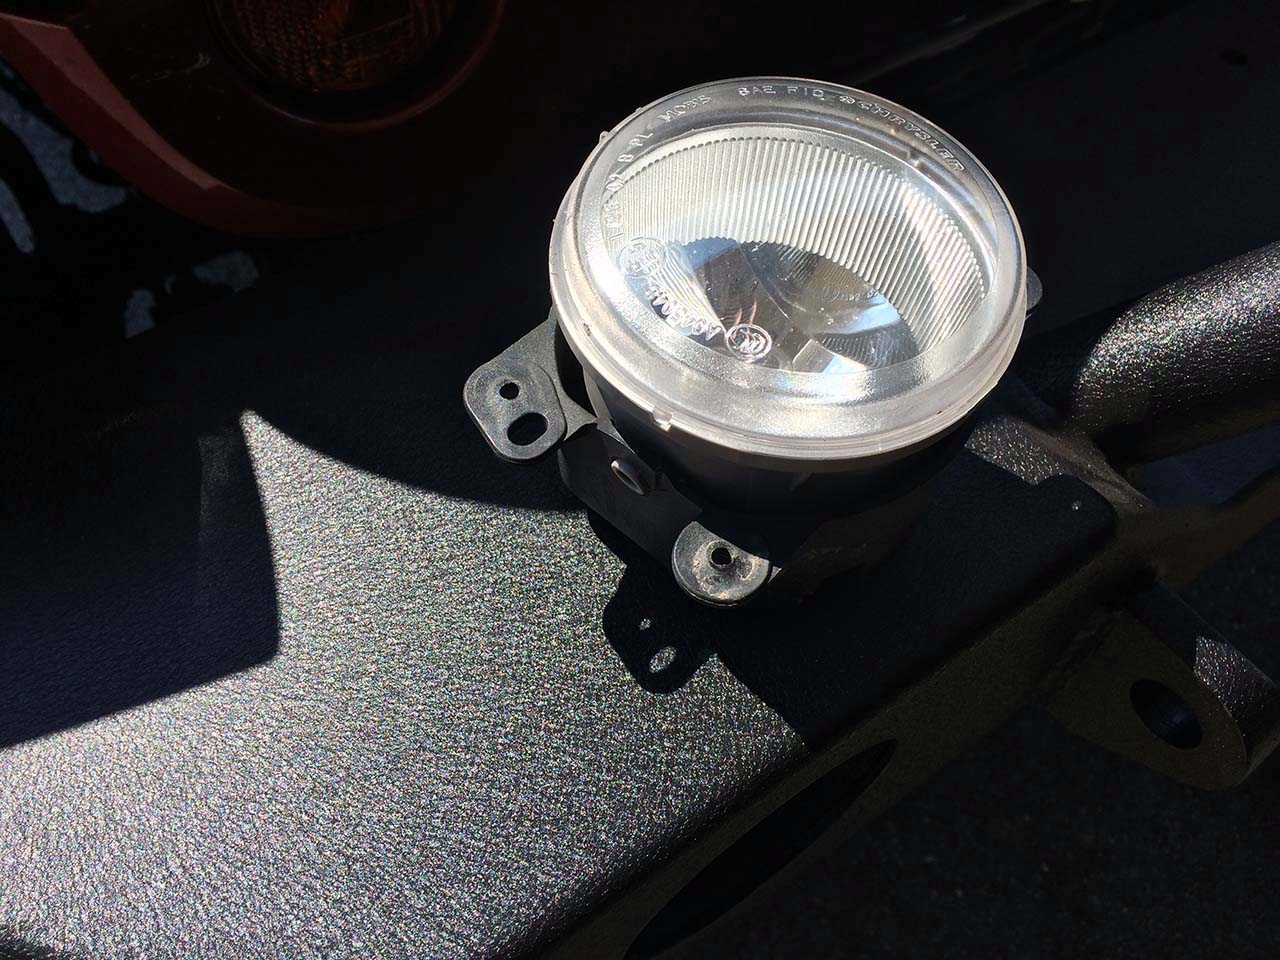
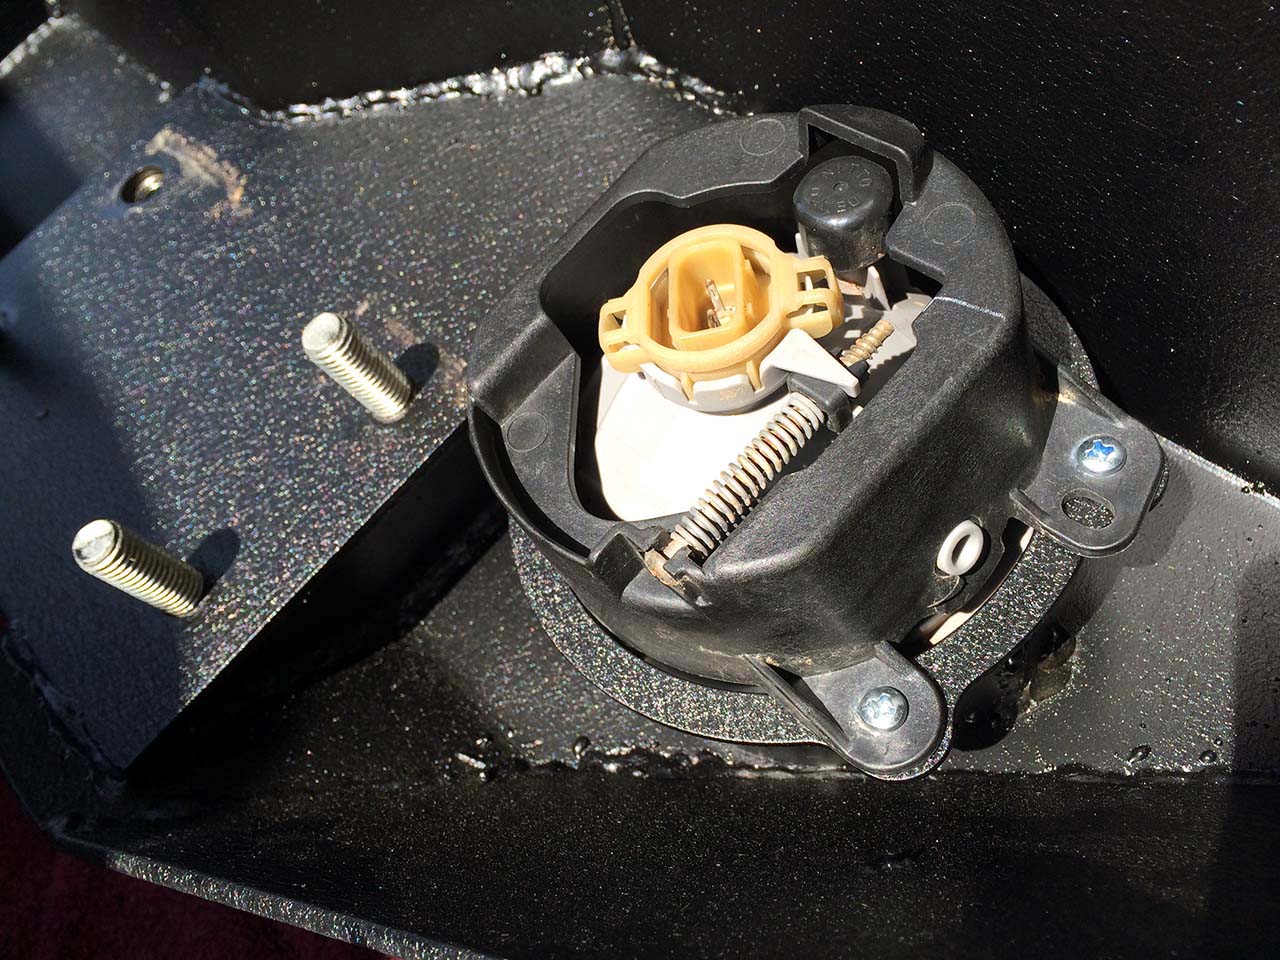
We made the mistake of trying to put in the driving lights with the bumper mounted to the Jeep.  It is impossible.  If the bumper is still on remove it and lay it face down.  Now with the wiring out of the way remove the driving lights from the plastic bumper shell and install them using the new screws and nuts into the bumper – feel the joy of contorted fingers.  There is an up to the lights, make sure you install them the same way.

Barricade_Front_Bumper_Install_JK_020
factory light

Barricade_Front_Bumper_Install_JK_022
removed light

Barricade_Front_Bumper_Install_JK_021
note light orientation

Barricade_Front_Bumper_Install_JK_023
light installed in new bumper

Next Page – Completing the Installation and Pictures

Category: Projects & InstallsTag: bumper, how-to, JK, Wrangler

You’ll also enjoy these posts


check out these trending posts


Jeep Vehicles VIN Reference Guide

 13K+

How Electronic Start Stop ESS Works on the Jeep Wrangler JL

 6K+

Understanding and Troubleshooting Jeep CJ Gauges and Senders

 4K+

The Wrangler 4xe Explained Simply-ish

 2K+

Jeep Quadra-Trac 4wd System

 2K+

Jeep CJ Exhaust – Headers and Mufflers

 874

Receive exclusive recommendations directly from our website.

Sidebar


Jeep CJ 1972-1986 How to Build and Modify

Grab Your CopyJeep CJ 1972-1986 How to Build and Modify

jeepfan.com

  • Instagram
  • Facebook
  • Twitter
  • YouTube

© 2025 · jeepfan.com · Powered by Bizbudding

Privacy Manager

Explore

  • Projects & Installs
  • Technical & Info
  • Offroading & Events
  • Products
  • Racing
  • Readers Jeeps
  • Jeep News & Information jeepfan.com blog

About

  • Contact
  • Advertise
  • About
  • Terms of Use

Partners

  • Quadratec
  • Rough Country
  • TeraFlex
  • Maximus 3
  • 7S Garage
  • OK Auto