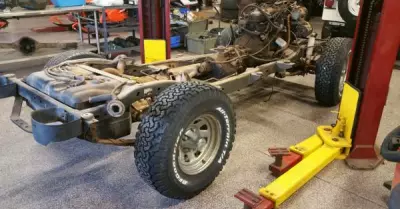
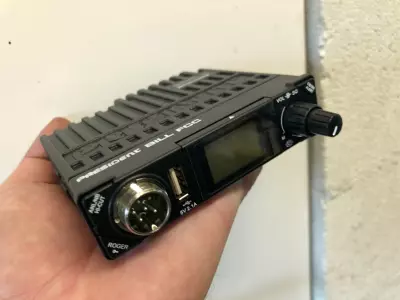
In this two part article we install the CB first then the antenna, both we got from Right Channel Radios. Finding a suitable location in a JL Wrangler isn’t particularly easy. Just like the TJ and JK before spare space is increasingly limited. Luckily a small CB like the Bill exists with its approximate 4″x4″x1″ size it fits almost anywhere.
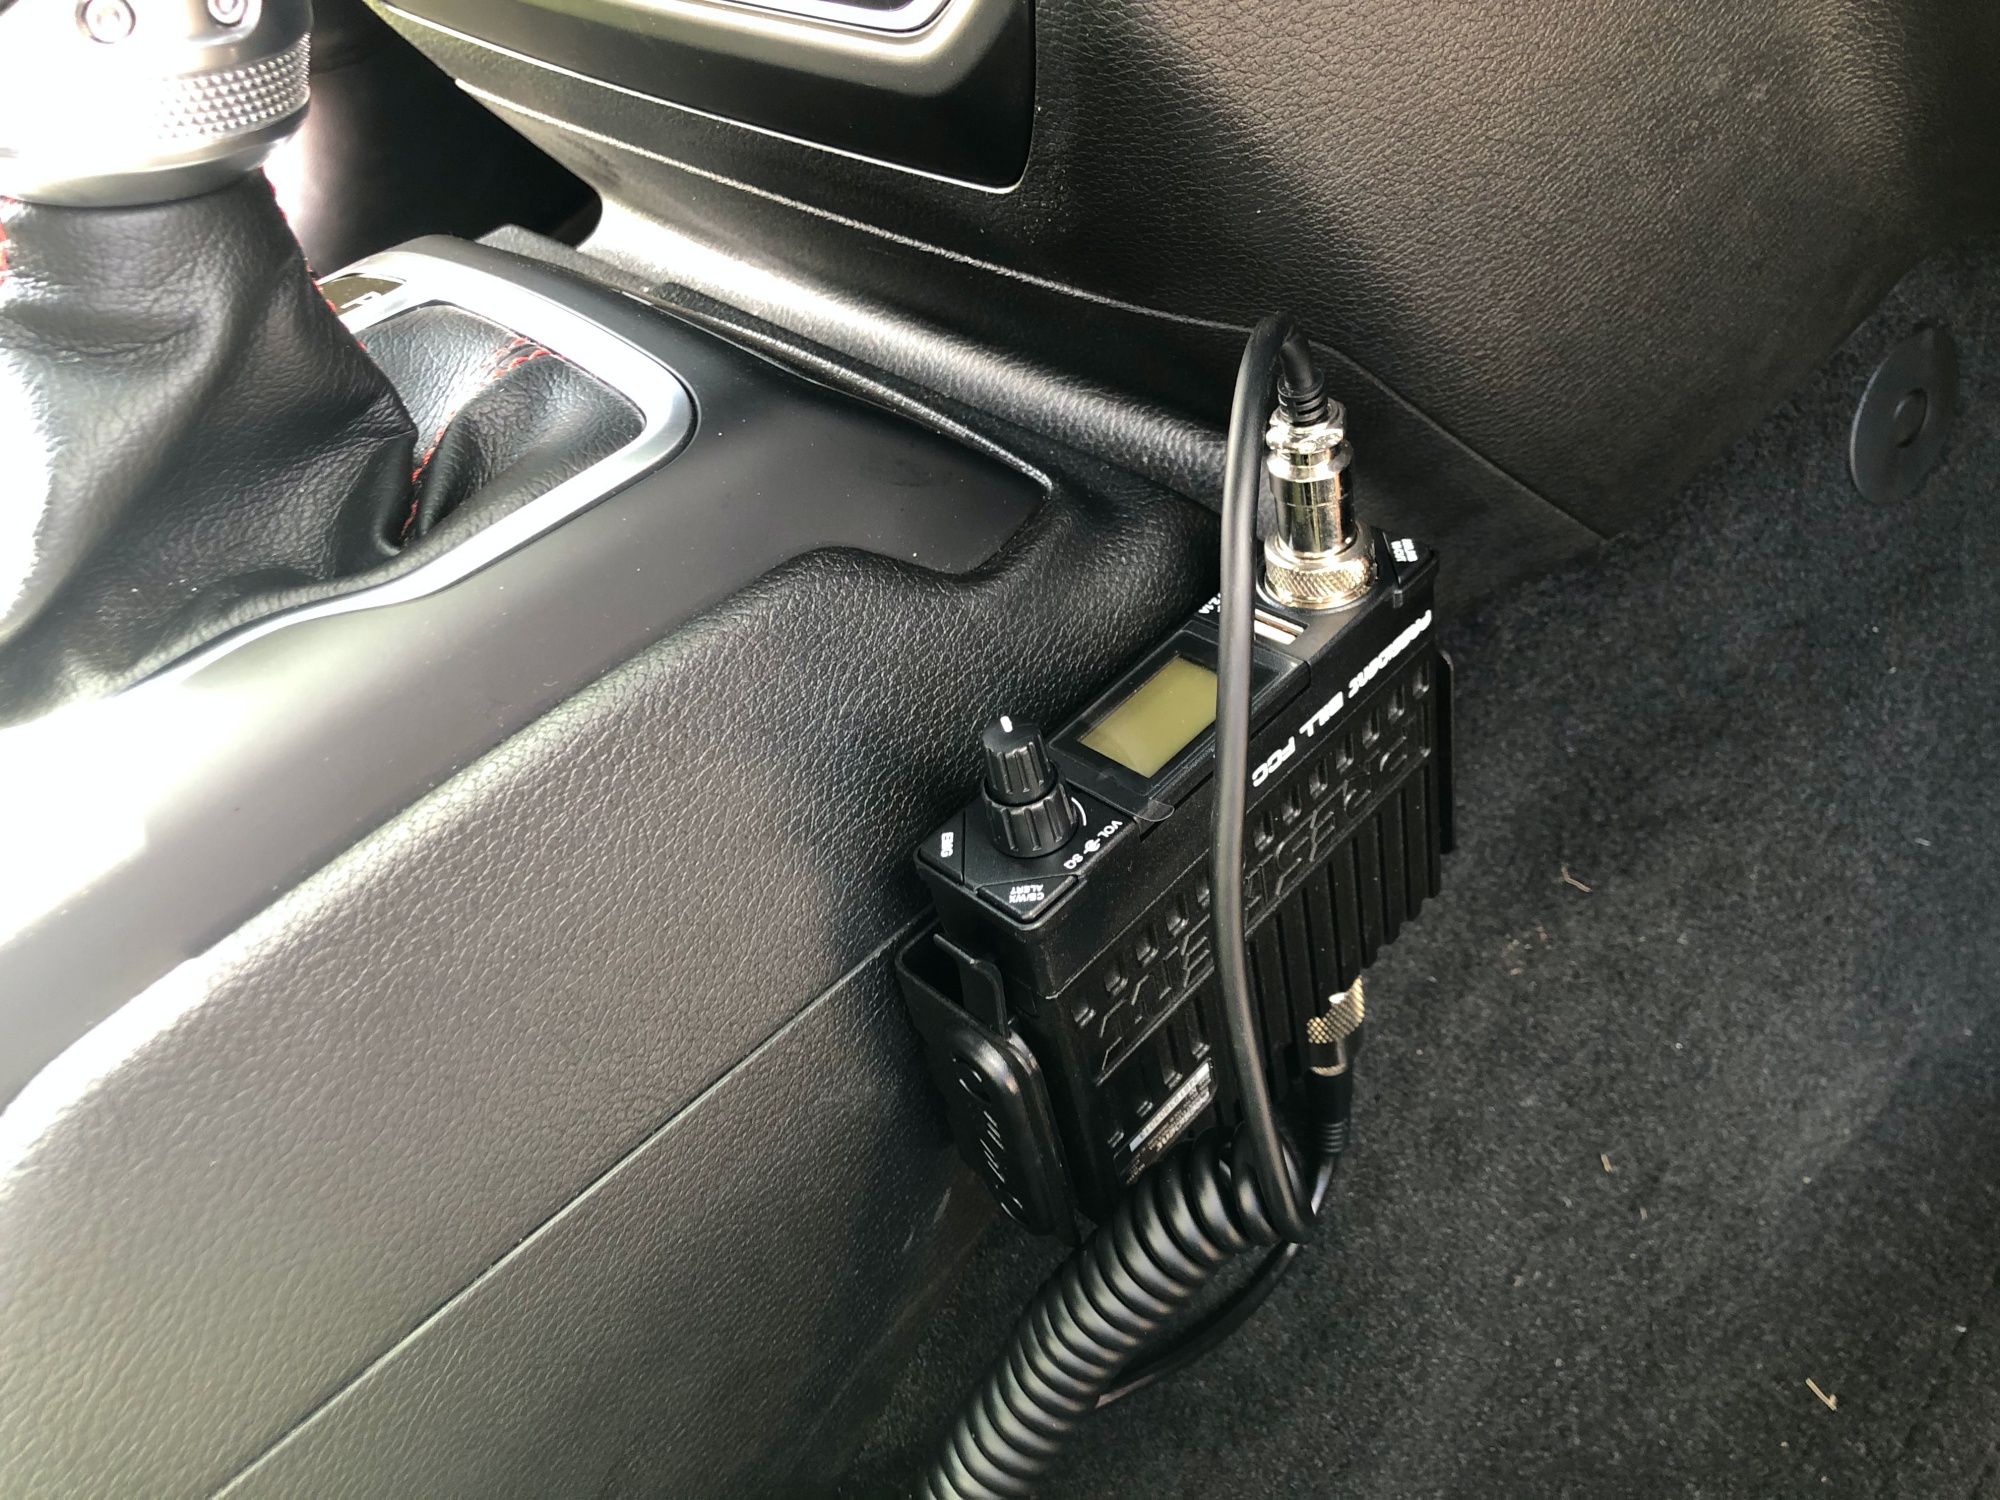
We decided on mounting the CB on the passenger side of the console to allow easy access and keep it out of the way. Now…I kinda hate the idea of drilling into a permanent part of the Jeep but two small holes are acceptable.
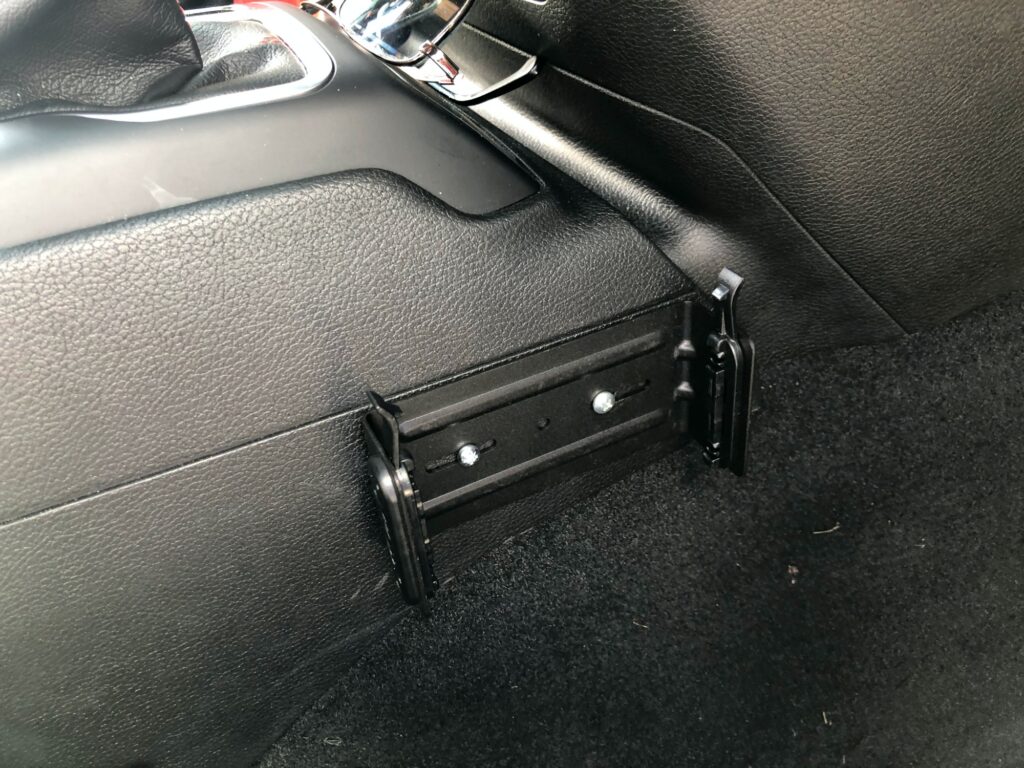
the Bill features a quick release bracket 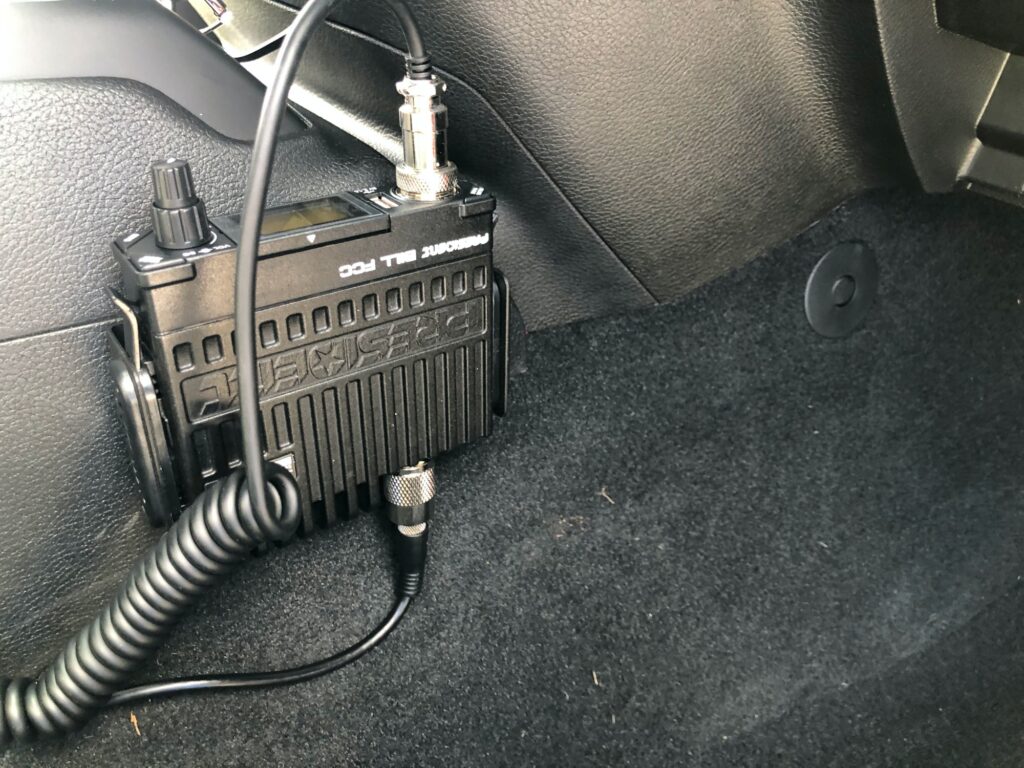
fits perfect 


Mounting the CB is the easy part of the install. Getting the wiring all completed takes quite a bit more time. If your JL has the factory auxiliary switches making use of them for a CB is a great idea.
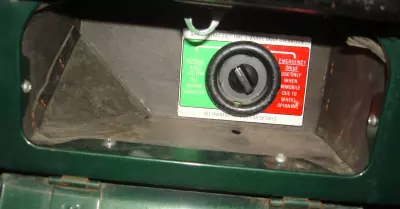
Wrangler JL Factory Auxiliary Switches
Jeep gets it right often and adding the aux switch panel to the JL just makes installation of extras easier and much cleaner. The panel features four switches, 2 40A and 2 15A. For the CB we wanted to use switch 1 in the always hot mode so the CB will stay on even if the Jeep is off. Note, that switch 1 and 2 are both 40 amp circuits so be sure to retain the fuse in the CB line. Read more about the JL Factory Auxiliary Switches.
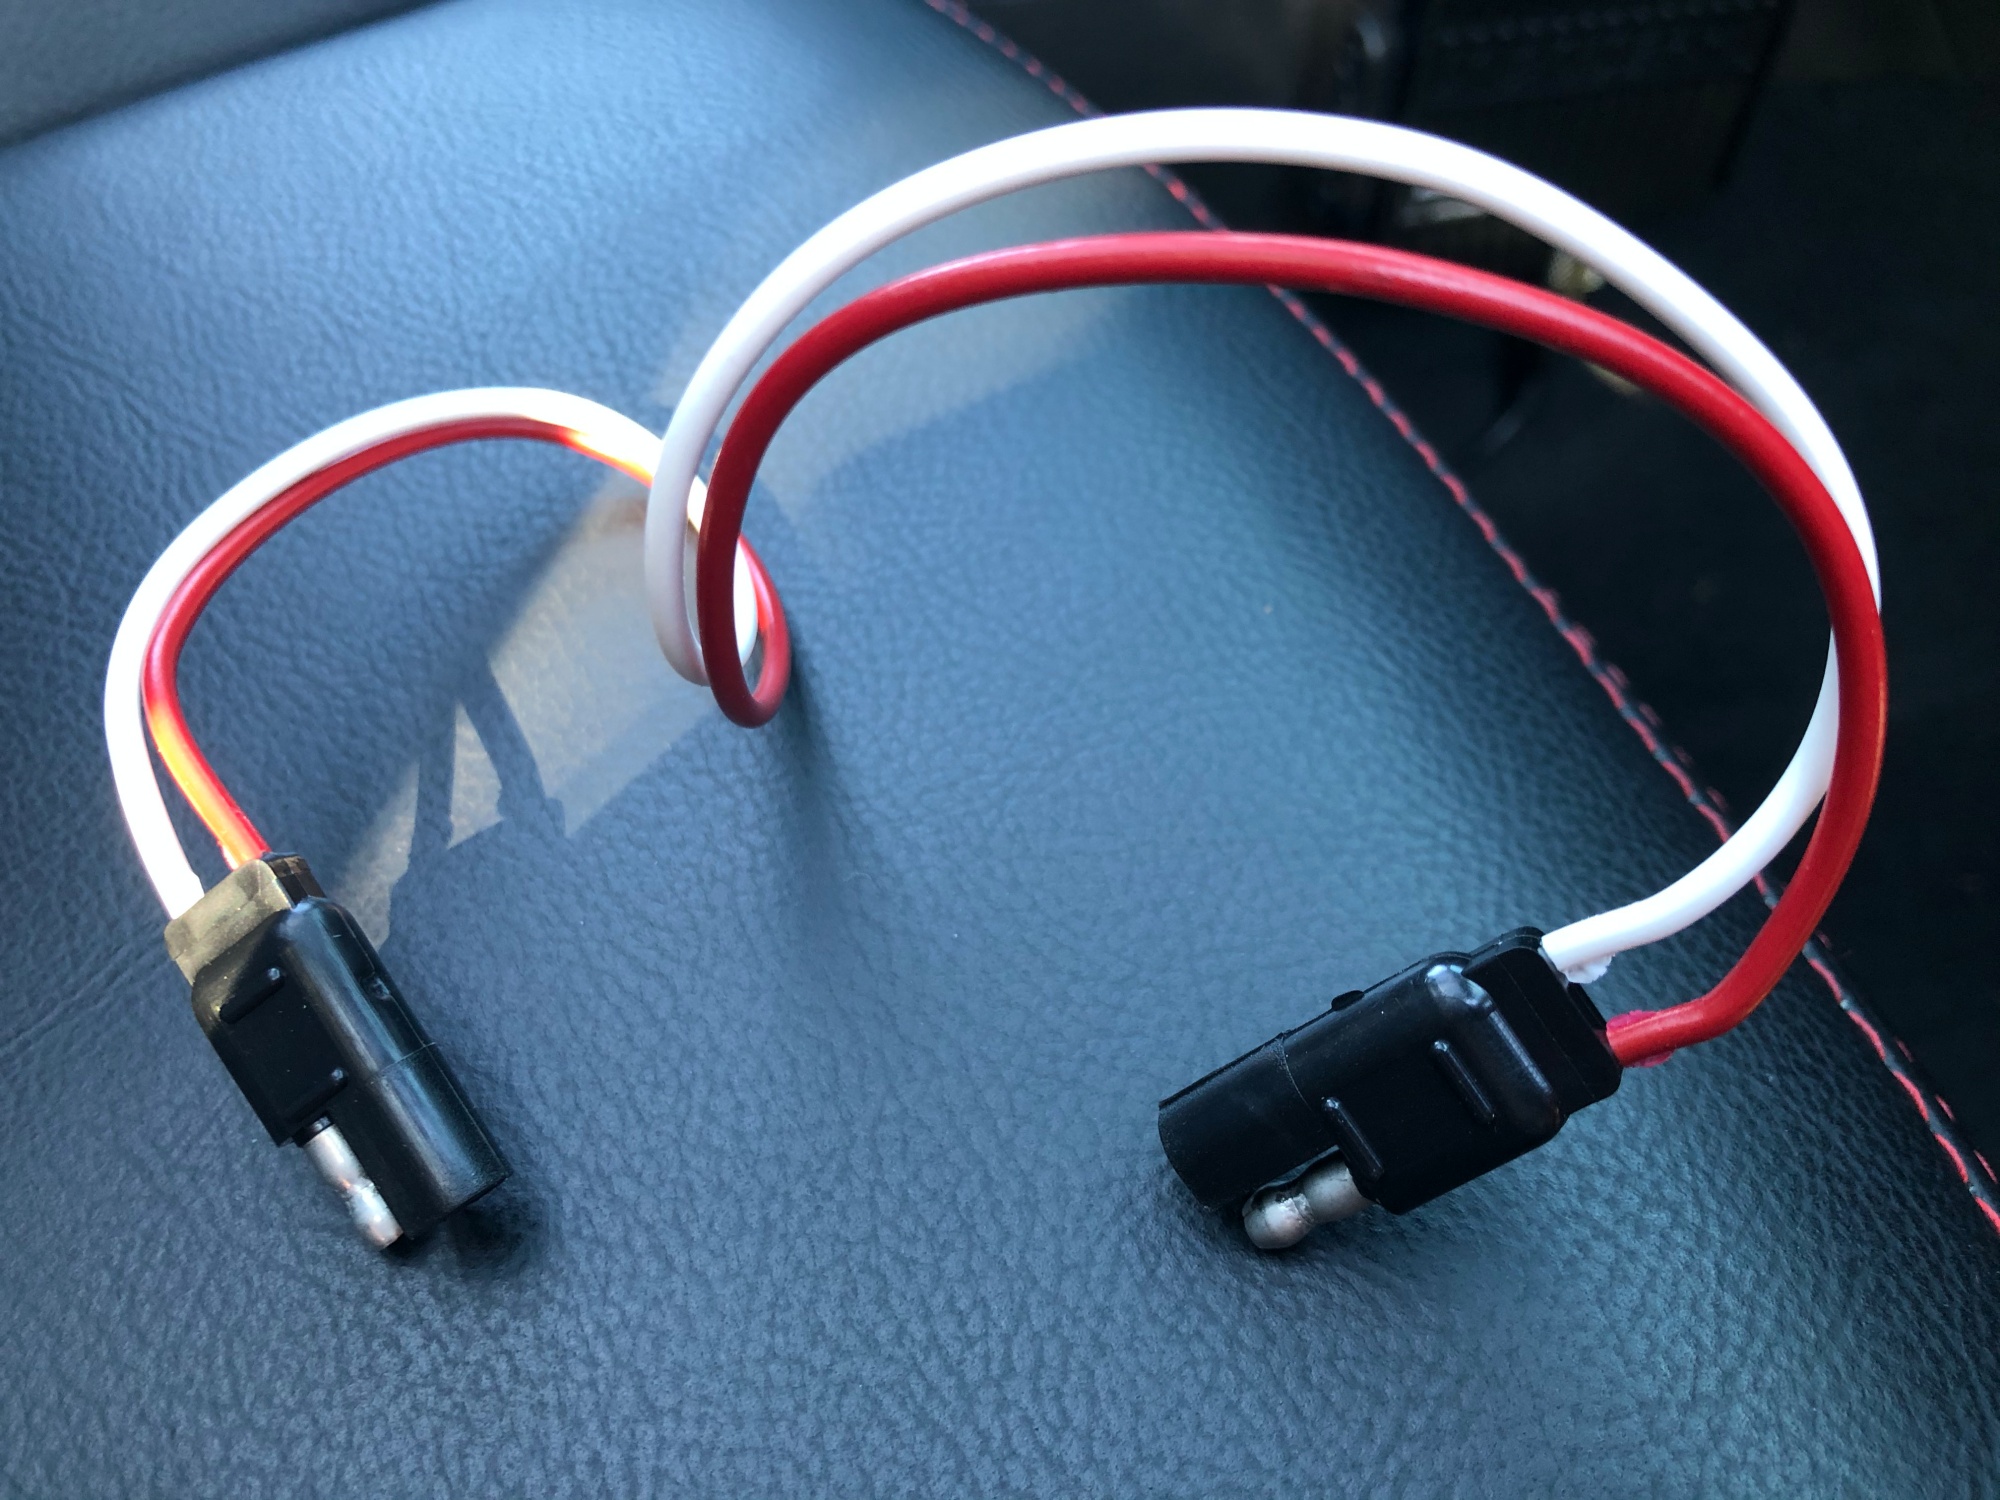
We installed a simple plug in line so that the CB could be easily removed. A trailer plug style plug works perfect. All the wires were soldered in with shrink wrap for good and reliable connections.
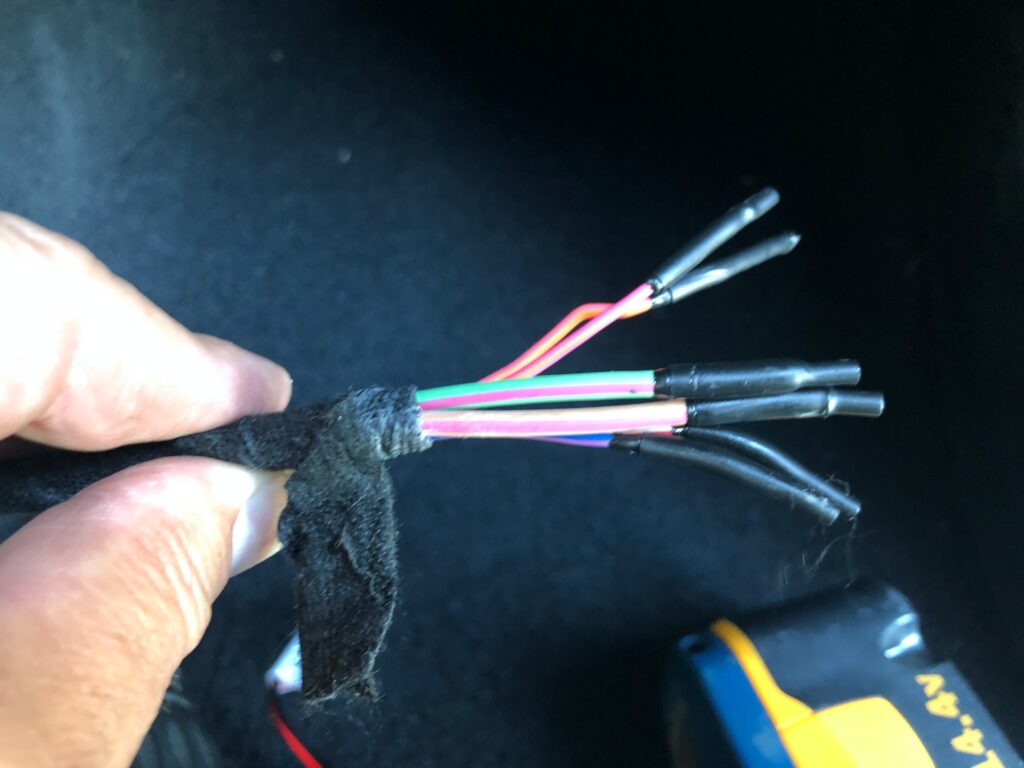
factory harness 
plug 
prep harness 
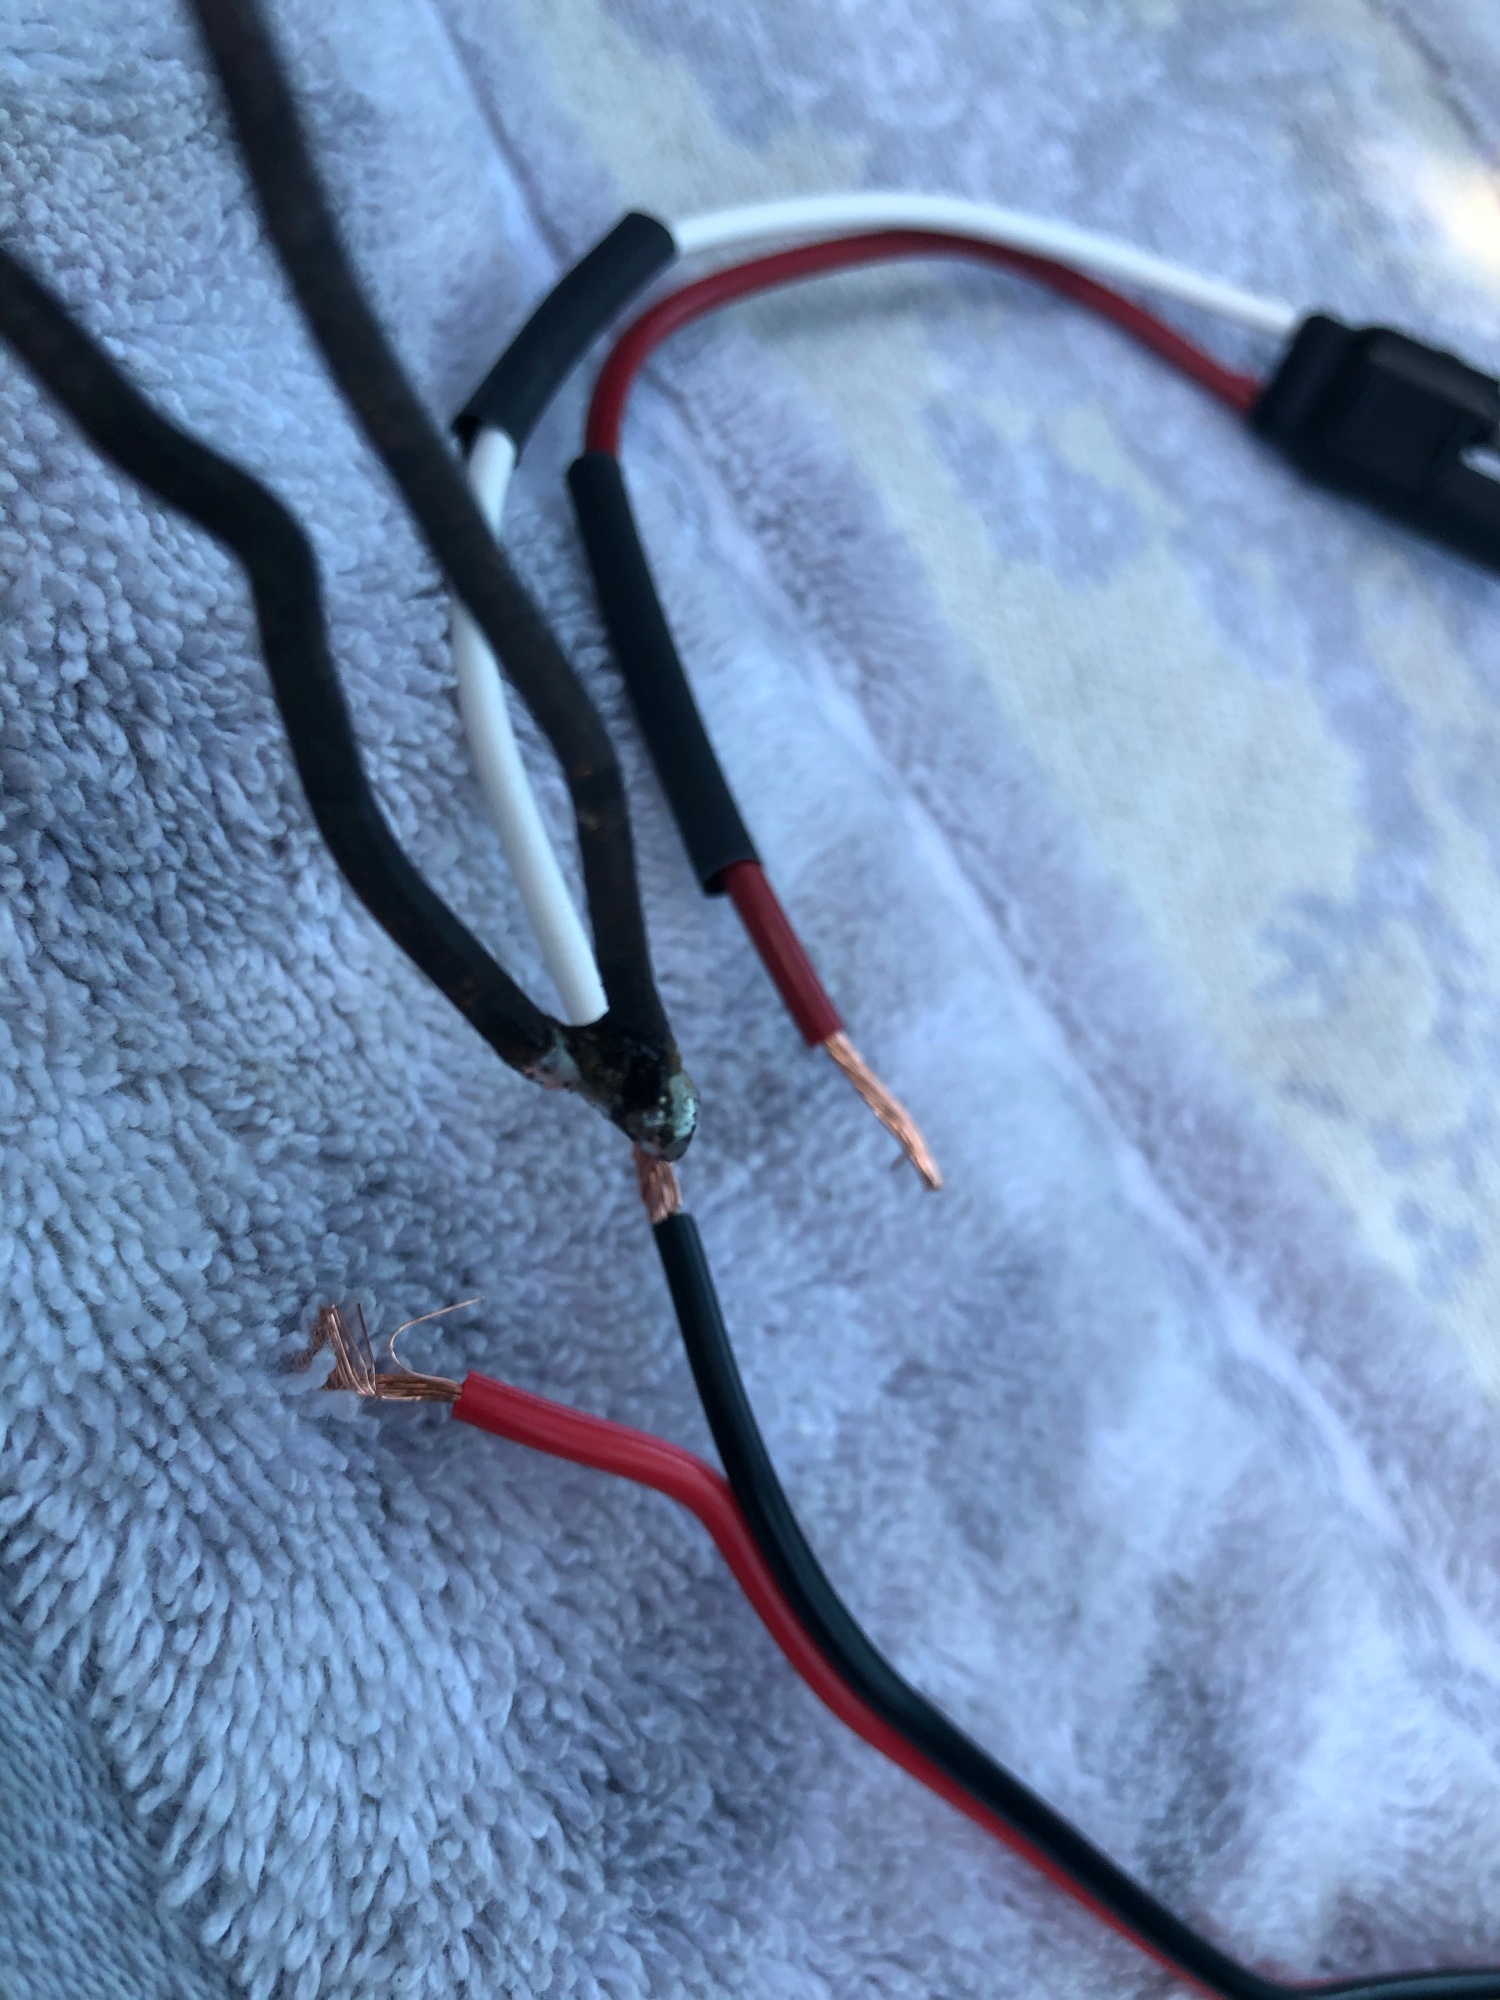
soldering wires 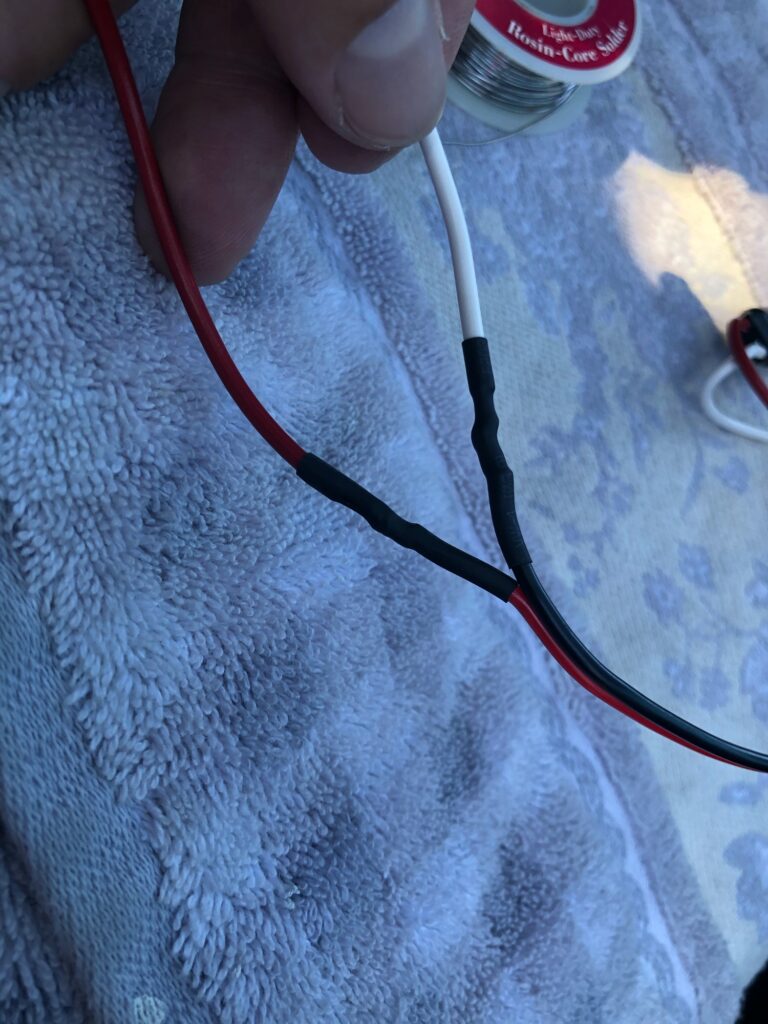
shrink wrap 
ground 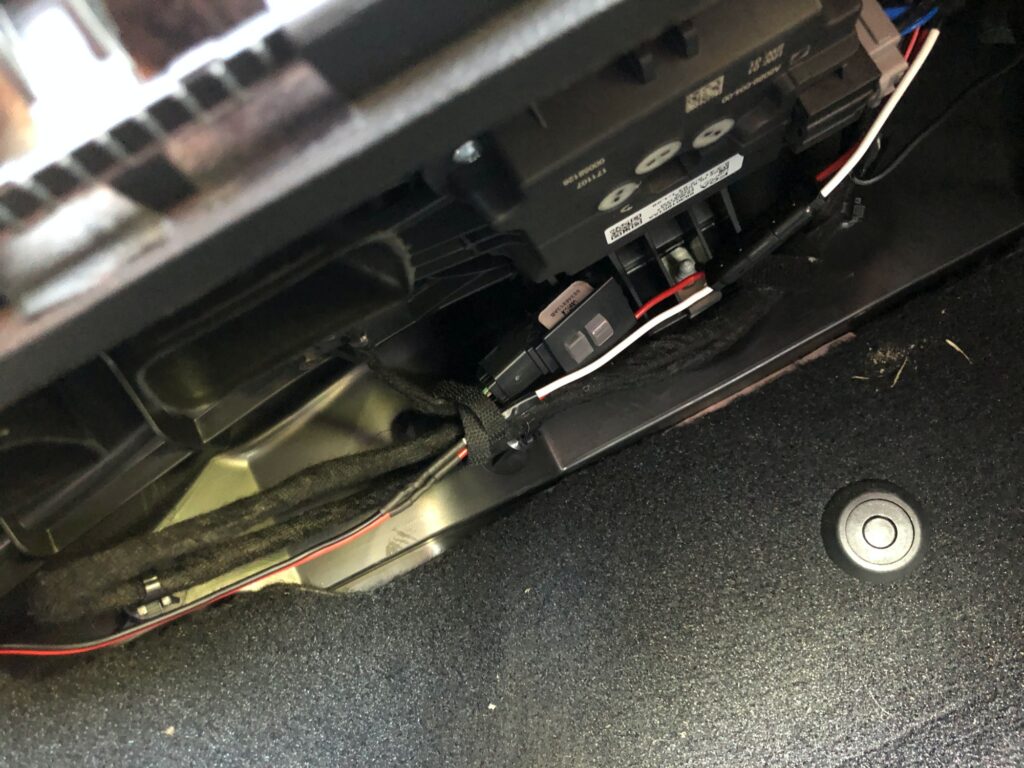
wires tucked up and secure

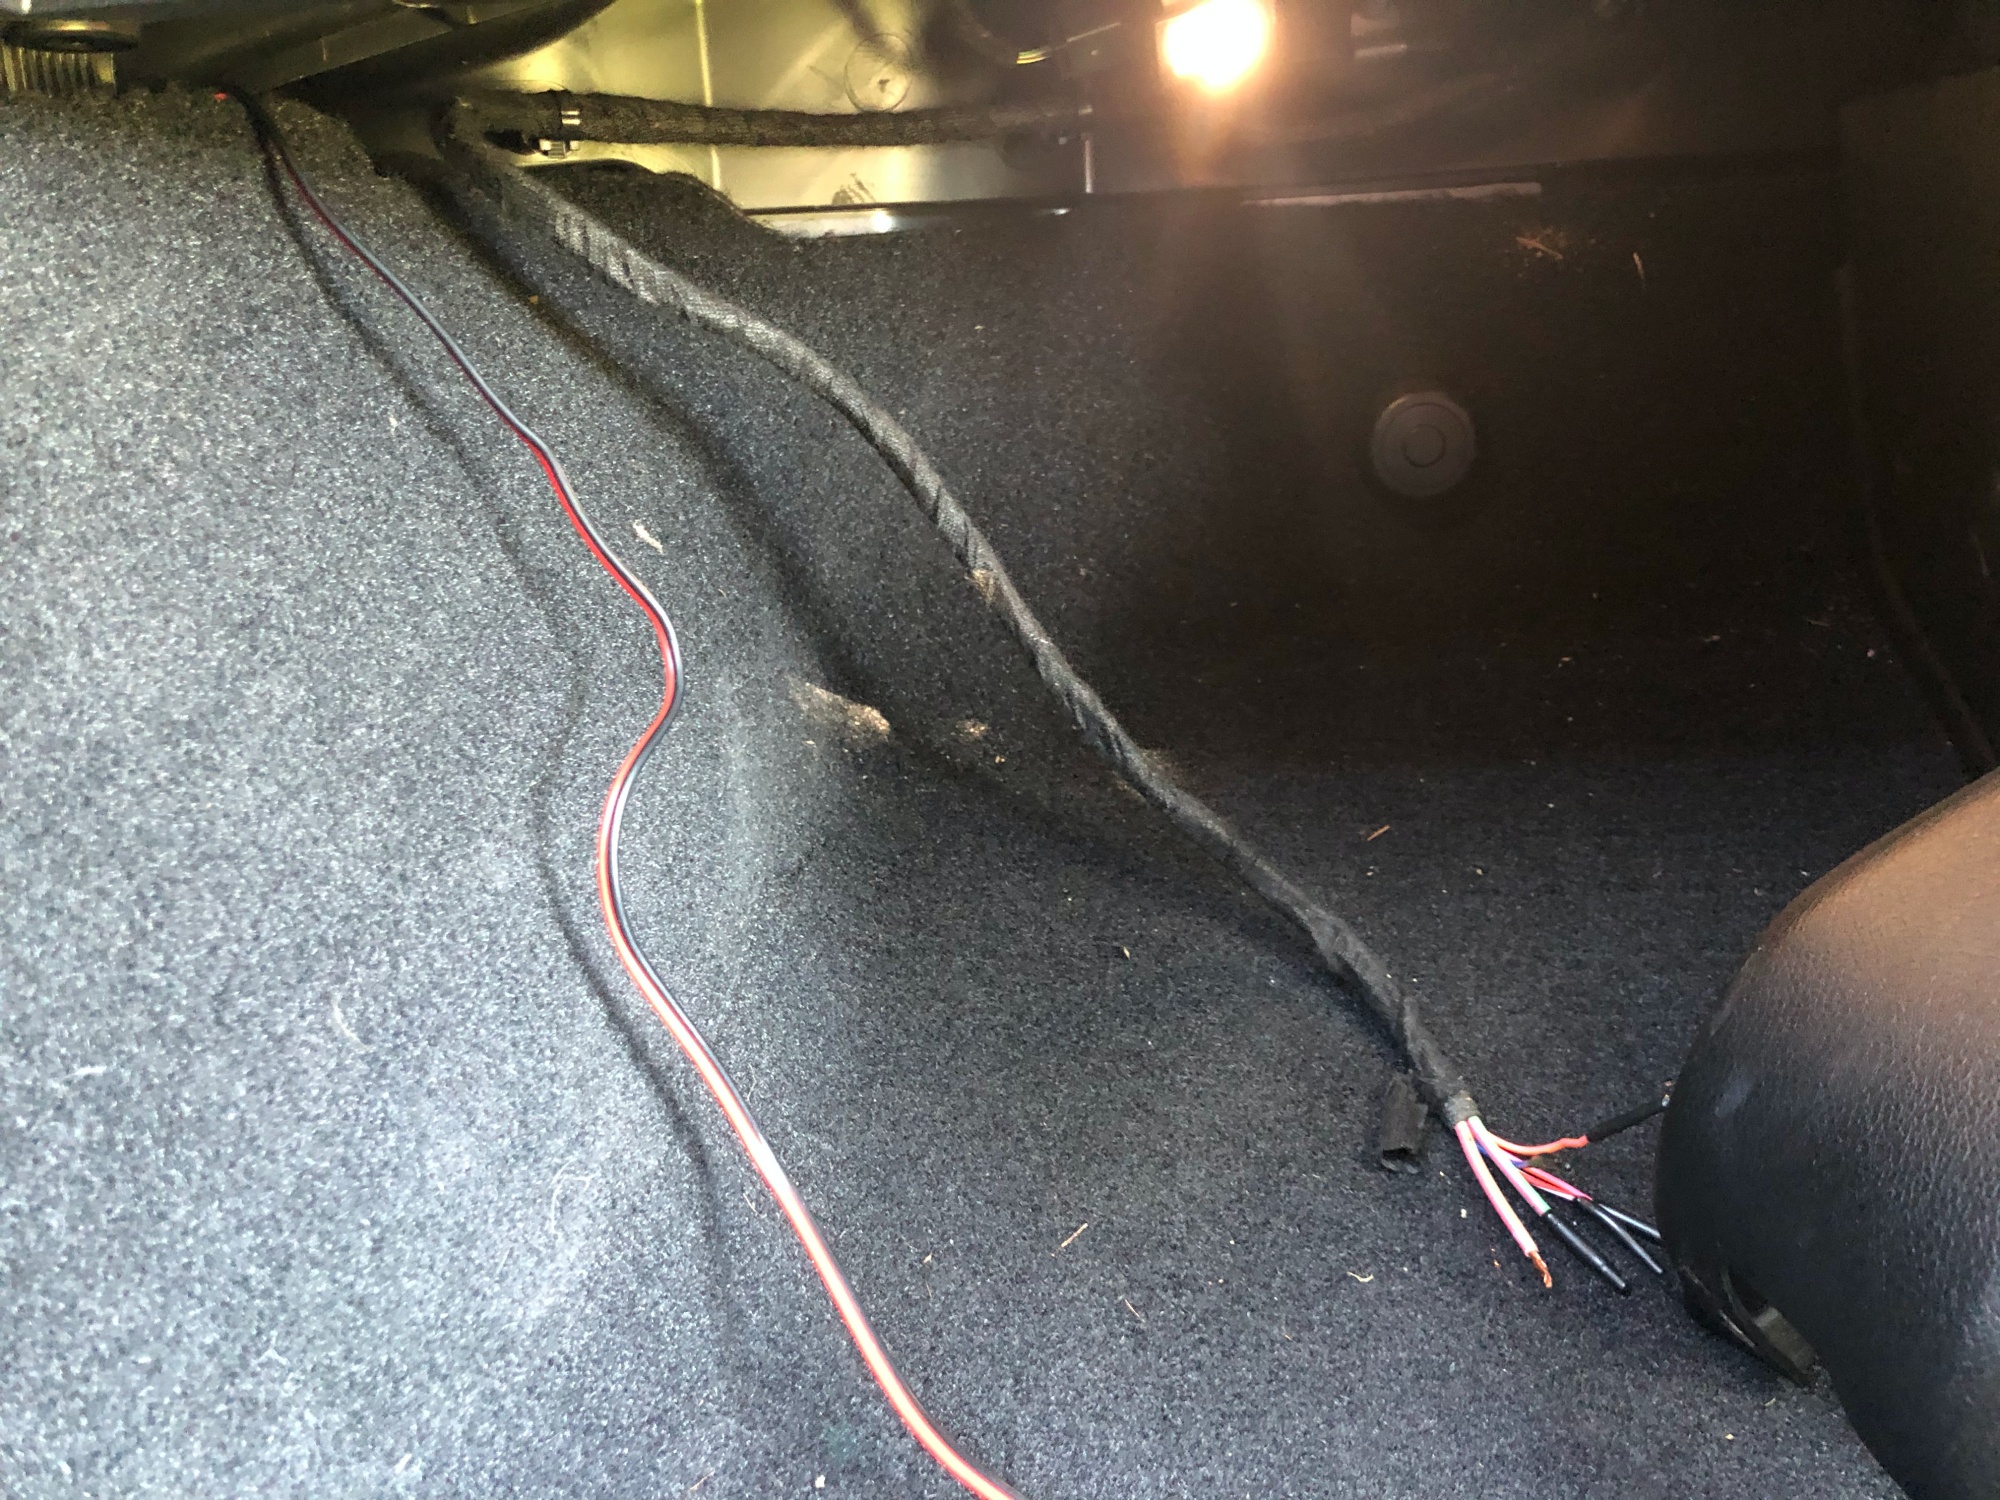


With the wires all cleaned up, secured and out of the way we are ready to move on. It’s important to not operate the CB without the antenna attached so if you test the power don’t leave the CB on long.
Next Page: Antenna Installation and Tuning (coming soon)