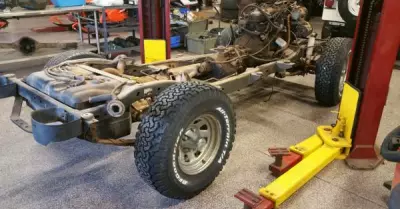
After several seasons of off-roading your Jeep’s brakes will probably need replacing. Mud, dust, and small rocks get stuck on the rotors and act like sand paper on your Jeep’s brakes. Matt’s CJ-7 needed a brake job from just such exposure.
We decided to replace the rotors along with the pads to completely freshen up the Jeep’s braking system. The old rotors were pretty chewed up from trail debris. We also figured to replace the inner wheel hub seal since it was apart.
Pre-work parts and tools list
- Brake rotors
- Brake pads
- Seal set
- Grease
- Bearing Packer
- Seal puller
- Torx sockets and other assorted wrenches, sockets, etc…
Procedure
- Jack up the vehicle and place jack stands under the axle. Confirm the Jeep is supported.
- Remove the wheels
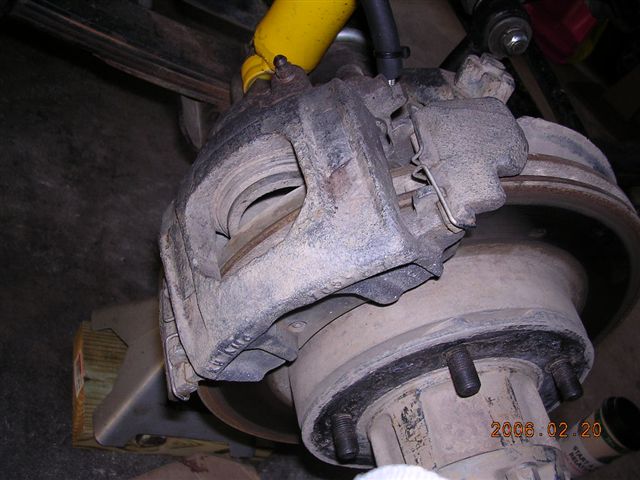
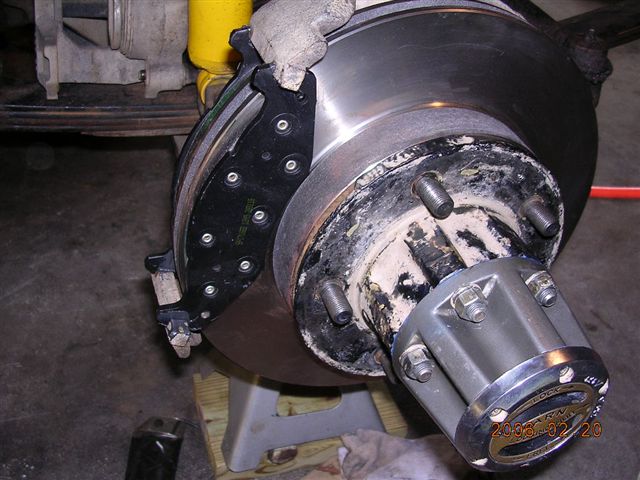
- Remove the calipers by loosening the 2 torx bolts. (81 – 86 CJ) 76 – 80 CJ’s use a center bolt that holds a shim that is knocked out by tapping it lightly with a drift.
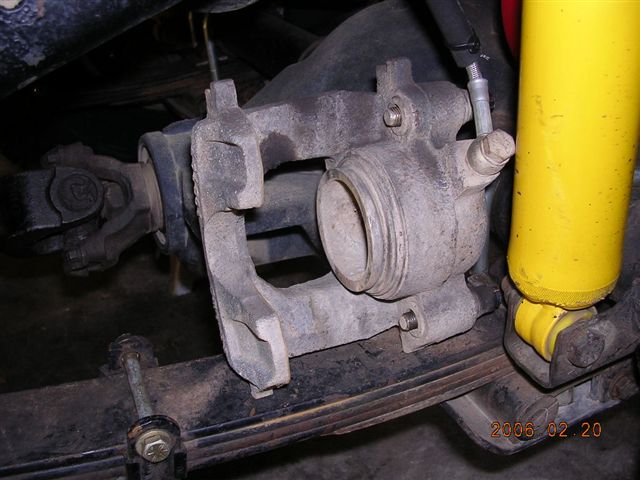
- Place the calipers out of the way as to not damage the brake lines.
- Remove the old pads from the caliper mount.
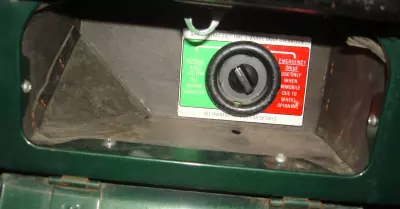
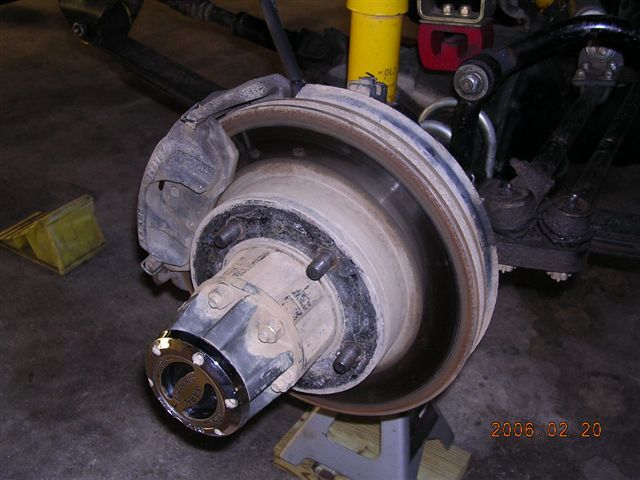
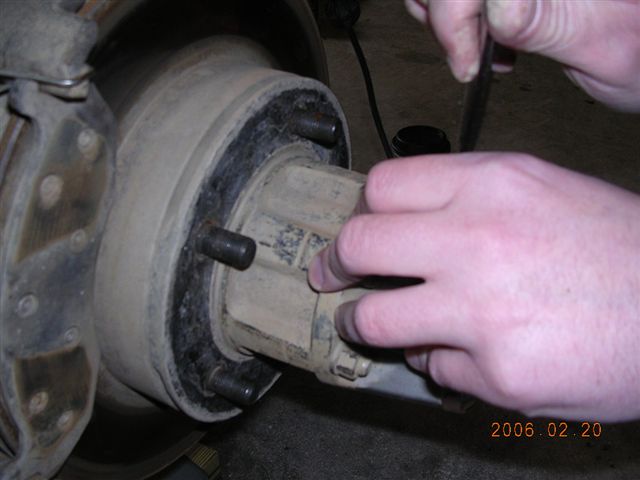
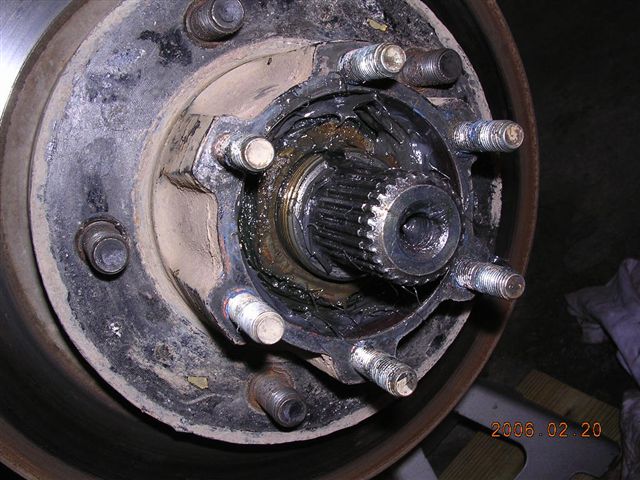
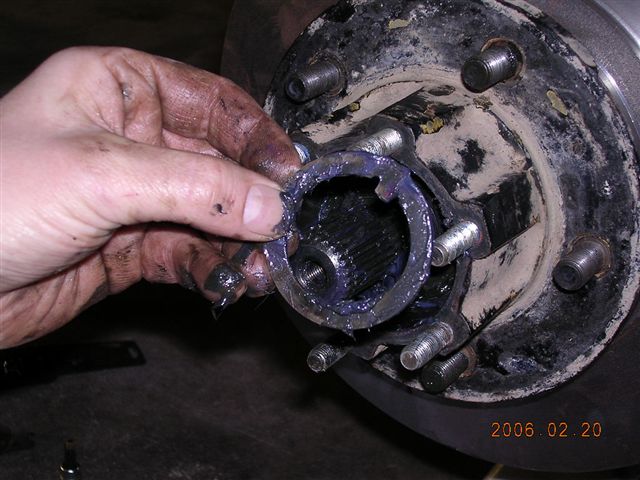
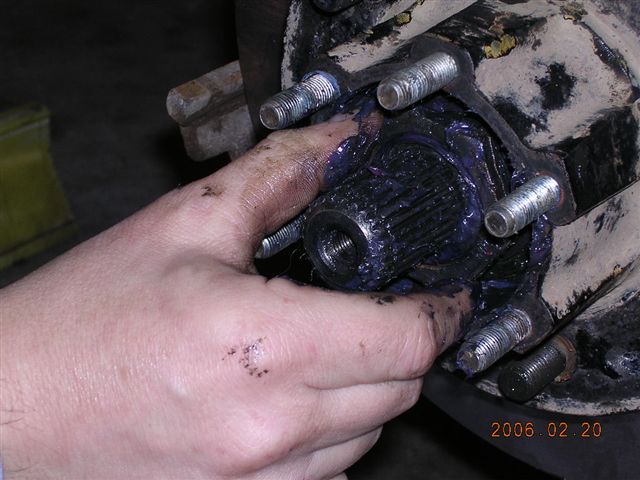
- Remove the hub assembly. This Jeep is equipped with Warn Premium lockout hubs. They are removed by removing the end cap, removing the axle snap ring, then removing the hub gear assembly.
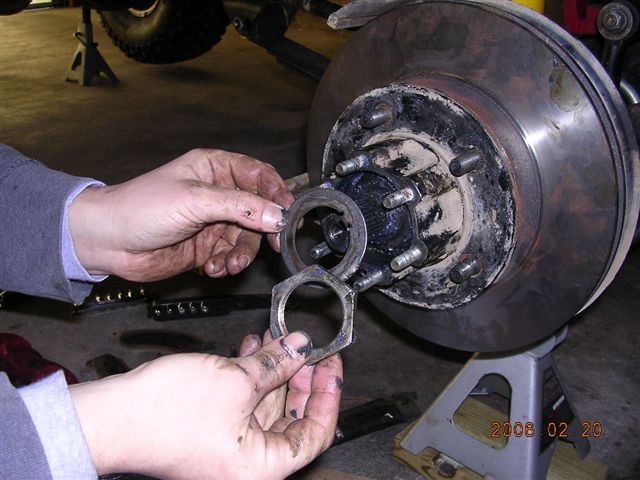
- After the hub is removed the outer wheel hub nut can be removed followed by a washer, then remove the inner nut and washer.
- At this point the wheel hub and bearing should pull right off the spindle.
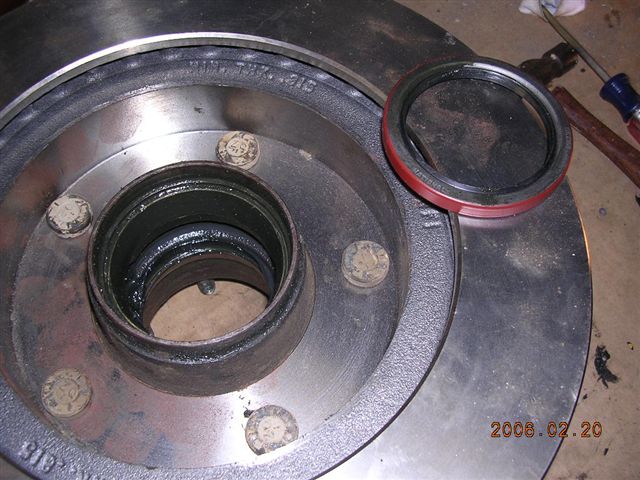
Installing a new seal and preparing the bearings
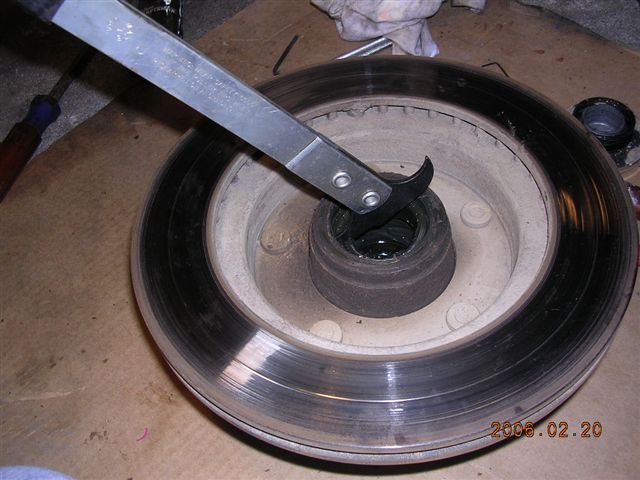
- Remove the old seal from the back of the wheel hub using a seal puller.
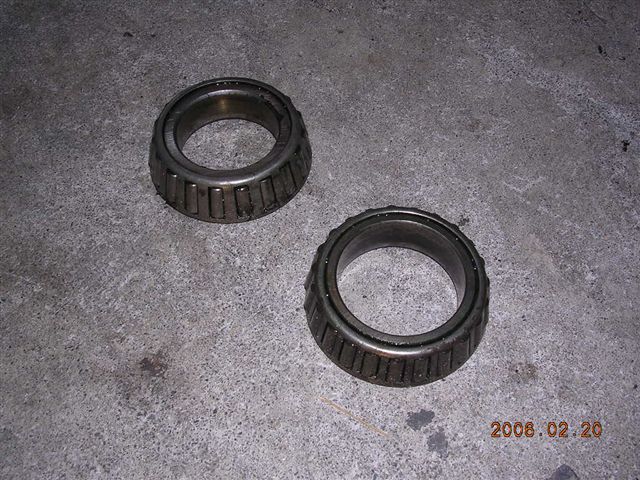
- Remove the outer and inner bearing. If they are in good condition clean the bearings and repack with a quality grease. We used Valvoline Durablend Grease and a bearing packer. A bearing packer is an excellent tool for any do-it-yourselfer. A bearing is placed in the packer and grease is pumped in through a fitting and is forced through the cage filling the bearing with grease.
- Replace the bearings if they are pitted or show signs of wear or water damage.
Removing the rotor and installation of a replacement
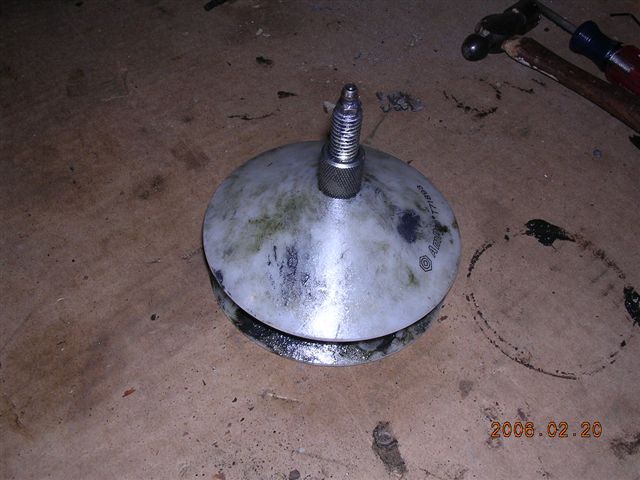
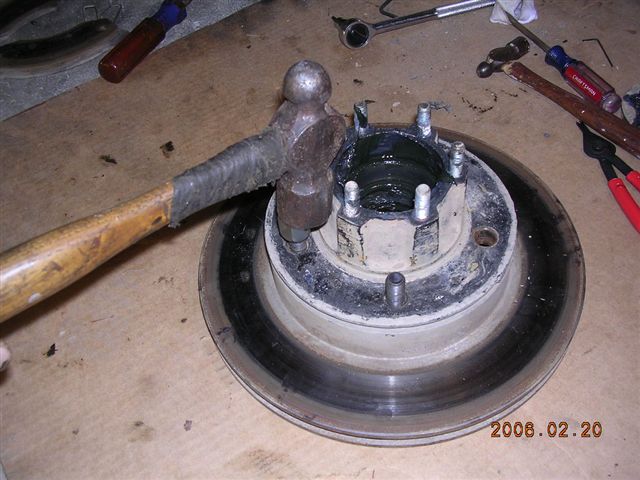
- A press would be handy at this point but a heavy hammer and an old lug nut will work fine.
- Place the old lug onto the bolt and tap with the hammer to drive the lug out of the back of the hub.
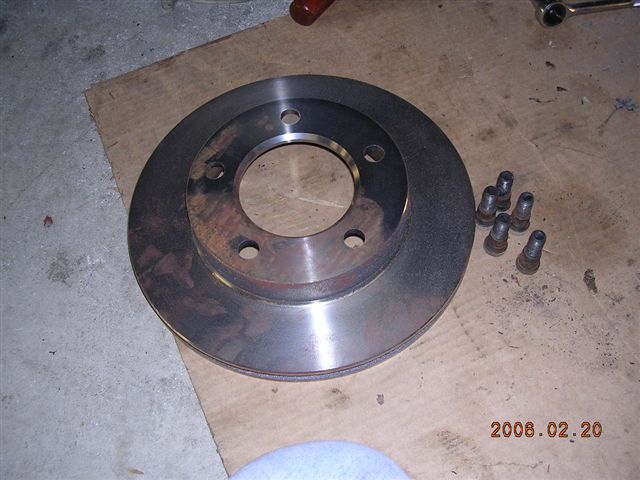
- After they are all removed the rotor and hub will separate.
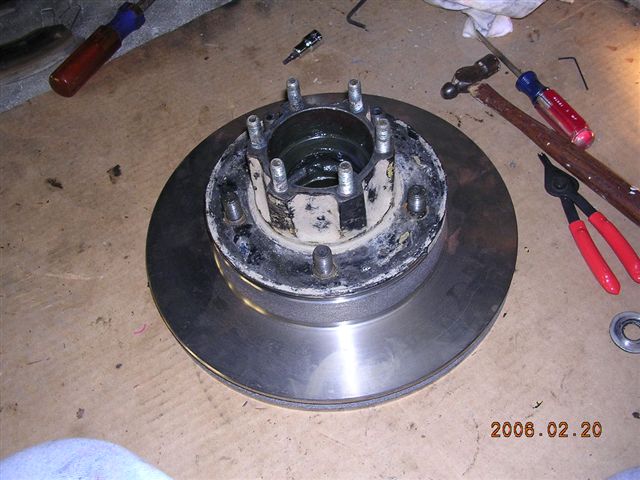
- Install the new rotor onto the hub and place a lug bolt into the hole lining up the splines.
- Put a small amount of grease onto the lug bolt’s threads.
- Using an open lug nut with the flat end in against a washer thread the nut until it pulls the lug all the way into the hub.
- Repeat until they are all installed

Hub reassembly
- Install the packed inner bearing into the back of the hub. Note: the inner bearing is identified by using smaller rollers and a larger diameter center.
- Gently tap the new seal into place.
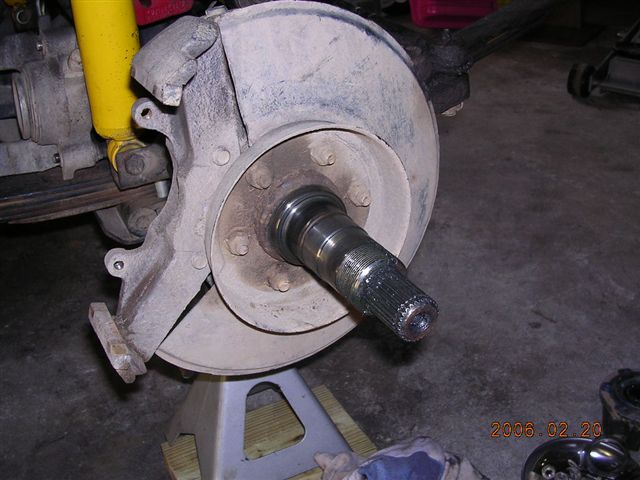
- Clean the spindle paying attention to the seal contact surface.
- Install the hub onto the spindle. Rotate to confirm a proper seat.
- Grease the inside of the hub filling it with grease.
- Insert the outer bearing into the hub, press it all the way in until the hub is tight.
- Install the inner washer and inner nut. Tighten the nut enough to remove excess play but not interfere with hub movement.
- Install the outer washer and nut. Tighten the outer nut to prevent movement of the inner nut.
- Install the lockout hub gear assembly and axle snap ring. Install the hub cap.
Installing the new brake pads
- Clean the rotors to remove grease and dirt.
- Install the pads and the anti-rattle clips into the caliper mounts. Note: The inner pad is slightly smaller than the outer.
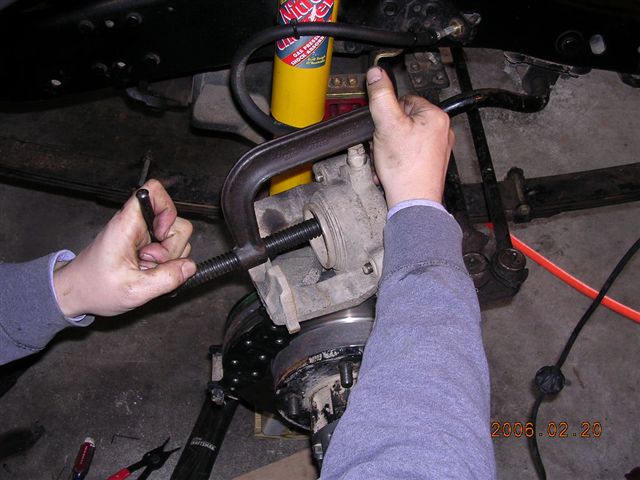
- Using a clamp squeeze the caliper’s reservoir to press the piston back into the caliper.
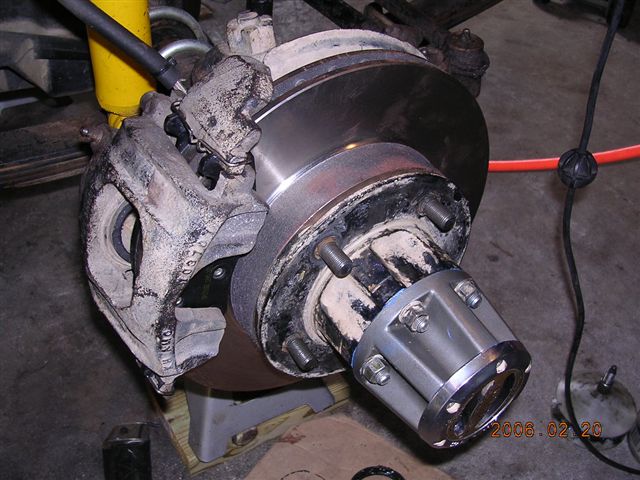
Install the caliper back onto the mount an tighten the bolts. - Pump the brakes a few times to allow the calipers to adjust.
- Install the wheels and test.
- Re-torque the lug nuts to verify tightness after a short drive to assure that the lug bolts have seated tightly.
- Drive the Jeep for a bit, check the wheel hub (by touching it) for excessive heat. If it is hot the bearing may be installed too tightly. It would be necessary to disassemble the wheel to correct this.
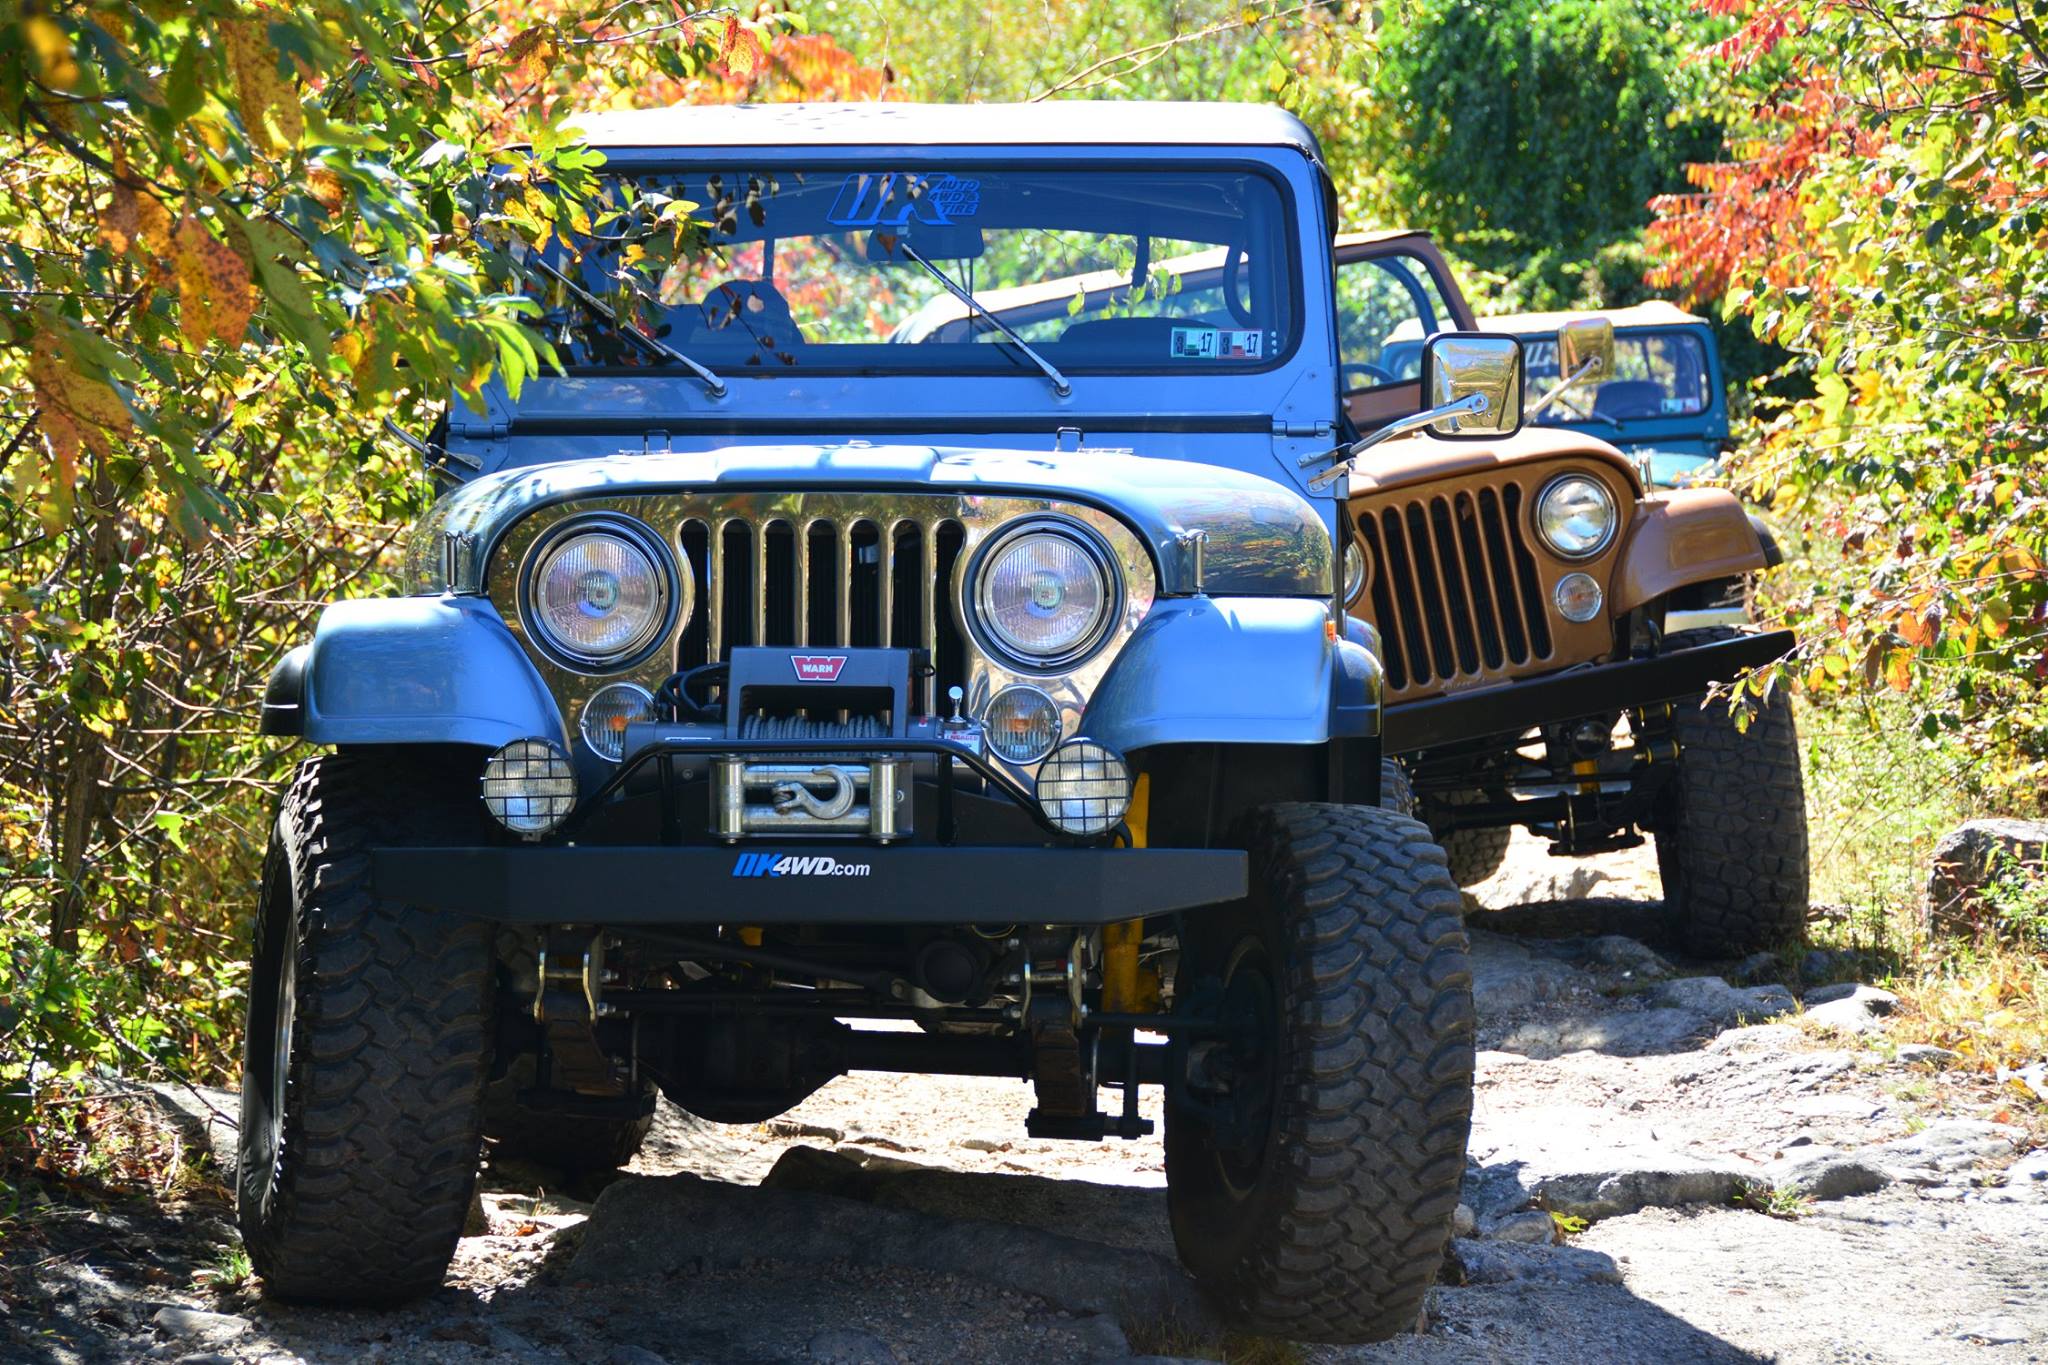
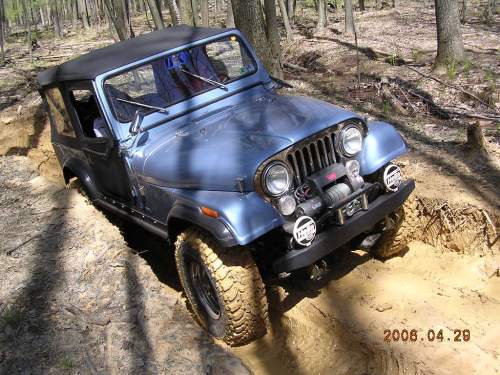
This Jeep is ready for a new season of tackling the trails. It is comforting knowing the brakes are going to stop and the bearings are well lubed and sealed.