As stated on the previous page before beginning any project make sure you have the tools and capability to safely perform the tasks. Read all directions and follow safe garage habits, use jack stands and proper safety wear. We followed the directions from TeraFlex, we also added some tips and steps along the way, they will be marked with a the word TIP.

Get personalized content recommendations and answers drawn from our website. Simply type your question or topic of interest, and our AI assistant will help you find relevant articles, tips, and insights. You can also have a natural conversation to explore topics in more depth.

Rear Installation
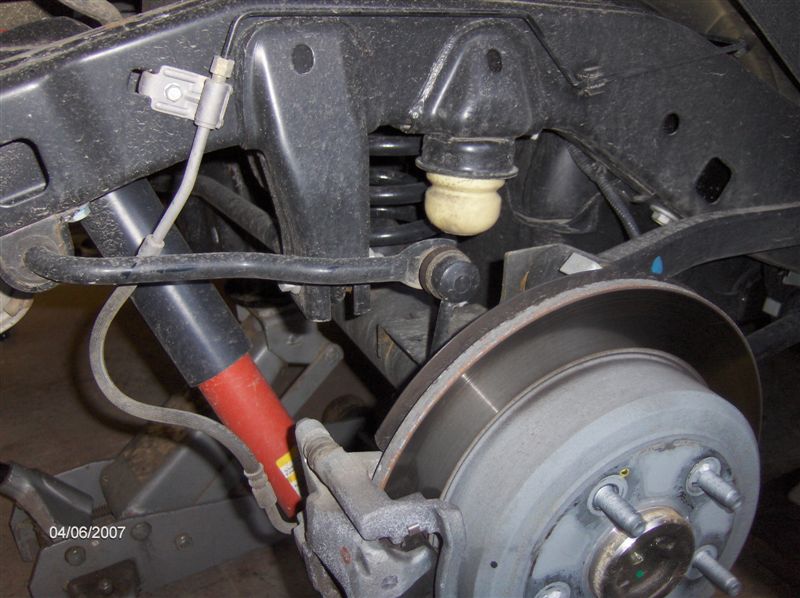
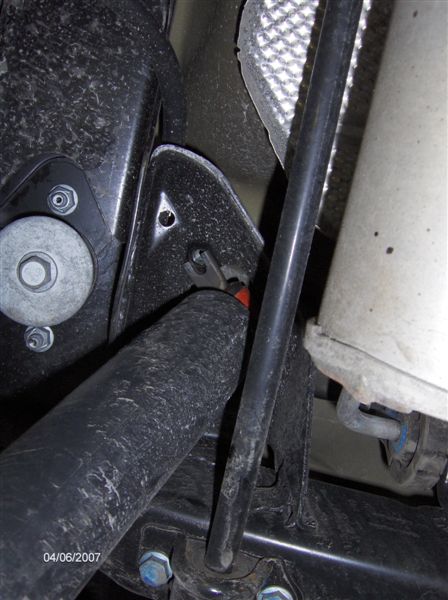
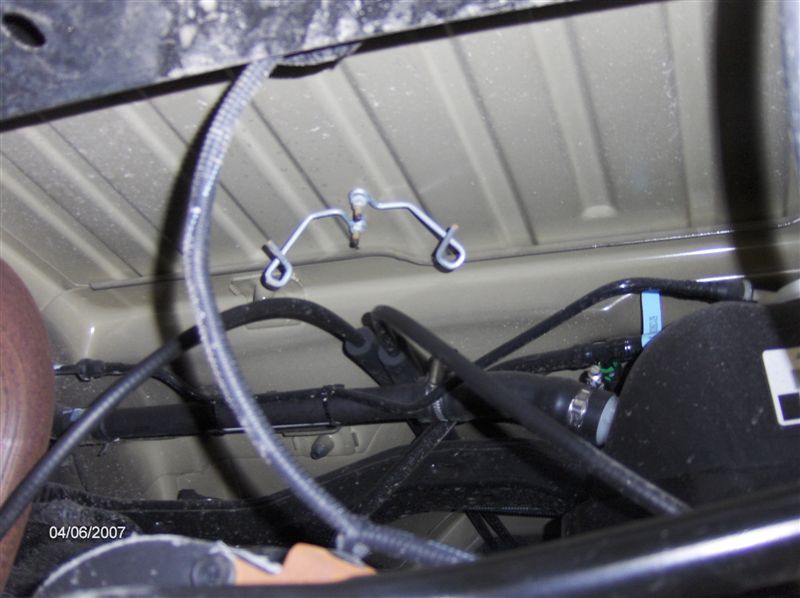
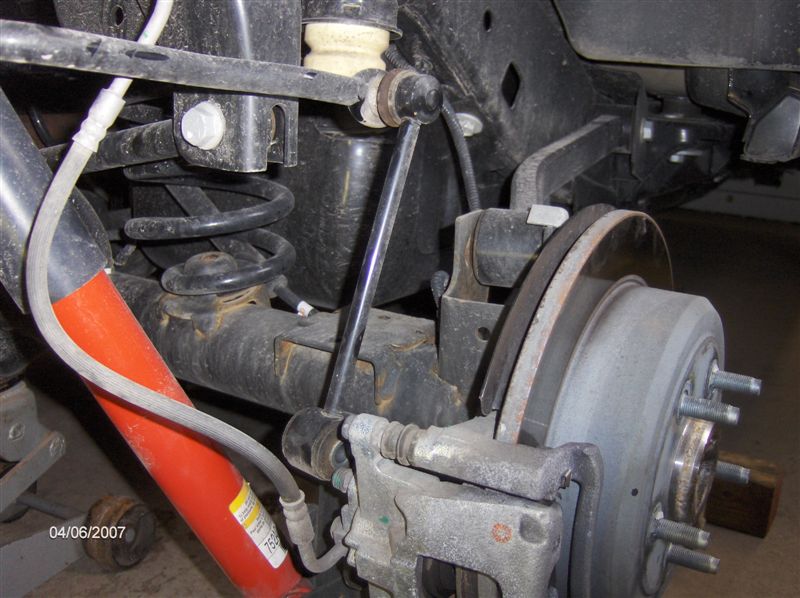
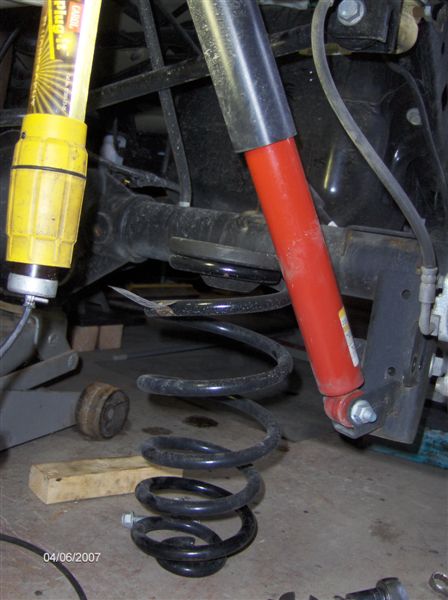
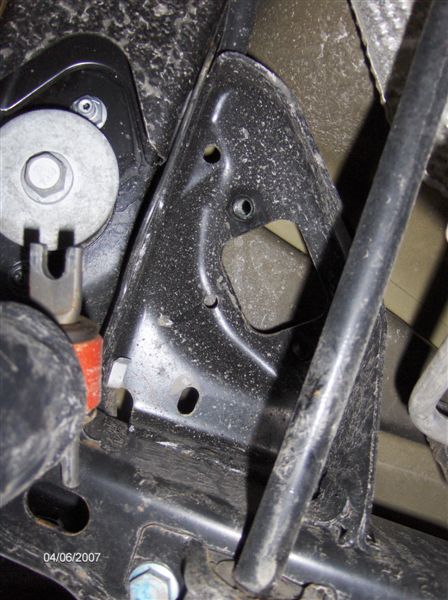
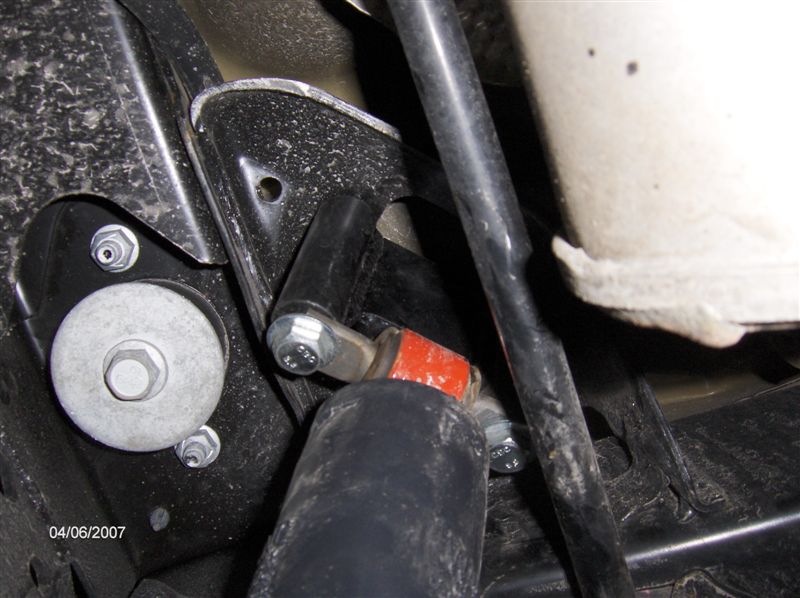
After properly jacking up the Jeep remove the tires. Remove the upper shock bolts. TIP: Disconnect the sway bar at the axle bolt (see below) this will allow greater movement of the axle. Be careful not to over stretch the brake and/or the anti-lock wiring. TIP: The parking brake cables are supported on hooks attached to the bottom of the body, before lowering the axle pull the cables from the hook, this will allow the axle to lower further. Also, pull the axle vent hose off the axle, it will probably pull itself off anyway. Unbolt the brake line clip. Lower the axle.
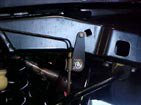
 Unbolt the upper shock |
 Parking brake hooks |
 Disconnecting the sway bar |
|
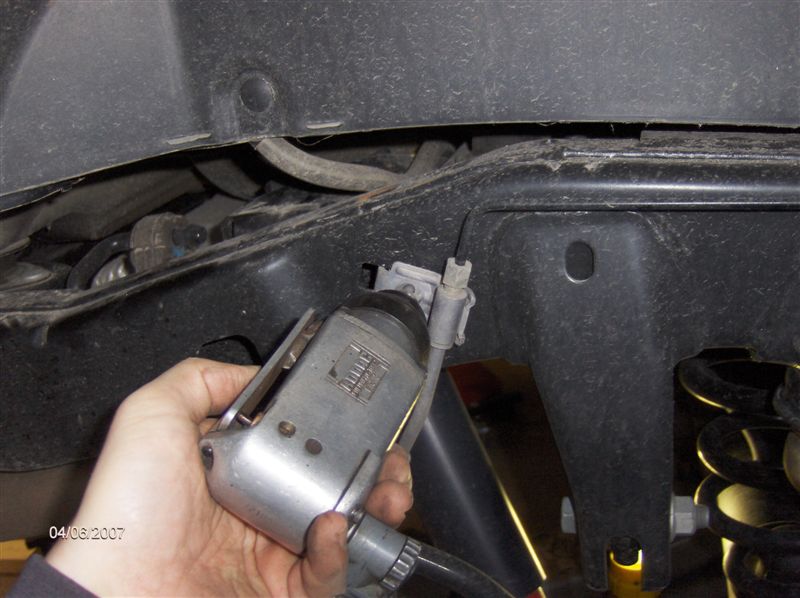 Unbolt the rear brake line |
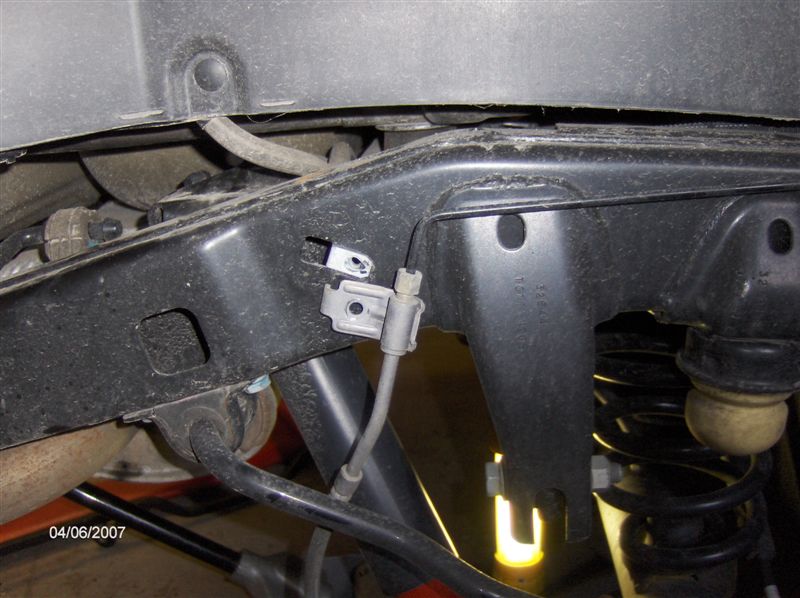 Brake line loose |
Remove the rear springs. Install the spring isolator onto the coil spacer. Place the spacer onto the top of the spring and reinstall. TIP: A coil spring compressor would make it easier here. The rear springs were a lot tougher to install than the front. We did it using a good pry bar, long screw driver, and a few blocks of wood. Be careful and keep your fingers out of the way. Install the upper shock adapter.
 Spring removed |
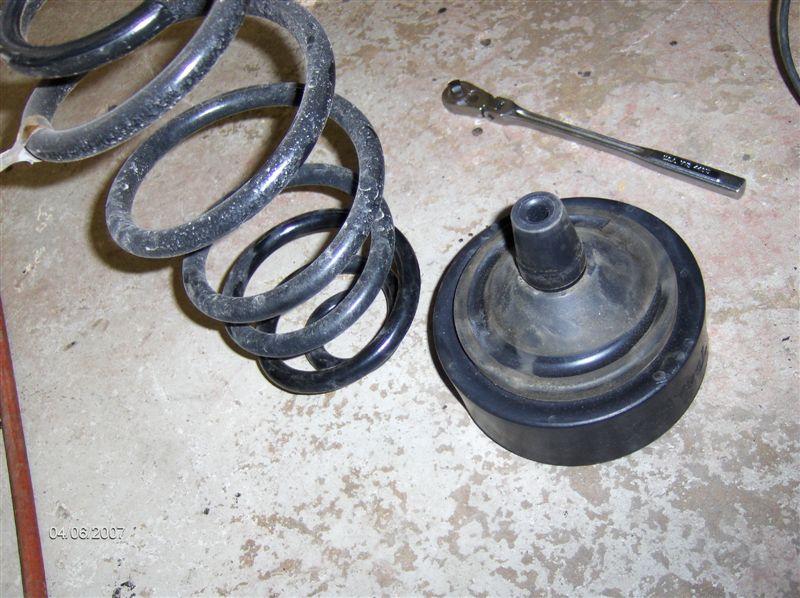 Isolator installed on the spacer |
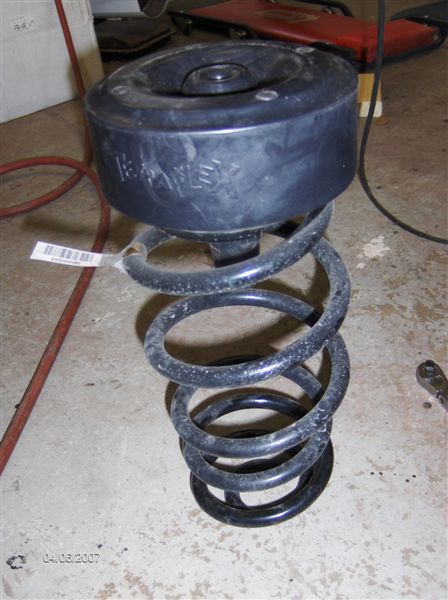 Ready for reinstallation |
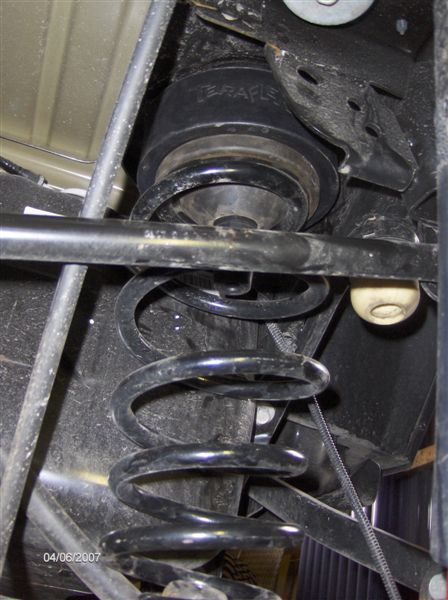 Spring and spacer installed |
 Upper shock mount |
 Shock reinstalled with adapter |
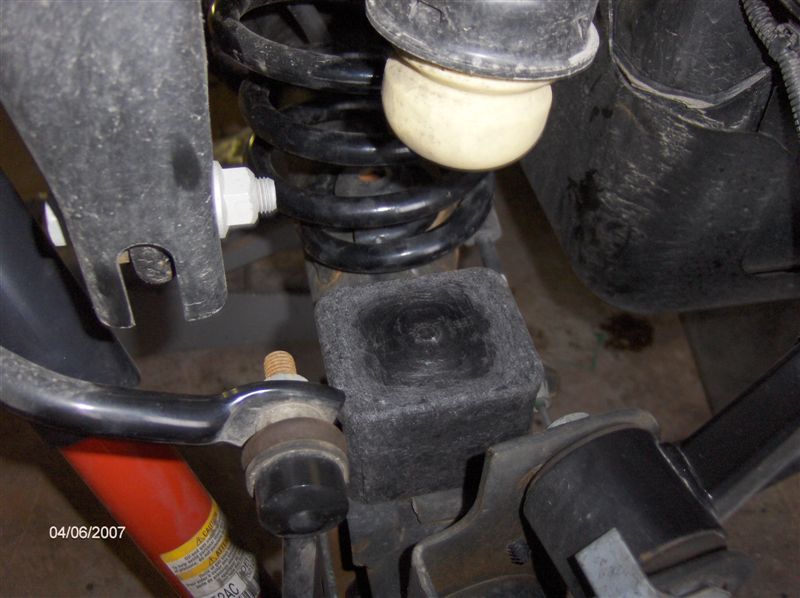
Check everything, raise the axle, reattach the sway bar, and put the parking brake cables back on the hooks. Install the brake line extensions. Install the bump stop spacer. Double check everything and reinstall the wheels.
|
Brake line extension |
Bump stop spacer |
Test drive the Jeep, TeraFlex recommends having the Jeep’s alignment checked and re-torque the bolts after 300 miles.