• Skip to main content
  • Skip to header right navigation
  • Skip to after header navigation
  • Skip to site footer
Jeepfan.com

Jeepfan.com

serving the Jeep community since 1997

  • Projects & Installs
  • Offroading & Events
  • Technical & Info
  • Readers Jeeps
  • Jeep Racing
  • Products
  • Ask
  • jeepfan.com 2022 4xe
  • jeepfan.com 2018 JL
  • jeepfan.com 2004 TJ Unlimited
  • jeepfan.com 1978 CJ-5
Home » Projects & Installs » Old Man Emu YJ Springs in a CJ Install

Old Man Emu YJ Springs in a CJ Install

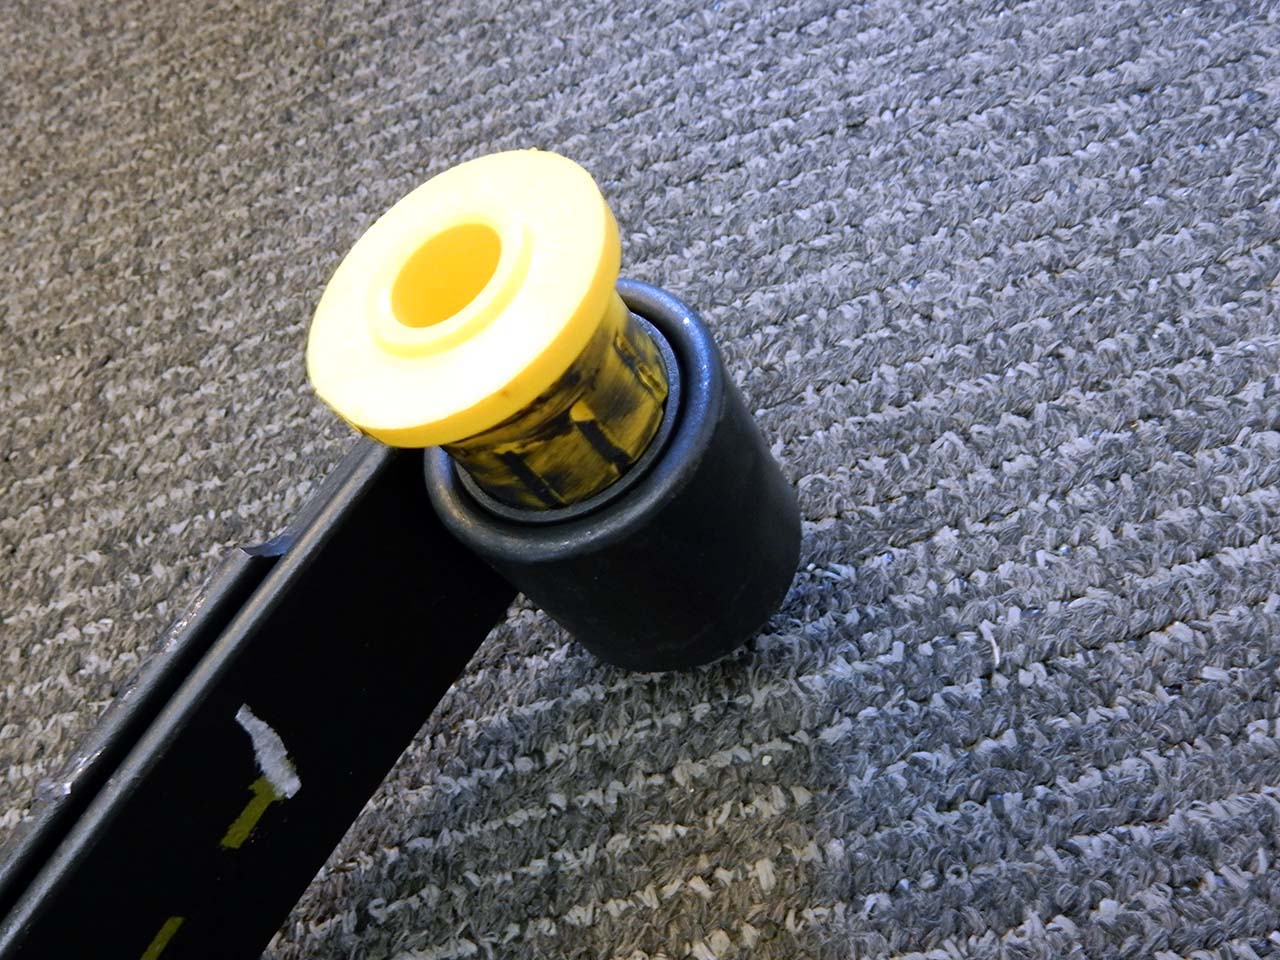
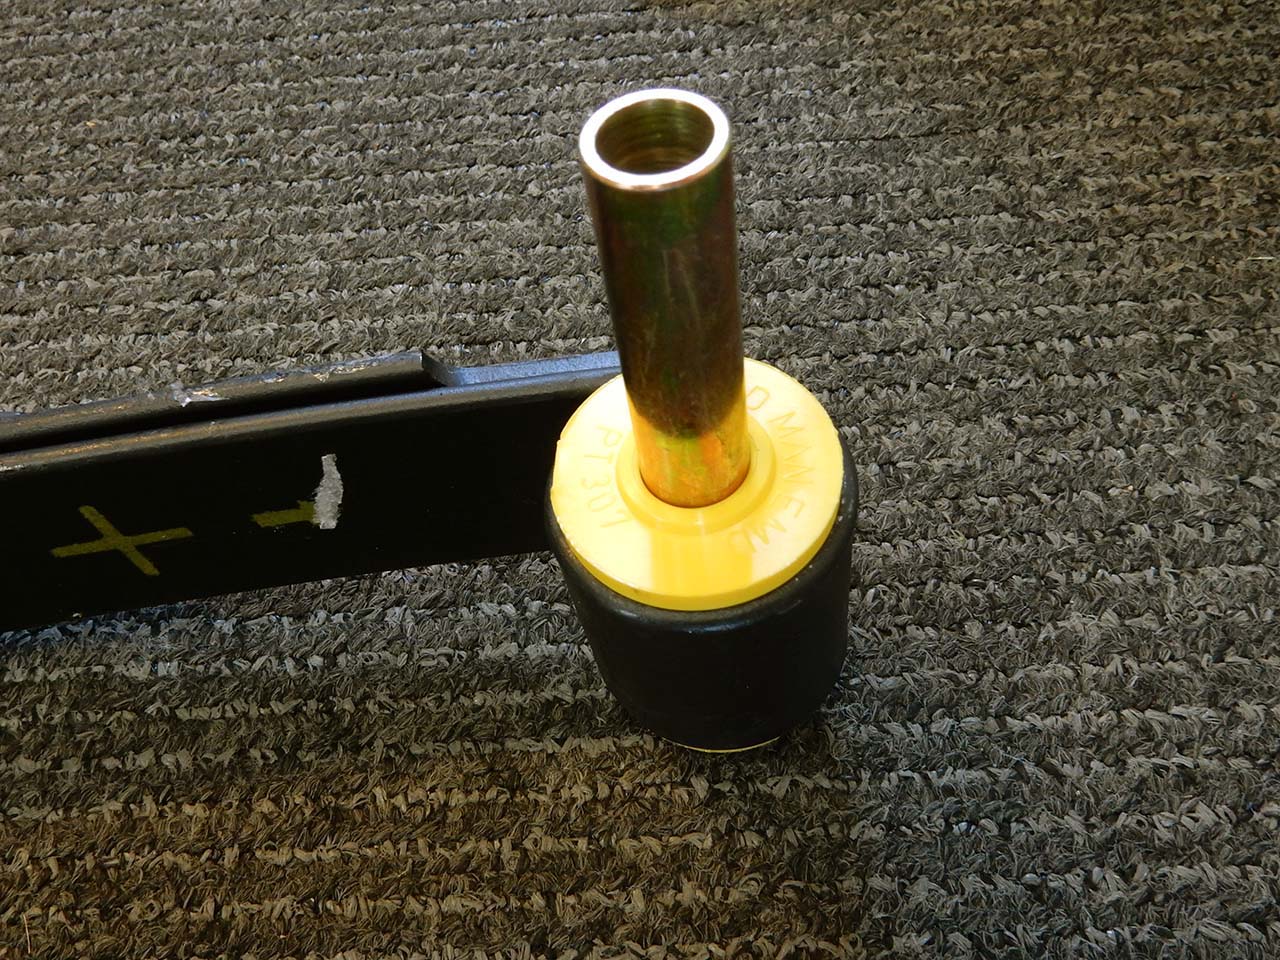
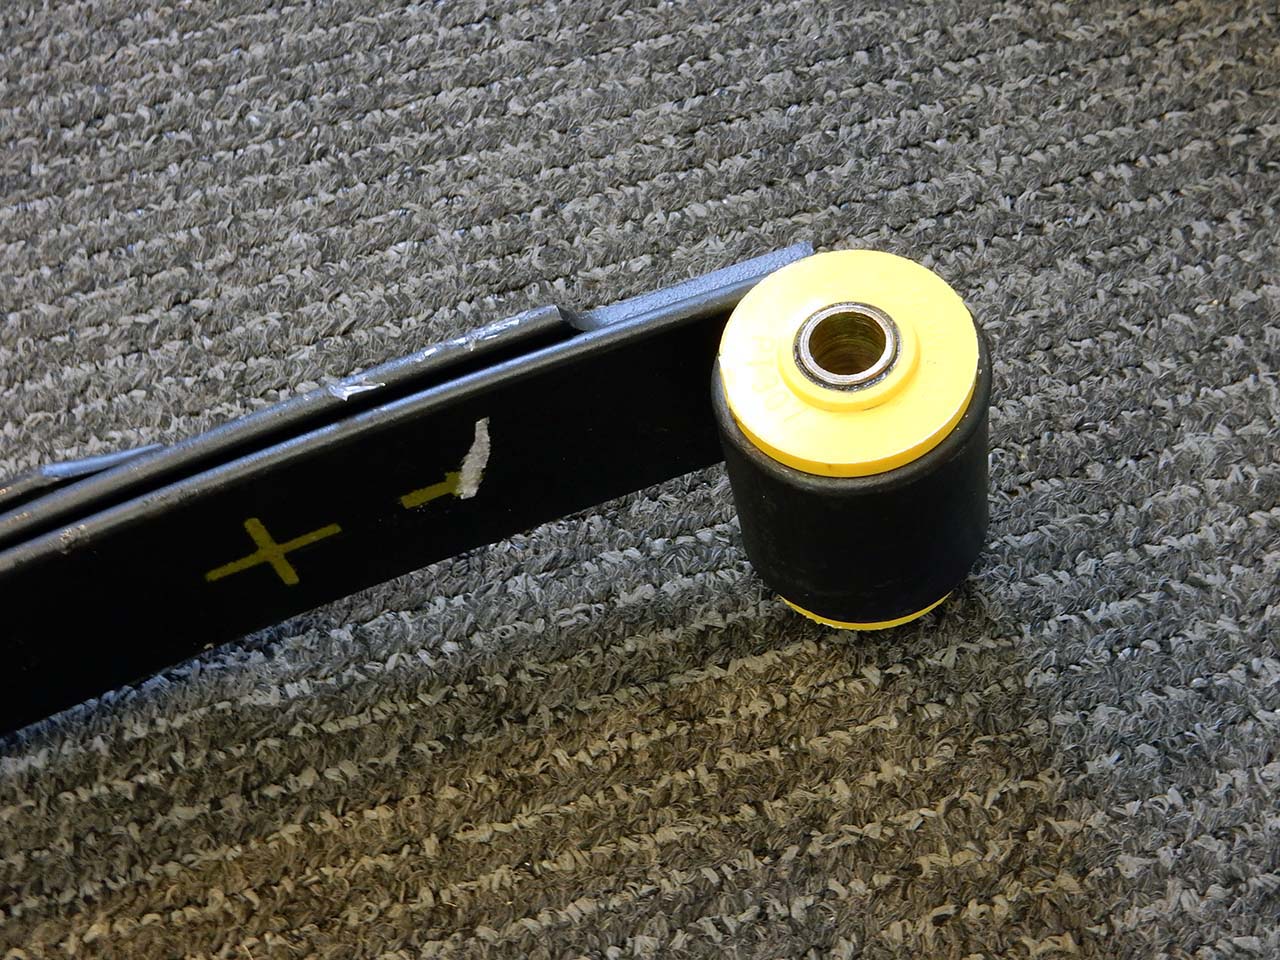
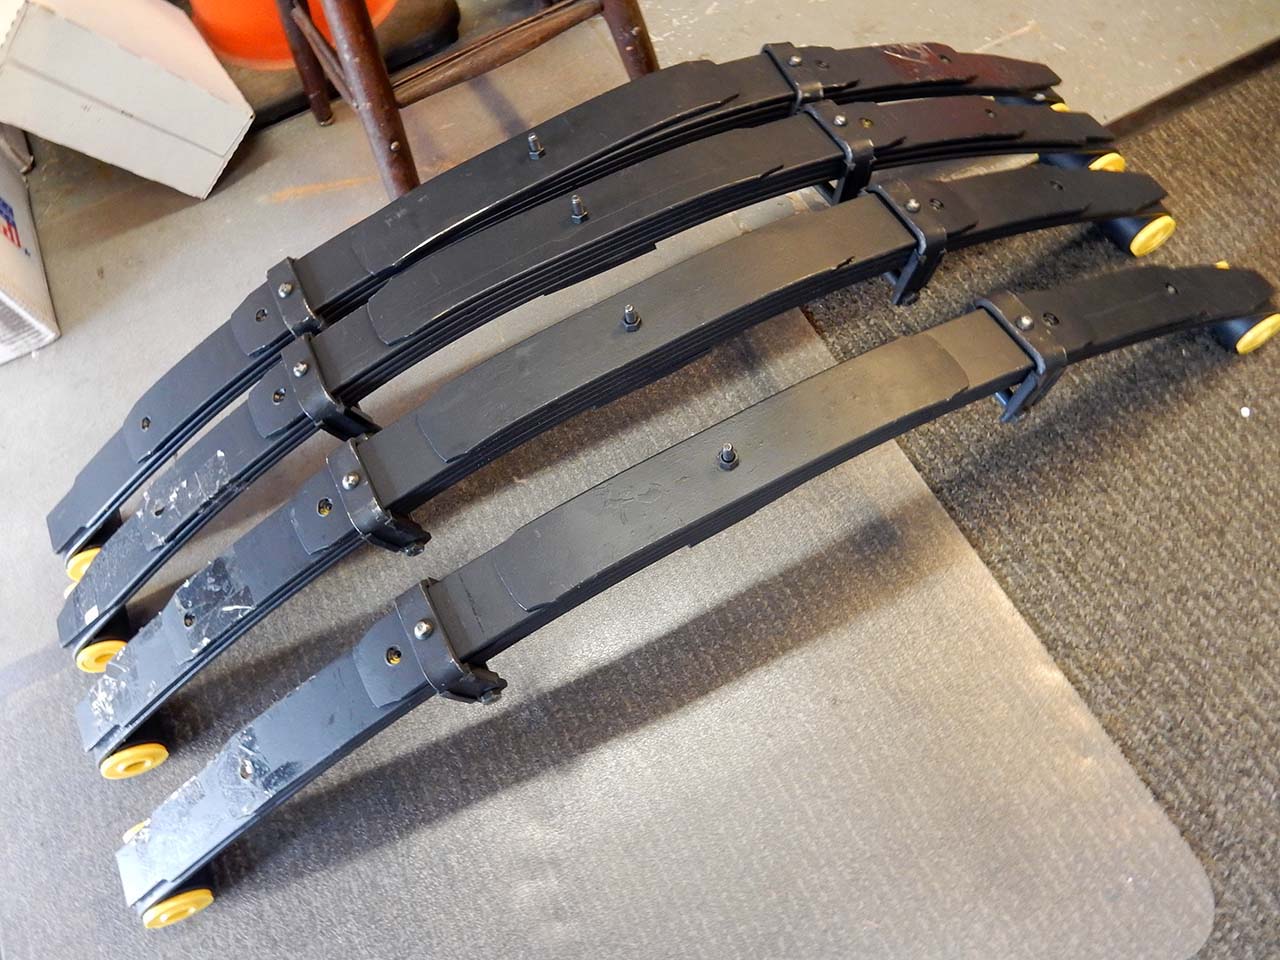
Installation of the Old Man Emu YJ Springs in a CJ is nearly the same as installing regular CJ springs.  Before tearing into the Jeep we took a little time to prep the springs by lubricating and installing the bushings and sleeves into the springs.  Take care of bushing installation since there are different bushings for the spring side of the shackle mount and the frame side of the mount.  The frame side mounts have a narrower lip on the bushing.

Get personalized content recommendations and answers drawn from our website. Simply type your question or topic of interest, and our AI assistant will help you find relevant articles, tips, and insights. You can also have a natural conversation to explore topics in more depth.

oldmanemususpensioninstall-109 oldmanemususpensioninstall-110 oldmanemususpensioninstall-112

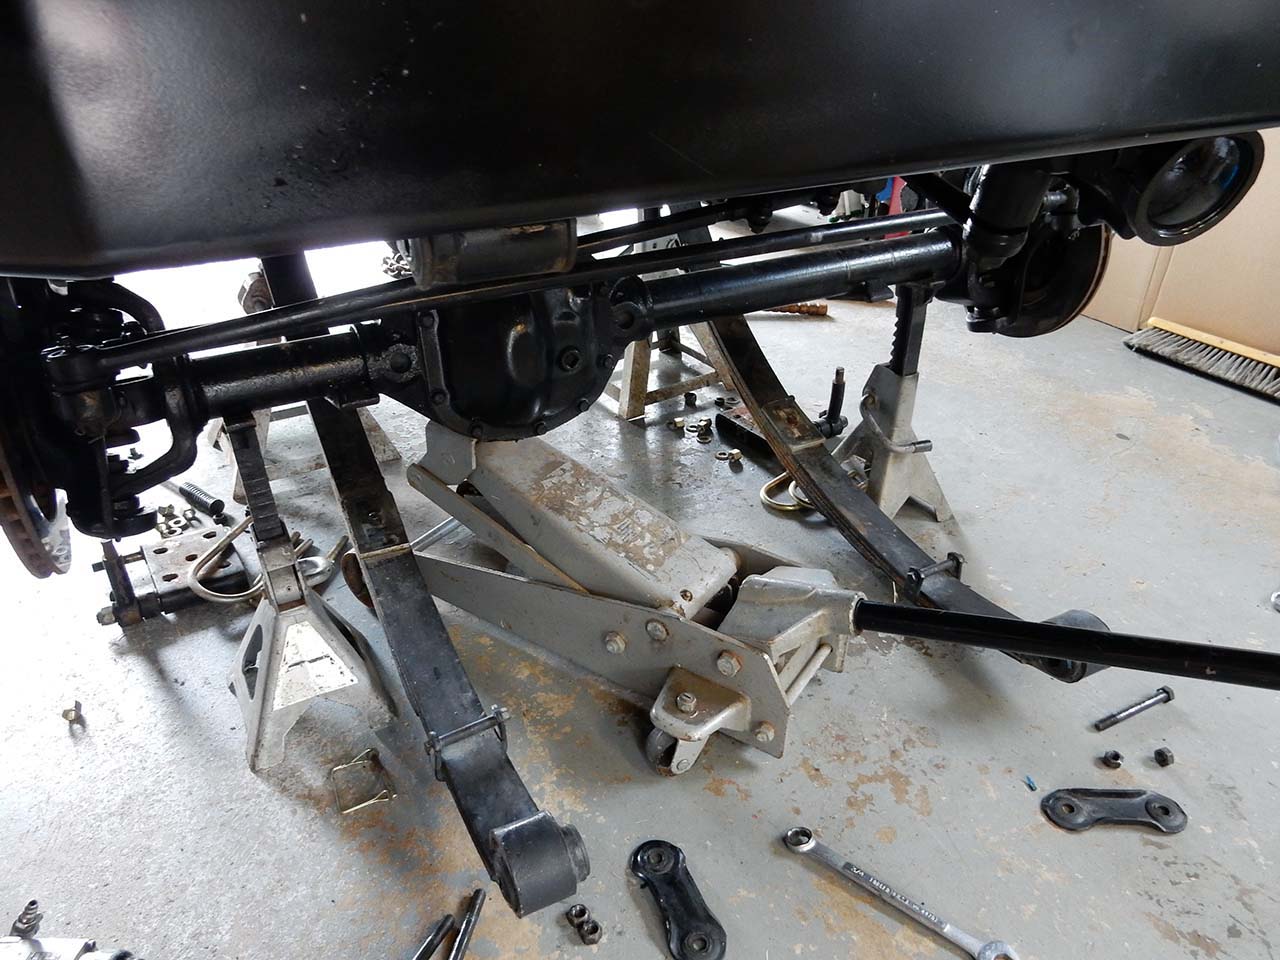
With the springs prepped it was time to move on to getting the old suspension out.  Support the Jeep properly and allow the axle to hang free on the springs.

oldmanemususpensioninstall-114 oldmanemususpensioninstall-120

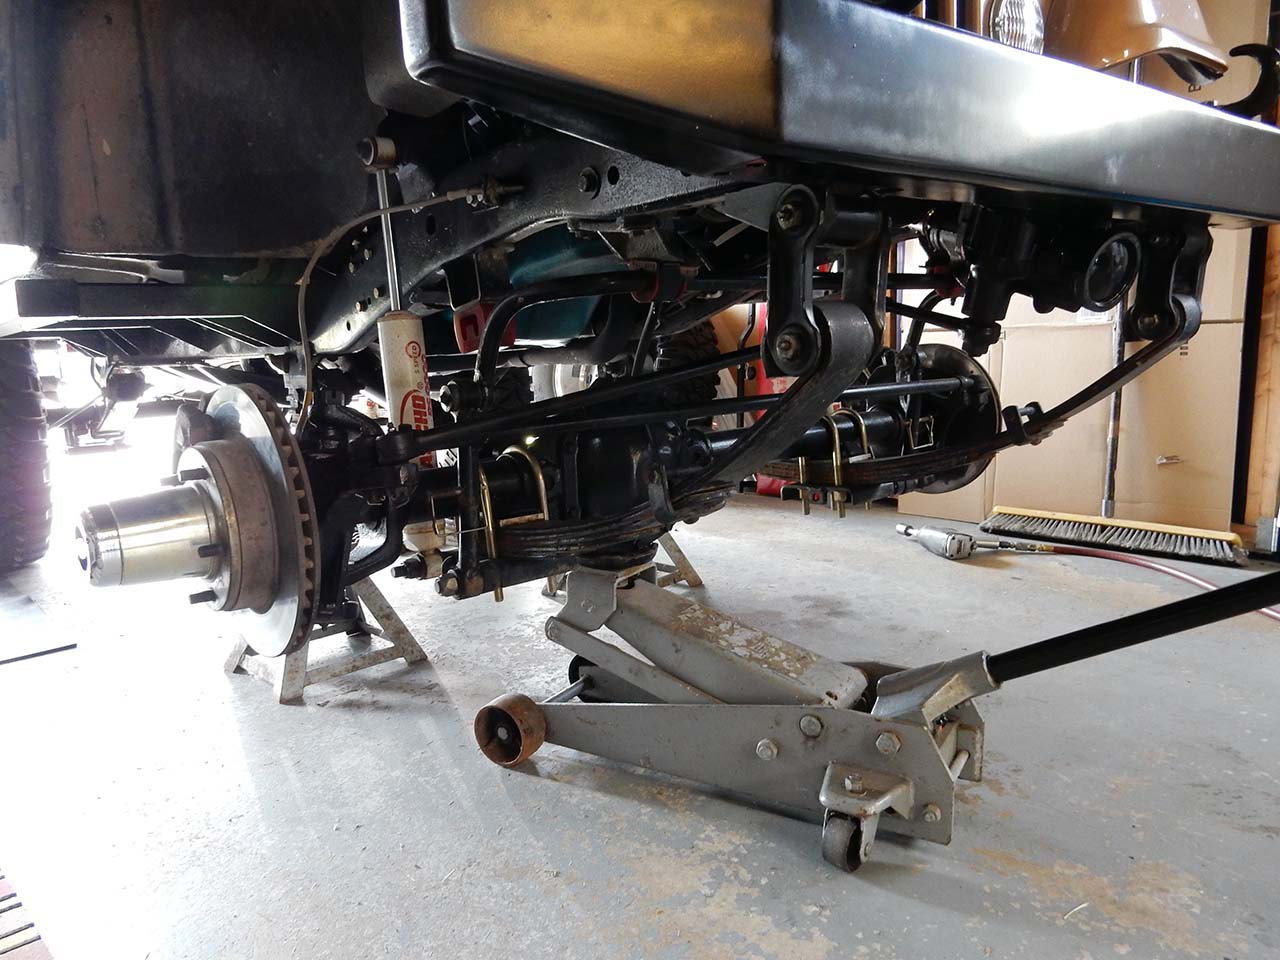
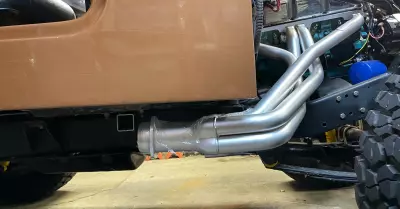
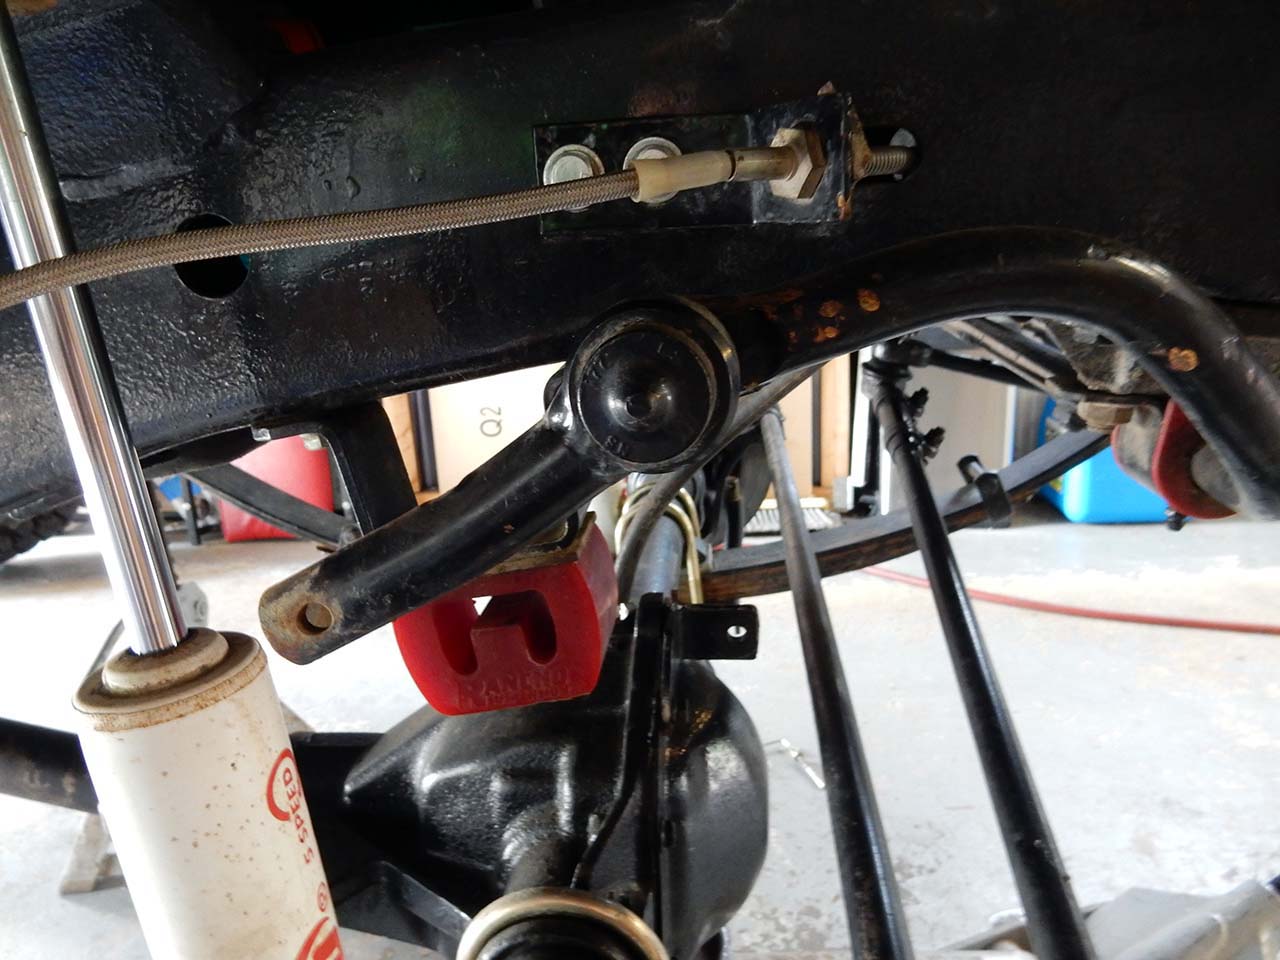
Support the axle slightly and begin removing the shocks, sway bar links, and u-bolt plates.

oldmanemususpensioninstall-123 oldmanemususpensioninstall-124 oldmanemususpensioninstall-128

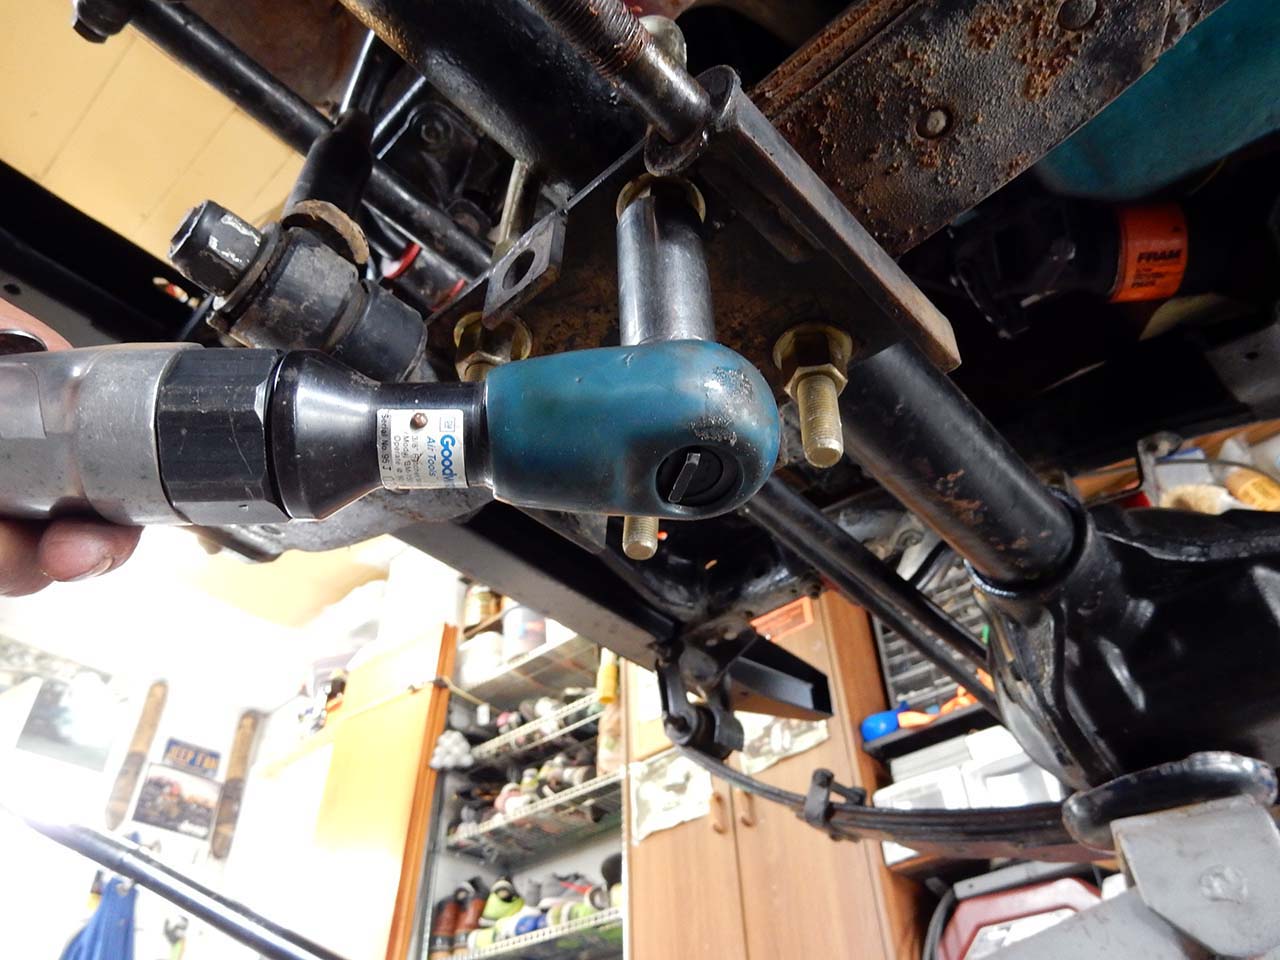
With the above components removed support the axle so it does not lower when the springs are removed.

oldmanemususpensioninstall-132 oldmanemususpensioninstall-135

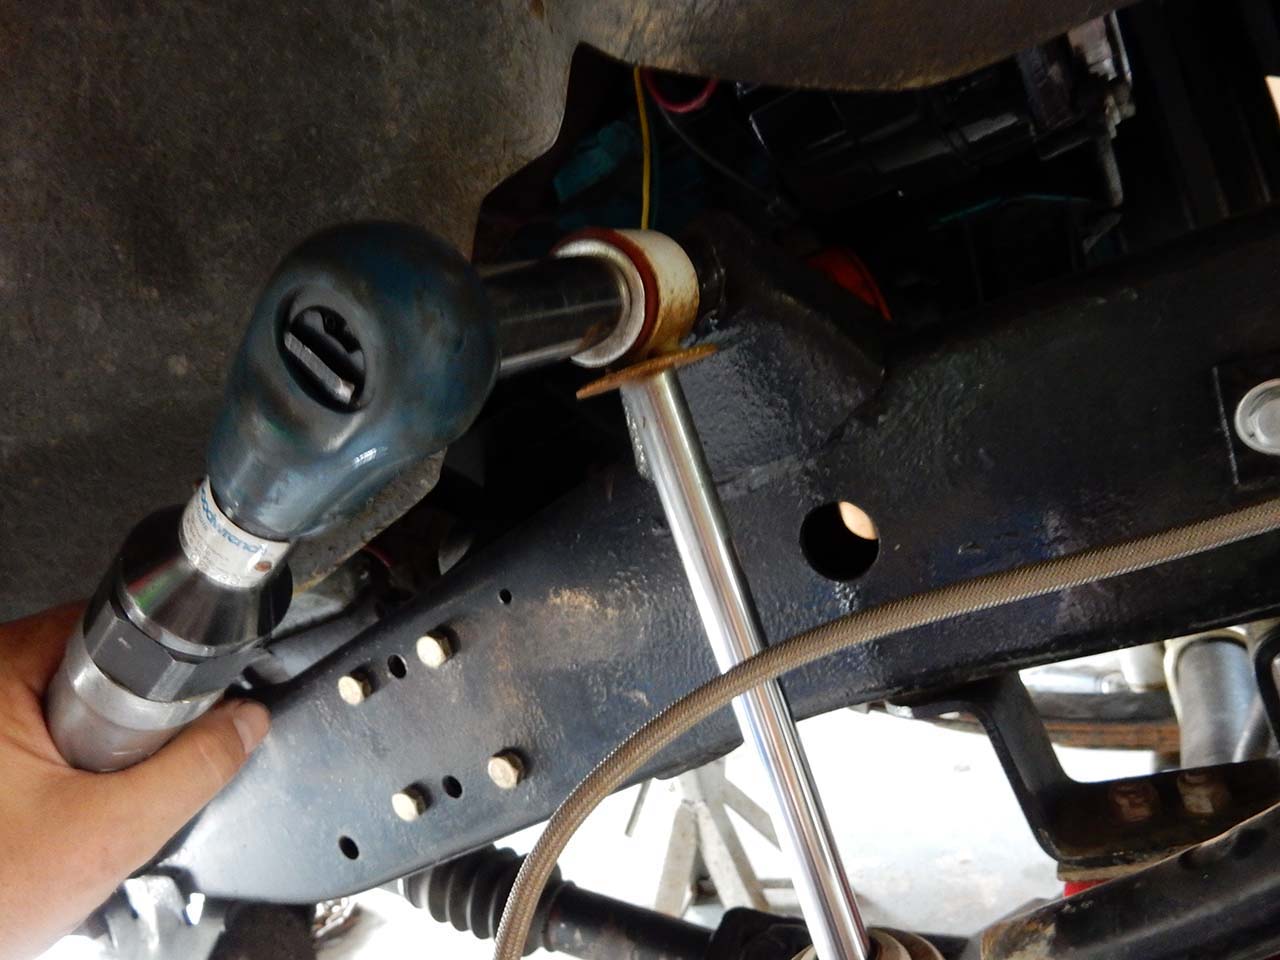
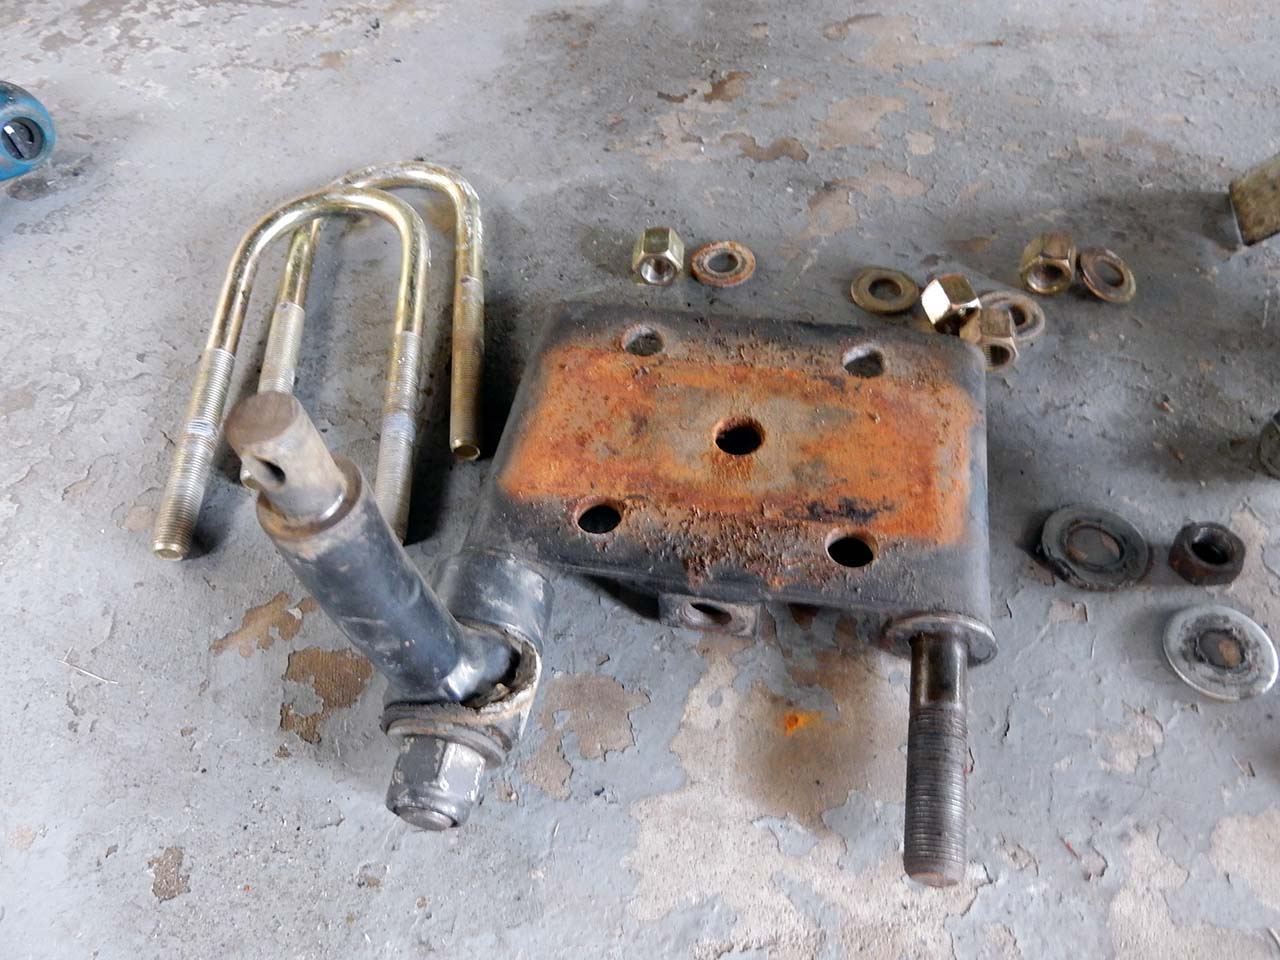
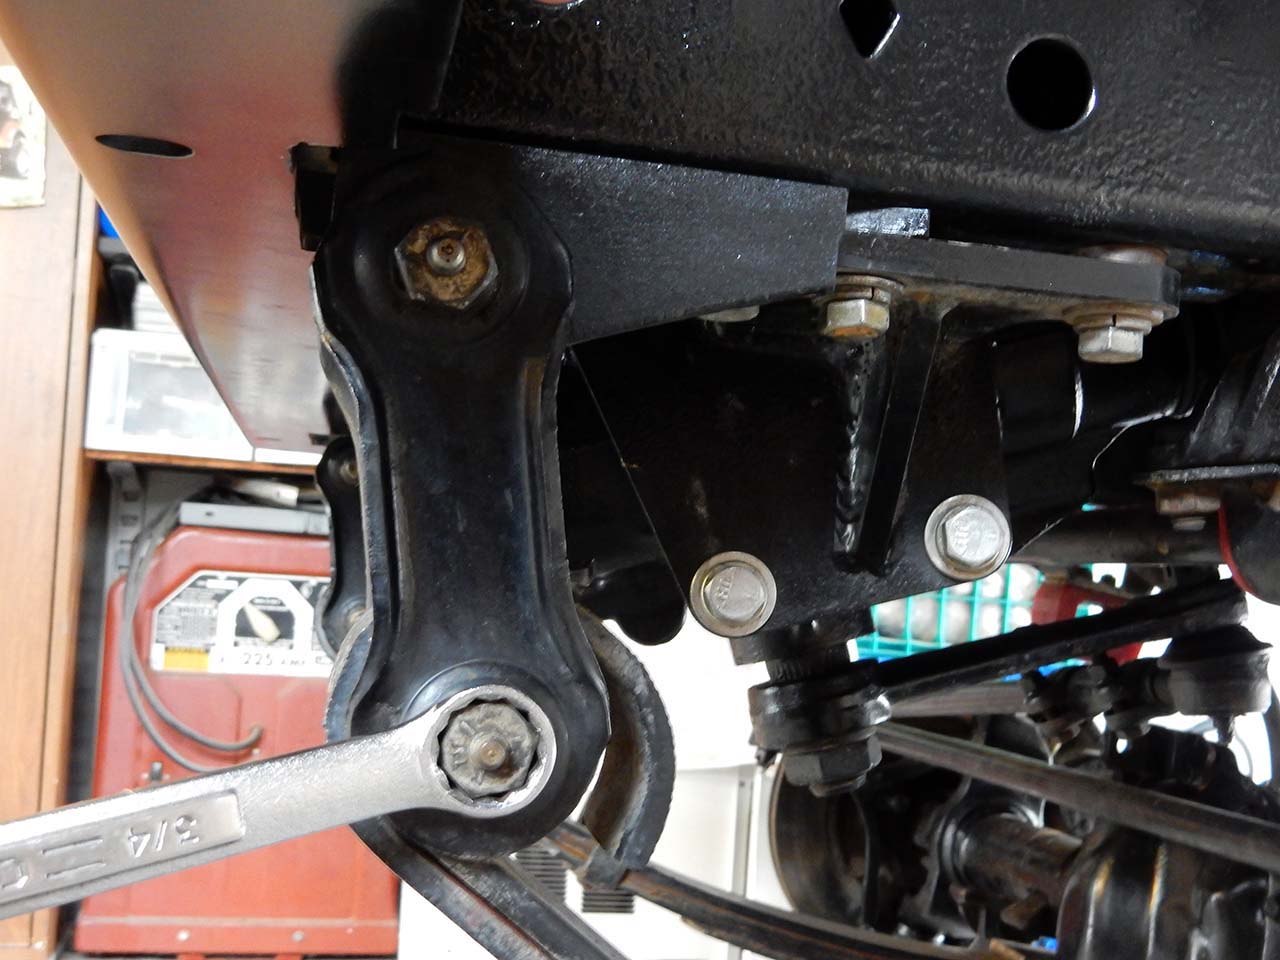
Begin by removing the shackle bolts and allow the springs to lower from the Jeep.  Remove the upper bolts to remove the shackle and remove the fixed mount bolt to allow the spring to be removed.

oldmanemususpensioninstall-137 oldmanemususpensioninstall-140
oldmanemususpensioninstall-141 oldmanemususpensioninstall-139

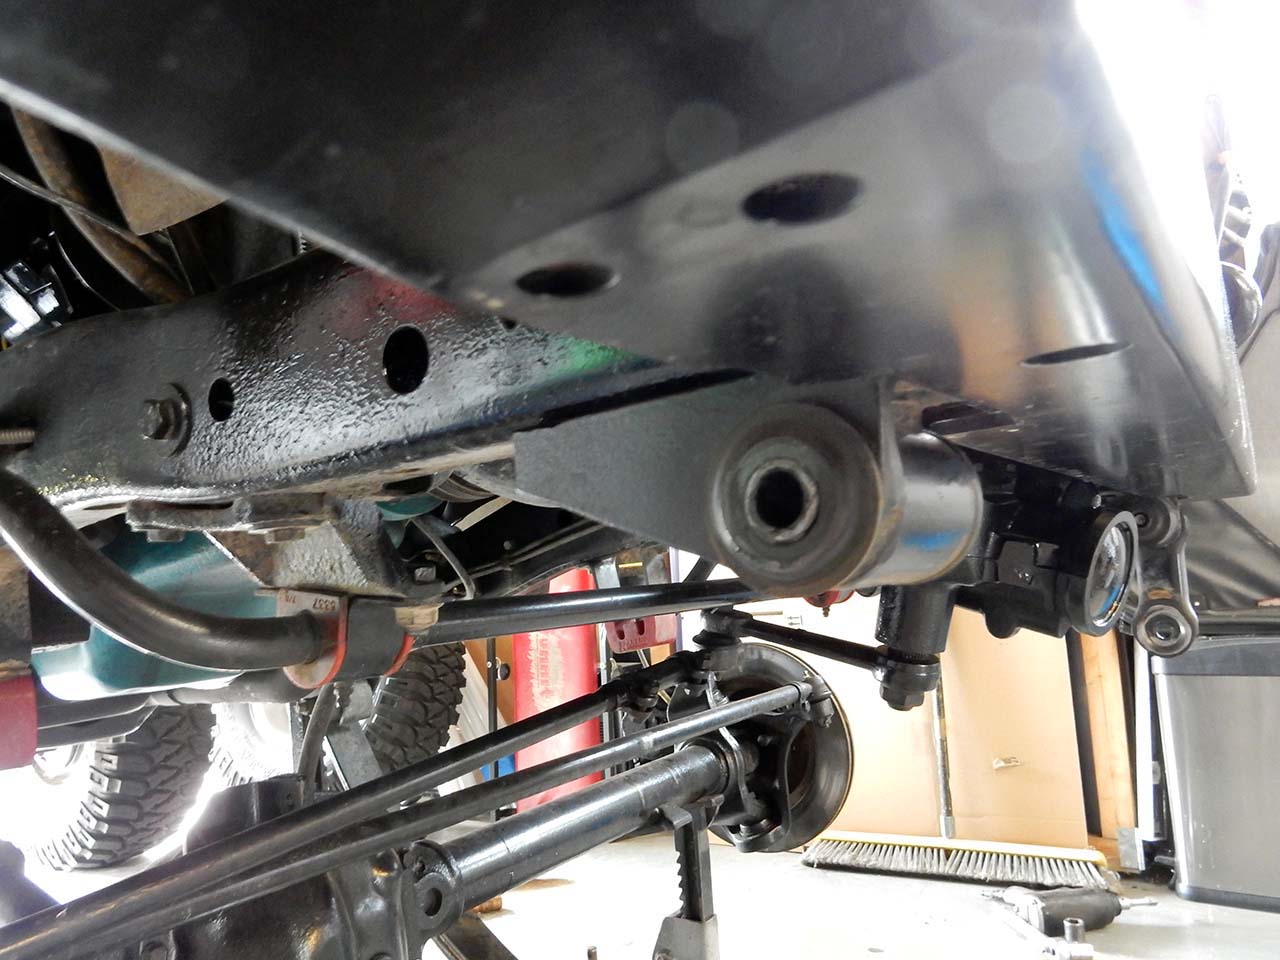
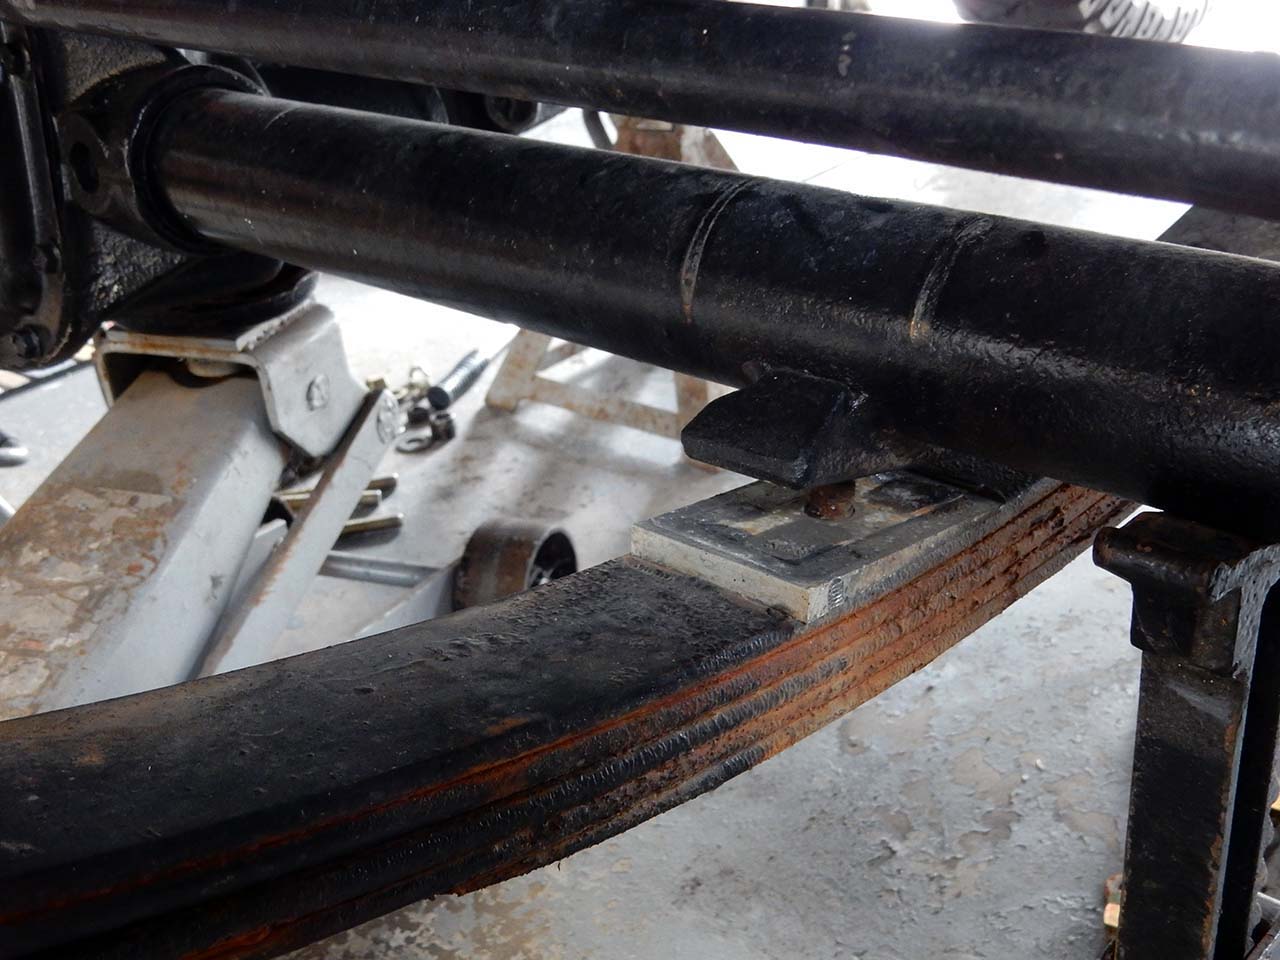
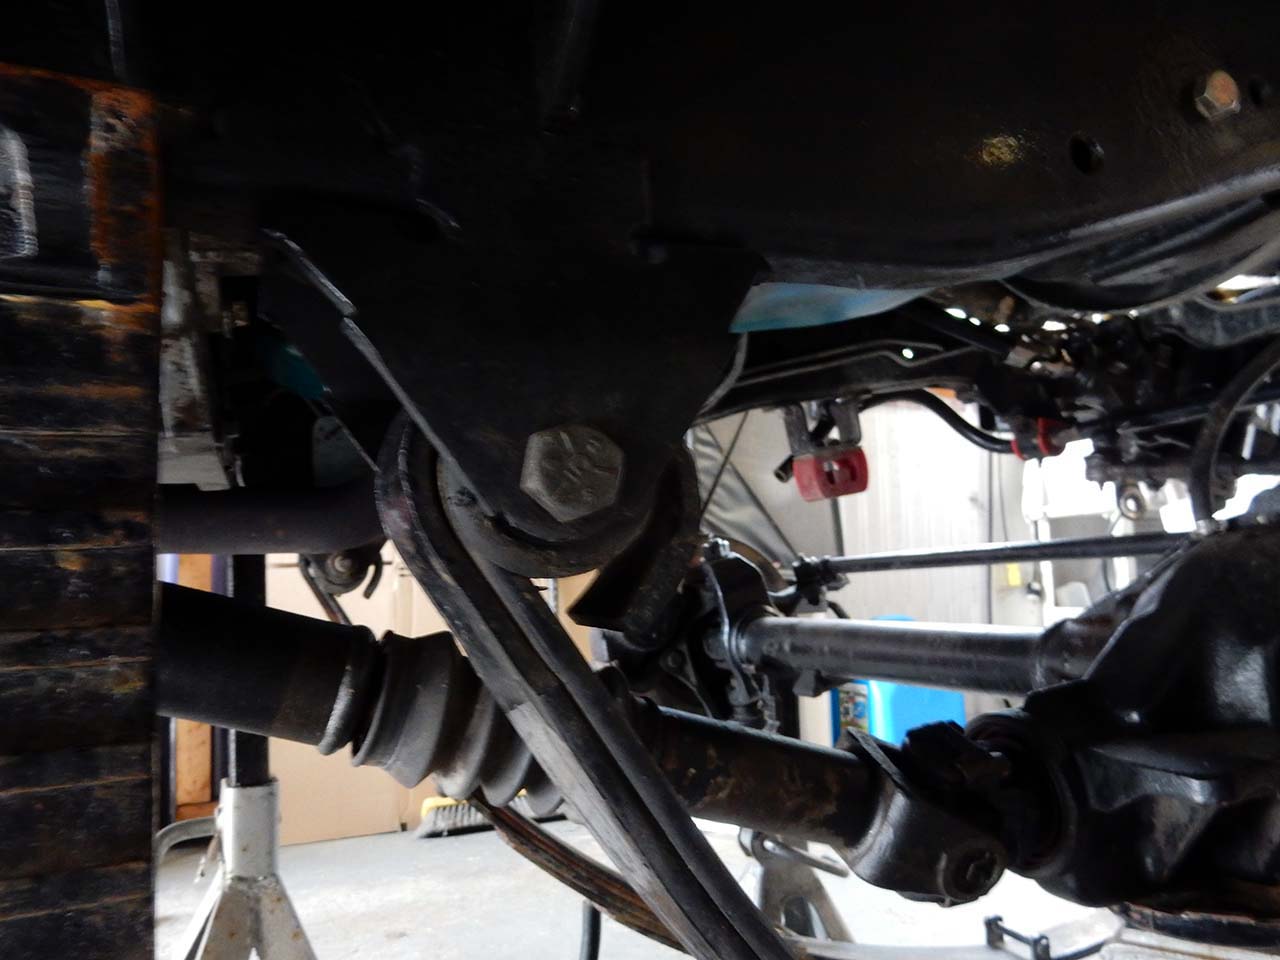
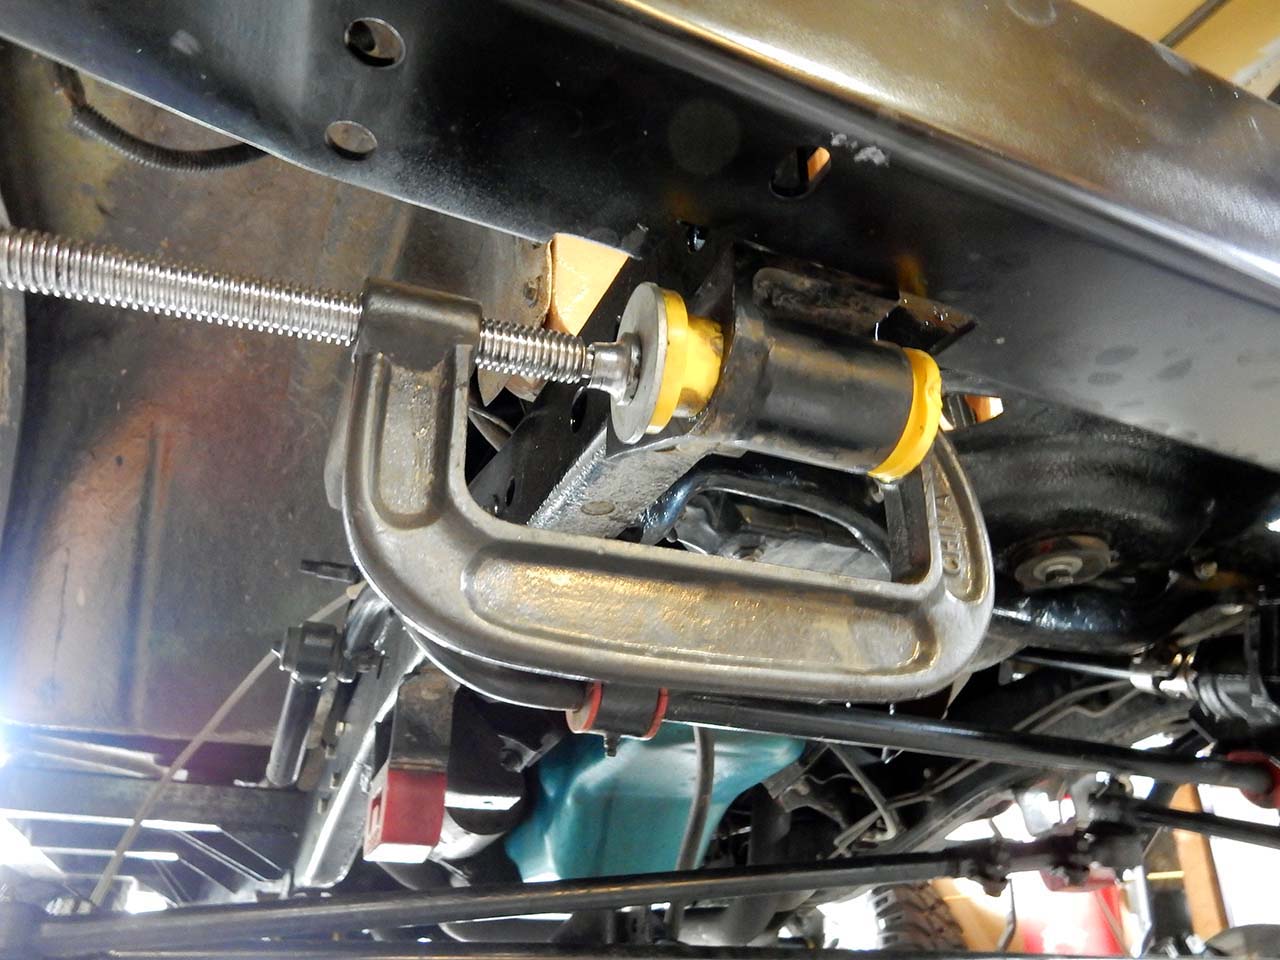
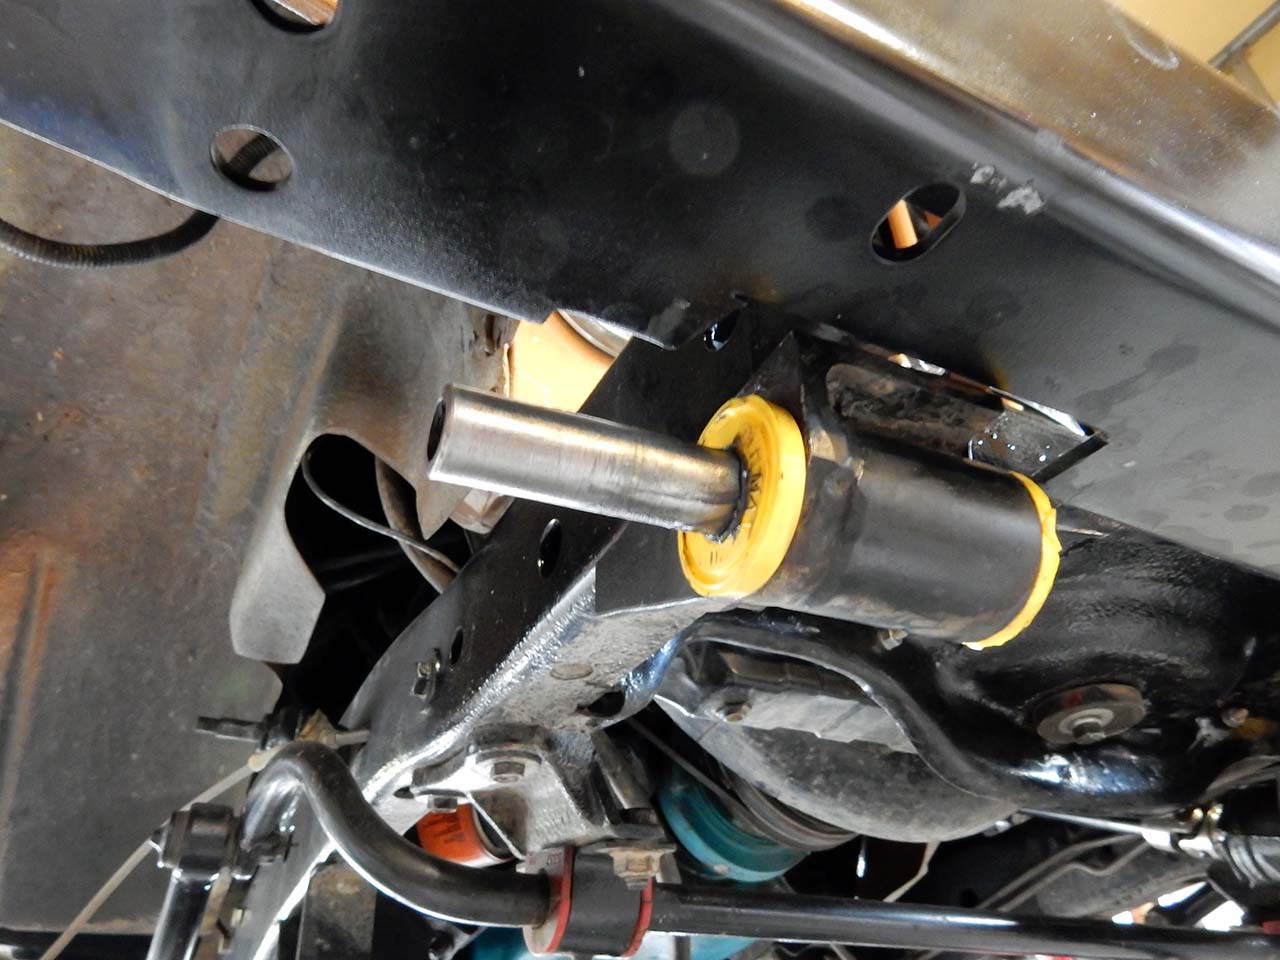
With the springs removed installation of the front conversion shackle mount would be next.  Since our CJ already had them we proceeded to install the new bushings and sleeves.  Using a C clamp can aid in the installation of the bushing and sleeve.

oldmanemususpensioninstall-151 oldmanemususpensioninstall-153

Next: Installing the Springs

Category: Projects & InstallsTag: how-to, lift kit

You’ll also enjoy these posts


check out these trending posts


Jeep Vehicles VIN Reference Guide

 14K+

How Electronic Start Stop ESS Works on the Jeep Wrangler JL

 6K+

The Wrangler 4xe Explained Simply-ish

 2K+

Understanding and Troubleshooting Jeep CJ Gauges and Senders

 4K+

Jeep CJ Exhaust – Headers and Mufflers

 1K+

Jeep CJ Power Brake Conversion

 319

Receive exclusive recommendations directly from our website.

Sidebar


Jeep TJ 1997-2006 How to Build and Modify

Grab Your CopyJeep TJ 1997-2006 How to Build and Modify

jeepfan.com

  • Instagram
  • Facebook
  • Twitter
  • YouTube

© 2025 · jeepfan.com · Powered by Bizbudding

Privacy Manager

Explore

  • Projects & Installs
  • Technical & Info
  • Offroading & Events
  • Products
  • Racing
  • Readers Jeeps
  • Jeep News & Information jeepfan.com blog

About

  • Contact
  • Advertise
  • About
  • Terms of Use

Partners

  • Quadratec
  • Rough Country
  • TeraFlex
  • Maximus 3
  • 7S Garage
  • OK Auto