As with all projects we write about here at jeepfan.com safety is a top priority. Make sure the Jeep is properly secured when supported by something other than on all fours. Use properly rated jack stands. Also, these articles may not lift all the small details involved in an install. Make sure you are capable of performing this work and have the correct tools.

Get personalized content recommendations and answers drawn from our website. Simply type your question or topic of interest, and our AI assistant will help you find relevant articles, tips, and insights. You can also have a natural conversation to explore topics in more depth.
Before starting measure the ride height of the Jeep front and back so you can compare actual lift height afterward.
 Front Installation
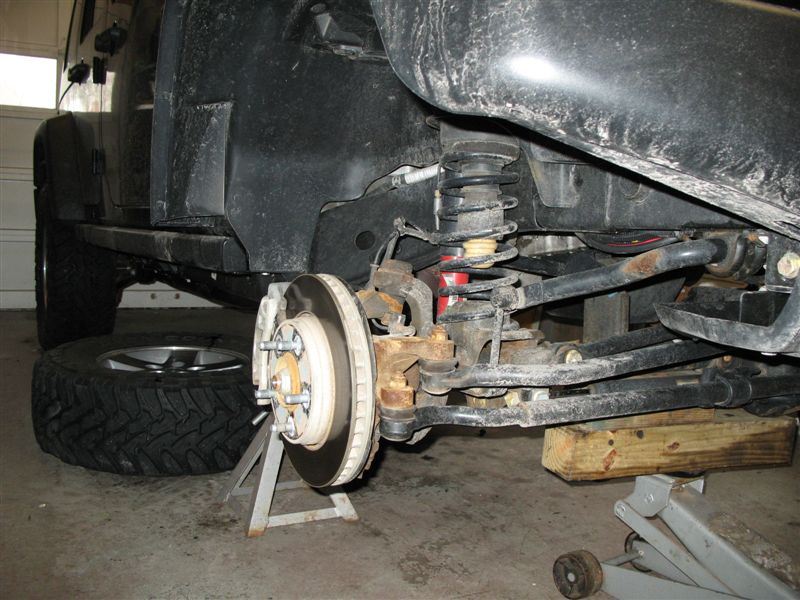
Raise the Jeep and support by jack stands under the frame behind the front control arm mounts. We also add additional support for the front of the Jeep with a high lift jack under the front bumper. Keep the front axle supported by a floor jack at close to ride height for now. Remove the wheels. Remove the shocks, the front track bar, and sway bar links.
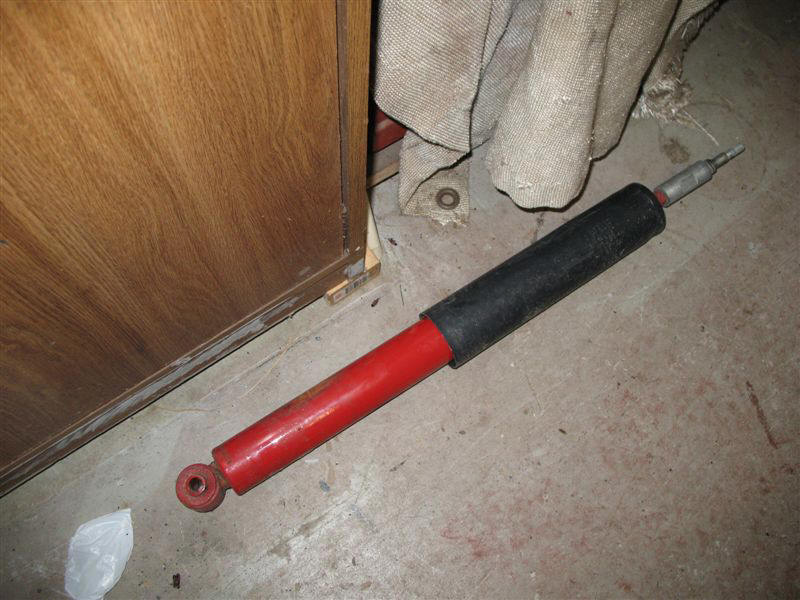 OE shock |
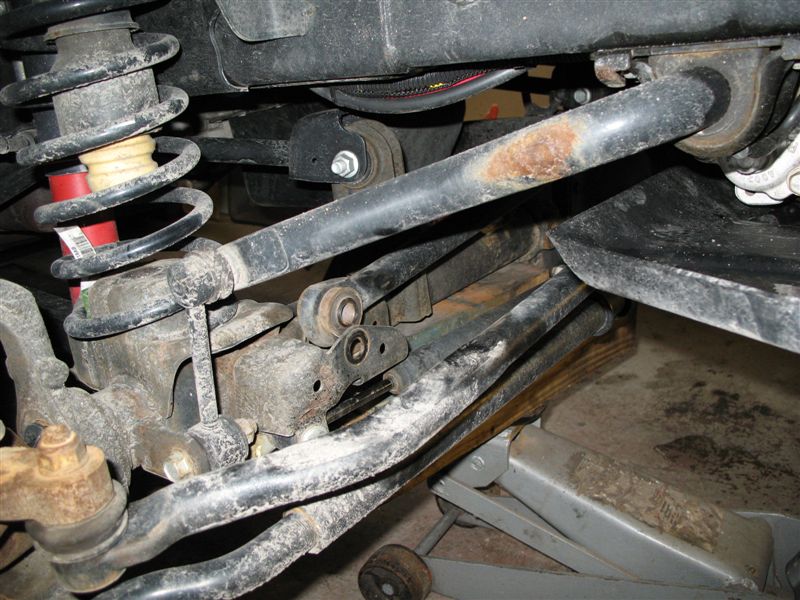 track bar removal |
 sway bar link removal |
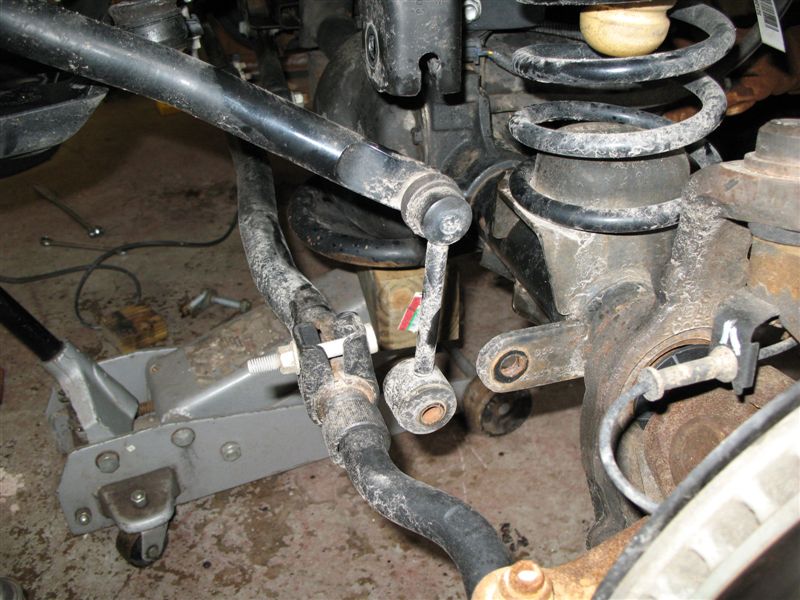
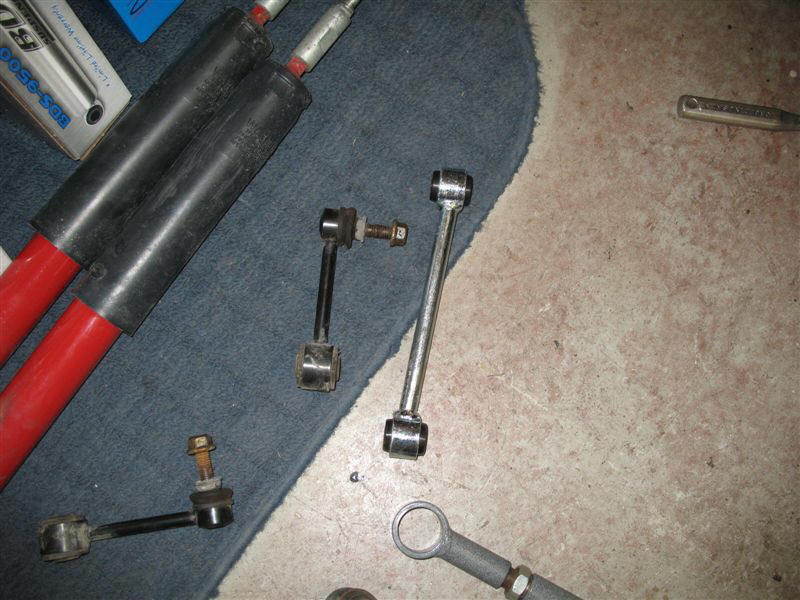 OE sway bar link – BDS link |
NOTE Regarding Sway Bar Disconnects:
Rubicon vs X or Sahara
The Rubicon model JK Wrangler are equipped with the electronic sway bar disconnect and do not necessarily need sway bar quick disconnects. The Rubicon version of this kit comes with solid sway bar links instead of quick disconnects.
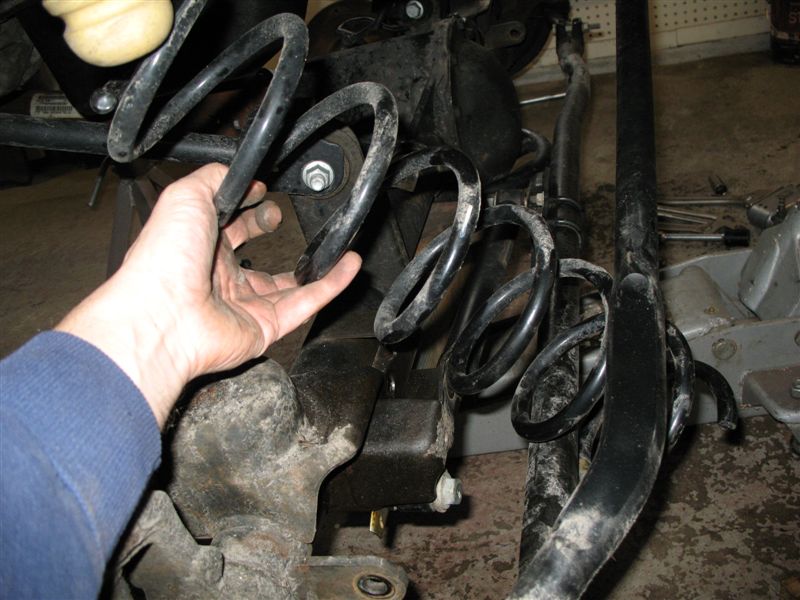
With all that stuff removed slowly lower the axle on the jack. Be watchful of the brake lines, ABS wires, and axle vent tubes. Lower the axle just before those components become tight. Remove the front coil springs. Use a pry bar or spring compressor to ease the removal of the springs. We had to deal with the Tera Flex spacers already on the Jeep which made removal a bit more challenging.
 |
 |
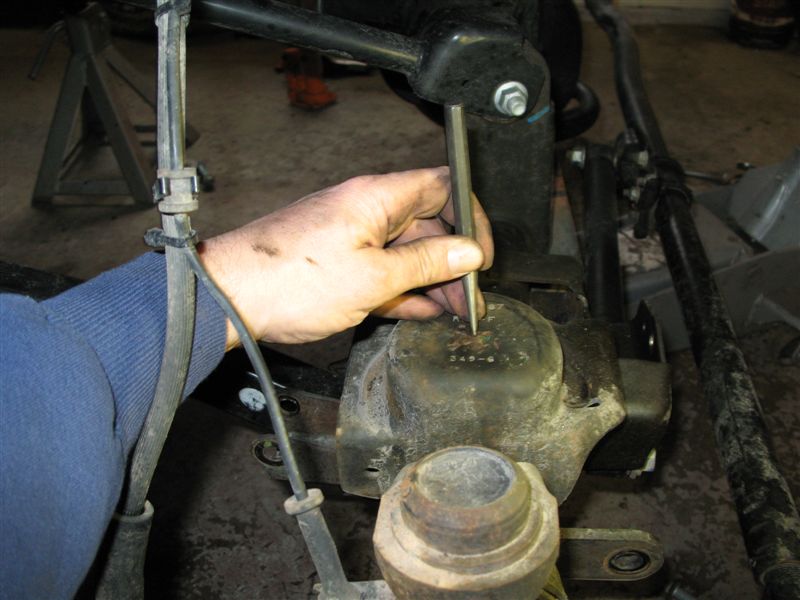
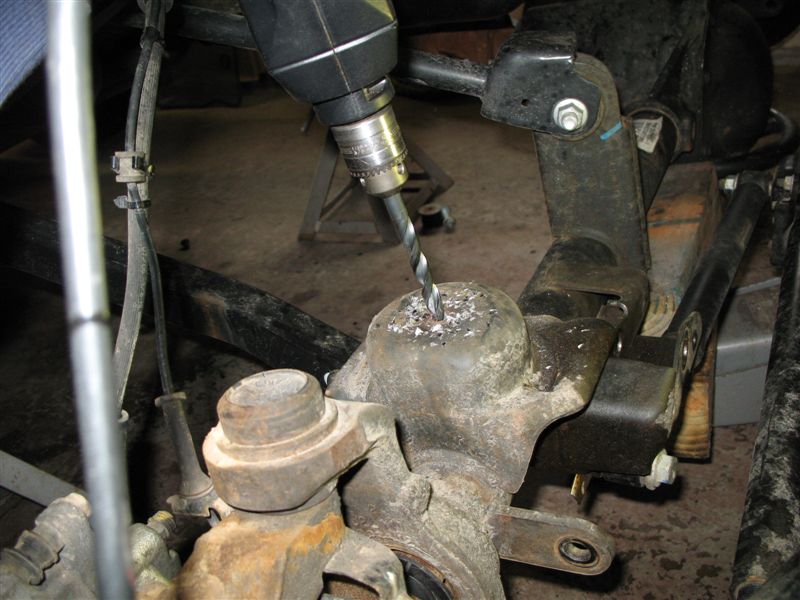
A 3/8″ hole needs to be drilled for the bump stop spacers to be installed. Find the center of the spring support punch a pilot hole and and drill the 3/8″ hole. Drilling a small hole first makes the job easier.
 |
 |