Dana 300
4:1 Tera Low Installation
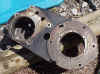
page 2We started out by
disassembling the second Dana 300. The fact that neither of us ever did
this slowed us down a little. We found that following the manual was
useful. A press would have been helpful and so would a good gear puller
set but we managed. It is almost impossible to remove the bearings without
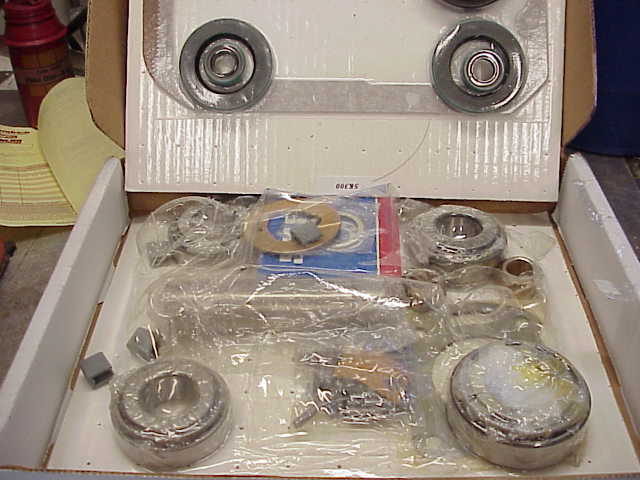
damaging them, so it is advisable to invest in a transfer case rebuild kit (a)
this kit includes all the bearings, seals, and gaskets you will need.
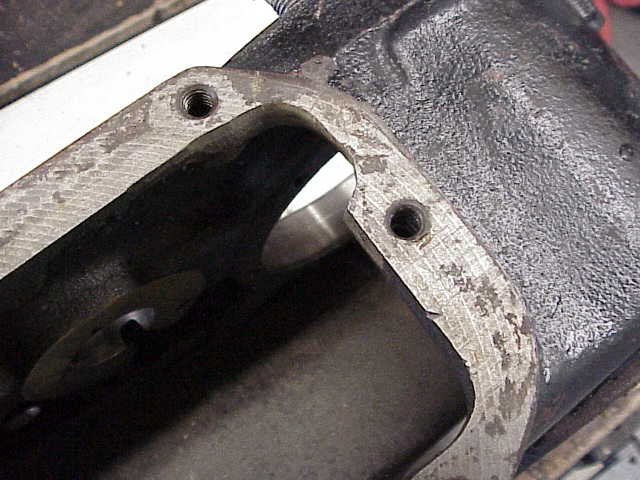
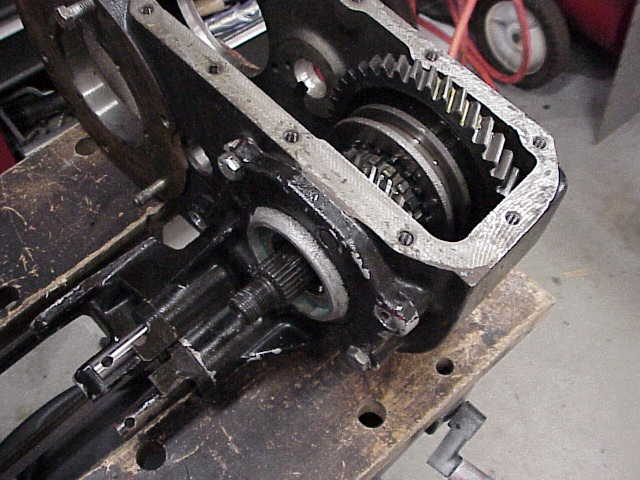
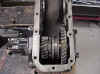
I got to work with the
grinder, a notch needs to be formed in the corner of the bottom of the transfer
case. (b) The only purpose for this is for clearance when installing
the intermediate gear. You should not need to grind into the area where
the gasket sits. The grinding took about 15 minutes and after a good
washing to remove all the metal dust we were ready to start reassembly. (c &
d) |
projects

(a) |
(b) |
(c) |
(d) |
(e) |
(f) |
(g) |
(h) |
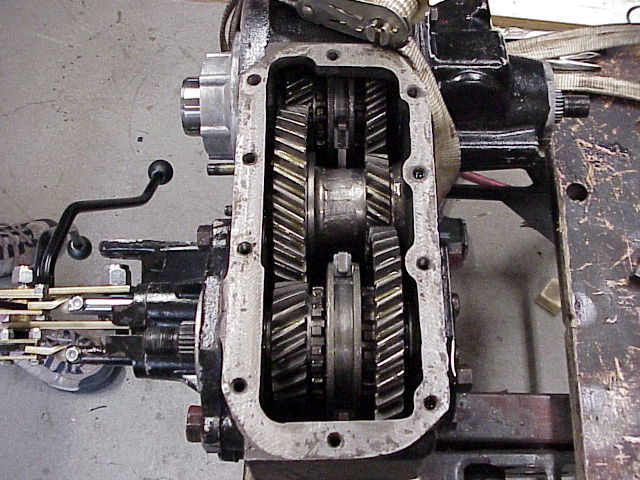
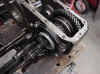
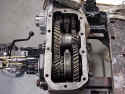
Stage 3 - Reassembly
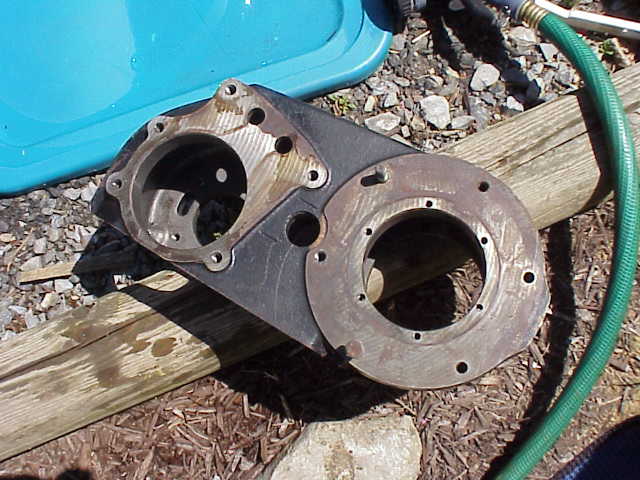
I followed the manual for
the steps to reassemble the case. It is evident that it is important to
read carefully because the case fits together sequentially. The front
output shaft assembly is installed first (e & f), then the rear, finally the
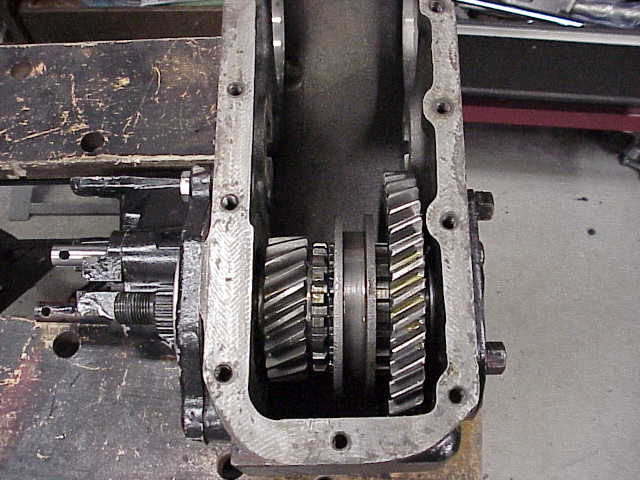
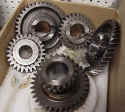
intermediate gear (g). With all the gears reinstalled a gasket was added
then the bottom cover was reinstalled. The case was now ready for
installation. (h) is a shot of the old gears.
on To Page 3
|