|
how-to
Dana 30 and
Dana 44 Front Axle Caster Adjustment
Installing Caster
Adjusting Upper Ball Joint Sleeves or "Caster Correctors"

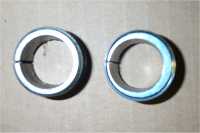
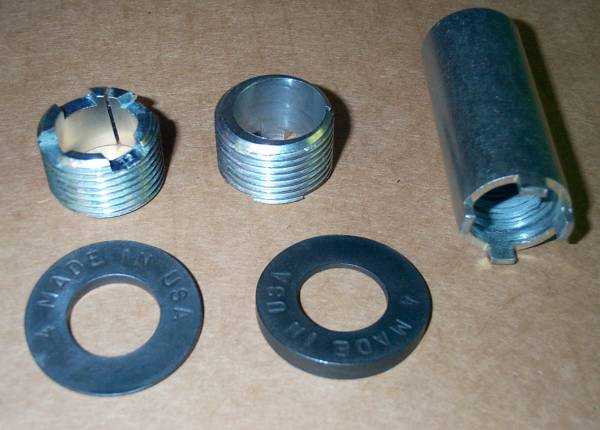
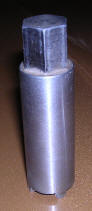
note the offset hole (right)
Caster correcting upper ball joint sleeves are installed in place
of the original sleeves. The sleeves are tapered,
threaded inserts that install in the top of the steering
knuckle above the u-joint. These sleeves are used to
maintain proper tension on the knuckle ball joints.
Installation
With the Jeep supported securely
by jack stands remove the front wheels. Turn the
steering to allow you to easilty access the rear of the
u-joint area. Loosen the lower ball joint nut to leave
about 1/4" of thread exposed. This will keep the
entire assembly from coming apart. NOTE: You may not
be able to loosen the bottom ball joint nut without removing
the axles. If this is the case you will need to
disassemble the entire knuckle assembly and remove the
axles.
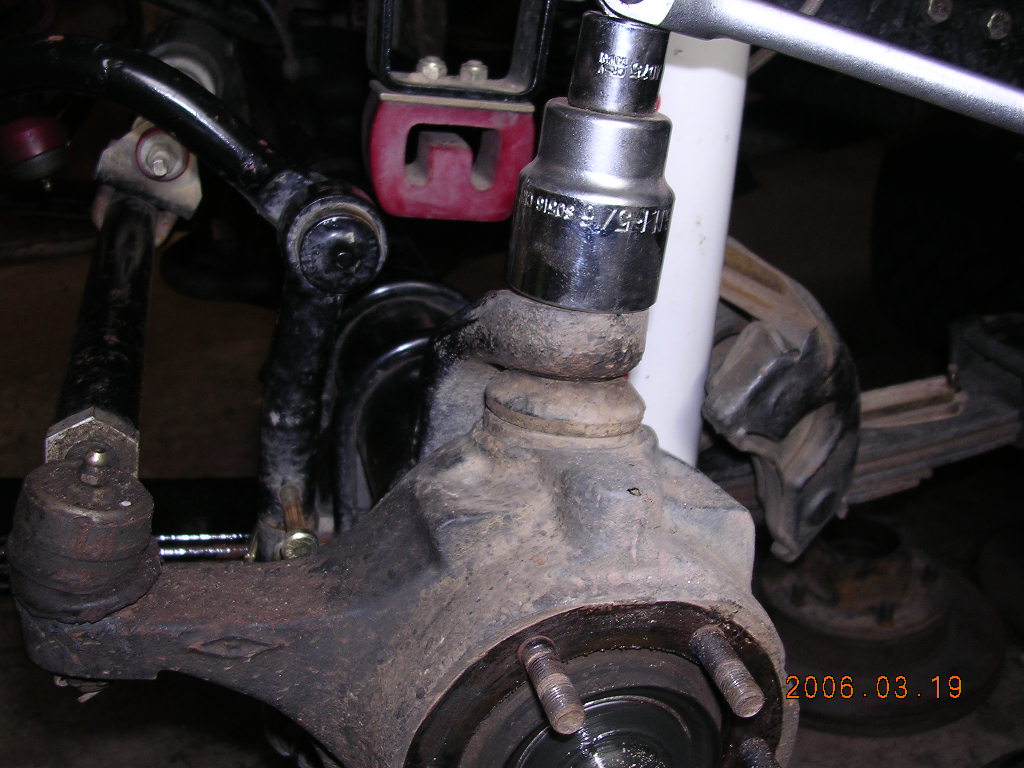
Special tools that will help
Ball joint spanner socket - These are
available from many auto parts stores. |
Ball joint puller - Also
called a pitman arm puller |
Remove the
cotter pin and remove the upper ball joint nut.
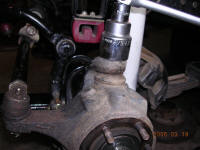
Apply a
plentiful helping of PB
Blaster to help loosen the ball joint and threads.
Using a ball joint puller installed over the ball joint
shaft as tight as you can get it give the puller's threaded
shaft a few good whacks with a heavy hammer. This
should set the ball joint free of the sleeve. Don't
try to loosen the sleeve using a spanner socket without
separating the two, you will break the socket. Remove
the sleeve using the spanner socket. It may be stuck
in there depending on whether it's ever been removed, go
slowly and gently.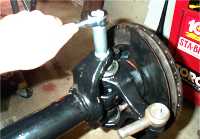
After the old sleeve is removed
clean out the threads and insert the new sleeve.
Tighten the lower ball joint nut first and then proceed to
thread in the new sleeve. You will notice the ball
joint rotating in an oblong manner as the threads tighten.
Continue to rotate the sleeve until it becomes tight and is
in the correct location to adjust the caster angle.
Install the angled washer that came with the sleeves and
reinstall the nut. Torque to 50 ft/lbs and reinstall a
new cotter pin.
Rotate the steering to make sure
the ball joint do not rotate in the sleeves. Reinstall
the wheels and check on the results of the adjustment.
I recommend periodically checking the ball joint washer and
nut to make sure nothing has moved.
Check the toe in. Correcting the caster
with these adjusters will affect the
toe-in adjustment. See Adjusting your Jeep's Toe-In.

|