|

by JeepFan
We are ready to get into the
nitty-gritty on this project, Ralph from www.offroaders.com
came to lend a hand, many thanks to him. As with any project make
sure you are comfortable with doing this kind of work and double check
everything after you are finished. Some details of this project may not
have been included.
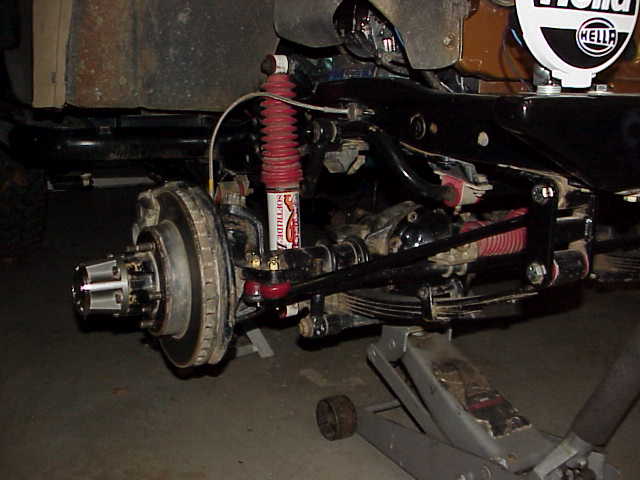
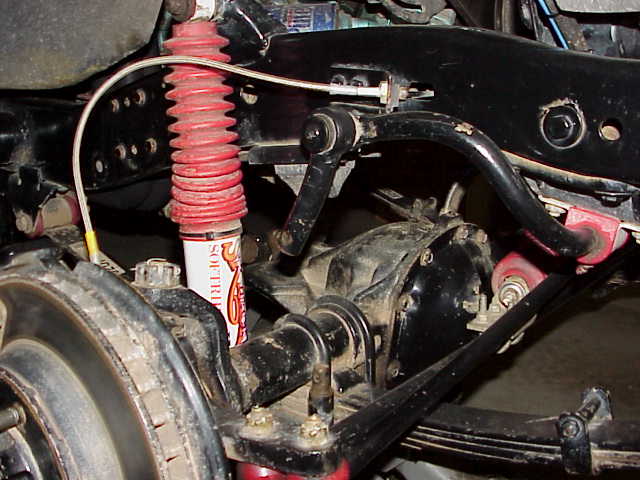
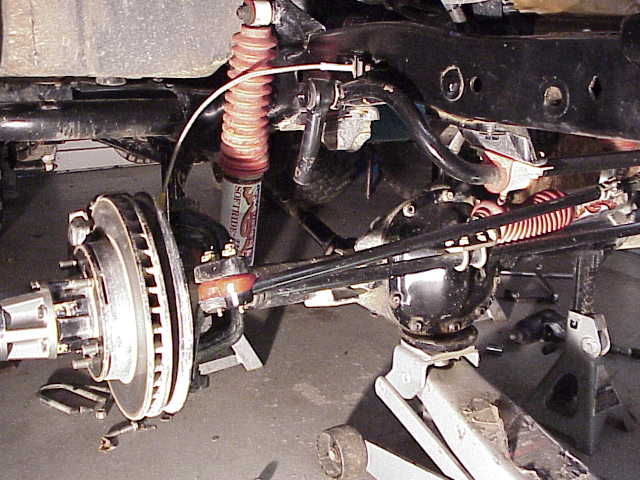
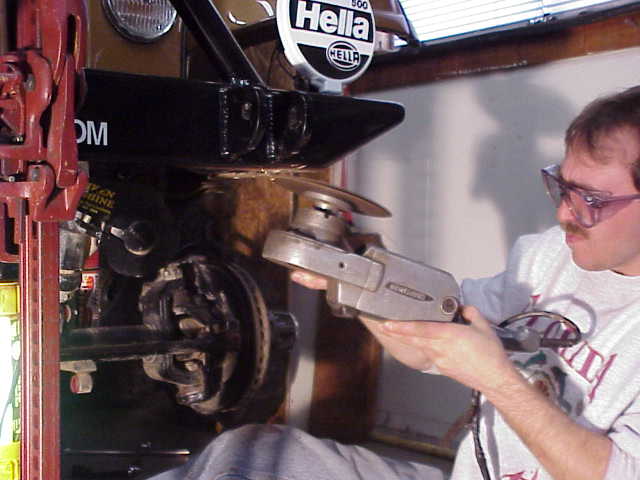
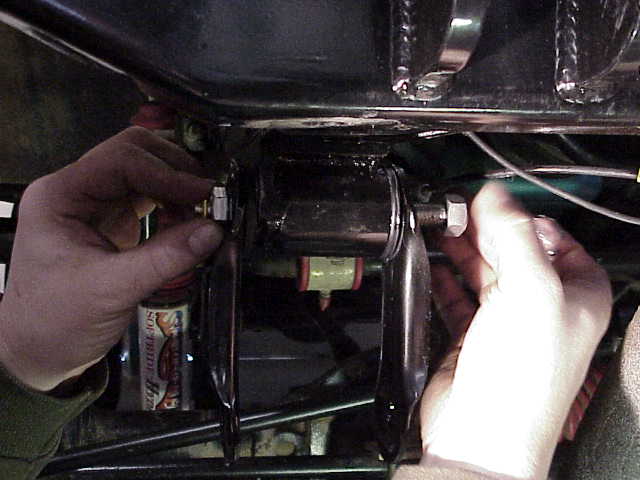
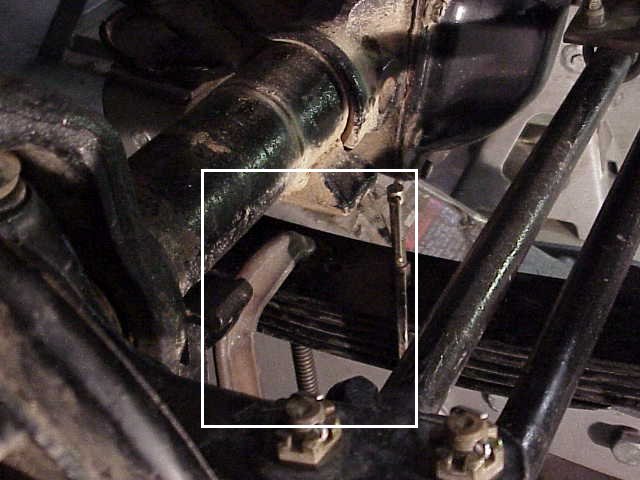
To start out with the Jeep
needs to be secured on jack-stands to remove the weight from the springs
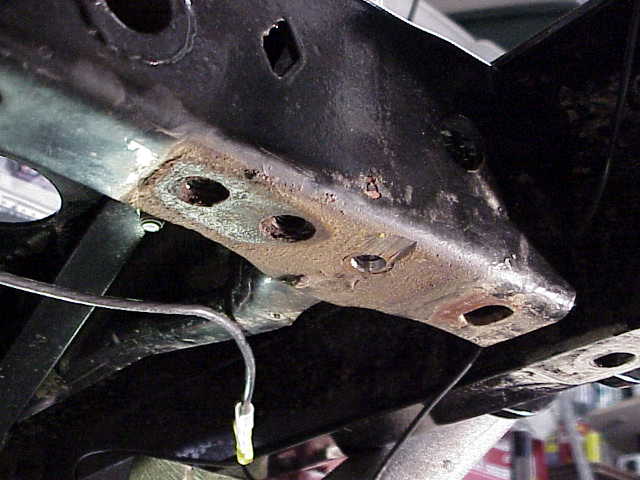
(a). Remove the sway bar, u-bolts, shocks, and u-bolt plates (b &
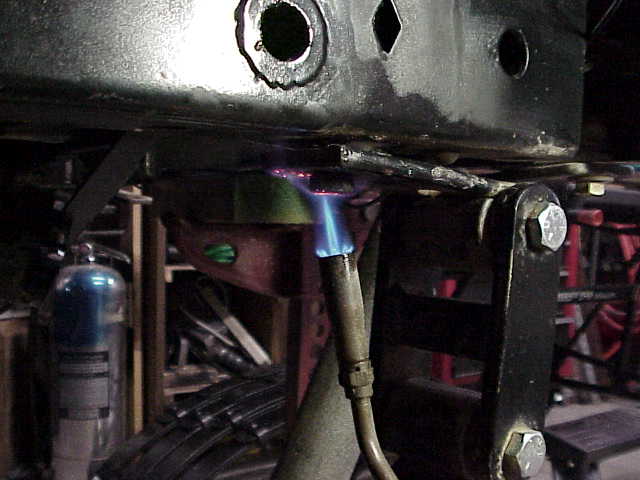
c). The upper shackle mounts then need to be removed. I needed to
fire up the torch (d) to heat up some stubborn bolts to ease removal. Do
your best not to break these bolts because drilling and re-threading these are
not fun.
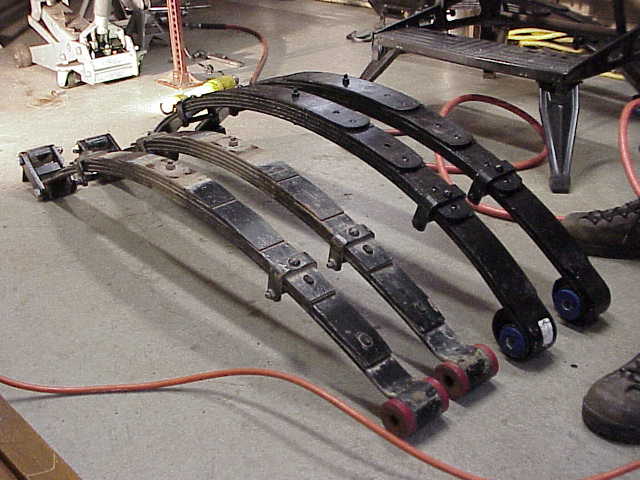
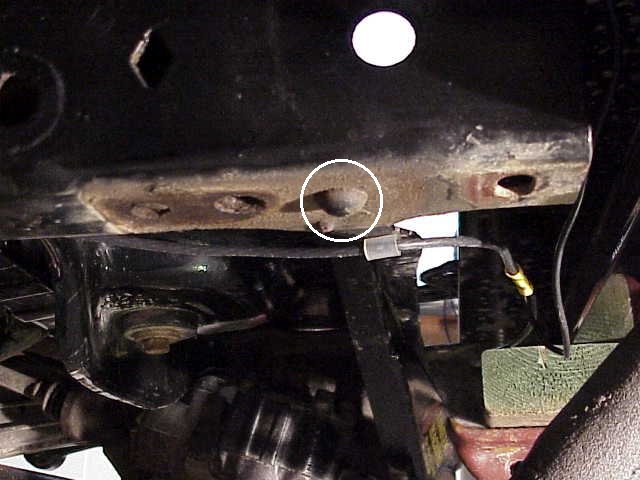
Here is a comparison of the
Skyjacker springs to the BDS springs (e). With both front springs removed
there is a rivet on both sides that needs to be removed for the new upper
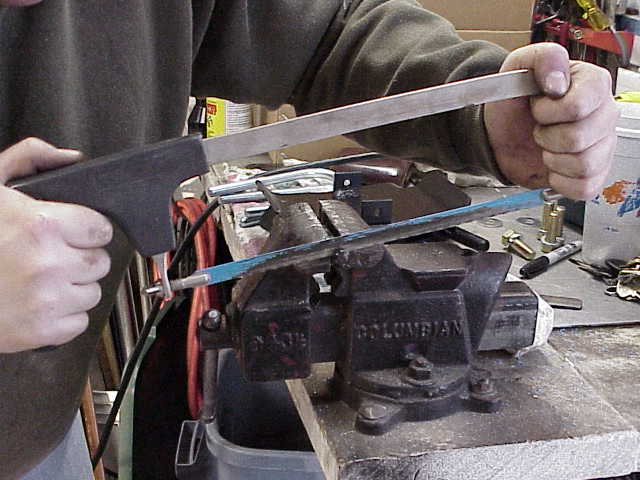
shackle mount. (f). I used a sawzall to cut off the butt of the rivet (g),
then we drilled into the rivet to weaken it a bit (h). A large hammer an
punch were then used to remove the rivet completely (i). After both sides
were removed we used a grinder to smooth out the area and remove some burrs (j)
the area was then painted.
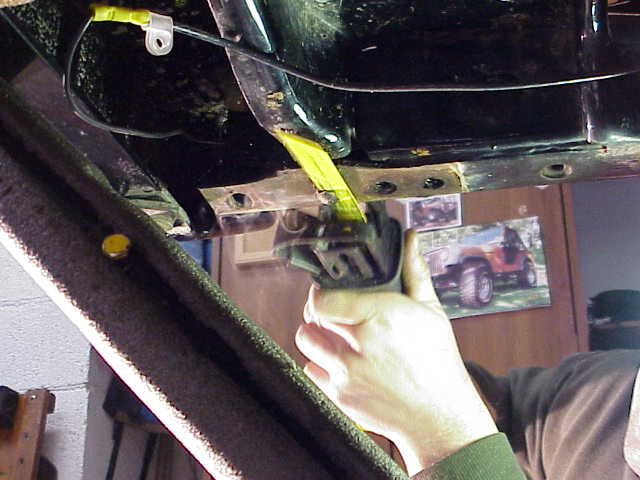
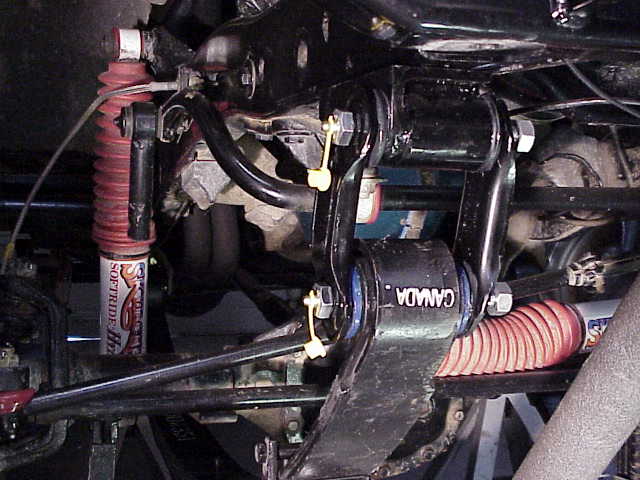
Next the new BDS springs were
laid into place and the fixed mount bolts were installed. (k) The new Rock
Equipment upper shackle mounts were installed using the existing forward most bolt hole
and the hole where the rivet used to be. (l) New grade 8 bolts were used
for all the mounts. The front shackles were installed using the greaseable
bolts, also some grease was added to each friction point to allow everything to
move freely. (m & n)
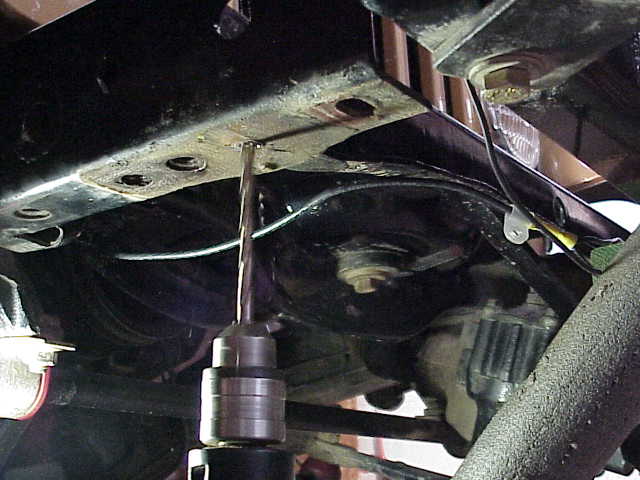
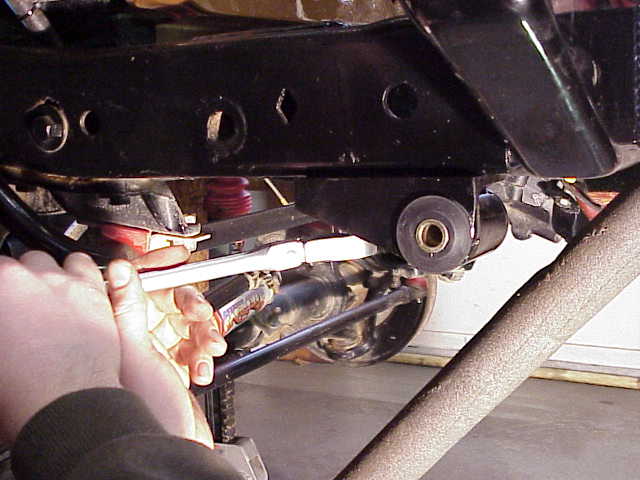
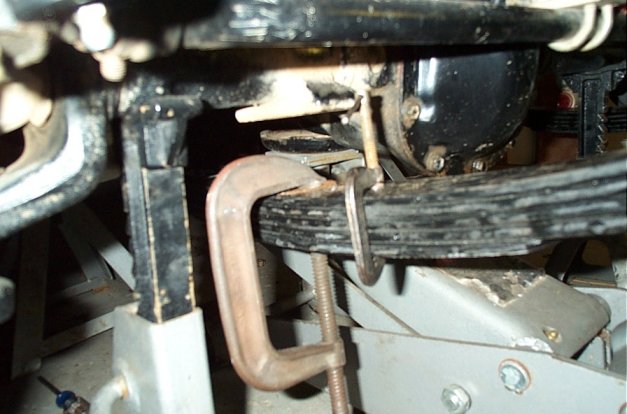
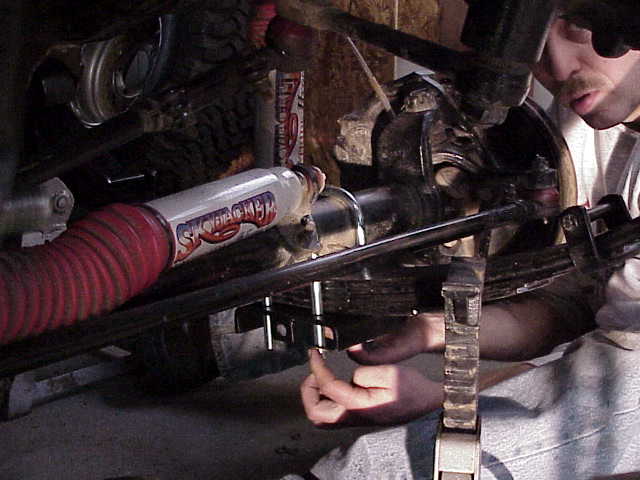
With the shackles installed
the axle could be placed back on the springs. One discovery that appeared
was that the locating bolt in the spring pack was too high and was not allowing
the axle to sit on the spring properly. I clamped the spring together and
removed the bolt to trim it down a bit. (o, p, & q). ***Note, This may
not need to be done. After driving the Jeep I realized I needed to add a
shim to correct the caster angle, the shim would correct for the excess bolt
head***
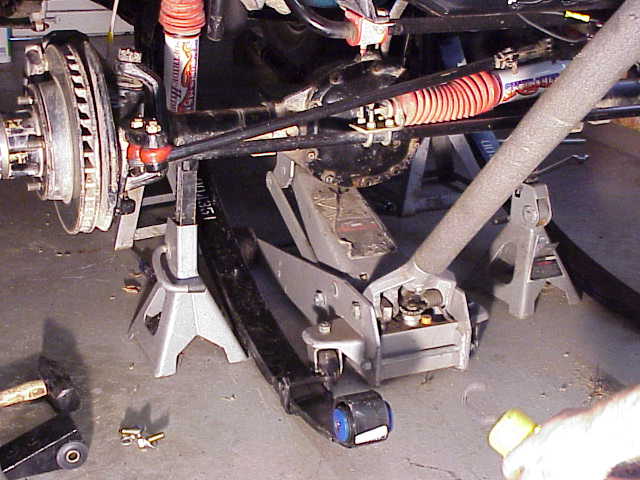
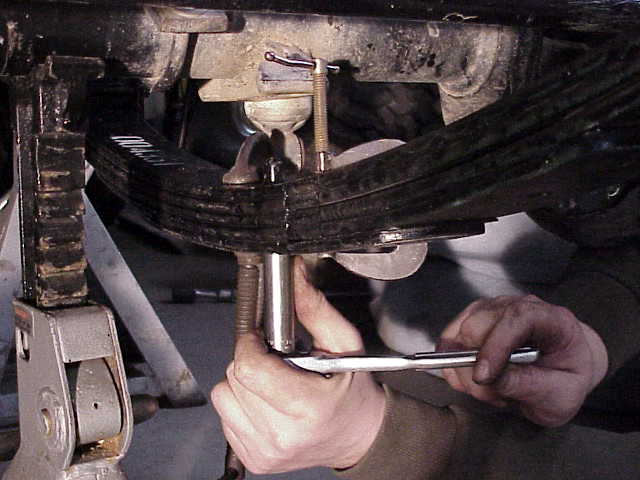
After reassembling both
spring packs the u-bolt plates and u-bolts were installed (r) take care to
tighten the u-bolts evenly. Since the shocks were not long enough and were
being replaced they were not installed yet, also the sway bar was left off for
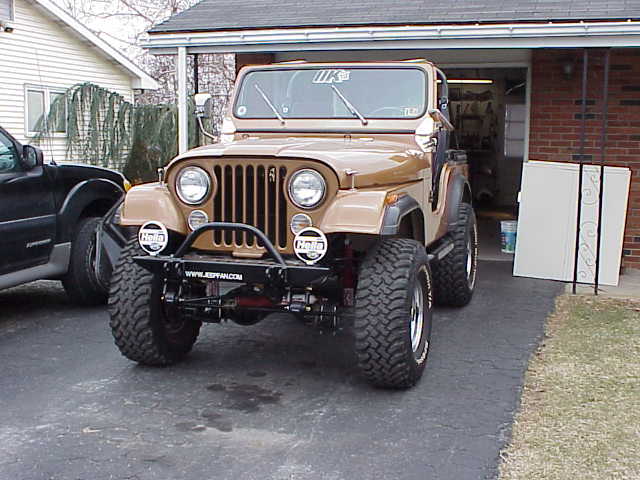
now. After everything was tightened up the wheels were put on and I pulled
out the Jeep to turn it around and take a good look. I was immediately
apparent that the Jeep was considerably higher (s). I had to remove the
top to get the Jeep out of the garage. (I guess a story on how to enlarge your
garage door opening is next!)
Goto Page 3
|

