Mopar Jeep Wrangler JK
Bumper Installation
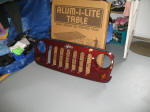
Harry included a set
of Mopar JK Rock Bumpers when he ordered his
2008 JK Wrangler Unlimited. After a few
months of taking up basement space we decided to
install them.
Surprisingly the
Mopar bumpers are relatively easy to install and
will only take about 1.5 hours. The
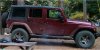
bumpers are an excellent addition to a JK and
add function and protection to both ends.
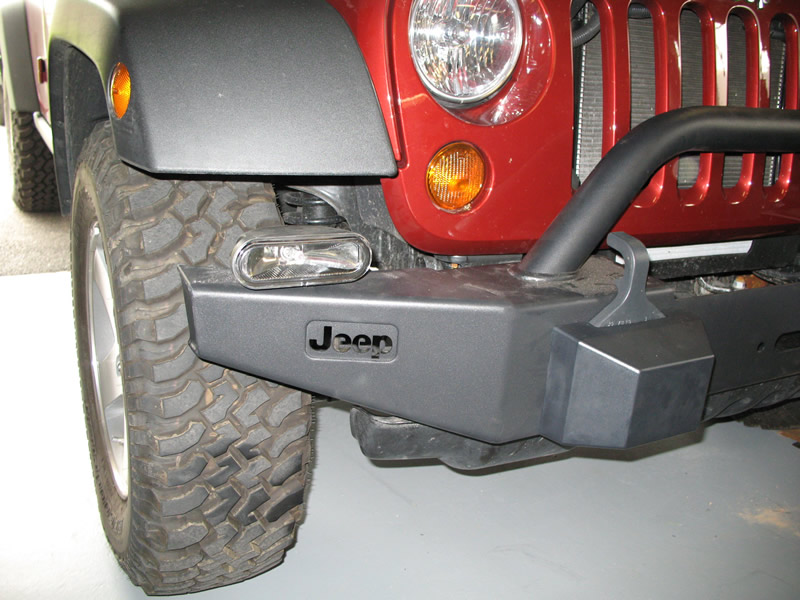
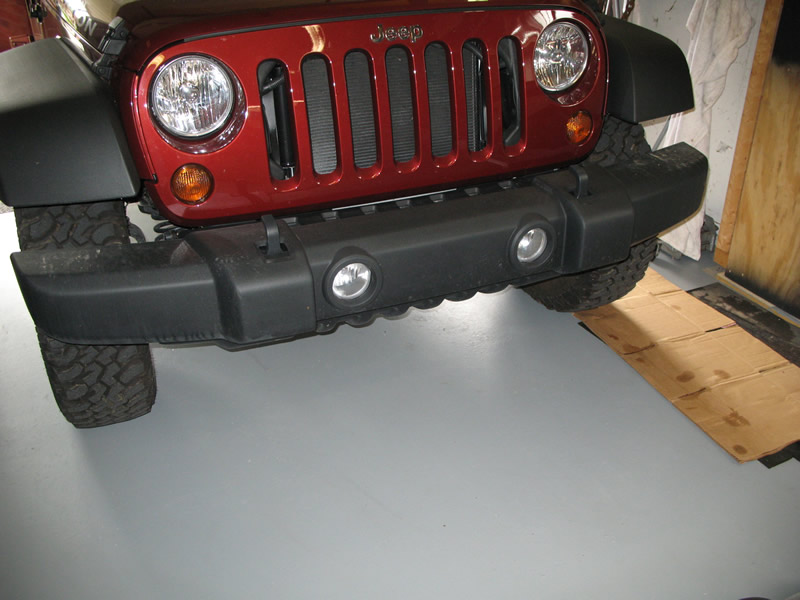
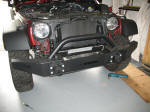
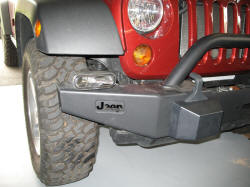
The front bumper
included the integrated winch mount and uses the
factory tow hooks and plastic air dam.
Front
Installation
We followed the
directions which were pretty well written.
One thing to look out for is keeping track of
the two variations in front bumpers - one with
winch mount and the other without.
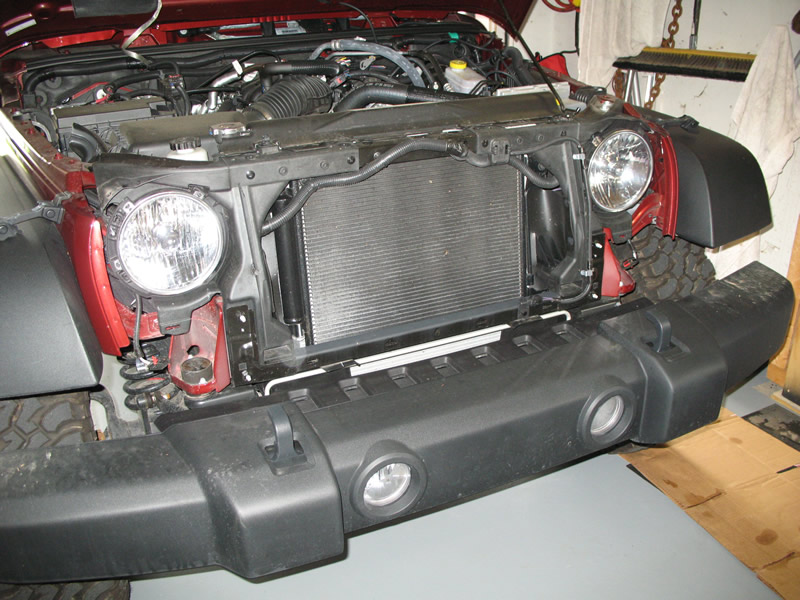
Remove the grill
by popping out the plastic push in
screws/rivets. SEE the tip on Removing the
Plastic Screws. You will also need to
unplug the turn signal lights. TIP: Slide
the red plug latch out then unplug the light.
Remove the front plastic piece that is directly
below the grill.
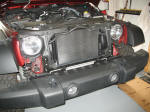
Remove the air dam and the bumper. Retain
the nuts and washer plates. Be careful
when removing the bumper as to not damage the
wiring for the fog lights (if equipped).
It's helpful to have someone hold the bumper
slightly away while the lights are unplugged and
the wiring clips are removed. Tie the
wires out of the way.


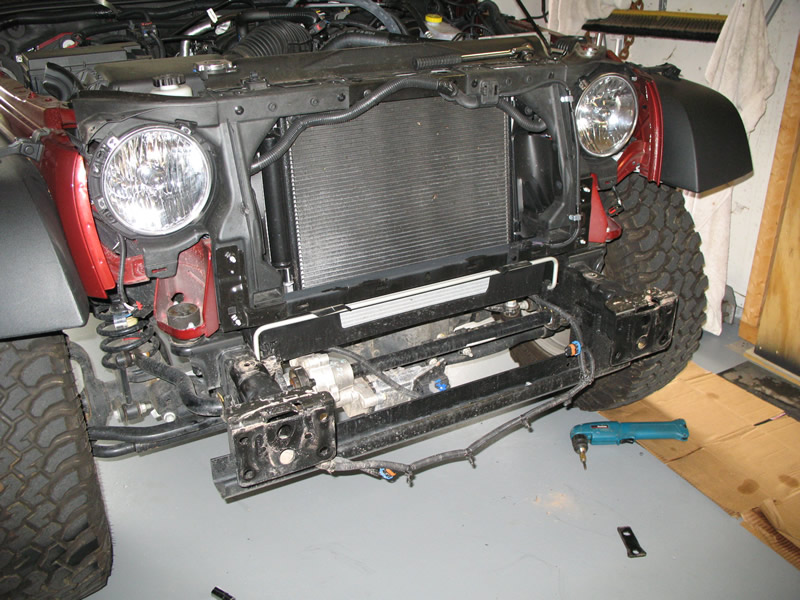
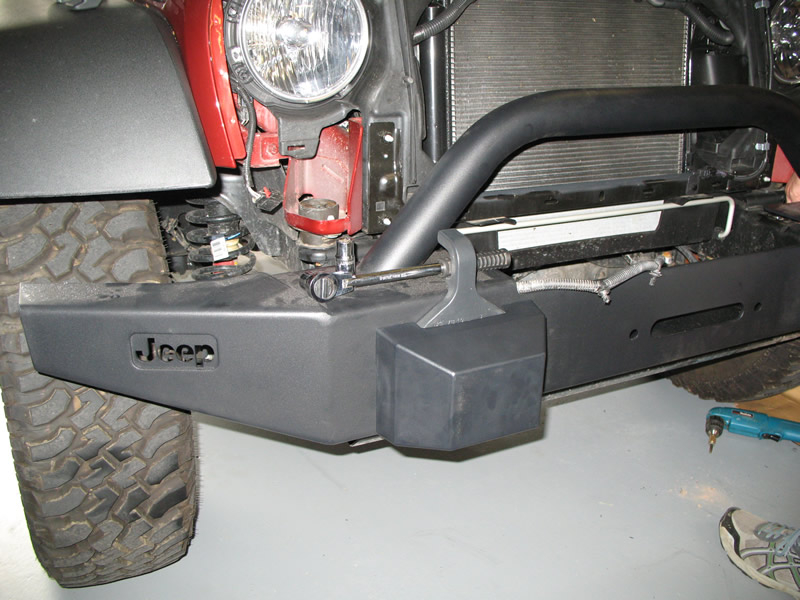
At
this point the new bumper is ready to be placed
onto the front of the frame. Also, is you
were installing a winch place the winch in the
mount but do not tighten it. It will need
to be slid side to side to allow access to the
nuts and bolts. Using the original bolt
plates or tow hook plates place them on the
front of the bumper through the frame.
Reuse the washer plates and install the nuts but
do not tighten.
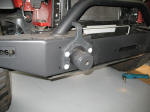
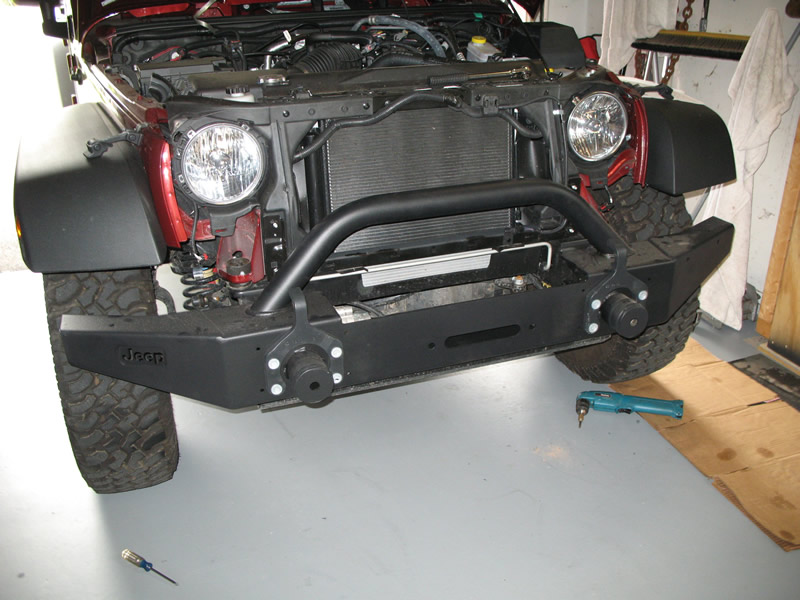
Center the bumper on the frame and install the
inner bolts using the handle nuts and washers.
(shown on the right) Install the crush can
covers. (shown on the right) Tighten all
the bolts.
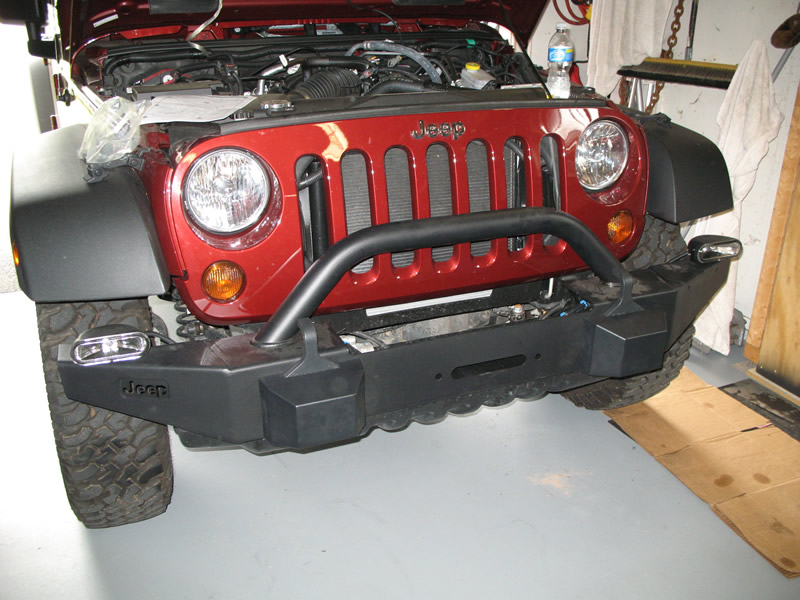
Reinstall the grill making sure you connect the
turn signal lights. Install the fog lights
and attach to the existing Jeep wiring using the
included wire adapters.
|
Finish up
the installation by tying the wiring up
and reinstalling the factory air dam.
It may be necessary to trim the air dam
when installing the winch.
|
NEXT: Installing
the rear
|